This post was sponsored by Wagner Spray Tech. All opinions are my own
I absolutely HATE to paint ceilings–they are a literal pain in the neck and back–but it makes a huge difference to give them a fresh coat of paint.
Since our current house is 100+ years old and has been painted so many times that the interior square footage has likely decreased slightly, there are a lot of paint marks on the ceilings.
Case in point:
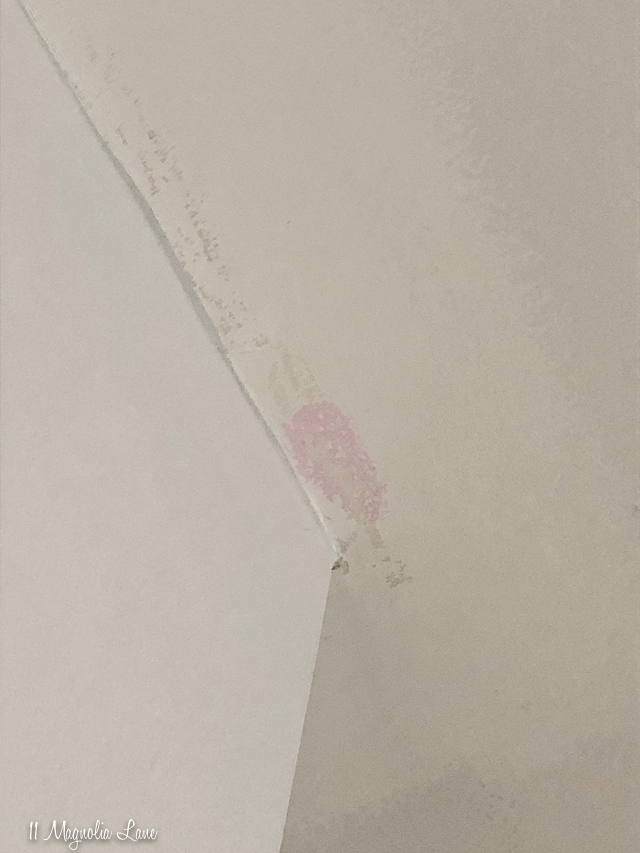
Unfortunately, you can’t just paint the edges and call it good. Even if you have the exact same ceiling paint color that you used a few years ago, you’ll still need to recoat the entire thing because ceilings seem to discolor quickly (dirt? dust? I’m not sure why, but it’s a thing).
By far, the easiest and fastest way to paint a ceiling is to use the Wagner SMART Roller (learn more here | buy here). The handle holds up to 22 oz. of paint so you can cover around 70 sf of ceiling space with one fill, and finish your job about twice as fast as you’d need with a regular roller.
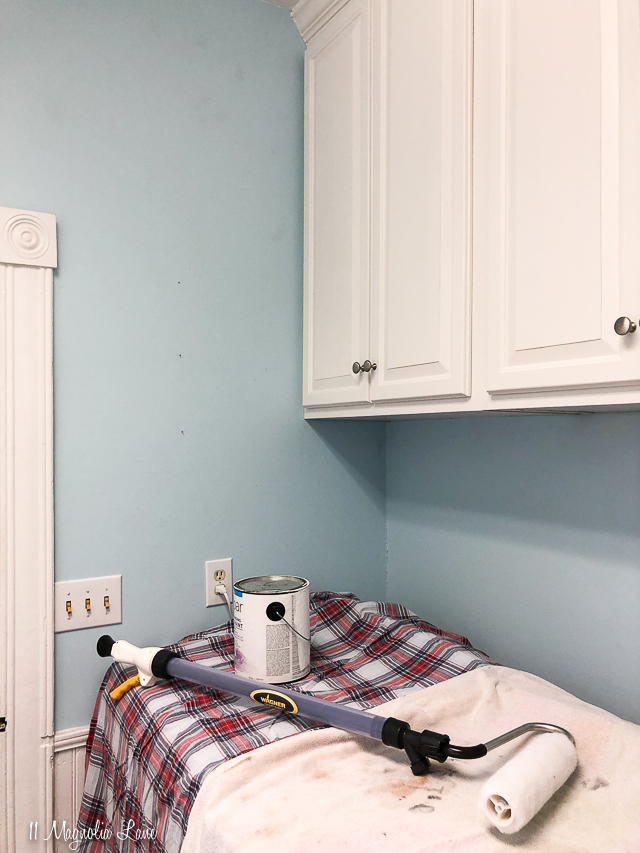
Start by placing your drop cloths on horizontal surfaces and the floor.
Next, get the SMART roller ready. If you’ve used this type of roller before, you’ll be familiar with the setup and filling process. Simply snap the fill tube onto your paint can and pull back on the plunger to fill it with paint.
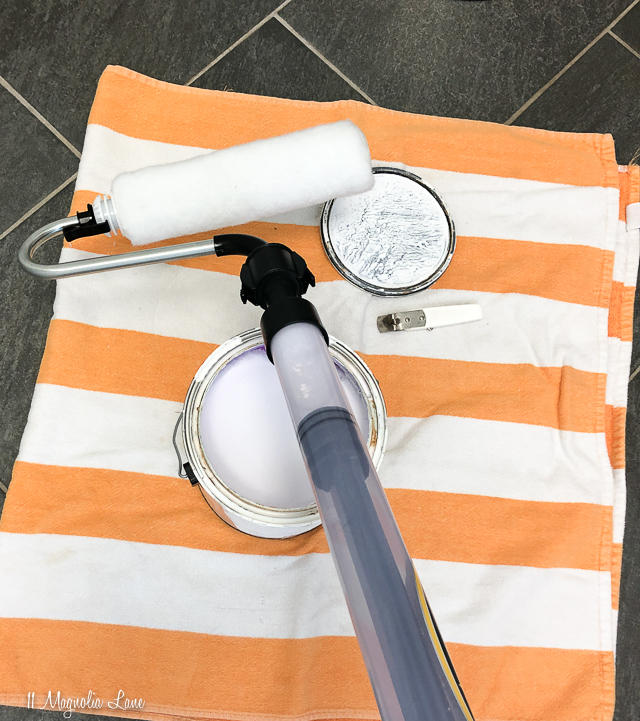
I recommend that you use paint that’s made specifically for ceilings; it’s designed to leave minimal roller and brush marks. The kind I use is tinted purple that fades to white; that way you can tell where you’ve painted so you don’t miss a spot.
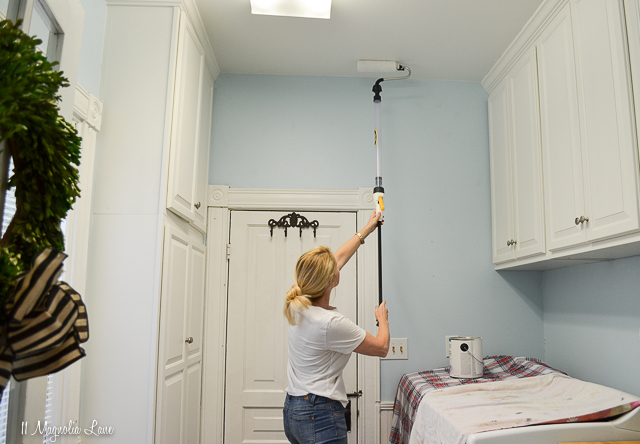
Here’s the best thing about the SMART roller: you don’t have to stand on a ladder to reach your ceiling! You also don’t have to keep reloading the roller with paint; when you need more paint, just pull the trigger in the handle.
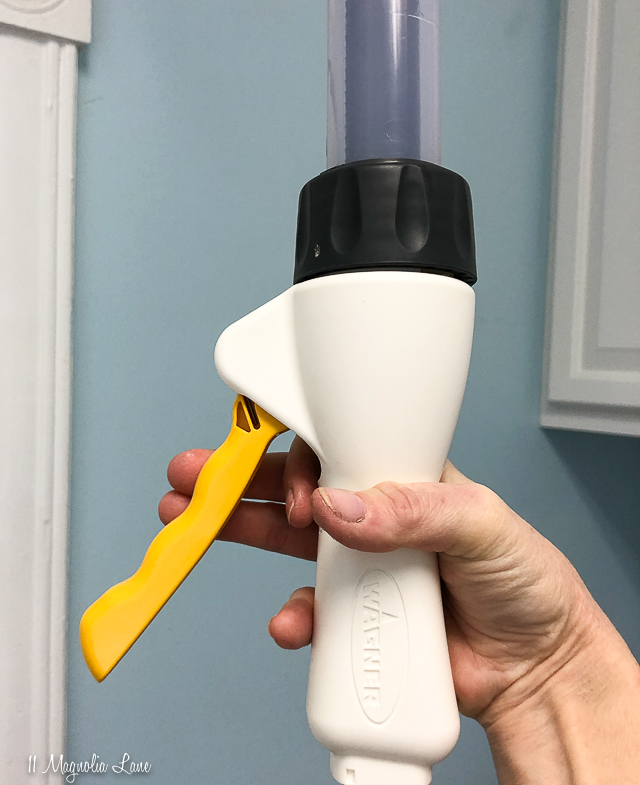
I painted the laundry room ceiling in under ten minutes, then used a 2″ brush to cut in the edges. Tip: if you are going to be painting the ceiling and the walls, paint the ceiling first.
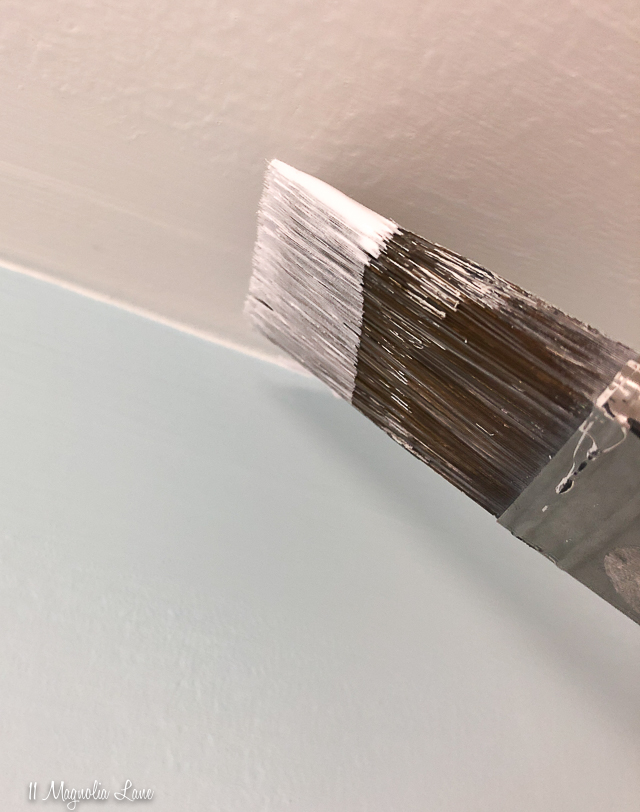
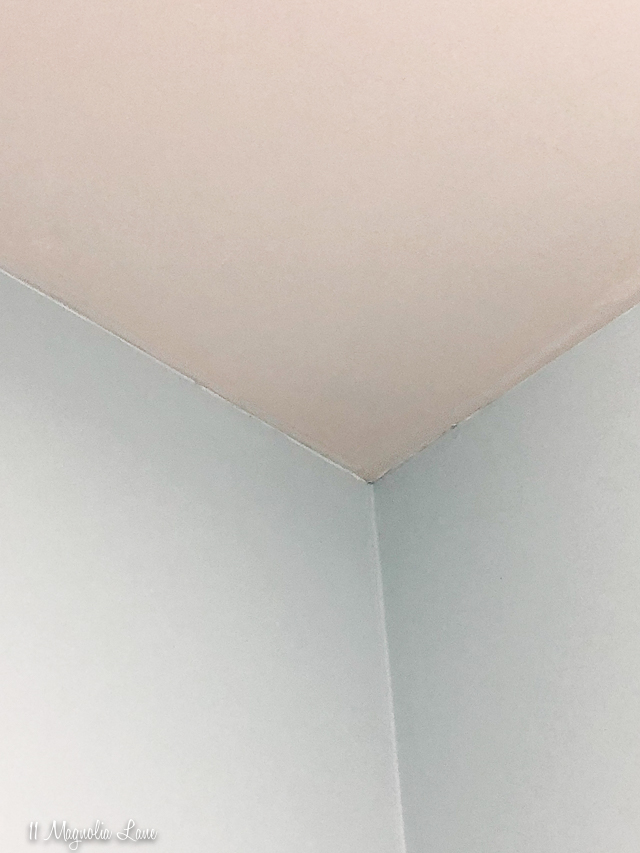
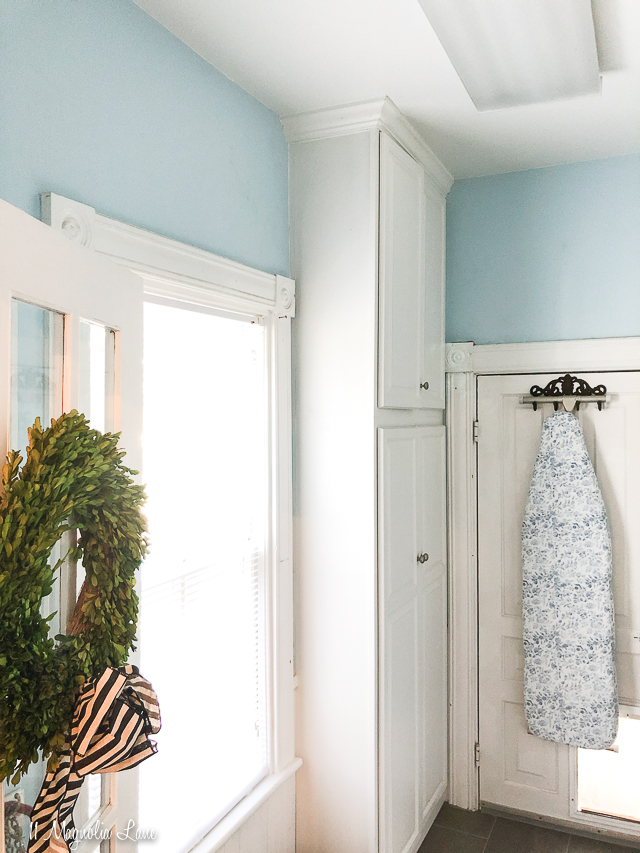
See how nice and clean that edge looks compared to the “before” picture? It makes such a big difference!
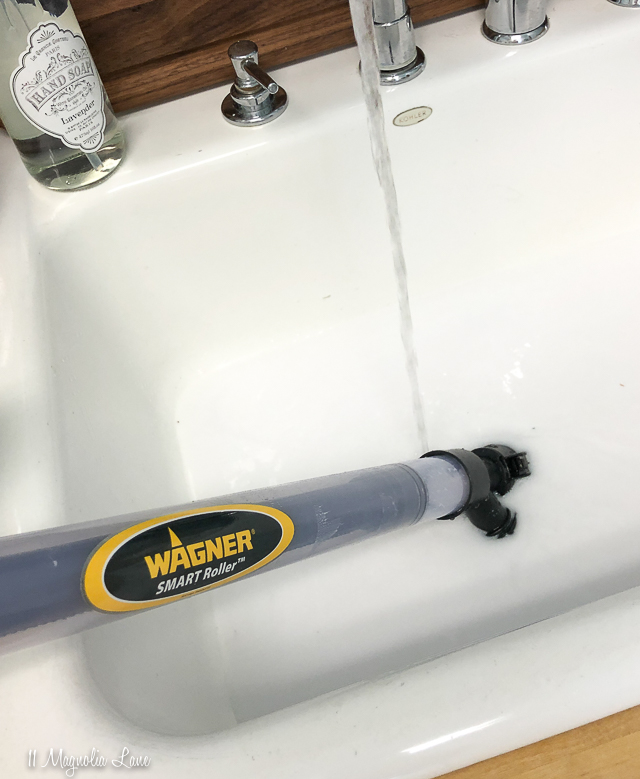
Clean up is easy: just connect the SMART roller to the fill tube and push any remaining paint back into the can. Then unclip the roller arm and remove it (I throw them away and just use a new roller with every paint job). Flush with water until it’s clean.
Wagner makes several different kinds of SMART rollers; you can see Amy’s review of the SMART Flow roller (and her pretty new laundry room) HERE.
You’ve probably noticed that we’ve working with Wagner products instead of HomeRight ones lately. Wagner purchased HomeRight at the end of 2018 and while we still use and endorse both product lines, we’re going to be reviewing the Wagner products for you this year. Stay tuned for more great projects!
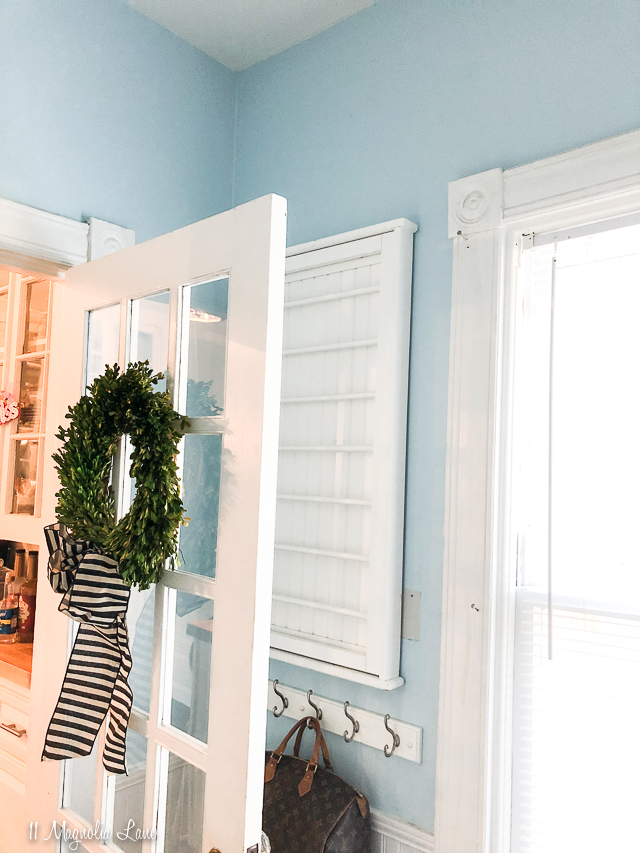
Now, let’s enjoy a few “after” photos with a sparkling white ceiling:
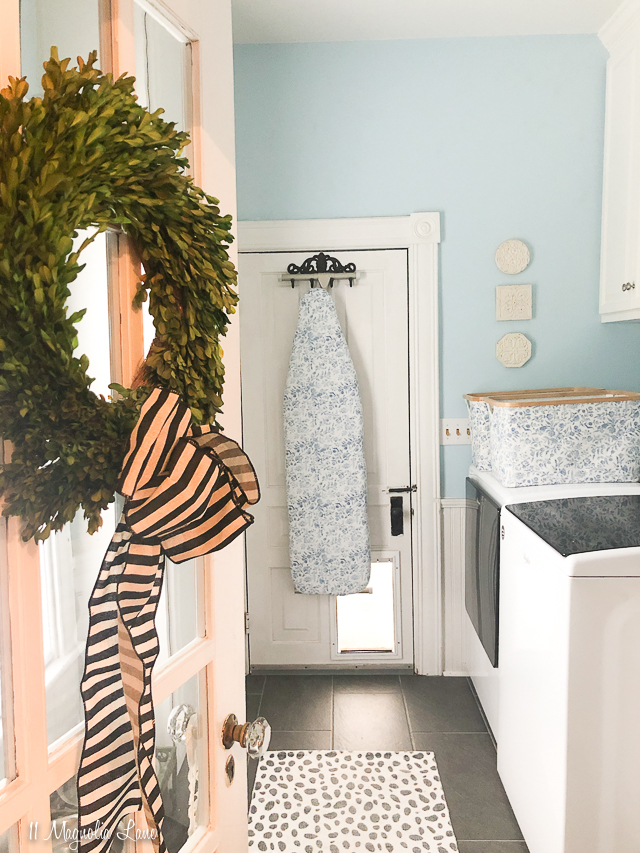
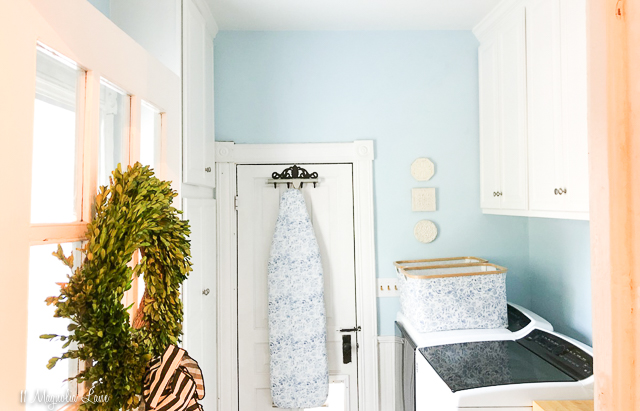
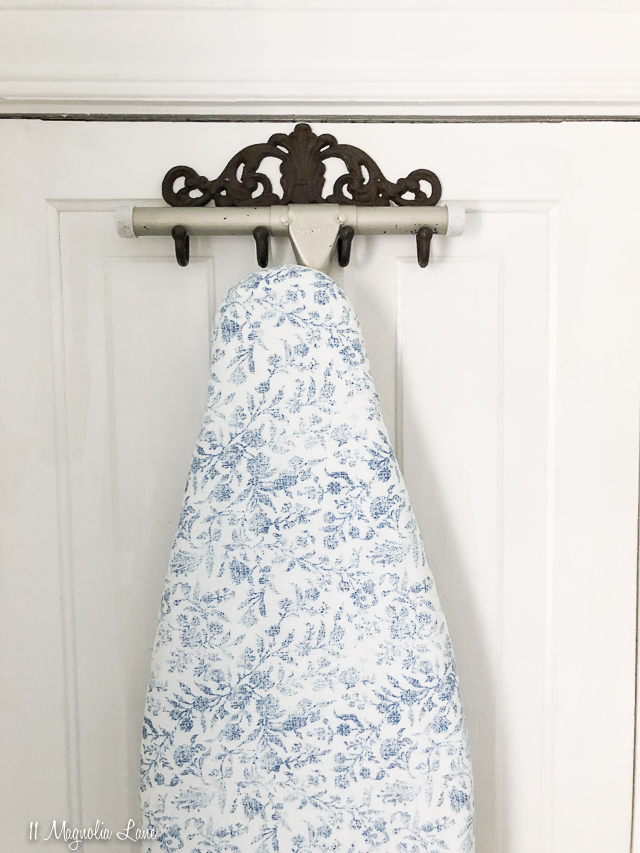
I get a lot of questions about the “ironing board holder.” Amy and I have just used hooks for our ironing boards for years; they’re so much prettier than those white wire holders. The exact one in this photo is {HERE}.
Here are the sources for my laundry room:

Thanks for stopping by!




You are making over that house one room at a time and it is GORGEOUS.
Thanks, Marty! I’m about ready to take a break though–ha!
What type and color of paint is in your laundry room? Love it 💙
Thanks, Jean! It’s a custom color but it’s pretty close to Benjamin Moore’s Blue Porcelain. I hope that helps!
I love your laundry room! Where can I find your darling rug?
Thank you, Jill! I bought it at Hobby Lobby a few years ago for around $10 but it doesn’t look like they sell the exact one anymore. 🙁
Friend, you make it look so easy! I don’t like painting at all though can deal with trim. The ceiling is gorgeous and when reading 10 minutes you were done, my mouth dropped! ha Your landlord has got to be thanking God for your arrival! =)
Thank you, Julie. I’m not a fan of painting trim so it sounds like together we could conquer a room!