• Skip to primary navigation
  • Skip to main content
  • Skip to primary sidebar
  • Skip to footer
  • MEET CHRISTY & AMY
    • IF YOU’RE NEW HERE…
    • WORK WITH US
    • 11 MAGNOLIA LANE 101
    • DISCLOSURE + PRIVACY (the fine print)
    • BEST OF 11 MAGNOLIA LANE
  • TOUR OUR HOMES
    • TOUR OUR HOMES
    • CHRISTY’S MAGNOLIA COTTAGE
    • CHRISTY’S MCC HOUSE
    • Christy’s Stuttgart Flat
    • Amy’s Virginia Craftsman Home Tour
    • AMY’S VIRGINIA CRAFTSMAN Building Process
    • HOLIDAY HOME TOUR SERIES
  • CELEBRATIONS
    • EVENTS + ENTERTAINING
    • GIFTS
    • HOLIDAYS
    • RECIPES
  • HOME
    • CLEANING
    • DECORATING
    • ORGANIZING
    • ROOM BY ROOM
      • BATHROOMS
      • BEDROOMS
      • CLOSETS
      • CRAFT ROOMS + OFFICES
      • DINING ROOMS
      • KIDS’ ROOMS
      • KITCHENS
      • LAUNDRY ROOMS
      • LIVING + GREAT ROOMS
      • OTHER SPACES
      • PANTRIES
      • PLAYROOMS + BONUS ROOMS
      • PORCHES + OUTDOOR SPACES
    • TIPS
  • SHOP
    • SHOP OUR INSTAGRAM
    • SHOP OUR AMAZON STORE
    • FRIDAY FAVORITE FINDS
  • PROJECTS
    • CRAFTS
    • DIY PROJECTS + TUTORIALS
    • FURNITURE
    • PRINTABLES
    • WINDOWS, DOORS, + WALLS
  • LIFE
    • FRIDAY FREE FOR ALL
    • HEALTH
    • SIMPLY ON SUNDAY
  • TRAVEL
  • CONTACT
    • Email
    • Facebook
    • Instagram
    • Pinterest

11 Magnolia Lane

Sharing our easy DIYs, decorating, entertaining and more!

Easy Updates In Our Laundry Room

October 23, 2019 By Amy 6 Comments

This Post Contains Affiliate Links

668 shares

This post is sponsored by Wagner Spray Tech.


How to build a DIY laundry room shelf over your washer and dryer


This Fall I had the goal of finishing off two spaces in my home that were driving me crazy. The first one is our laundry room, and with three kids and non-stop laundry this room quickly became my priority! (The other space is my closet and that is next on the list). Today I am going to show you the initial steps we took in the laundry room including painting and building a simple folding shelf over our washer and dryer. This has created a much more efficient laundry system and made life much easier, and dare I say made doing laundry more enjoyable!


We have lived here for over a year and this room was really driving me nuts, but I admit it took some time to figure out how I wanted to make it work for us. While I’d have loved to have a custom counter built, we have other house priorities so for now, this simple shelf provides a place for folding clothes. The room is a very basic 8×6′ space, I needed storage and an area to store laundry so a workspace was at the top of the list.


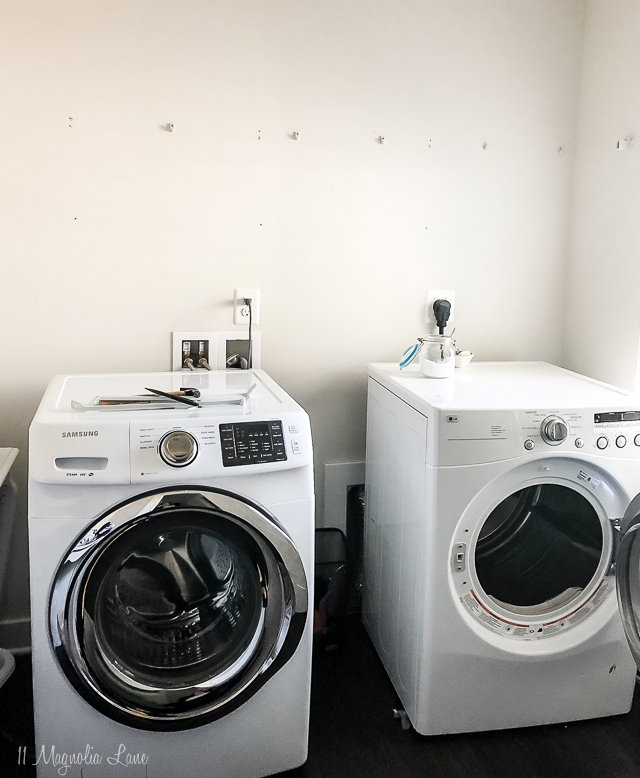
Before we built the shelf we first had to remove the lovely wire shelf the builder left and repair the walls, the damage meant we had to paint the whole room. Above you can see the before, and how there was literally nothing in the space as far as storage or work area.


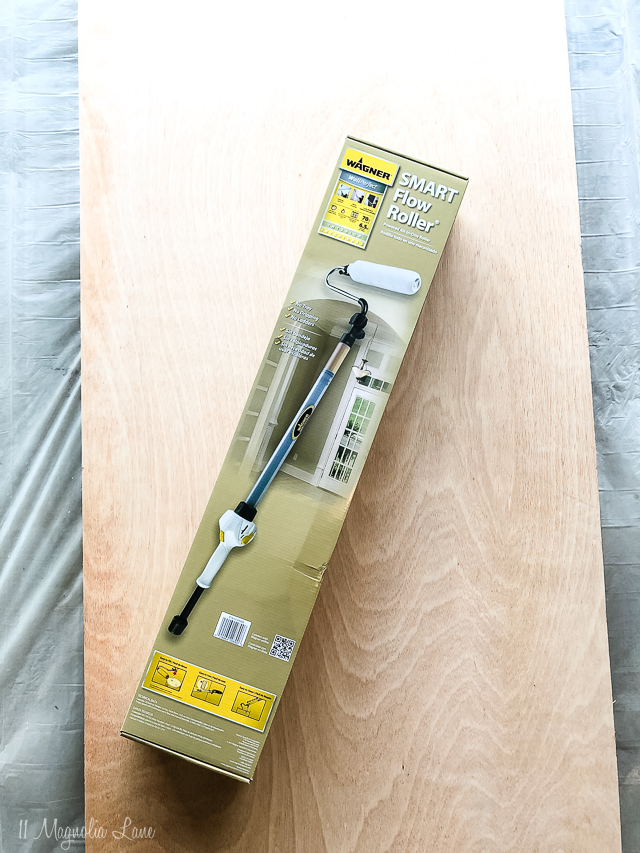
Once the holes in the wall were filled and sanded, we painted the room a fresh clean white. To do this, I tried out the Wagner Smart Flow Roller and I have to say, this made painting the walls a breeze. We’ve shown you other paint sticks which make painting easier because they eliminate the need for a roller pan, cut down on mess and make painting faster as they hold reserve paint in the handle. What’s so great about this is that it is powered (by included batteries) so you flip a switch and it draws the paint in the handle then you flip a switch as you paint and the paint is pushed out through the roller.


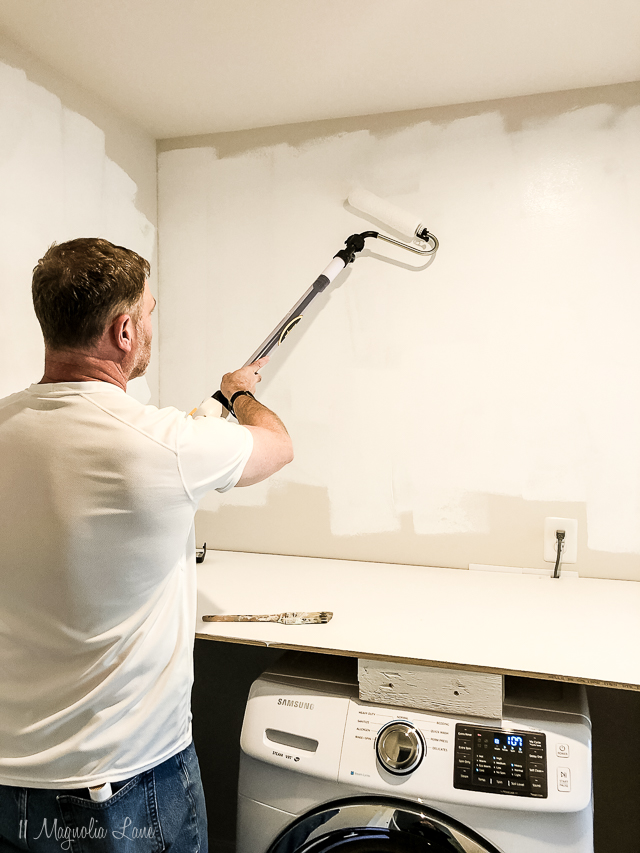
It takes less physical energy and makes the painting go so quickly. I estimated each coat took less than 15 minutes, it made painting a breeze.

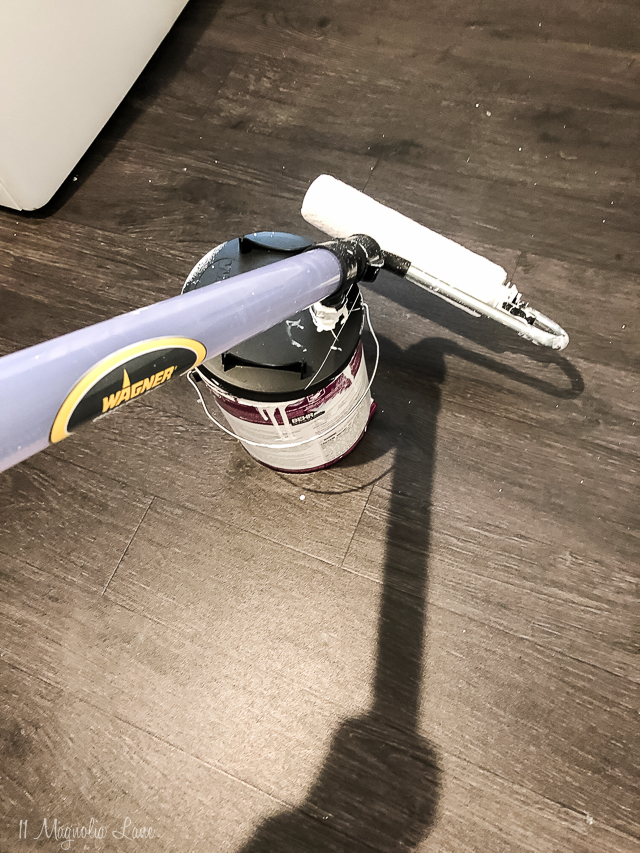
One thing to note is that I did have trouble getting the paint to load into the roller initially. The set up is straight forward, but you have to get the hang of filling the tube. After a call to Wagner Customer Service I was able to get the hang of it but you need to press straight down on the fill tube (the plastic tube in the paint can) and then I had to apply pressure so that the Smart Flow Roller tilted backward toward me while pressing down so the paint would load in. Once I figured that out, things went smoothly but I just wanted to add that explanation.


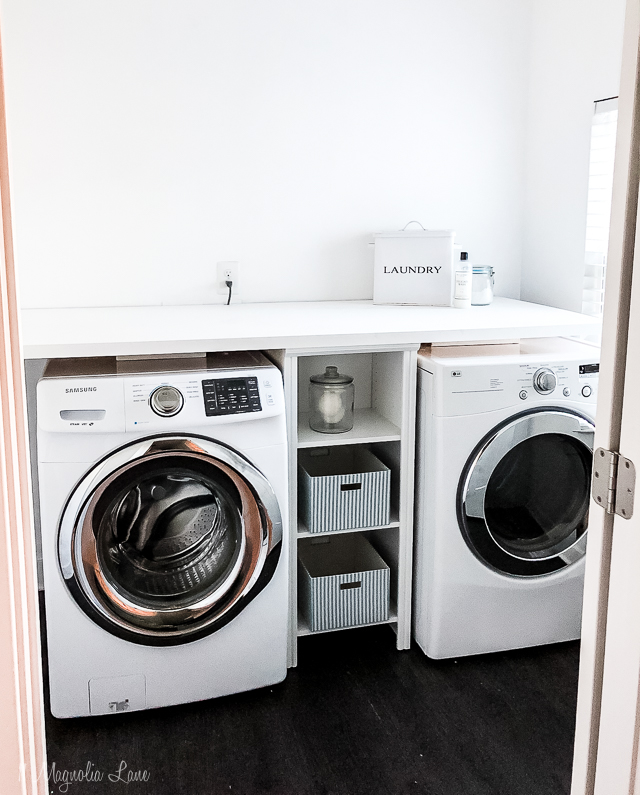
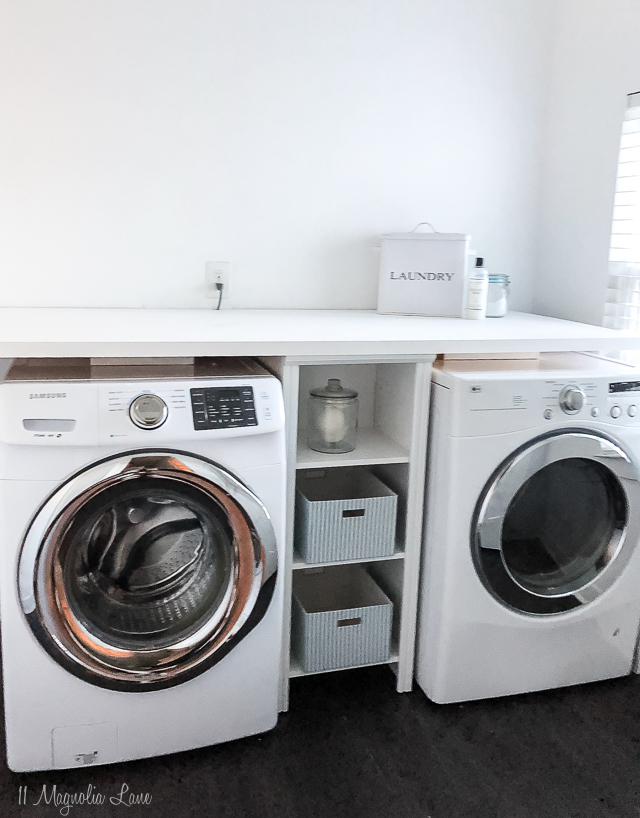
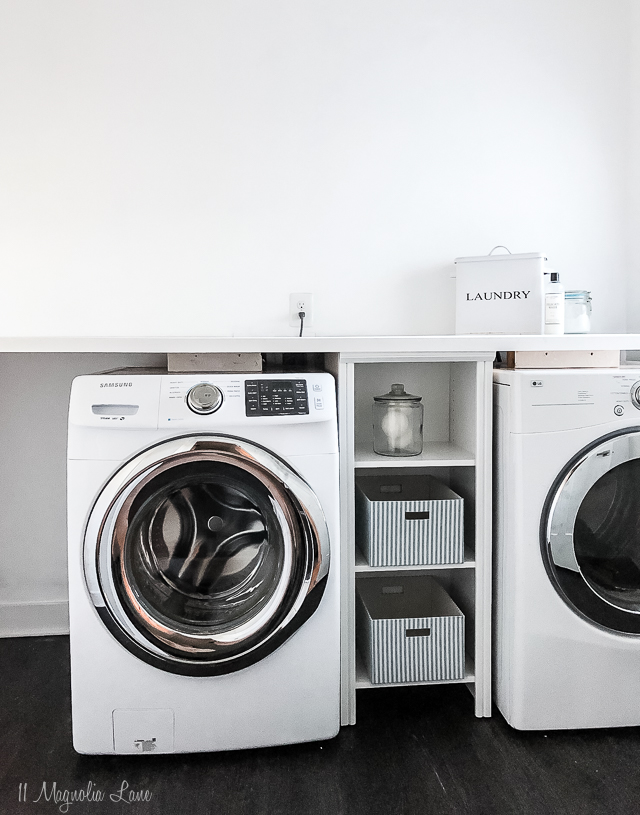
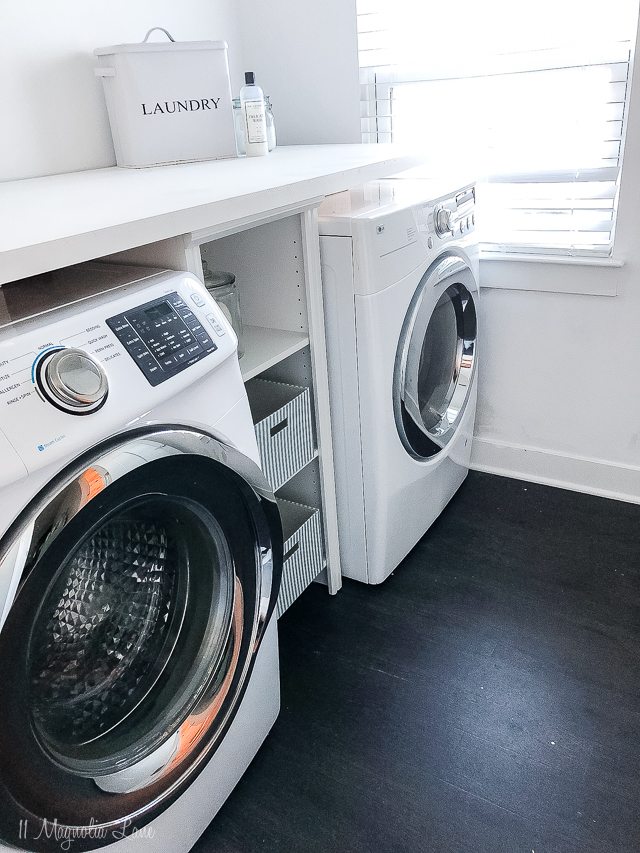
The room looked better once it was painted, I went with white walls and shelving because I prefer laundry rooms to be functional and clean looking.  Our next step is to add cabinets on the wall above (those will be colored to add some fun), tile the floor and then add decorative touches so I’ll be back when that’s all done, and I promise the room will look a little more interesting by then!


The biggest improvement after the fresh look of the paint is the folding shelf we built. My husband helped me do this, the process was very similar to the one I built in a previous home here. I like to be able to fold clothes right as they come out of the dryer and then pile them into individual baskets for my kids to put away. My preference is to have a front-loading washer so that I can make use of a large workspace on the top.

To build this we picked up a cabinet grade sheet of plywood at Home Depot and had them cut it down to size. My husband fastened some 2x4s to the wall to support the shelf (we used leftover wood from our garage shelf project) and then added some extra 2×4’s underneath on top of the washer and dryer for extra support in the middle. We tacked a piece of painted lattice across the front to finish the front of the shelf off.


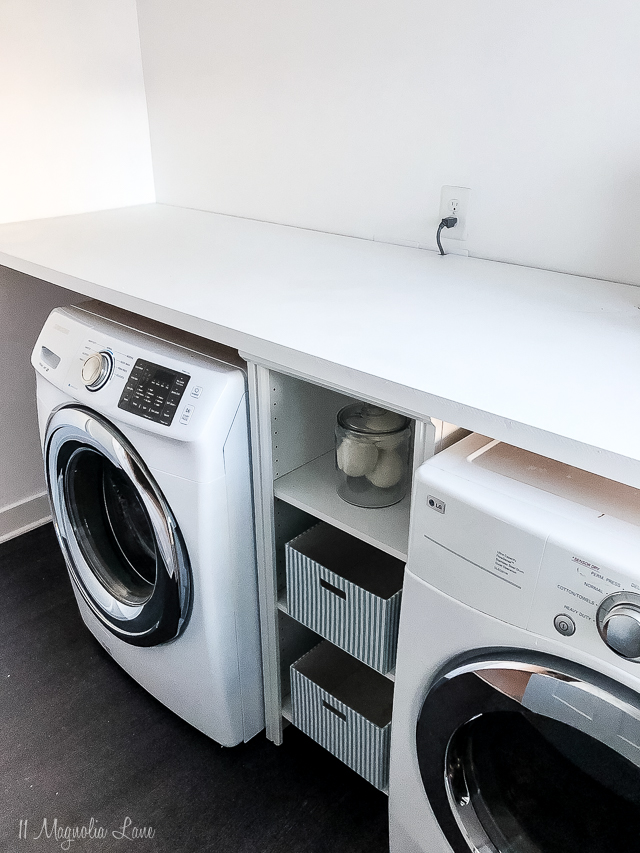
I added this inexpensive shelf from Home Depot to go in between to store detergent etc. and to make it easy to access. I made sure to measure the shelf since it is just a bit taller than the washer dryer, our shelf is 42″ off the floor.  The small cubbyhole next to the washer will hold this rolling hamper to store dirty clothes (so maybe my kids won’t throw them on the floor?), it’s still en route to us but I’ll show it in the final room reveal.


All in all, this was a very affordable way to create storage and workspace. We worked on it over a 4 or 5 day period because life was going on around us but if you had everything in place this could easily be done in a  day, especially with cutting the painting time down to next to nothing thanks to the Smart Flow Roller.


You can purchase a Wagner Smart Flow Roller HERE for your next painting project!

Our next steps in this room are tile the floor, add cabinets then add some decorative touches. As always, you can tune into our Instagram Stories for real-time project updates! In the meantime, I think doing laundry is going to be so much easier!


XO,

small-amy-new-headshot-summer-2016-2 copy
icon-facebook-1icon-instagram-1icon-pinterest-1icon-twitter-1
 

If you enjoyed this post, we’d love to have you subscribe to our Sunday newsletter where we share our content and other fun things we’ve found to inspire your day. You can sign up below!


We promise to never sell your email information. Our posts contain affiliate links.  If you make a purchase after clicking on these links, we will earn a small commission, which helps to keep our content free.  You don’t pay a cent more than you would otherwise, since that would be tacky! Please see our full disclosure policy here.

Click here to subscribe

YOU MIGHT ALSO LIKE THESE POSTS... :

DIY Custom Plate Rack (For $40!)
Our Powder Room Makeover with Serena + Lily W...
The Quickest Way to Paint an Accent Wall
Easy DIY Peel & Stick Kitchen Backsplash

Filed Under: Amy New House Build, HomeRight Projects, Laundry Room, PROJECTS, Room Makeovers, Tips Tagged With: diy, homeright, laundry room, Painting

Reader Interactions

Comments

  1. Monica says

    October 23, 2019 at 9:28 pm

    Was it difficult to clean the paint roller? I have a heck of a time getting the paint sprayer clean.

    Reply
    • Amy says

      October 24, 2019 at 10:57 am

      Actually, it’s not bad. You will need a new roller each time (so you toss the old one) but I was able to wrap mine in plastic and keep it overnight. The parts inside come out pretty easily to clean. —Amy

      Reply
  2. Beverly Nghe says

    August 24, 2020 at 11:45 am

    Do you have a before pic of the raw plywood before it was painted? Just trying to get an idea of how thick the counter is. Thank you for sharing your DIY project. The laundry room looks amazing!

    Reply
    • Amy says

      August 24, 2020 at 12:09 pm

      Hi Beverly, I don’t have a picture but it was 1/2 inch plywood. That has been thick enough to hold up to anything we put on it. I hope that helps! Good luck with your project.

      Amy

      Reply
  3. Kaylyn says

    March 13, 2021 at 8:44 pm

    Hi- what is the lattice that you tacked to the front of the shelf? When I try to look it up I can’t find anything that may work. Thanks!

    Reply
    • Amy says

      March 15, 2021 at 5:53 pm

      Hi, you should be able to find it in the molding section at Home Depot or Lowe’s. The board is about 1/4″ thick by 1 wide. It may not be online, but they should have it readily available in this store. Good luck with your project! Amy

      Reply

Leave a Reply Cancel reply

Your email address will not be published. Required fields are marked *

Recipe Rating


This site uses Akismet to reduce spam. Learn how your comment data is processed.

Primary Sidebar

Lowest prices. Straight Teeth,

•Don’t Miss A Thing!!•

•Do You Know Jesus?•

•Featured In•

Holiday Gift Ideas

Footer

  • Email
  • Facebook
  • Instagram
  • Pinterest

Copyright © 2023 · 11 Magnolia Lane· Blog Design by Little Blue Deer
Privacy Policy

11 MAGNOLIA LANE IS A PARTICIPANT IN THE AMAZON SERVICES LLC ASSOCIATES PROGRAM, AN AFFILIATE ADVERTISING PROGRAM DESIGNED TO PROVIDE A MEANS FOR US TO EARN ADVERTISING FEES BY ADVERTISING AND LINKING TO AMAZON.COM AND AFFILIATED SITES. AS AN AMAZON ASSOCIATE, WE EARN FROM QUALIFYING PURCHASES. WE ALSO PARTICIPATE IN SEVERAL OTHER AFFILIATE PROGRAMS; THIS INCOME ALLOWS US TO MAINTAIN THE QUALITY OF YOUR USER EXPERIENCE AND KEEPS OUR CONTENT FREE. WHEN YOU PURCHASE THROUGH ANY OF OUR AFFILIATE LINKS, WE EARN A SMALL COMMISSION AND YOU DON’T PAY A CENT MORE THAN YOU WOULD OTHERWISE; THAT WOULD BE TACKY!   READ OUR FULL PRIVACY AND DISCLOSURE POLICY {HERE}.
  ©11 Magnolia Lane 2019. Unauthorized use and/or duplication of this material without express and written permission from this blog’s authors and/or owners is strictly prohibited. Please email us at admin@11magnolialane.com for more information.

  • MEET CHRISTY & AMY
    • IF YOU’RE NEW HERE…
    • WORK WITH US
    • 11 MAGNOLIA LANE 101
    • DISCLOSURE + PRIVACY (the fine print)
    • BEST OF 11 MAGNOLIA LANE
    • Back
  • TOUR OUR HOMES
    • TOUR OUR HOMES
    • CHRISTY’S MAGNOLIA COTTAGE
    • CHRISTY’S MCC HOUSE
    • AMY’S NEW HOME BUILD
    • HOLIDAY HOME TOUR SERIES
    • SPRING HOME TOUR SERIES
    • Back
  • CELEBRATIONS
    • EVENTS + ENTERTAINING
    • GIFTS
    • HOLIDAYS
    • RECIPES
    • Back
  • HOME
    • CLEANING
    • DECORATING
    • ORGANIZING
    • ROOM BY ROOM
      • BATHROOMS
      • BEDROOMS
      • CLOSETS
      • CRAFT ROOMS + OFFICES
      • DINING ROOMS
      • KIDS’ ROOMS
      • KITCHENS
      • LAUNDRY ROOMS
      • LIVING + GREAT ROOMS
      • OTHER SPACES
      • PANTRIES
      • PLAYROOMS + BONUS ROOMS
      • PORCHES + OUTDOOR SPACES
      • Back
    • TIPS
    • Back
  • SHOP
    • SHOP OUR INSTAGRAM
    • SHOP OUR AMAZON STORE
    • FRIDAY FAVORITE FINDS
    • 11 ML ETSY SHOP
    • 11ML ORGANIZING SHOP
    • Back
  • PROJECTS
    • CRAFTS
    • DIY PROJECTS + TUTORIALS
    • FURNITURE
    • PRINTABLES
    • WINDOWS, DOORS, + WALLS
    • Back
  • LIFE
    • FRIDAY FREE FOR ALL
    • HEALTH
    • SIMPLY ON SUNDAY
    • TRAVEL
    • Back
  • CONTACT
    • Email
    • Facebook
    • Instagram
    • Pinterest
668 shares