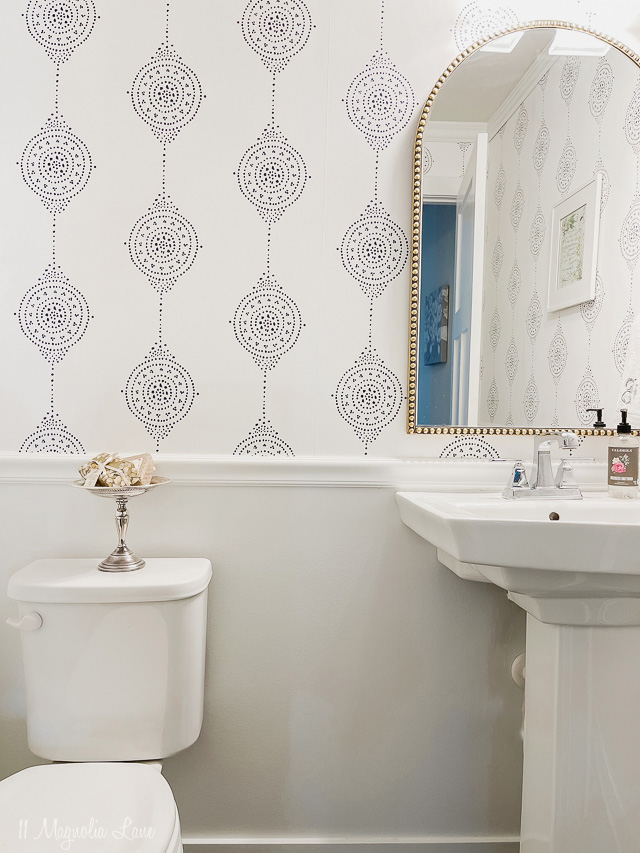
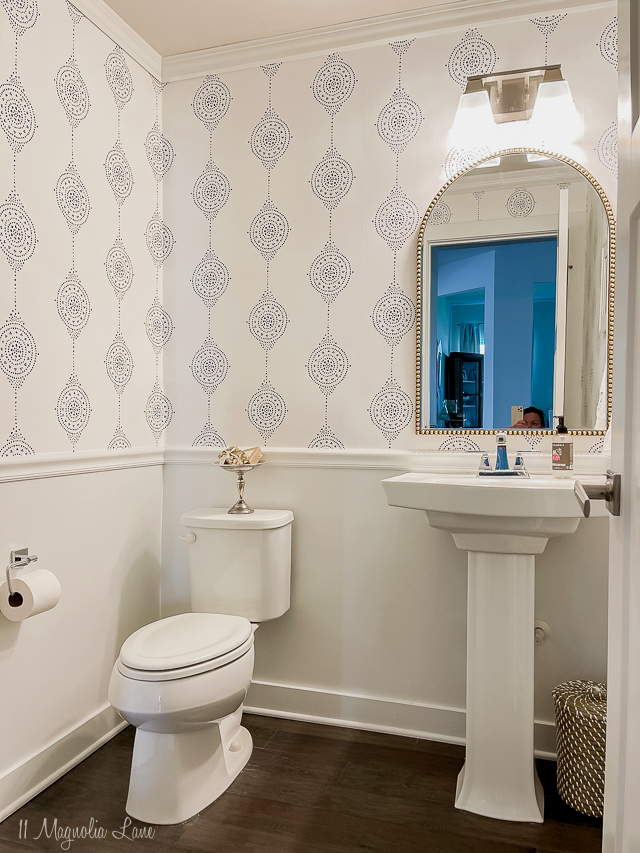
Today I am sharing our newly wallpapered and trimmed out Powder Room. If you are a weekly newsletter subscriber (if you aren’t you can sign up at the bottom on the post) then you already know the backstory of this project. I tackled this room 100% on my own. I hung the wallpaper, installed the crown molding and the chair rail and painted and accessorized the space myself. I wanted to share a bit more about how to hang the Serena and Lily wallpaper and what I learned from doing it by myself, and show off some pictures of the (almost) finished space today.
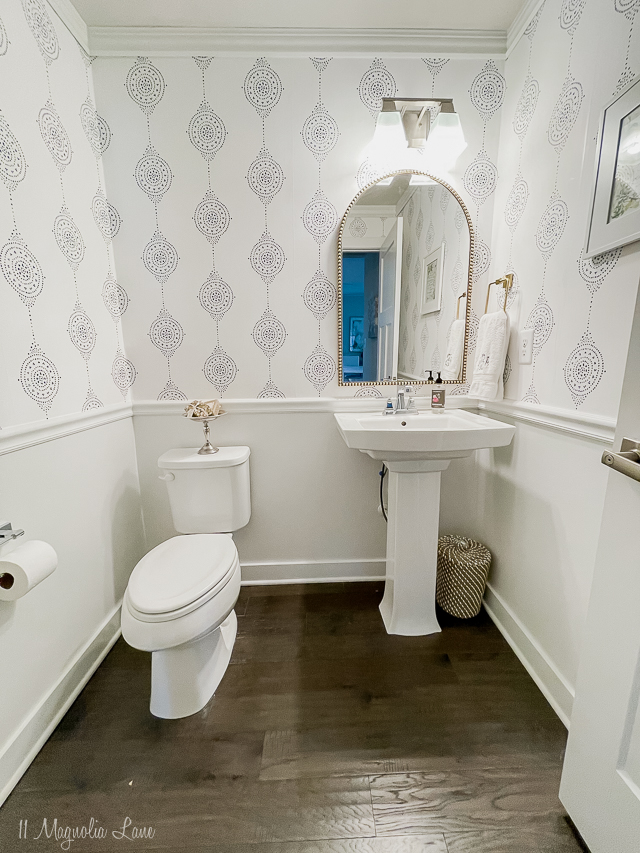
This is a small room with no natural light so its hard to photograph but it is the main (half) bathroom on our first level. It was long overdue to have something done to make it a little nicer, especially since our guests use it. I don’t have a complete before picture but these will give you some idea of where I started.
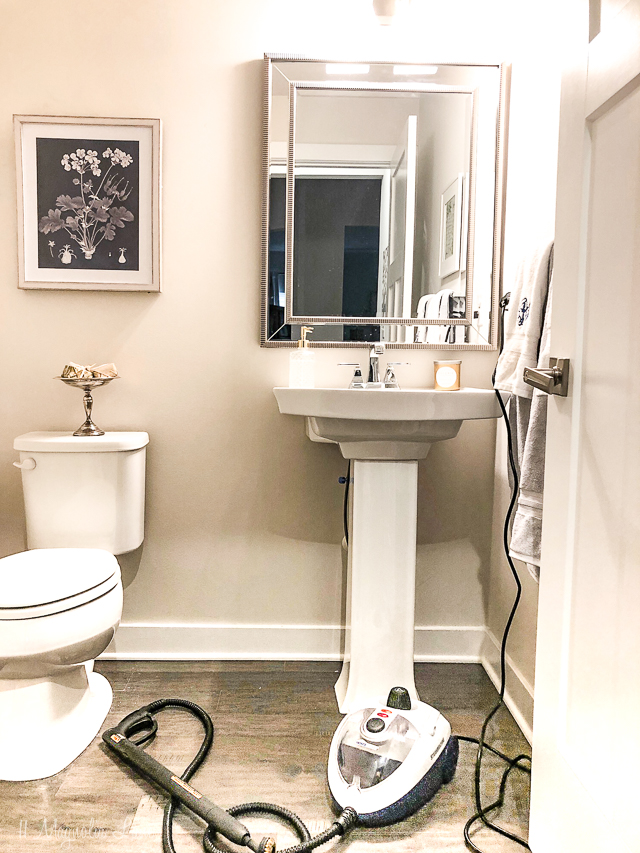
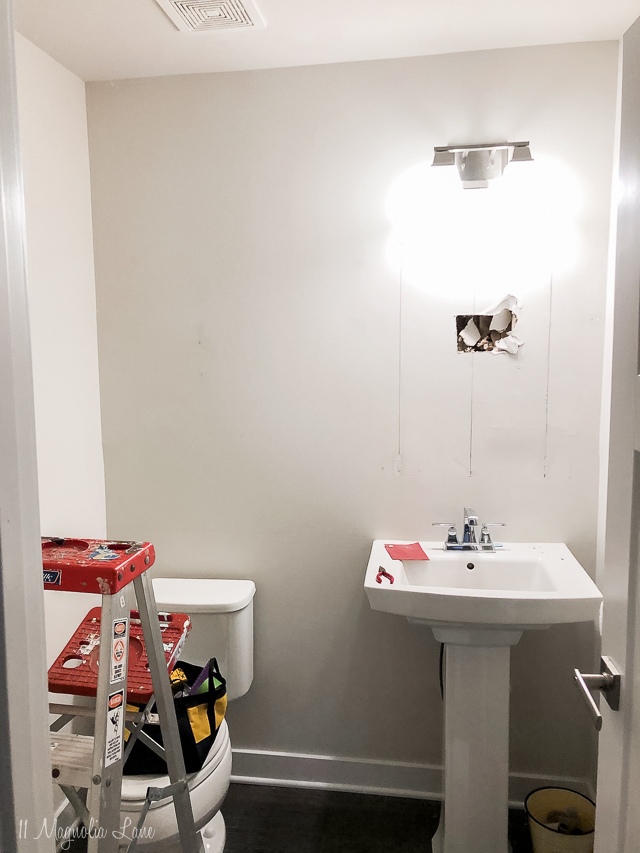
I had already swapped out the boring frameless mirror the builder left for a slightly fancier one as soon as we moved in, but that is all I had done other then hang some pictures. As you can see above, to our surprise we found a huge hole in the drywall behind the mirror when we removed the one the builder left us.
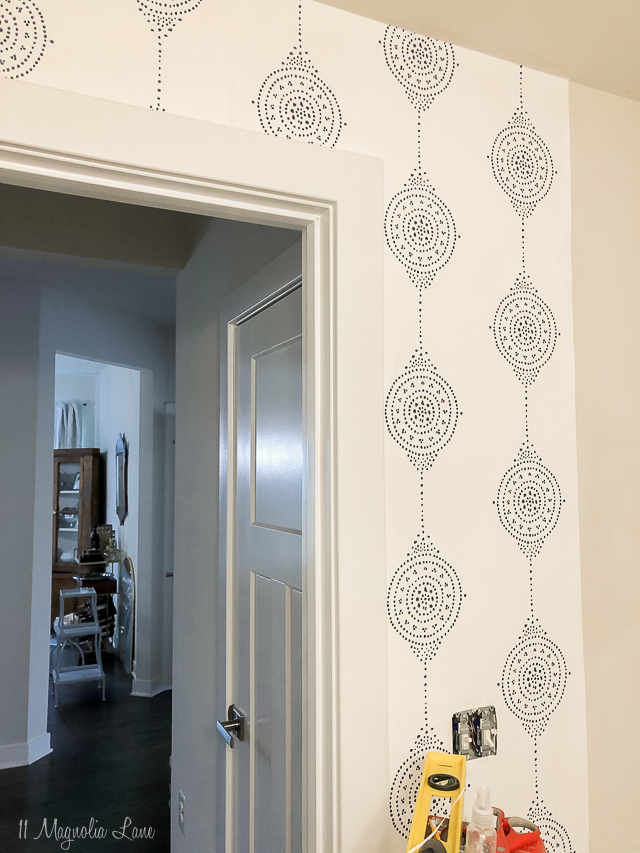
I’d had my eye on this wallpaper for years and I was pretty sure I wanted to use it in this room in the blue colorway. When I had the opportunity to visit the new Serena + Lily design center in Bethesda, Maryland as part of an Instagram collaboration last fall I was able to see their different wallpapers in person and knew then that this pattern and color was exactly what I wanted for this space. They have so many gorgeous wallpaper patterns. I am seeing more and more wallpaper being used in decor, it is definitely making a comeback!
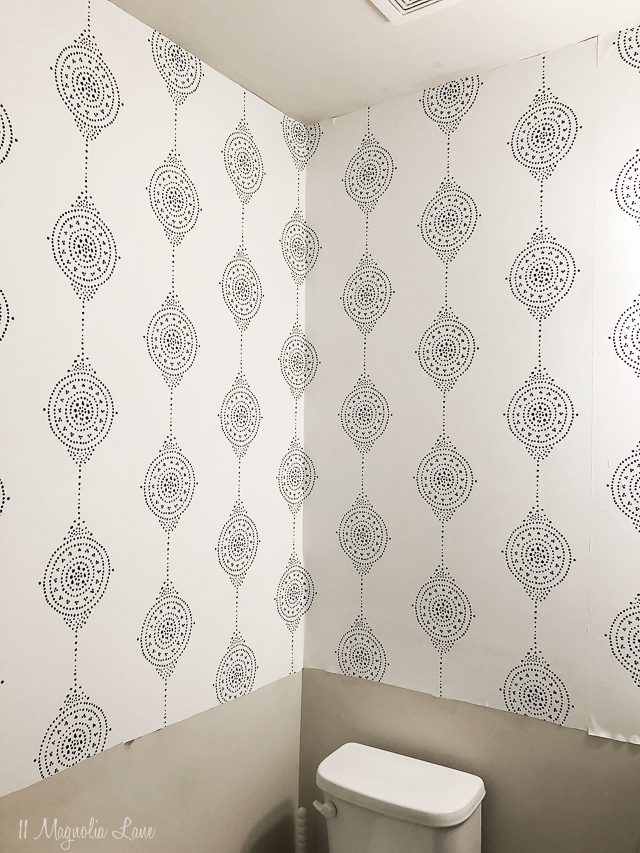
I ordered three rolls, then the wallpaper sat here while I decided what to do with it. I looked into hiring an installer but everyone I found specialized in very high-end homes and designer papers and didn’t seem like a good fit for a simple powder room. I finally just decided to try to install it myself, and came up with a solution about what to do about the exposed pipes behind the sink.
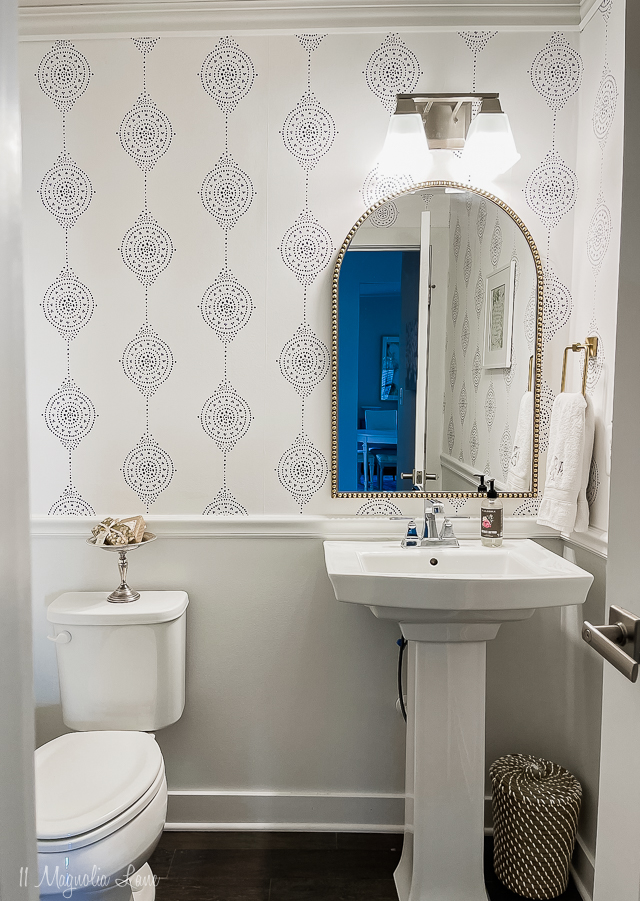
I knew making those cuts would be problematic with my limited experience so I decided to only wallpaper down the what would be the chair rail line. I figured I could install some molding and paint the wall white beneath, which also reduced how many wallpaper rolls I needed. I used three rolls in this room though if I’d taken the paper all the way to the floor I would have needed at least one, maybe two, more rolls.
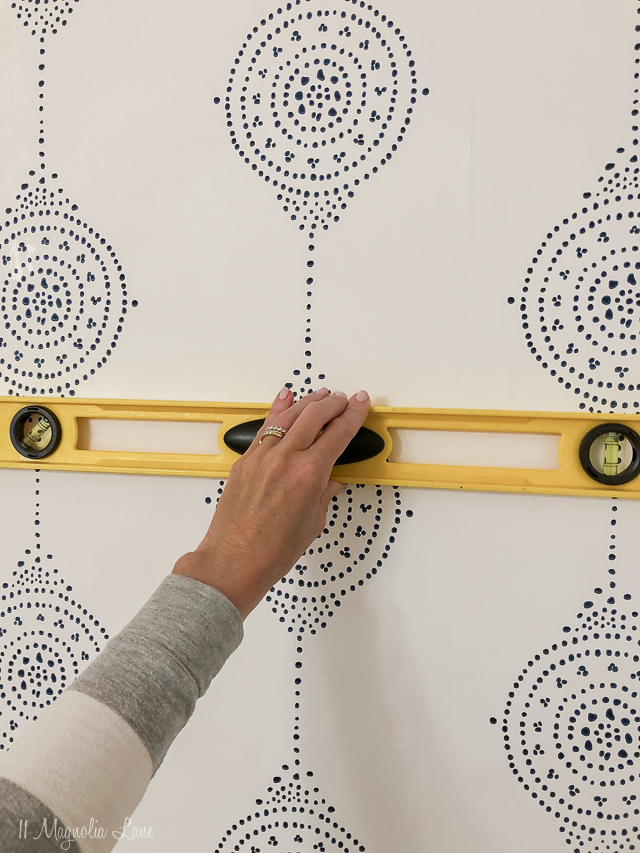
I watched a few videos on YouTube to make sure I didn’t do anything dumb (the paper is not cheap!) and got to work hanging the paper. I should say I have installed wallpaper before but just not the unpasted kind. I have used both peel and stick (in my son’s room and in our former powder room) as well as the pre-pasted kind in our mudroom. I am not sure that this kind is any harder to hang once you get the hang of it so don’t be intimidated. The hardest part was that there wasn’t a pattern to match (which also in some ways may have made it easier?), so I had to use a level to guesstimate how to line up a new sheet instead of just matching the patterns at the seam. Once I figured out a system it worked fine, I used a level to make sure the pattern was consistent horizontally around the room.
The video I watched on YouTube suggested using a paint roller with an inexpensive cover to roll the paste directly on the wall instead of on the back of the paper first. I thought that technique worked well as I didn’t have to have a large space to roll the paper out and paste it, then once it was pasted to transport it into the room and up a ladder before hanging it on the wall. The only drawback was that when I had to reposition it (which I almost always did) often I needed to apply more paste to the wall so the paper would fully adhere. I will say for this part, having another person to hold the top of the paper on the wall while I repasted the bottom portion (or vice versa) would have made it much easier and go faster.
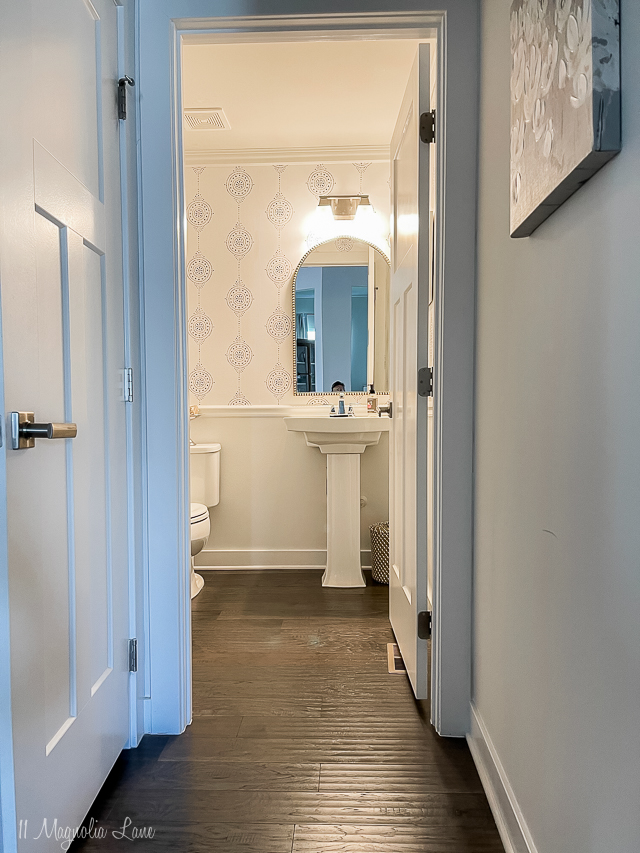
Once I hung a piece I used a flat edge to smooth it out and I will share that while I stressed over getting every last air bubble out by smoothing the surface and then smoothing some more, I found that once the glue dried many of the air pockets for the most part fixed themselves. So just a note to not stress too much if that happens. The one thing that surprised me was how physically tiring this was, it took me two afternoons to hang this small room and while it was worth it, I did feel like I’d gotten a good workout at the end of the day. That might just be me at my age! I just want to be clear this is not a quick and easy project, but definitely a doable one overall.
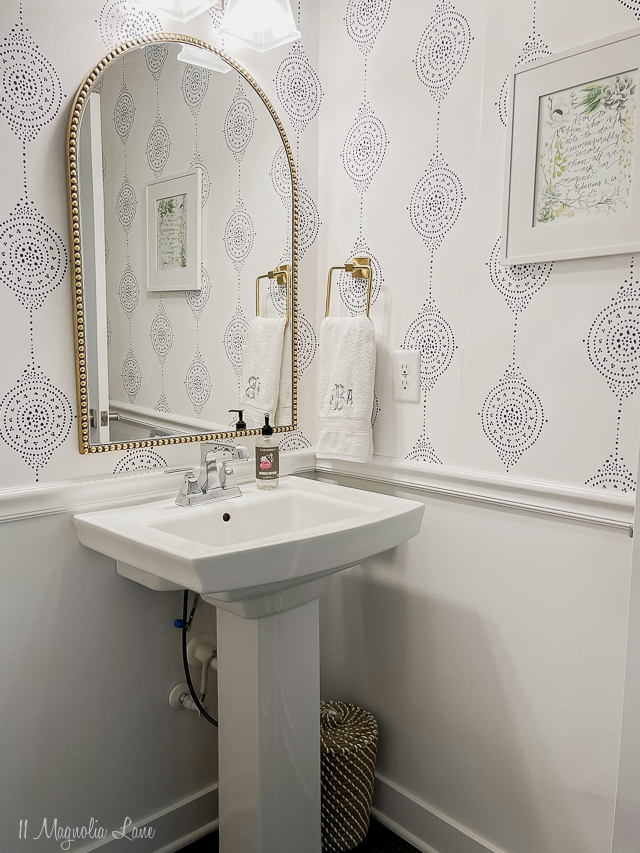
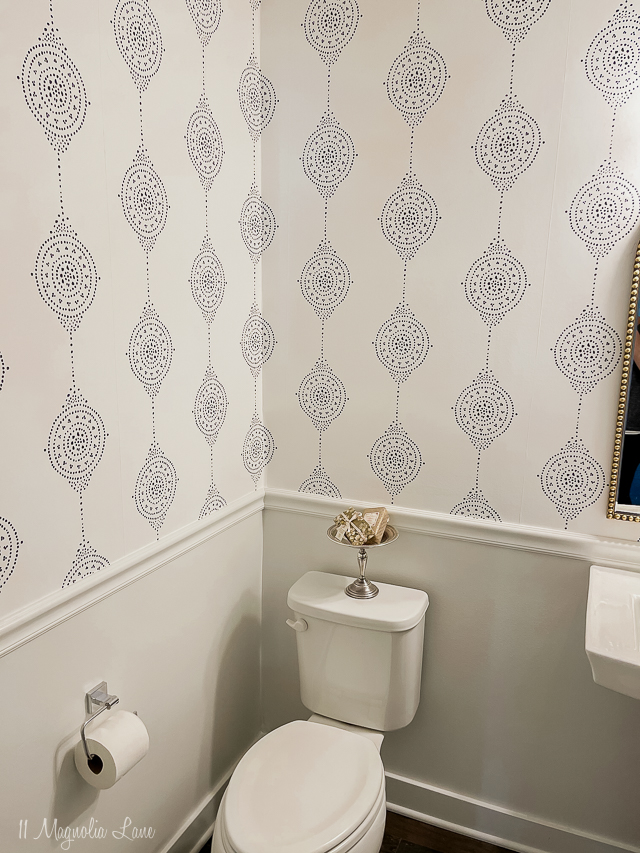
Once the wallpaper was hung then I added the chair rail around the perimeter of the room. This was pretty straightforward to install, I used this molding here. I painted it first, then measured and made the cuts with our miter saw. I used this brad nailer (I have converted to using a battery nail gun instead of one on a compressor, I find it less intimidating) to hang the chair rail around the room. I should note that I had pre-measured and marked with my level a line 36″ above the floor all the way around the room and trimmed the wallpaper to that. A good rule of thumb for chair rail is it should be 1/3 of the way from the floor to the ceiling, we have 9′ ceilings so three feet it was.

I admit that the crown molding at the top of the walls didn’t go up as smoothly as the chair rail, the angled cuts are more challenging. Though by this point in the project I was very tired and just wanted to have it done. I wound up putting the crown up so it was flush against the wall, which isn’t the right way. I figured I didn’t have a choice but to make it work, I had made an unfortunate cutting error on my very last piece of wallpaper so that it stopped just a bit below the ceiling so I had to move forward with the crown to cover the gap up. I am planning to have it rehung correctly (bridging the wall and the ceiling) the next time we have someone more skilled working in our home. For now I don’t think it is that noticeable but of course it bugs me. After it was up, I caulked and gave all the trim a final coat of paint.
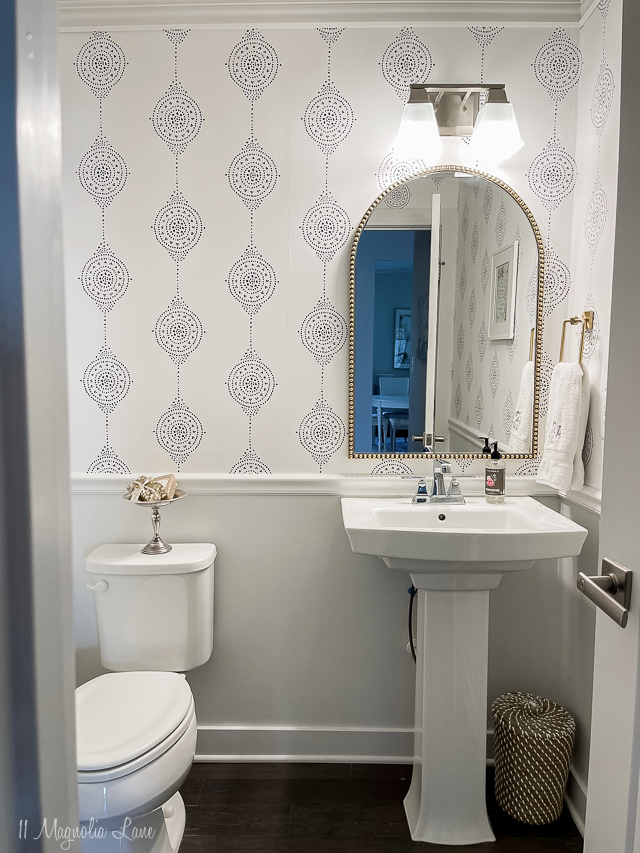
To finish the room off I added some new accessories like this woven trash bin and this new gold mirror. I thought it would bother me to have silver fixtures with the gold mirror but to be honest, I don’t mind it. I almost wonder if all gold would be too much? I still may swap them out down the road. I also added a new gold towel ring near the sink and painted the wall underneath the molding in BM Decorator’s White in a semi-gloss, and then I was done!
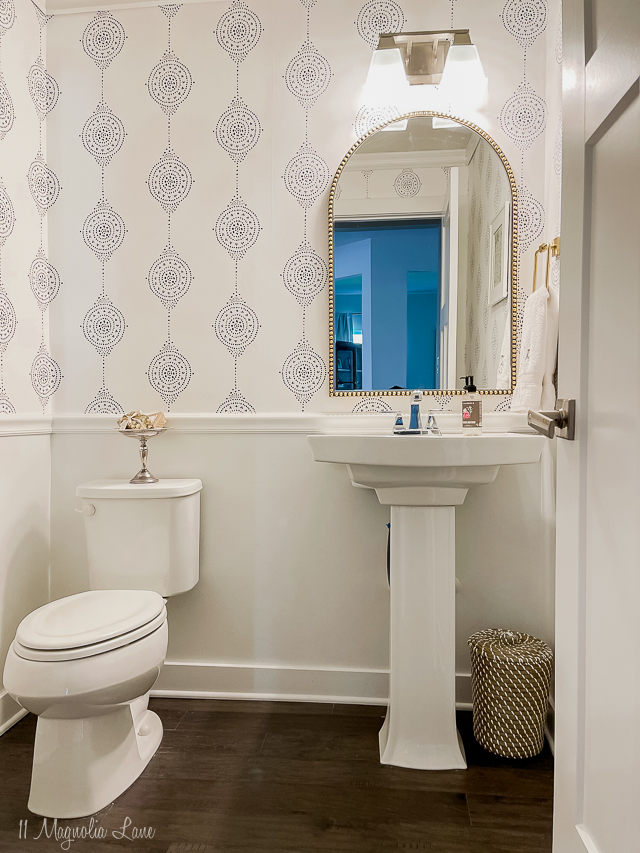
Well, almost done as I do still plan to add picture frame molding beneath the chair rail but I decided to consider the space complete at least until after the Easter holiday. Compared to the rest of the project that molding seems like it will be relatively easy to install but for now it is nice to finally have this space looking finished.
If you have any questions about wallpapering, please leave them in the comments. I already have a plan in my head for another room to wallpaper (don’t listen when my husband says I swore at one point with sheets sliding off the wall onto my head that I’d never hang wallpaper again!), this time it will probably be just one accent wall but time will tell.
Here is a quick supply list to make sure you have what you need to hang the wallpaper:
Wallpaper (I used three rolls for a 5×5 bathroom above the chair rail).
Wallpaper Paste (I used two full buckets, I could have used a third)
Wallpaper Smoother + Razor Edge
Paint Roller, Cover + Tray
Ladder
Paper Towels, Rags (to clean up excess paste)
Paint (I used semi-gloss)
Here are the links to the other decorative accessories in the room:
Gold Towel Ring (shout out to this company who mailed me a new set screw for free when I dropped the first one down the sink!)
