This post is sponsored by The Wagner Company.
Today I have another easy, fun project for you. We’re heading outside with this one, I am showing you how I made custom Corn Hole boards. They are not hard to make if you have the right tools!
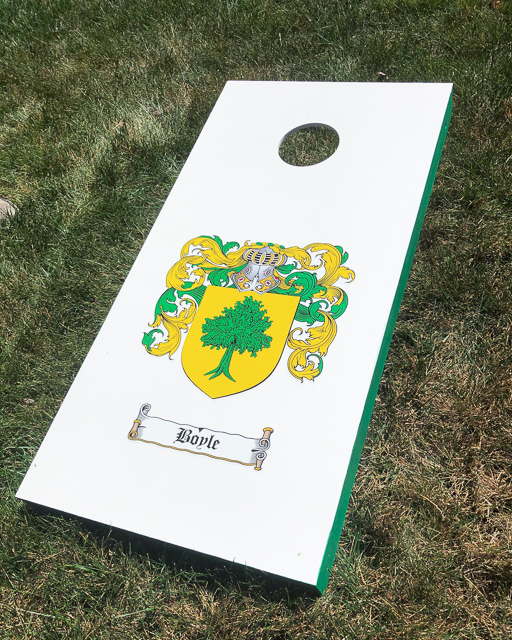
If you aren’t familiar (though I am sure most of you are), Corn Hole is an outdoor game that is super easy to play. It’s very popular and often seen at parties, it is a great way to pass the time on a nice summer night. The game basically involves tossing bean bags into the hole you see in the board, so pretty much anyone can do it! No athletic ability necessary.
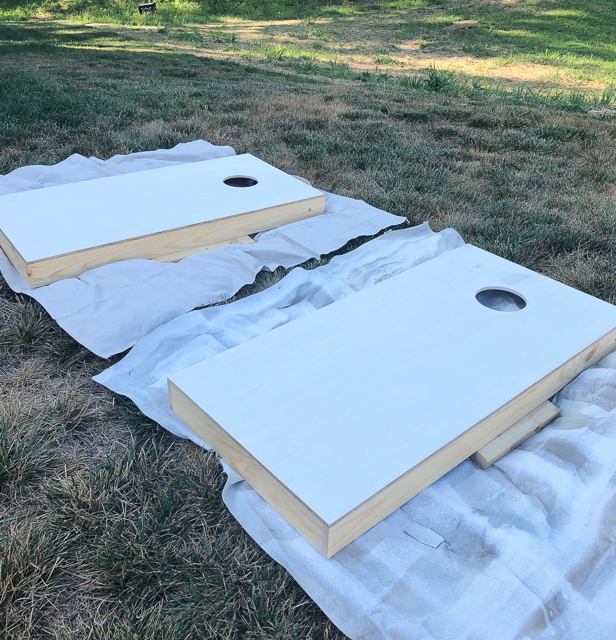
I set about this summer to make us a personalized set; we’ll put them to good use soon at my son’s upcoming graduation party. Since the party will be outdoors for social distancing purposes, I figured now was the time to up our outdoor game collection. You can find Corn Hole boards in all price ranges, and order them custom in all sorts of themes and colors but making them myself was an easy way to get just what I wanted. With just a little paint and a few hours of time, and was probably more affordable in the end too.
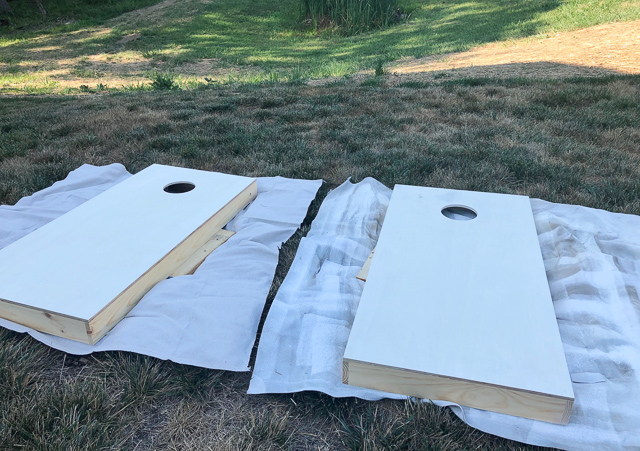
I started with a set of plain wood boards, I ordered them from HERE. You can also build them yourself of course, but I wasn’t that committed. I took a shortcut and bought the premade plain wood ones, you can also get them here for a little less– FYI. The wood was already smooth enough that it didn’t require sanding so there were pretty much ready to paint once I got them home.
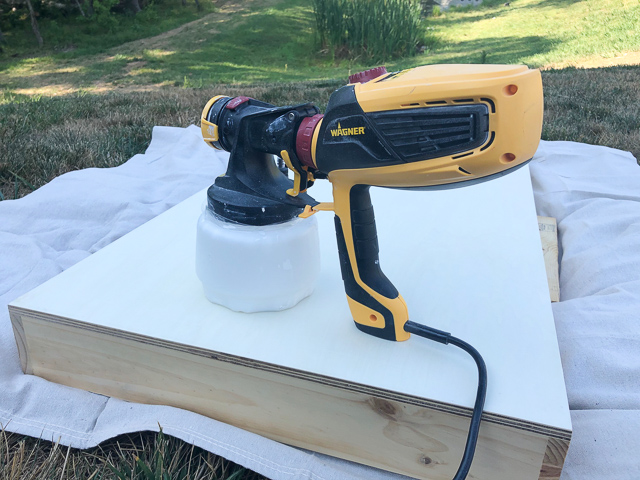
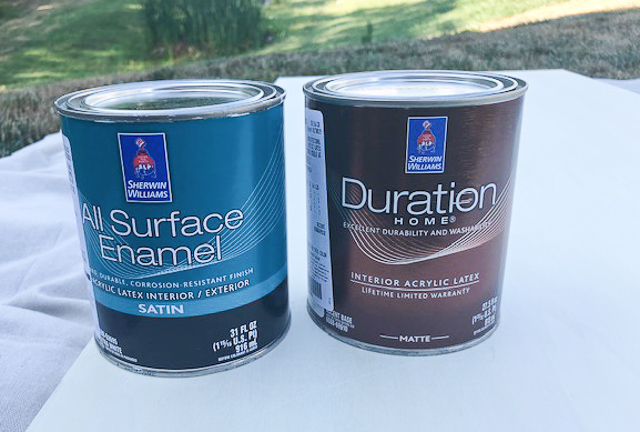
To save time and to get a perfectly smooth finish, I used my FLEXiO Paint Sprayer. I have used this quite a bit recently to both finish this cabinet and to create an outdoor entertaining bar for our deck. I picked up the paint via curbside from Sherwin Williams, I have to say they make it very easy to order online and just pull up for the paint. One note: I did some research and exterior latex was what was recommended for this project since the boards are pretty much always used outside. Ideally both of my paints should have been the All Surface Enamel but there was a mix up at the store, since I only used the green (which they mixed in the the Duration format) on the sides it wasn’t a big deal.
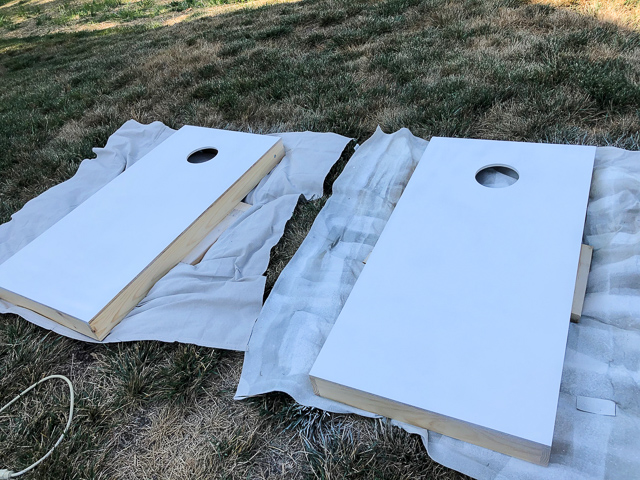
I filled the sprayer with the white paint and gave the boards two coats all over the top. It did get hot that day, so I waited until the next morning for slightly cooler temps to start working on the sides. A tip: these cup liners for the Wagner Sprayers make clean up so easy, especially when changing between colors.
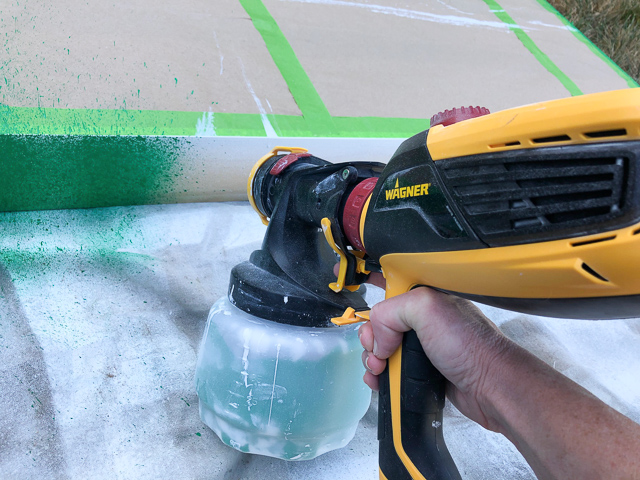
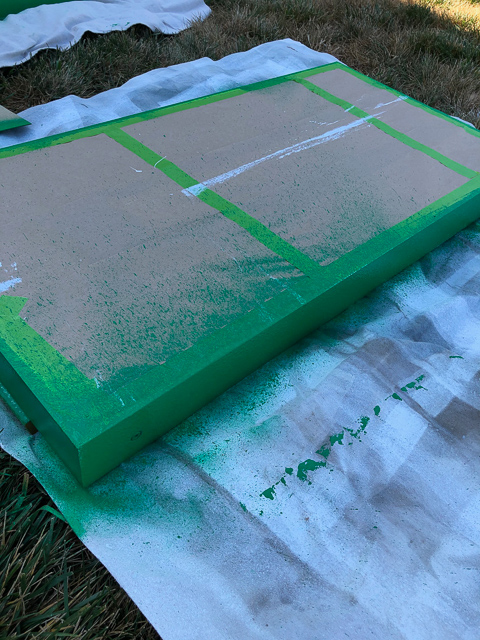
Next I used some painter’s tape and some kraft paper to cover the new white paint on the tops while I worked on the sides. I added the green paint to the sprayer and set about giving the sides some fun contrast. You can order a FLEXiO Sprayer here.
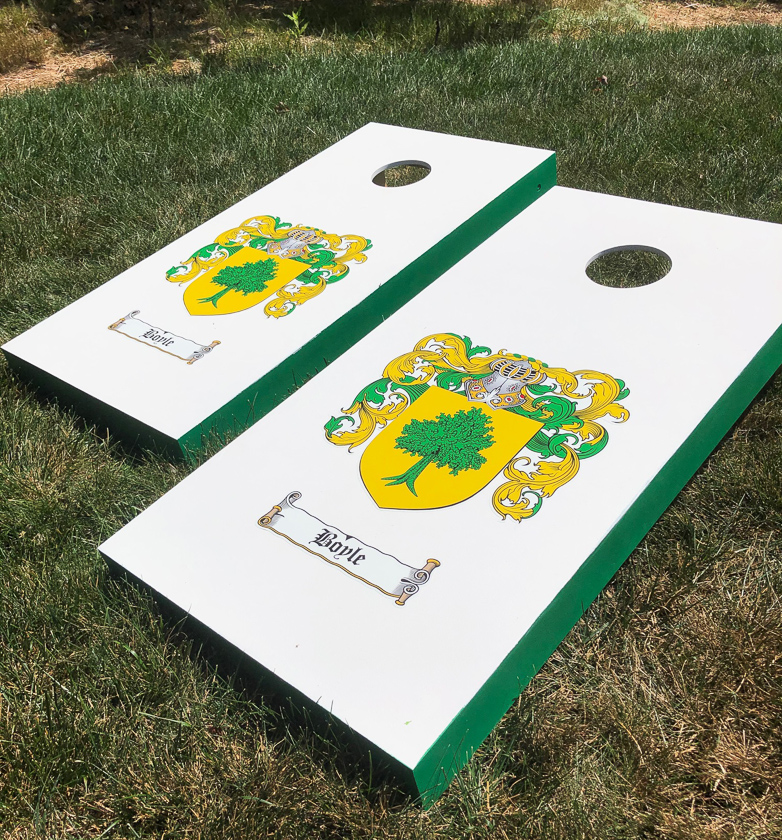
The final step was to add the custom decal I had ordered. I knew I wanted to make these boards represent our family but I had to do a little legwork for this ahead of time. Being of Irish descent, my husband’s family is big on their heritage. They are also quite a large bunch but that’s a story for another time! We even have the family crest on a flag that often gets hung outside on St. Patrick’s Day or for when the family gathers. It’s a fun thing that they all share, I thought using the family crest would be a fun way to personalize our boards.

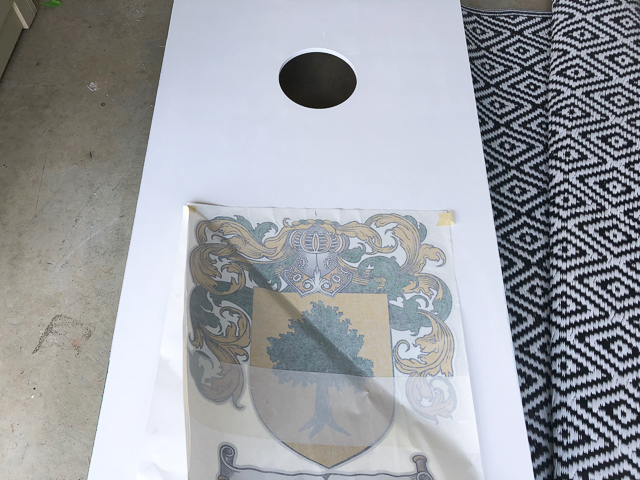
I ordered the decal from this shop on ETSY. Danny, the owner, was great about helping me figure out the size and what would look best (It was about 18″). He can work with any image, so don’t feel limited to a family crest if you have other creative ideas. I ordered the large file from HERE, so you might be able to find your family coat of arms from that site too! I sent the digital file over to him and in a few days I had two large self-adhesive decals that perfect for the boards.
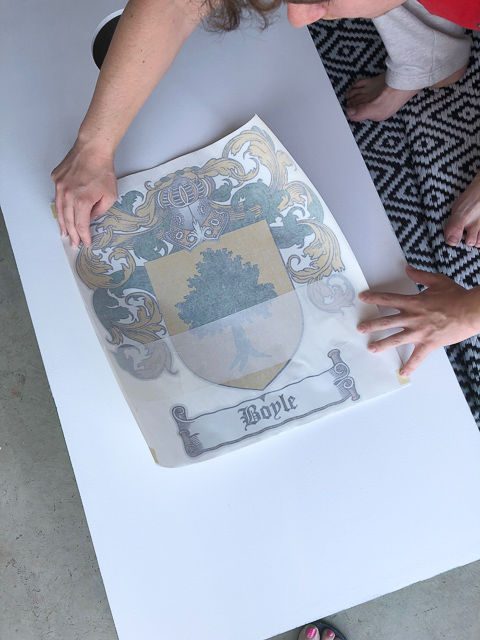
With a little bit of measuring, we applied the decals and the boards were all set to go, minus a few coats of clear coat polyurethane for extra protection.
I am so happy with how they turned out. The look just like custom boards but came at a much lower price.
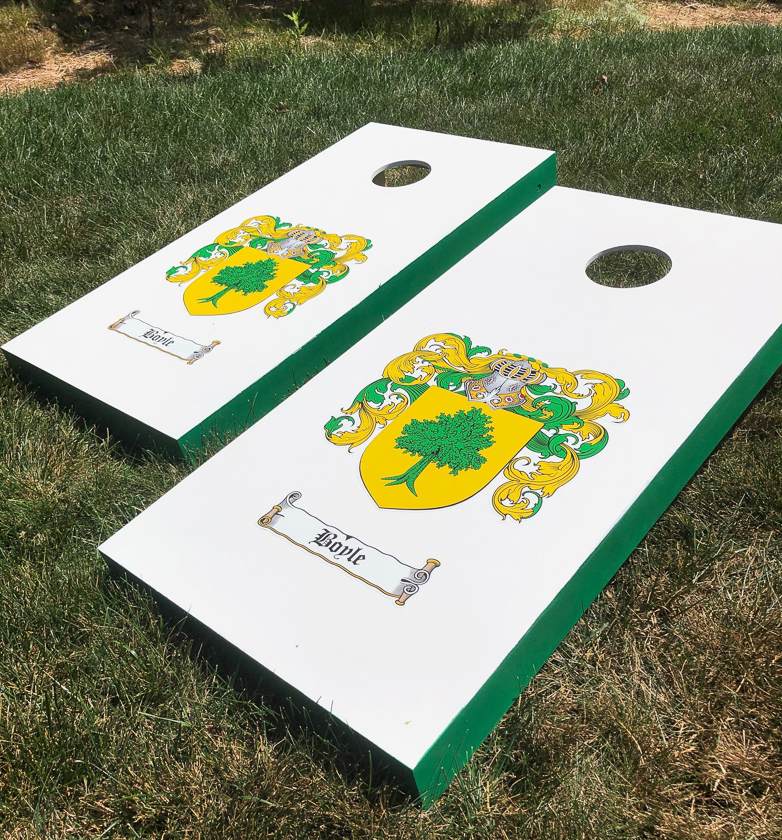
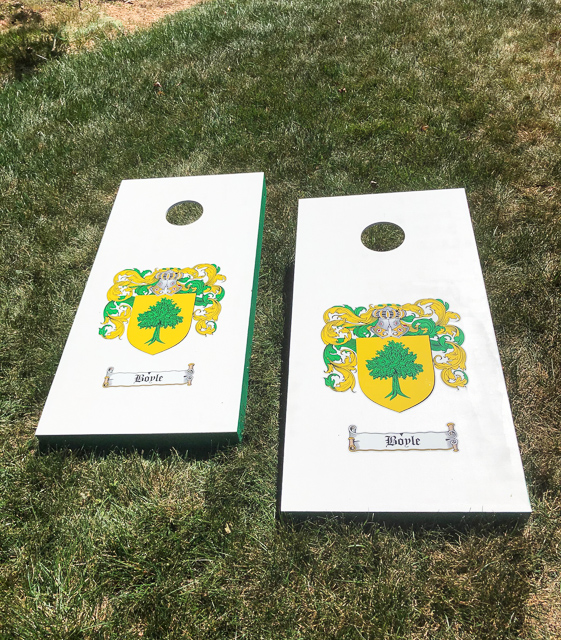
With teenage boys and plenty of time at home, these will certainly be put to good use around here this summer!
XO,
We promise to never sell your email information. Our posts contain affiliate links. If you make a purchase after clicking on these links, we will earn a small commission, which helps to keep our content free. You don’t pay a cent more than you would otherwise, since that would be tacky! Please see our full disclosure policy here.

