This post is sponsored by The Wagner Company.
I started this project several weeks ago before the world went into shut-down mode. However, the timing is great since being stuck at home is the perfect time to work on a furniture makeover project just like this.
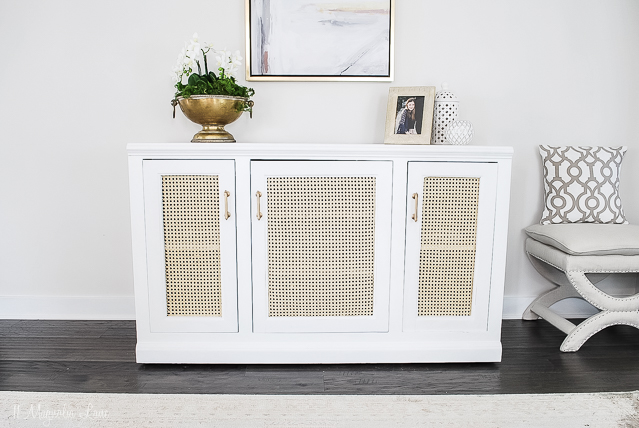
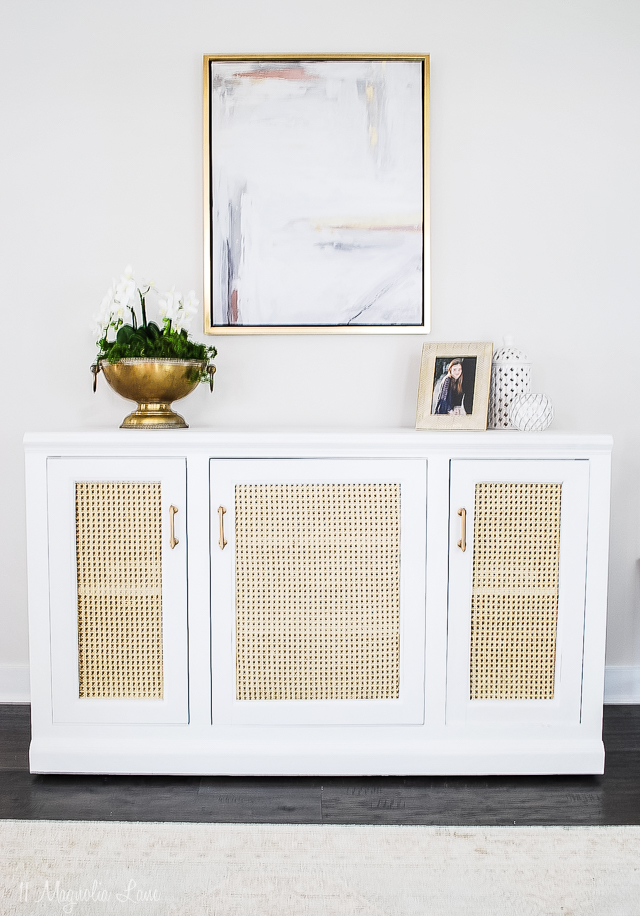
The look of caned furniture is so hot right now, I think it comes from the high-end retailer Serena & Lily making the coastal/airy look a big trend in home design. I have seen cabinets like this retail for close to $2000 which is way over my budget!
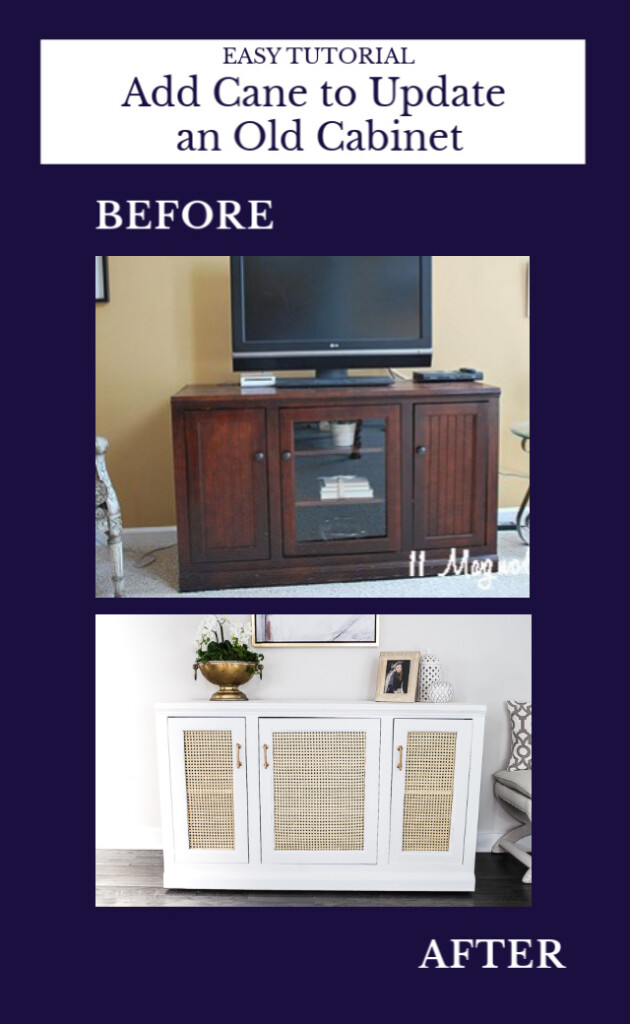
This piece of furniture has lived many lives in our home. Can you believe this is where it started, we purchased this when our kids were small to hold our first flat screen TV. Here’s a picture I found of it way-back-when in our rental house with the circa 2005 yellow/beige walls.

Later on, I chalk painted it ivory when everyone was chalk painting literally everything that they owned.
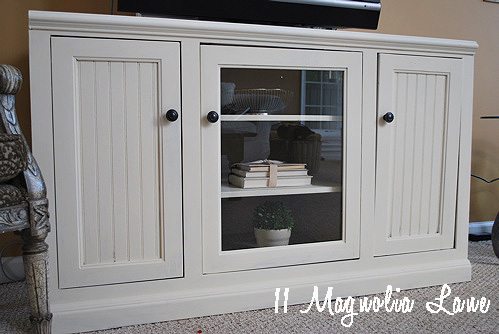
Then I updated it yet again to a light gray for a blog project (here).
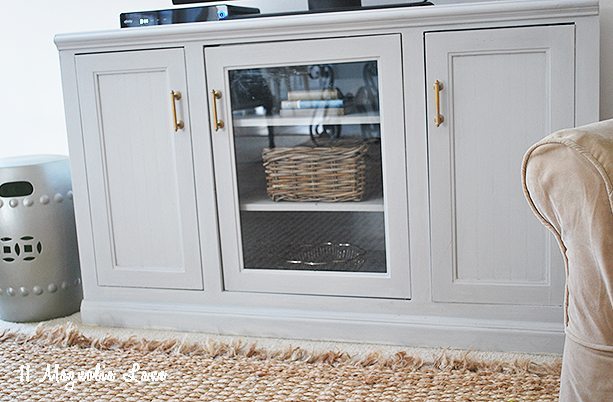
Then we moved into this house and our TV went over the fireplace and this piece went to the basement, our boys’ space. For the last year plus it has held the TV my boys use mostly to play video games or watch TV/movies. Before too long the glass in the door was broken and the top was chipping from some overzealous gaming.
I’d pretty much written it off until I saw this project from an Instagram feed that always inspires me, the cute Ashley from Schoolside Design. I could not believe the before of her cabinet and how great the after picture was, when it occurred to me that I might be able to do the very same thing to the cabinet that was just sitting downstairs getting wrecked in our basement.
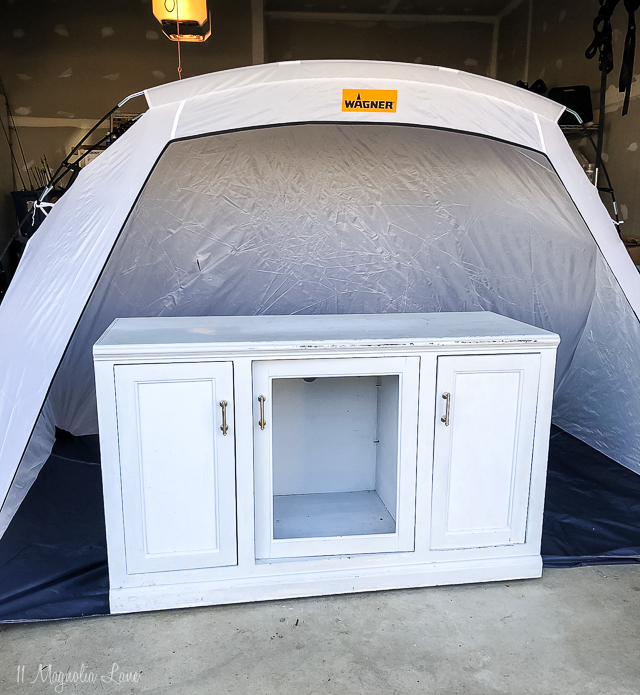
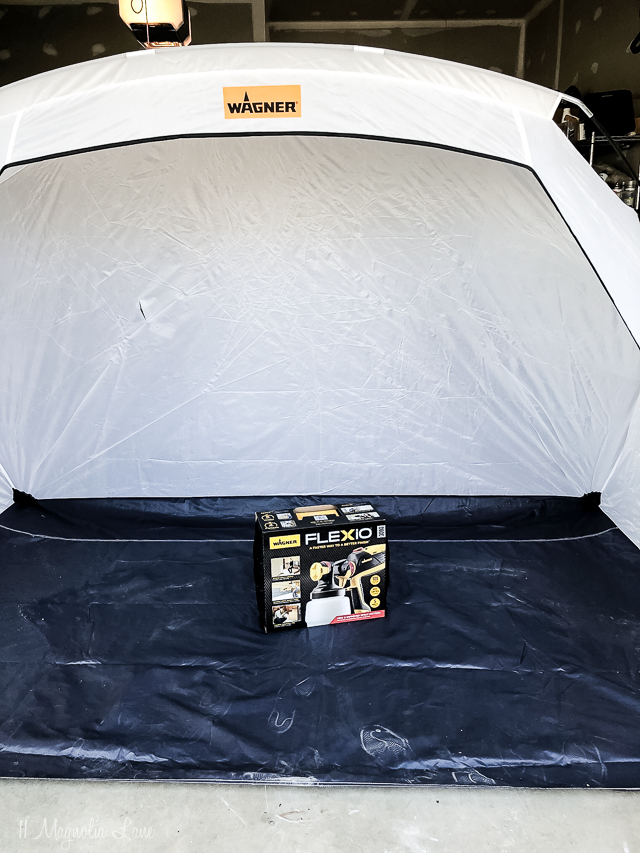
We hauled the cabinet outside and I set up my Wagner Studio Spray Tent so I could spray on new paint to make this project fast and easy. This tent is easy to assemble and contains any overspray so you can work in a garage or even a (well-ventilated) indoor space. It even protects the floor.
{Learn more about the Wagner Studio Spray Tent here}
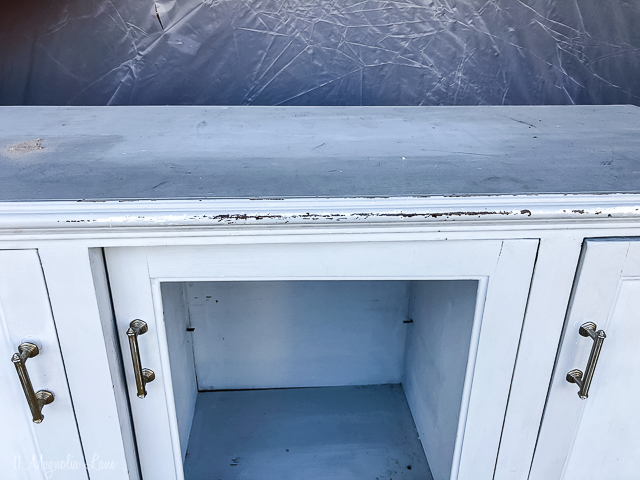
You can see how damaged it had gotten. So I removed the doors and went to work giving it a very, very good sanding with an orbital sander. I was concerned because I had used chalk paint and then coated the top (lightly) with wax. While that was a great idea at the time, the wax makes it harder to paint over so I made sure to sand down to remove as much wax and old paint as I could.
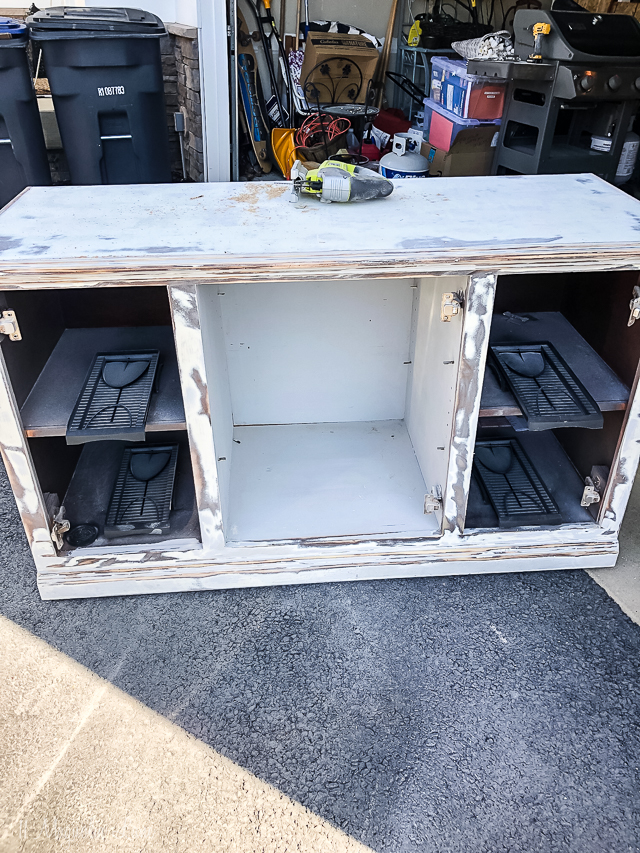
Yes, those are built in CD/DVD holders inside! (I know, vintage right?!) I tried to remove them but they weren’t budging so I left them inside for the time being.
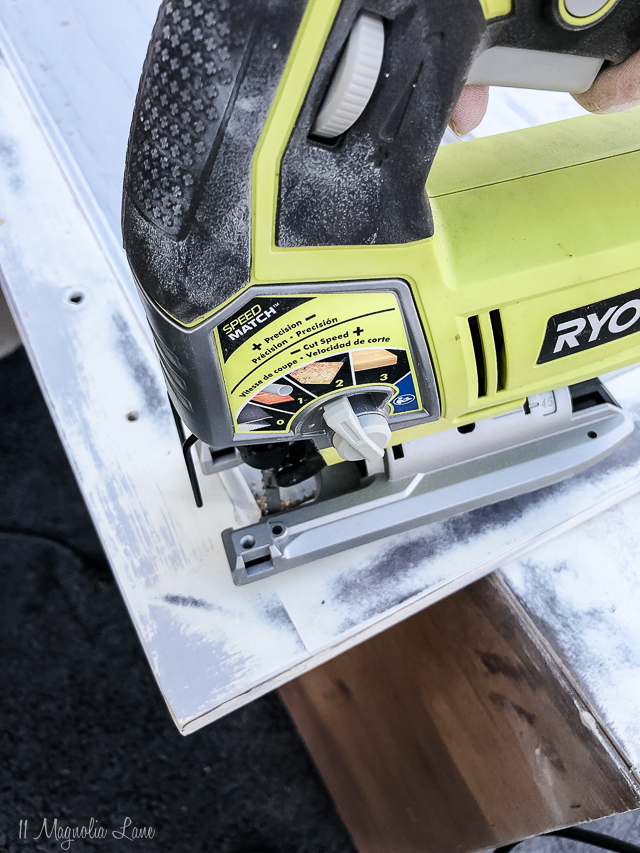
I knew I was going to add the cane to the center door where the glass insert had been, but on a bit of a whim I cut out the beadboard inserts in the other two doors. They were easy to remove with a jigsaw, then I sanded the inside down well.
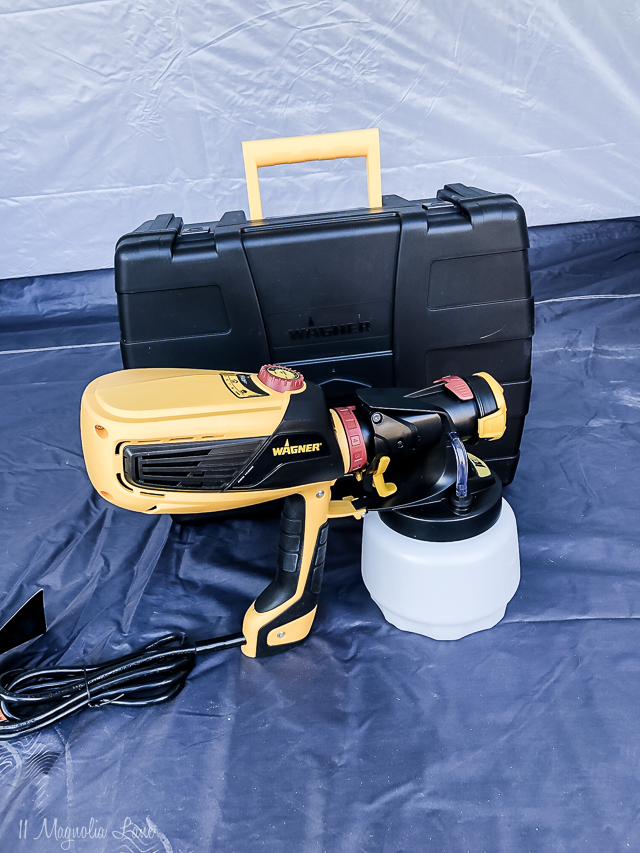
To paint the cabinet, I used the Wagner FLEXiO 3000 Paint Sprayer. We have tried many paint sprayers over the years and this one is definitely a step up. Not only does it come in a nice storage case, but it is simple to use and cleans up easily. It has two nozzles, one for a fine finish and the other allows you to quickly paint larger areas like a wall or fence so it is great for all kinds of projects.
{Learn more about the Wagner FLEXiO Paint Sprayers HERE}
I made one mistake in this project I wanted to be sure to warn you about. Since this cabinet had been chalk painted, I found that when I tried to spray a new coat of (Rustoleum brand) chalk paint on it that there was considerable bleed through.
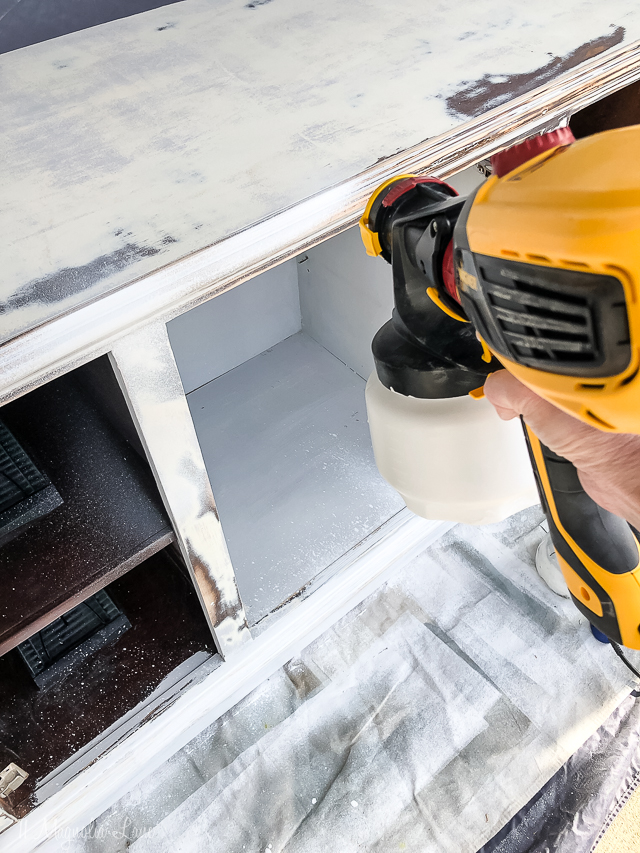
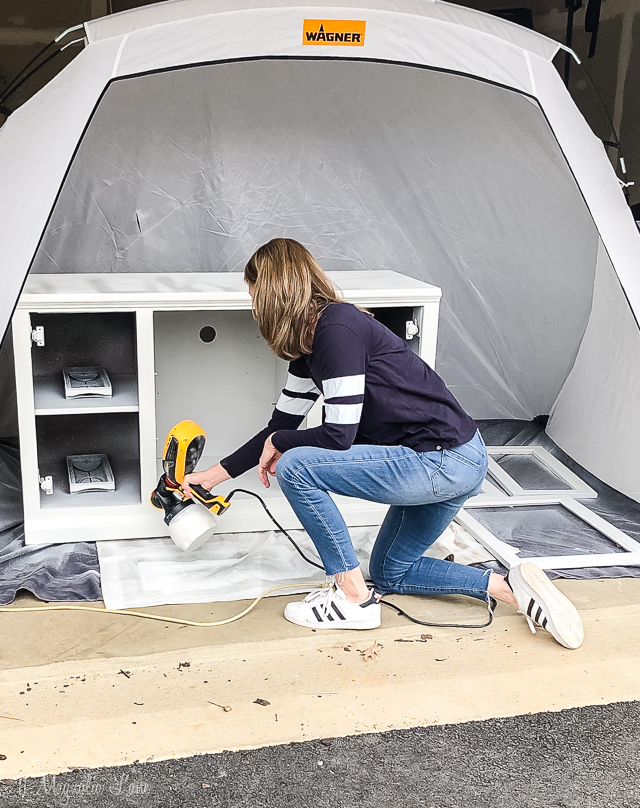
I backtracked, and then switched over to a paint + primer combo that I had on hand from our laundry room project and that worked much better. Using that paint, I had much better coverage with no brown spots showing through. The paint sprayer was so easy to use, I quickly painted the cabinet doors, shelves and the piece itself within minutes. I let it dry, then repeated with another coat of paint and it was done.
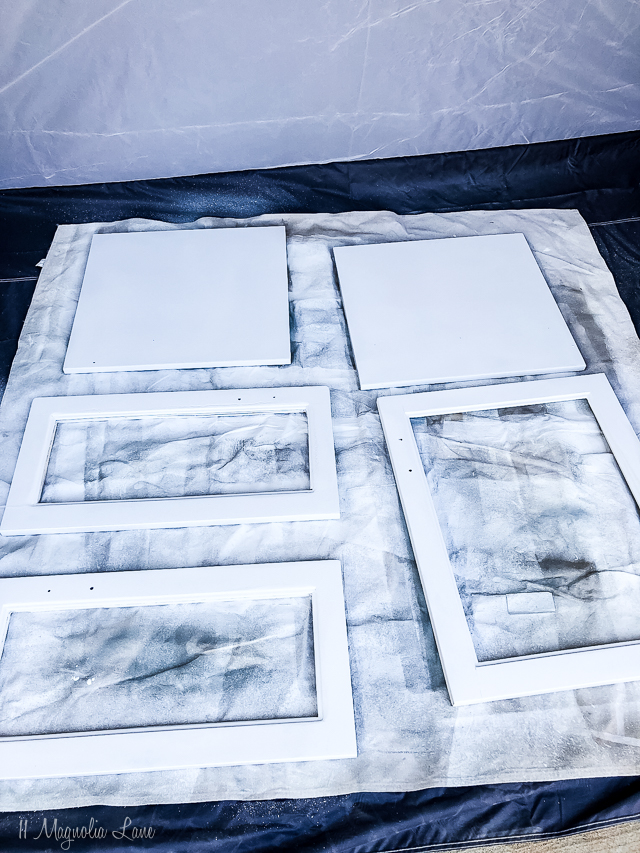
I used to paint pieces of furniture by hand, but after using a sprayer it is so much easier. It takes such a short time to get a smooth finish, it looks like it came this way.
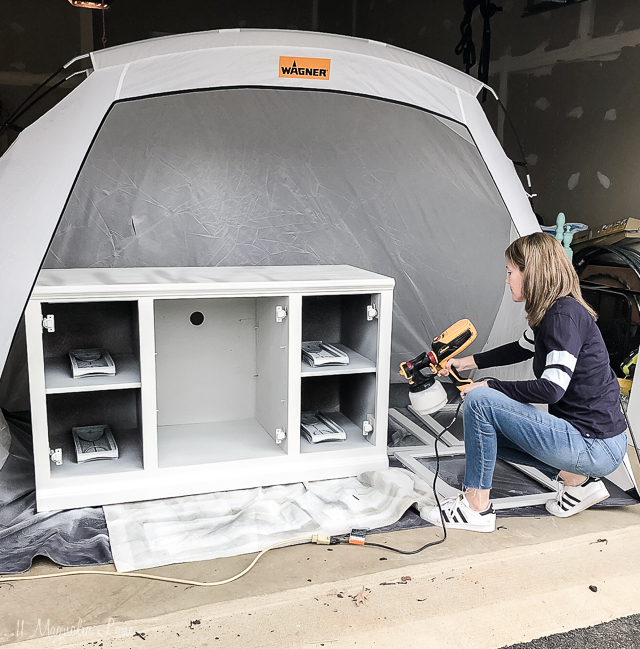
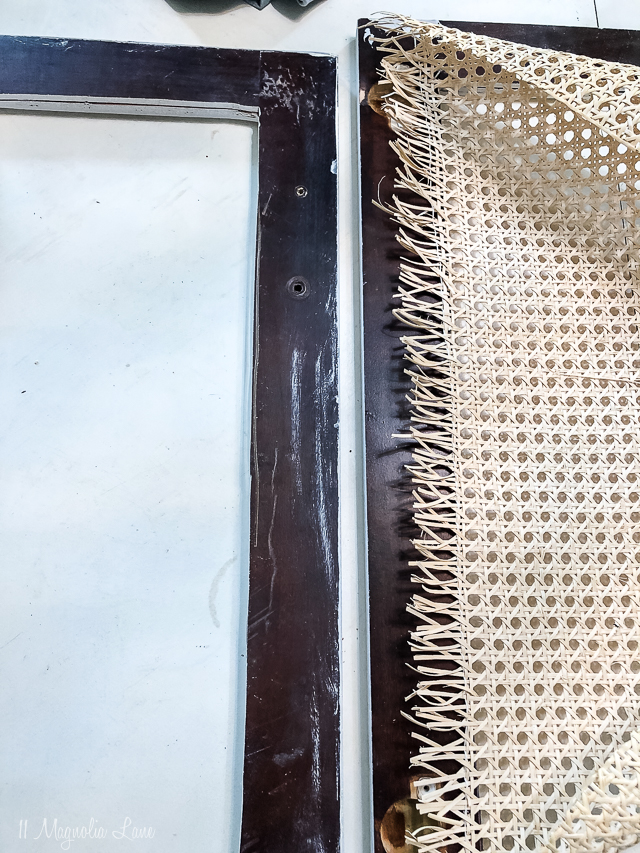
After it was painted and dried, we brought it inside and I put the final touches on it. I ordered pieces of cane from HERE and used a staple gun to attach them inside the door frames.
I reattached the doors, added the hardware and marveled at how far this cabinet had come! I’d almost given up on it, and with a little work and the right tools now I think it looked like a much more expensive piece.
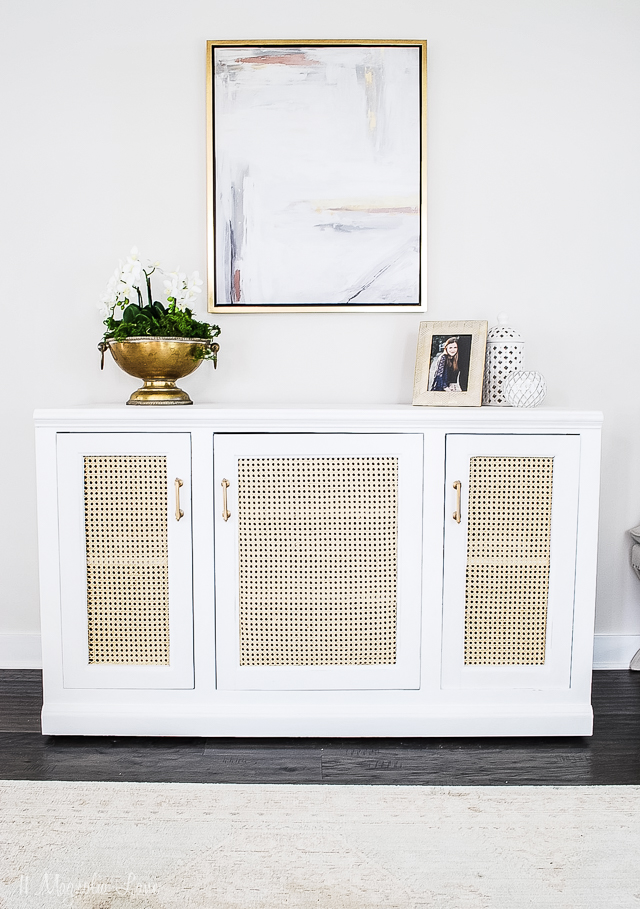
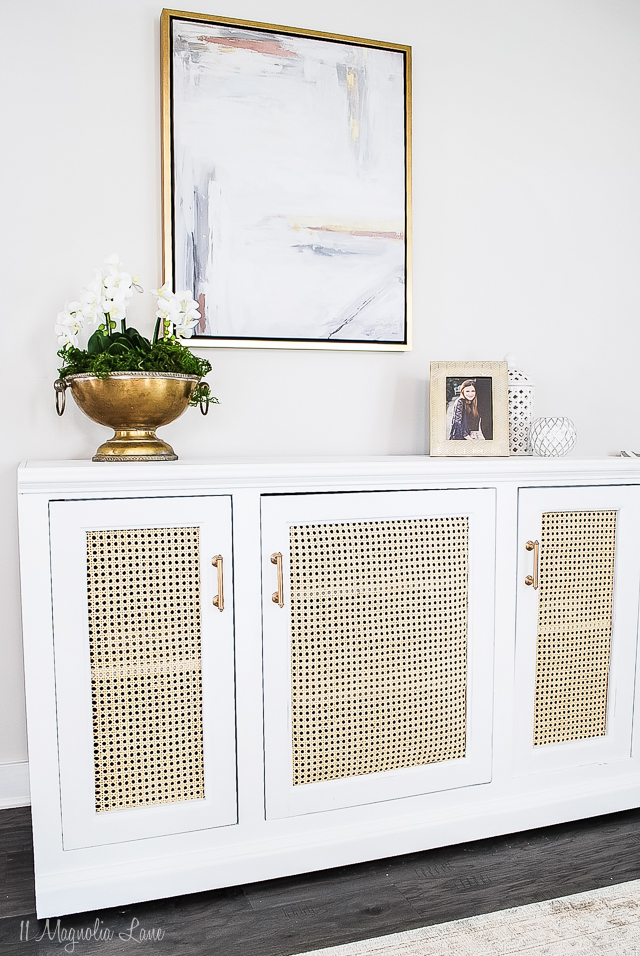
This is not its final location, as I mentioned previously we’re working on an overhaul of our family room and this cabinet will now regain its status upstairs instead of being relagated to the basement. I needed something to hold TV components so we’re moving some things around and it will reappear when our new couches arrive and I can show the whole space off. I can’t wait for it to be all done.
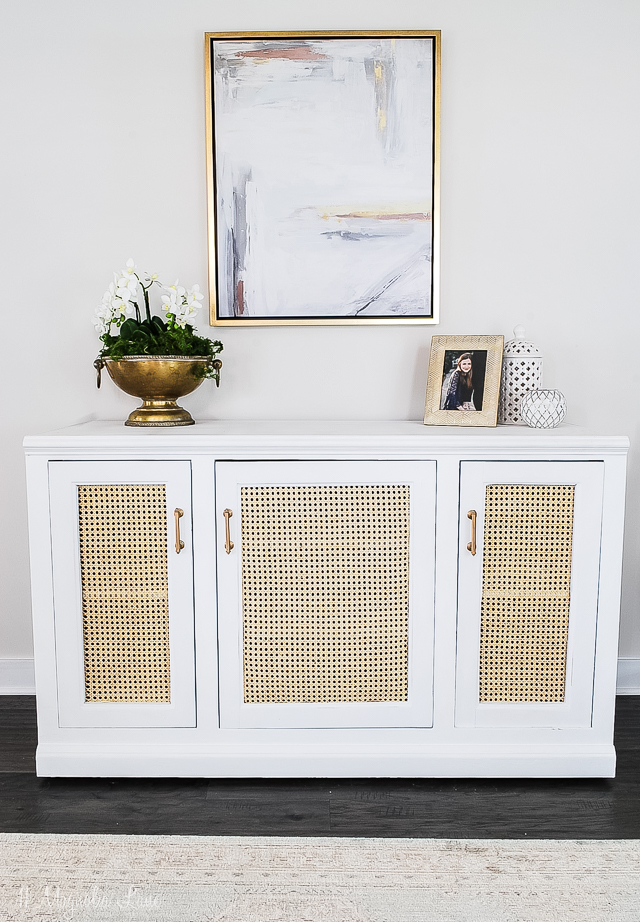
Here is a “Pin It” image so you can save this project.
Here are the quick links to shop the tools I used. If you don’t still have a cabinet like this around, you can probably find one on Craigs List or Facebook Marketplace for next to nothing.
You can see more of our posts with Wagner (and formerly HomeRight) paint sprayers HERE. We have tons of ideas to give old furniture new life and a sprayer will give you a perfect finish every time. This is a great way to be productive while we’re all staying home right now. I always feel better when I have created something so hopefully this will inspire you to do the same.
Stay well friends!
XO,
We promise to never sell your email information. Our posts contain affiliate links. If you make a purchase after clicking on these links, we will earn a small commission, which helps to keep our content free. You don’t pay a cent more than you would otherwise, since that would be tacky! Please see our full disclosure policy here.

