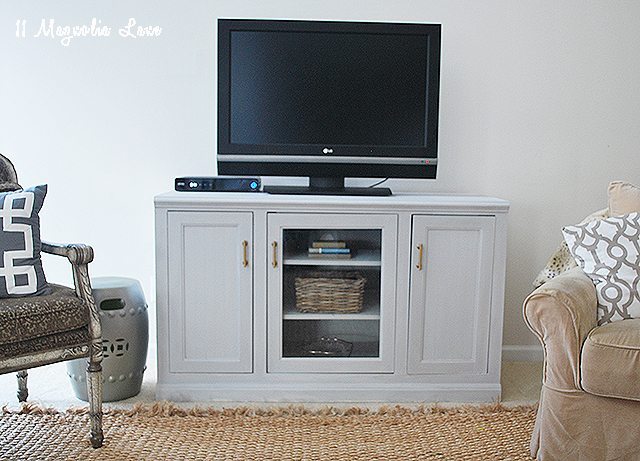
I have been considering what to do with the large wall in my family room where we have our TV since we moved into our new house. I sometimes work {and do countless other things} from my comfy spot on my couch directly across from this TV so during my mental breaks, I often found myself pondering how I could improve the very dull view. I was originally thinking we’d do bookcases across the wall, but since we have those in progress in our front living room {or “library” as I like to call it in my snooty voice} it seems like it would be a bit of bookshelf overload. One can only decorate so many shelves with so many books, right?
So, after staring day-in and day-out at our current TV console, I decided it would do for us for a little longer, it just needed a little freshening up.
You can see the first makeover this piece got last year here. At the time, we were temporarily in a rental home with dark walls and the dark console just made the room feel more closed-in. I popped some Old White Chalk Paint on it last year and was pretty happy with the results. But then we moved, I painted my fireplace and suddenly the cream furniture against the cream walls just seemed boring, not to mention the console had unfortunately gotten pretty banged up in the move.
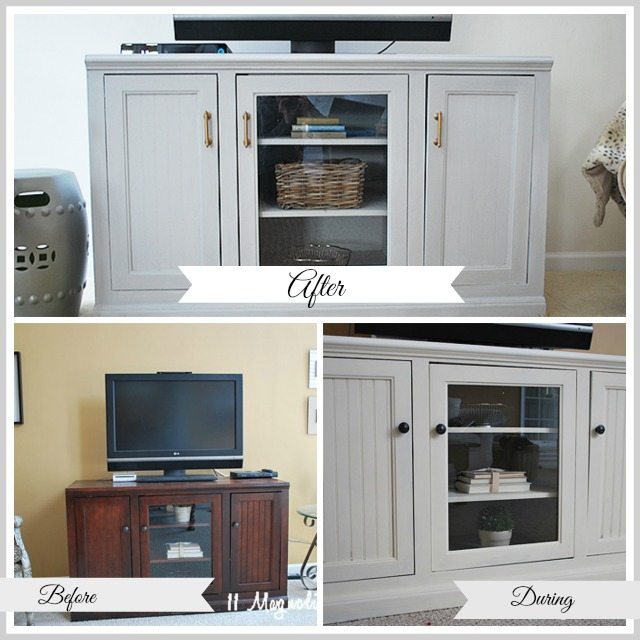
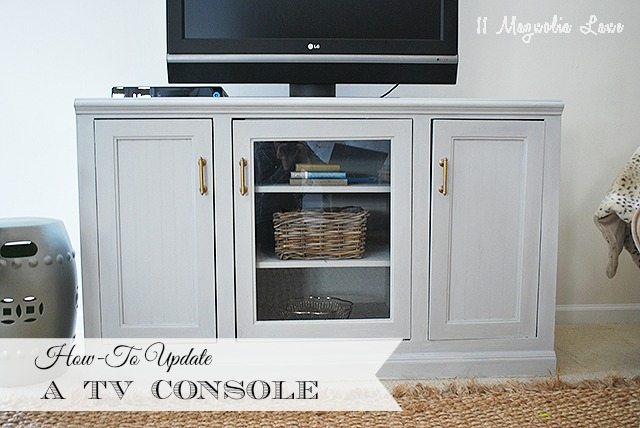
While the white paint was a nice change, I was still feeling that the style of the console wasn’t really in line with my current taste. The beadboard trim on the doors was a little too farmhouse for this room and starting to feel outdated. Don’t get me wrong, I love beadboard elsewhere, it just seemed to really date this piece. I mulled over some options, even thinking about inserting mirrored panels into the doors for a really ‘glam’ look but that seemed to be going little too far in the other direction. So mid-paint, I decided to see what would happen if I toned down the beadboard with a little wood filler.
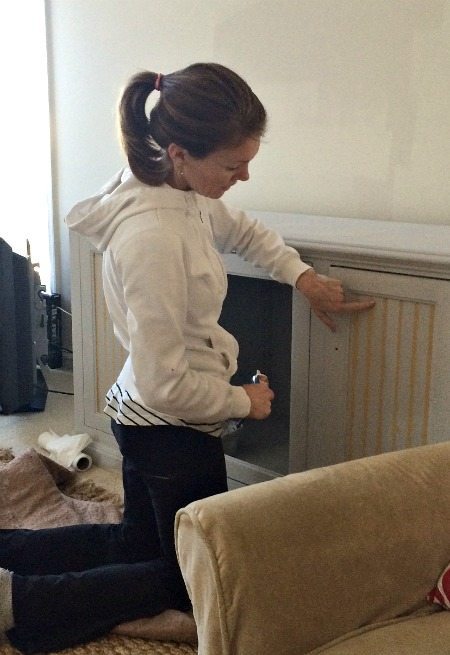
It was pretty easy {though a quick tip, if you store your wood filler–and I used Elmer’s–in the garage on a freezing cold winter day you will have to practically break your hand to squeeze it out of the tube so be sure to bring it to room temperature first} I just squirted it in the grooves in the doors and used my fingers to smooth it out, wiping away the excess with a paper towel.
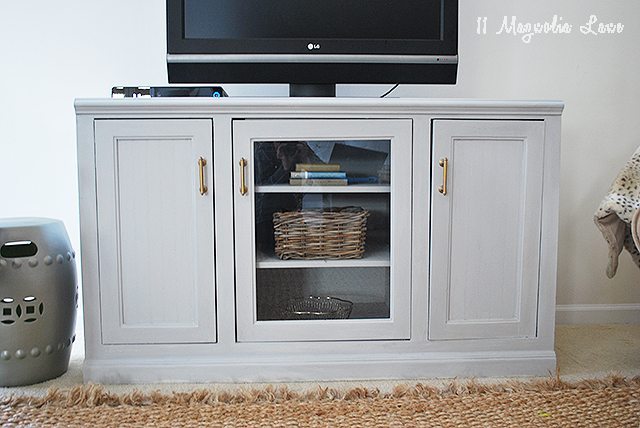
After it dried I gave it a good sanding and vacuumed up all the dust with the vacuum hose. I would recommend you do several coats of the wood filler, with sanding in between, which I did not do, live and learn. You can still see the grooves on the doors in my finished piece but they are so much less noticeable than they were before. If you totally want to eliminate the beadboard look, you’ll need to go over it again with more filler and more sanding.
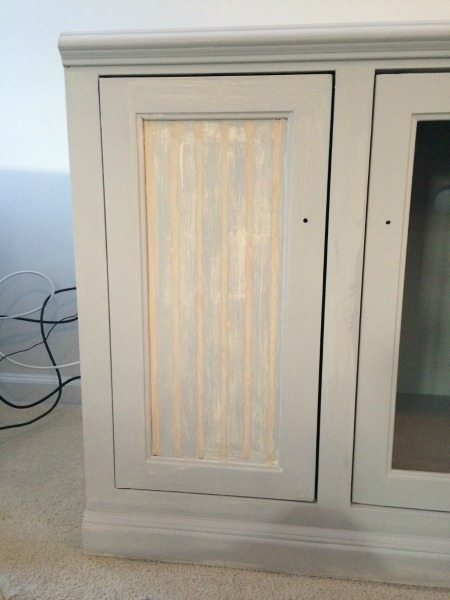
Once it was all sanded down and cleaned up, I quickly gave the doors another two coats of paint and then added the hardware.
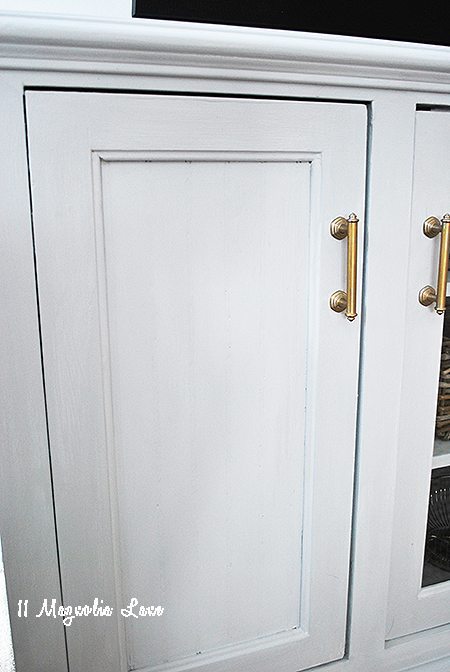
I found these pulls at Home Depot. They came in a brushed nickel finish so I just used some gold rub-and-buff to obtain the brass look for about $3 each. You could also spray paint them, but I wanted a more matte finish and this worked great.
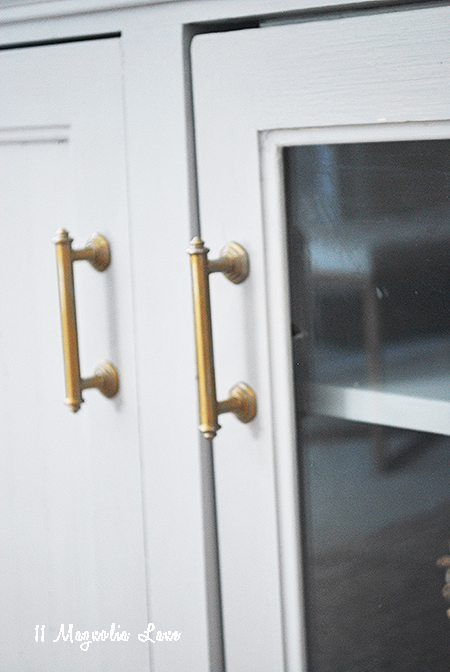
I think the new fresh look makes a big difference, don’t you? It still houses CD’s that we need to get rid of and DVD’s we no longer watch, I’ll get around to dealing those one of the days but at least the 90’s are no longer calling for their console back 🙂
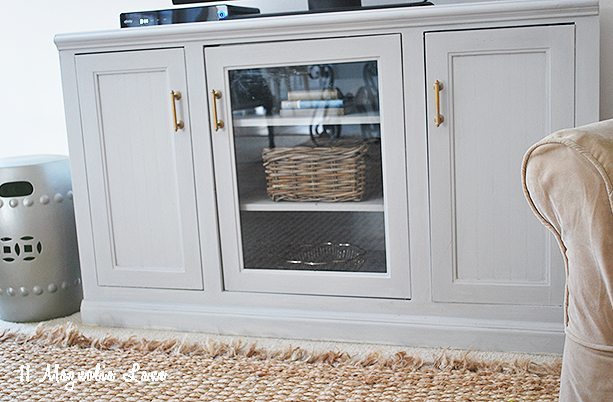
I think this project shows that you can salvage a piece of furniture even when your tastes change, it was certainly worth the try. I’d say this makeover cost less than $10 since I had the paint left over from another project and the wood filler on hand and probably took less time than heading out and shopping for something new.
Eventually we’ll probably hang the TV on the wall and make some other changes in here but a fresh coat of paint can really make such a difference, can’t it? We’ve pretty much wrapped up this room, I have a few more pillows on order but the small changes have made a big impact in here. Full reveal to follow shortly!
I realized after the fact that spraying the paint on this would have been a super-easy way to make this job even faster–so be sure to enter our giveaway for a HomeRight FinishMax HERE.
One last look at how far this console has come…

Thanks as always for stopping by! Christy is heading my way this weekend to work on a BIG HUGE DIY project and I couldn’t be more excited to have her help {and company!}. Be sure to follow along on our social media if you want to see all our shenanigans this weekend! It promises to be good 🙂
P.S. Don’t forget to enter our giveaway for a HomeRight FinishMax sprayer:
XO,

