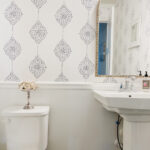
Today I wanted to quickly share the good news: the work on our downstairs bathroom is done!! I’m sharing all the details over at The Home Depot’s blog since they were gracious enough to sponsor a portion of the project.
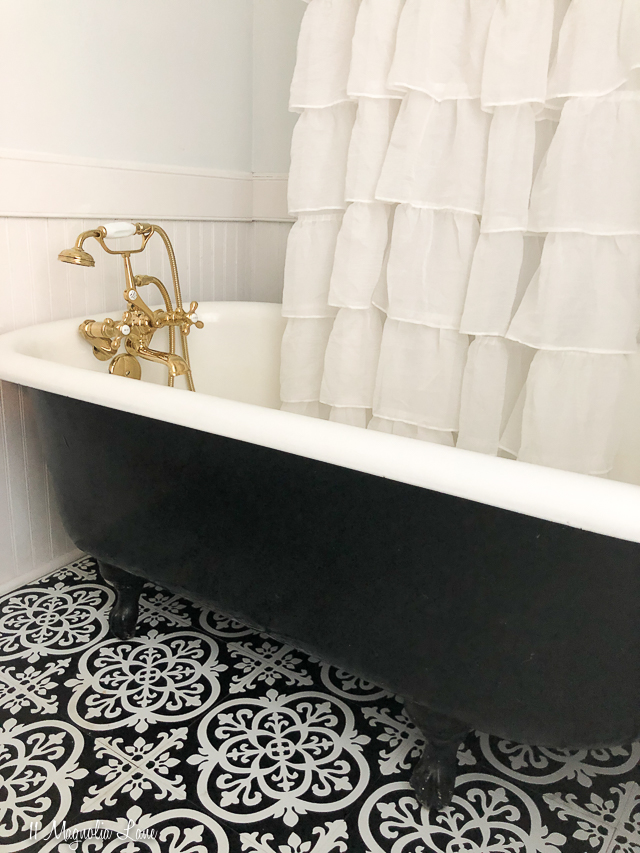
If you’ve been following along, you might remember this post where I showed you what things looked like when we started, along with my design board for the space. The “after” turned out so much better than I expected and we’re truly thrilled with it.
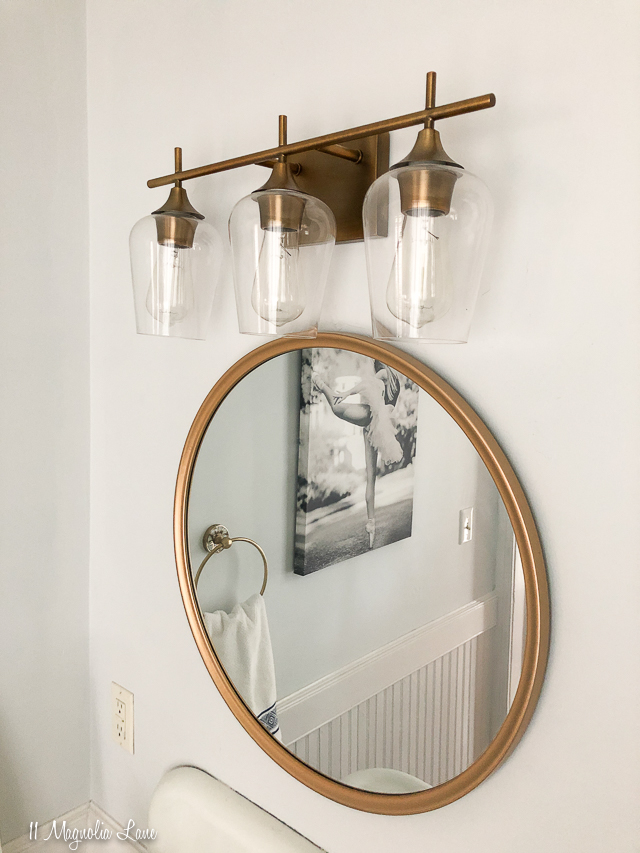
I’ll plan to share a second, longer post here on the blog later in the month since I have SO many great pictures of the space, but today, please head over to read the details at The Home Depot’s blog.
Thanks for stopping by!
Marty says
This makeover is amazing. What a beautiful bathroom and the vintage fixtures and new flooring are the perfect additions to the space.
Christy says
Thank you, Marty! This is also our powder room downstairs so it gets a lot of traffic and it’s nice to have it be so pretty!
Carol says
Love the update!
Christy says
Thanks so much, Carol. I do, too!
Julie says
O.M.G. beeeeutiful Friend! LOVE IT LOVE IT LOVE IT!!!!!!!!!!!!!!!!! You ARE the inspiration in getting your readers to know we can do this too!!
Christy says
Thank you, Julie! I love it, too–it makes me happy just to walk in there now.
Christy
Sharon McGee says
How on earth did you get the tiles under the clawfoot tub? Surely you didn’t lift it? If you cut the tiles, how did you do them expertly? What are you tips?
Christy says
Hi, Sharon–My husband lifted it up just a fraction of an inch and I slid the tiles right underneath (they’re very thin). I’ll write a separate post on the flooring but it is so easy to work with–you can cut the tiles with scissors so it’s not hard at all to get a perfect fit. Hope that helps! Christy
Angela McCormick says
Wow it looks incredible! I especially love the vinyl tiles and didn’t know you could purchase these. I am in Australia and have an investment property that has a bathroom in need of a reno and these would be perfect! Well done 🙂
Christy says
Thanks so much, Angela. It was a really simple way to update the space–they were easy to work with and not expensive, either. Definitely recommend you give them a try. Stay safe down there!
Christy
Heidi Colton says
It turned out just stunning! I have a question about the peel and stick tiles….are they removable?
Christy says
Thanks, Heidi. I’m going to write a separate post on the flooring since so many people have questions!
If you don’t add any additional adhesive then they are removable; however you would probably need to cover the original flooring with something else as I’m sure you’d have a lot of sticky residue left behind.
UMZ says
This bathroom looks amazing!! Even more so since it’s budget friendly. Speaking of budget friendly, how are you working this out with the landlord? I’m sure he/she is loving all the work you’re doing to the house, but why would you do that much to a rental? Enquiring minds want to know!
Christy says
Thank you, Uta! Before we signed a lease, I sent her a prioritized list of proposed projects I’d like to do. We work together on budget so she usually reimburses me for materials and I donate my labor. It’s really a win-win since we have a house in a very desirable location and she has someone saving her quite a bit on what she’d pay a painter or handyman. We could have rented a house that was bigger, newer, and didn’t need anything done to it, but this time we chose location and character over the alternative. It’s been fun but a lot of work so next time maybe we’ll choose something turnkey–we’ll have to wait and see!
Christy