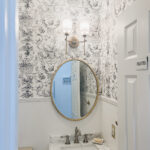
If you don’t remember where we started, here are a few before pictures. This one is from before we moved in:
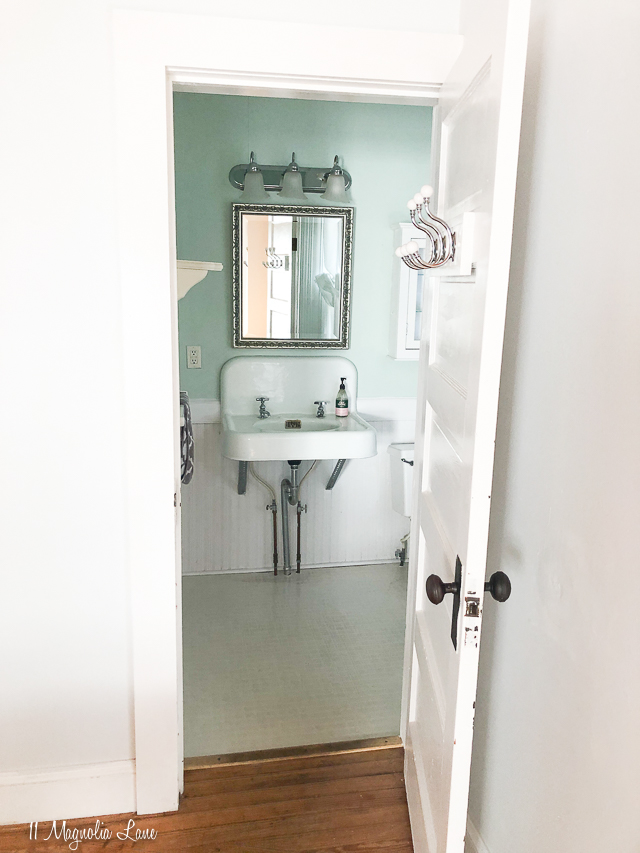
And these photos are from the first few weeks, after I’d had a chance to at least put our things in the room:
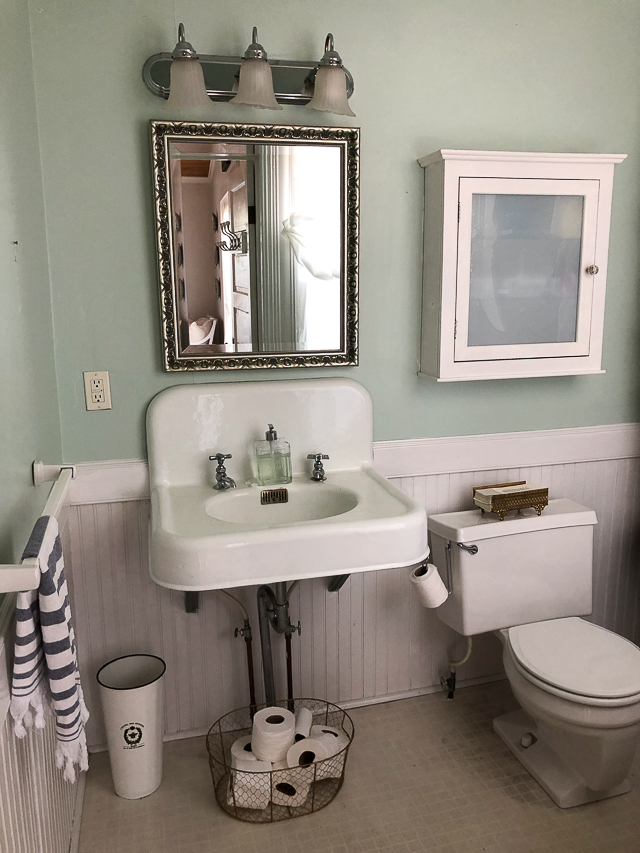
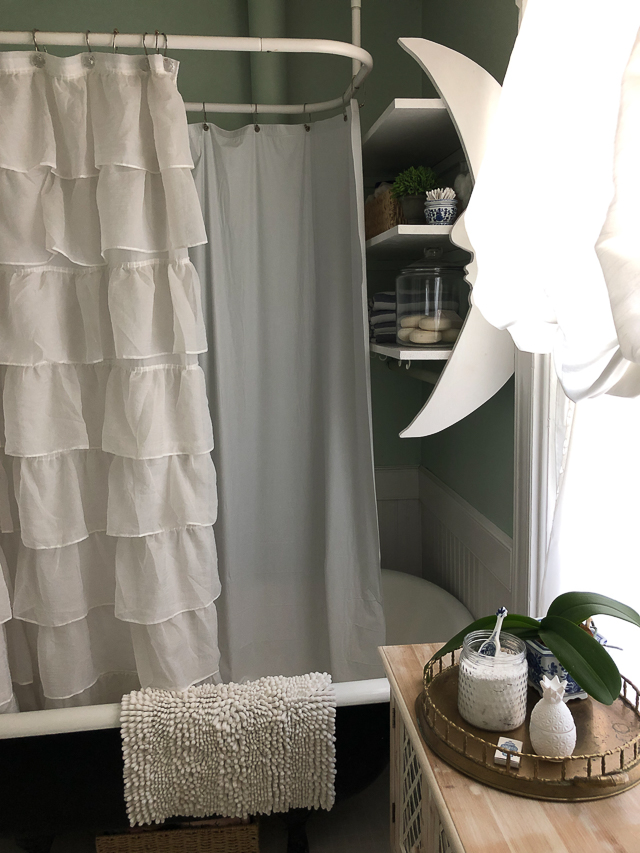
One of the things I like best about this room is the big vintage sink and the cast iron clawfoot tub, but the moon shelves definitely needed to go!
Here’s video to help you get a better idea of the space and my plans for it:
I came up with a design board that I came up with to share with the homeowner; if you’re not sure how different colors and finishes are going to work together in a room, this is the easiest way to do a little experimenting.
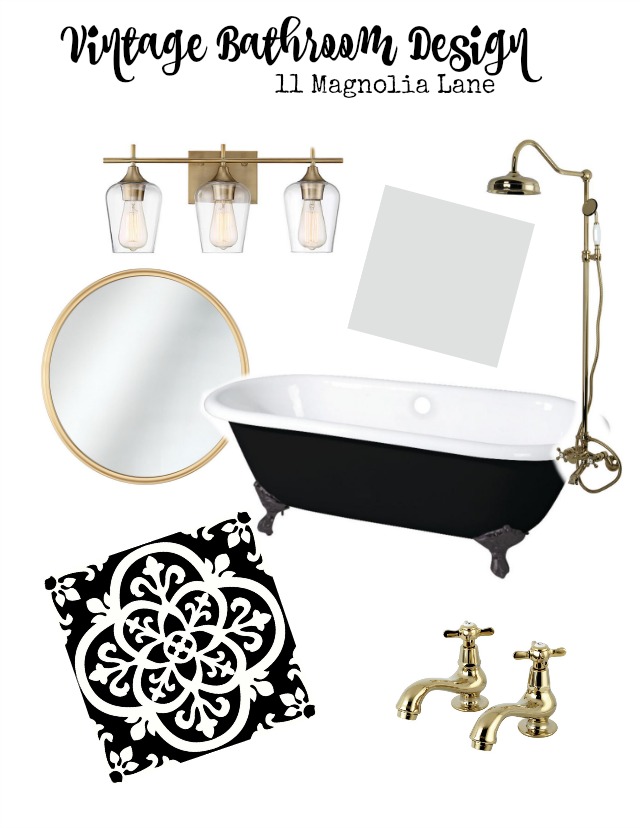
{ Sources are at the end of the post }
The first thing I did was grab my hammer and take down the moon shelves.
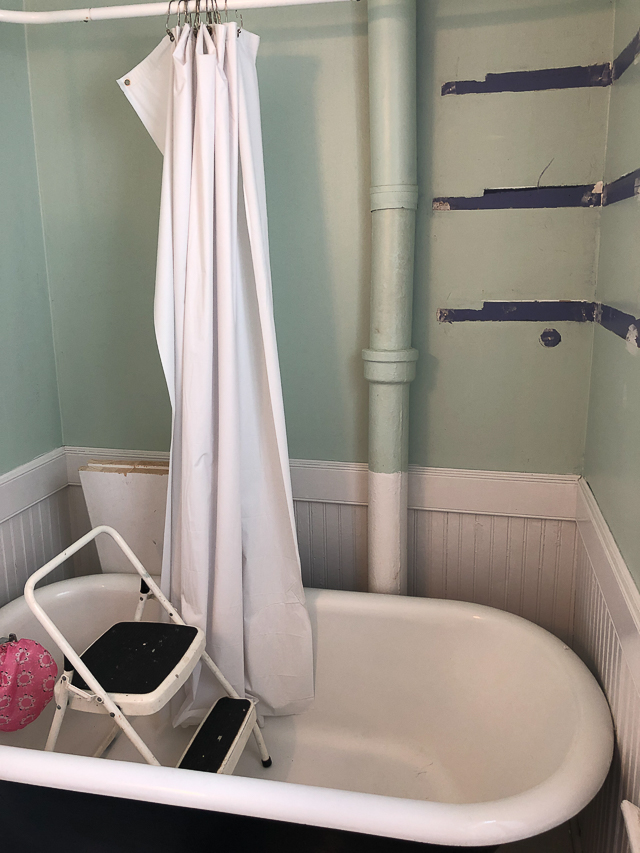
There were multiple layers of paint on the wall (notice that the room was purple when the shelves were put up!) and once the shelves were down, I had a lot of spackling and painting to do.
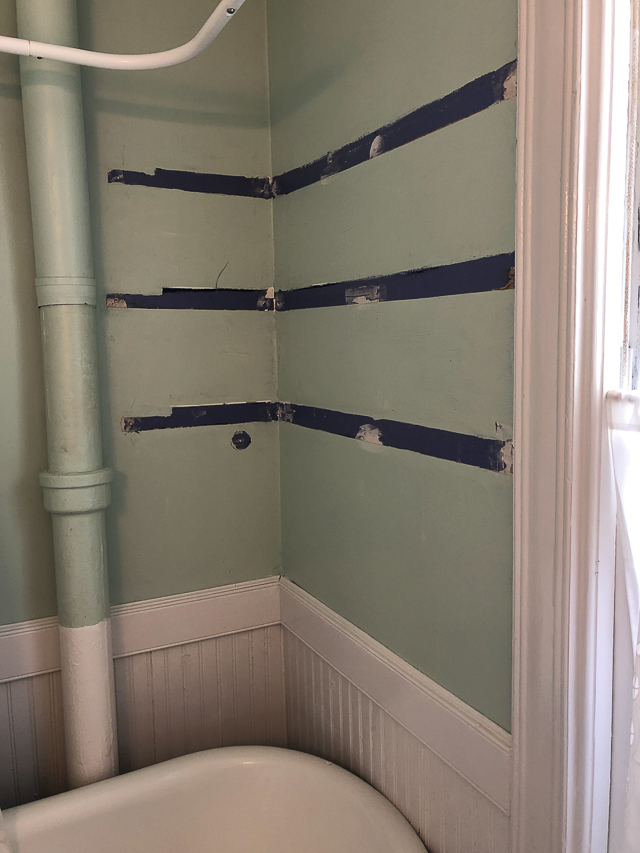
I also removed the small shelves and towel bar that were on the wall to the left of the sink. They were both loose and would have needed to be rehung anyway; I saved them in case someone wants to use them in the future.
Next, I painted the walls above the beadboard in Sherwin-Williams Rock Candy. I’ve used that color in several other rooms and it’s a very pale gray with blue undertones. I also painted the ceiling because it really, really needed it. It’s one of those things that makes a huge difference in a room, although you often don’t notice how much it needs it until after it’s finished.
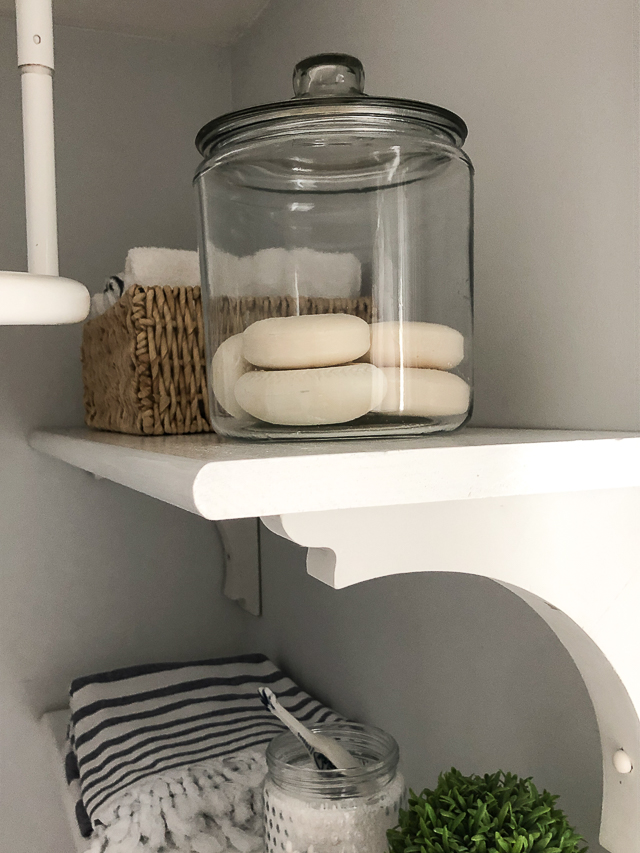
Amy and I have made shelves before using stair treads and corbels (tutorial is here); I used the same method here to add two shelves at the end of the tub, minus the moon detail. I’m missing a couple of wood plugs for the screws but didn’t want that to hold up sharing the space since obviously it’s not finished.
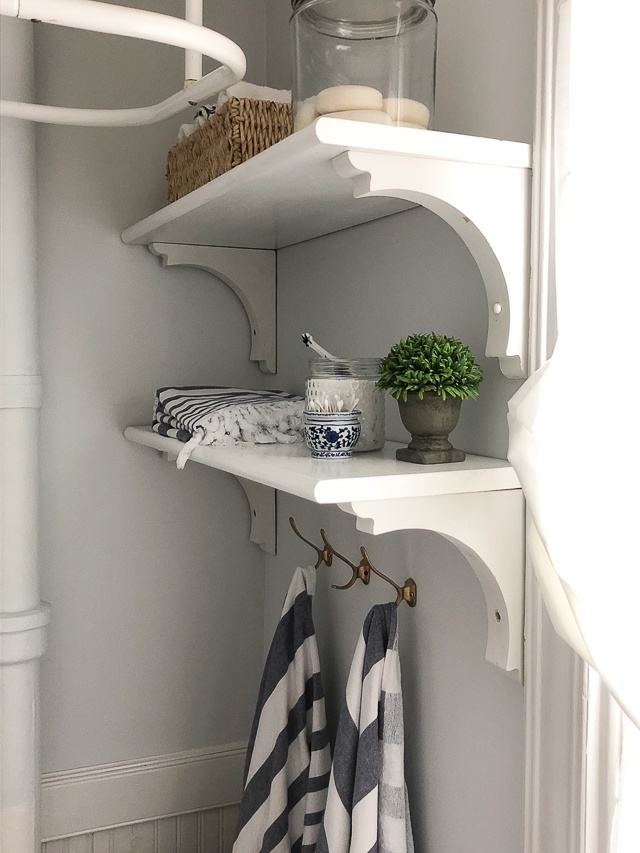
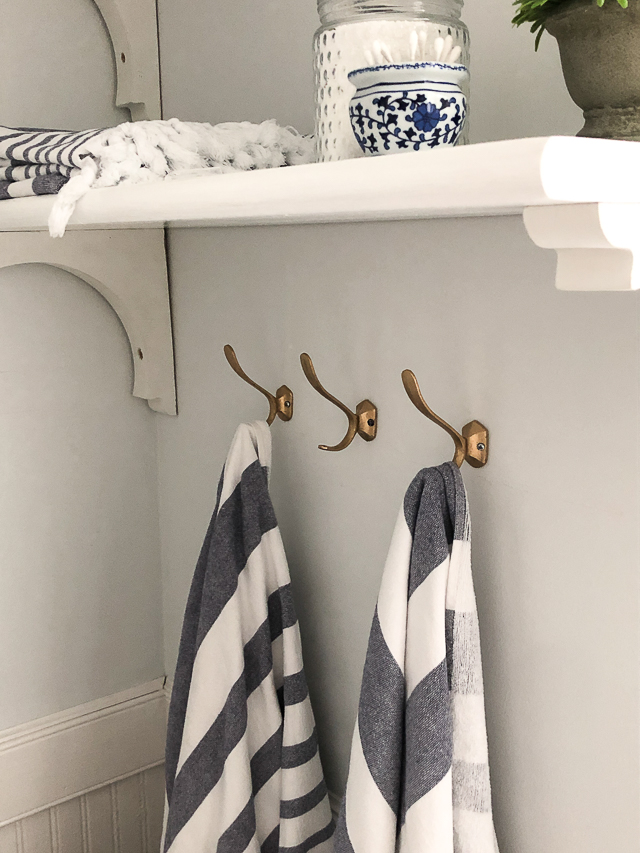
I also added a few gold toned hooks because I really do prefer them to towel bars.
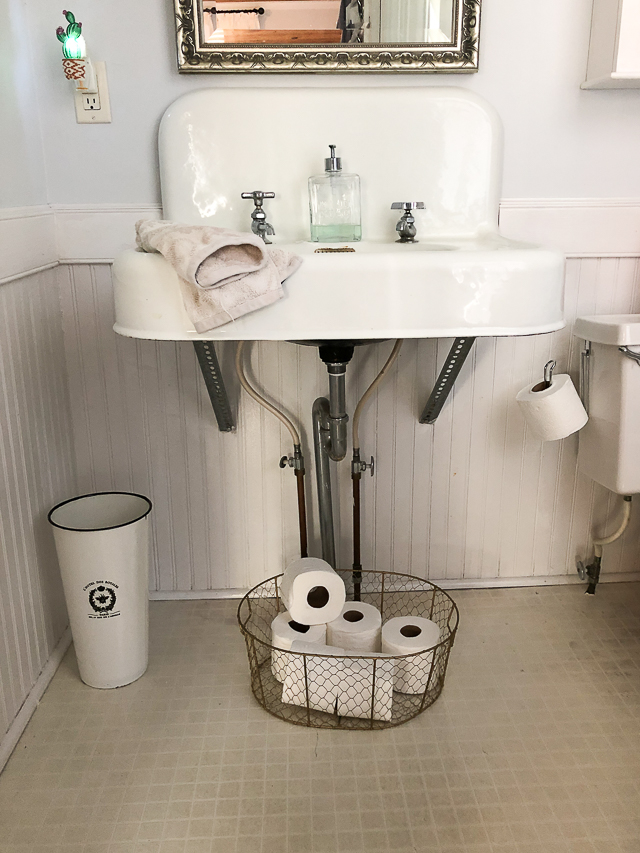
I also had a chance to sew a skirt for the sink. I gathered it and attached it using velcro. I think it makes a huge difference.
Here’s the before:
And the after:
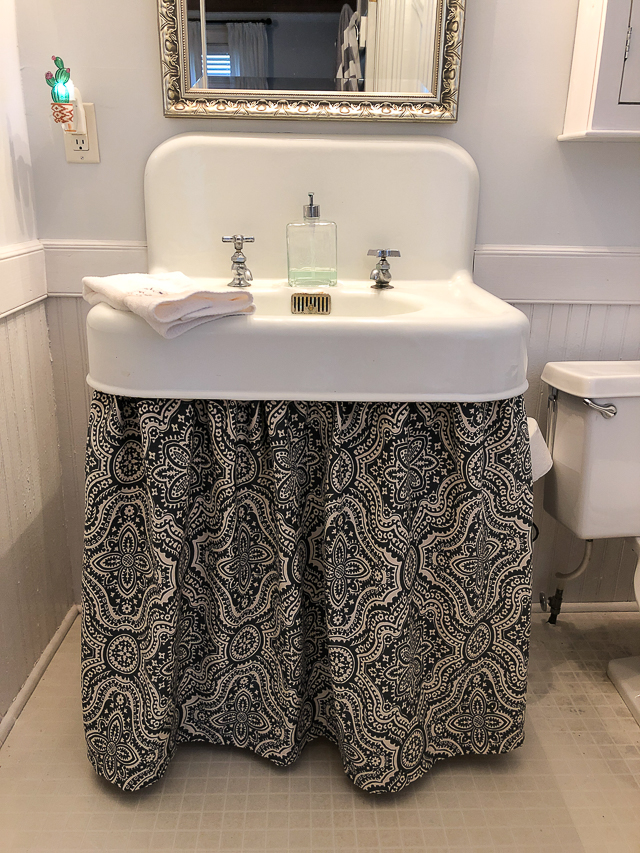
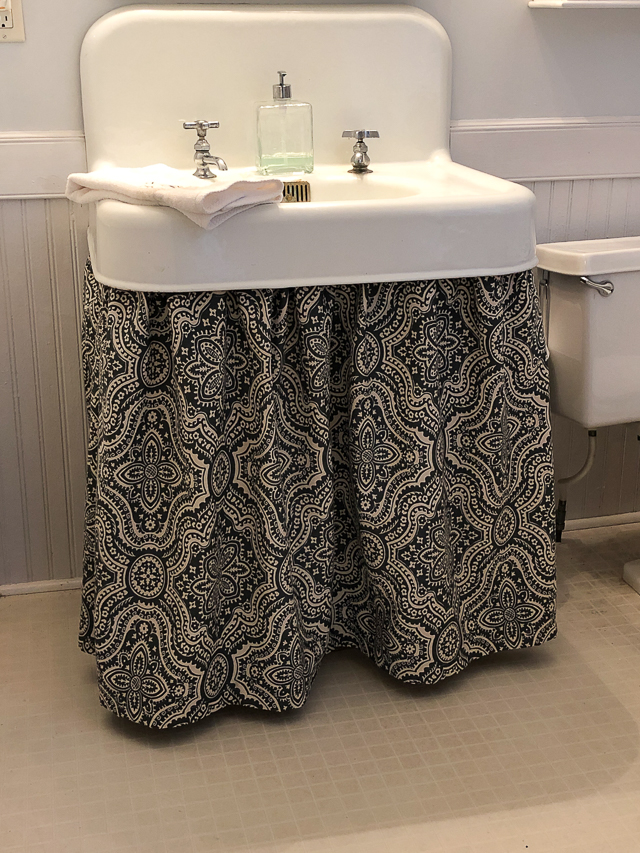
The next step will be to change the mirror and the light fixture, and then, time and budget will determine if I can do the peel and stick vinyl flooring. In the meantime, I think it’s still a huge improvement from where we started!

