This post is sponsored by Wagner. All opinions are my own.
I love making handmade gifts for all the special people in my life, and over the years I’ve come up with several tried and true ideas. If you’ve been reading for awhile, then you’re familiar with my peppermint sugar scrub, sharp mustard, and bourbon bacon salt. Homemade salsa is another family favorite, although I’ve yet to share that recipe on the blog (soon!).
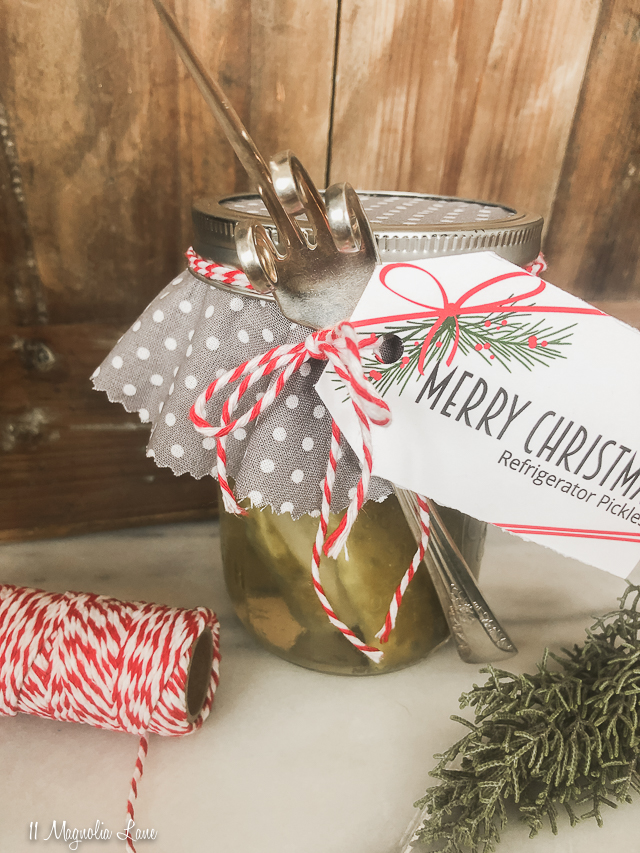
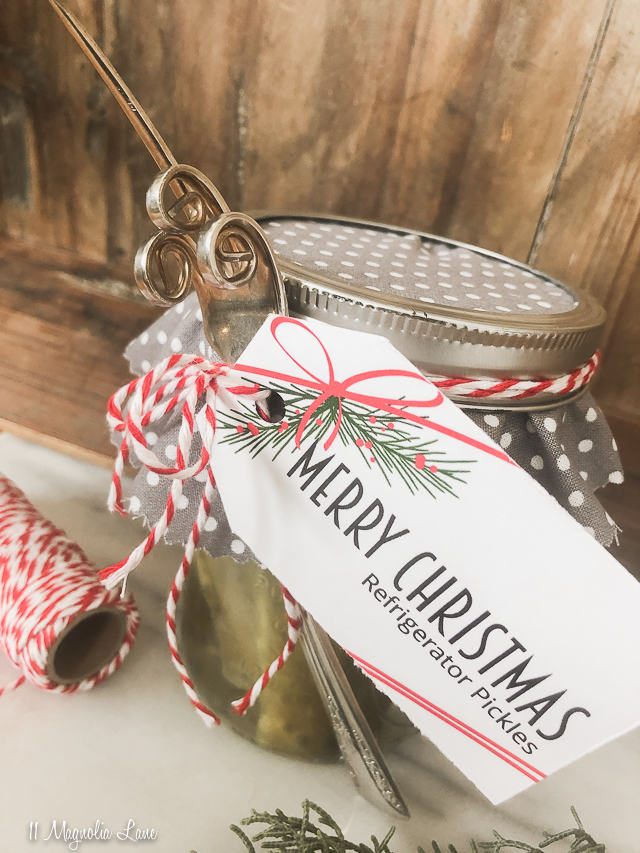
Today I’ve got a great addition to my arsenal of thoughtful handmade gifts; courtesy of my Aunt Diane’s refrigerator pickle recipe and my Wagner FURNO 500 LED Heat Gun. I’m going to show how you can make this darling pickle fork from vintage silver, plus I’m sharing the easiest pickle recipe and free printable tags. You can easily knock out a dozen gifts in just a few hours!
Gather your supplies:
- Wagner FURNO 500 LED Heat Gun
- Vintage forks (I like to find mine at thrift shops and yard sales, or you can check eBay or Marketplace)
- Needle nose pliers
- Heat-resistant gloves
If you’re a DIYer or crafter and don’t have a heat gun yet, let me recommend that you add one to your toolbox. They are SO useful!
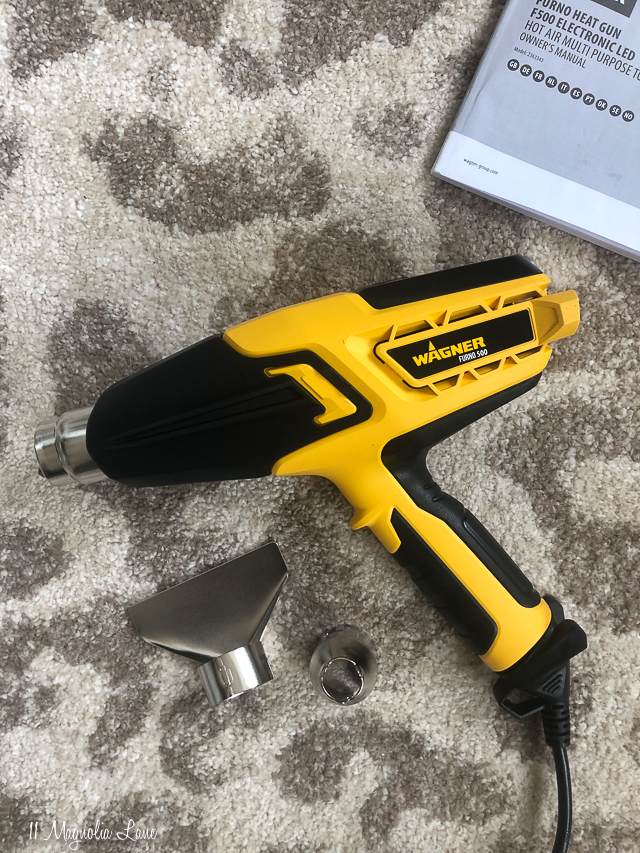
The heat gun is great for stripping paint, softening adhesives and caulk, removing bumper stickers, restoring auto trim, waxing snowboards, drying spackle, and refreshing faded plastic. For crafters, use it for making candles and soap, embossing, bending metals (which we’re about to do), shrink wrapping gifts, decorating cookies, and more! I think it would make a great, reasonably priced Christmas gift for a DIY’er or crafter.
I’ve also created a Pinterest board with some crafts that use the heat gun and vintage silverware; you can visit and follow it here.
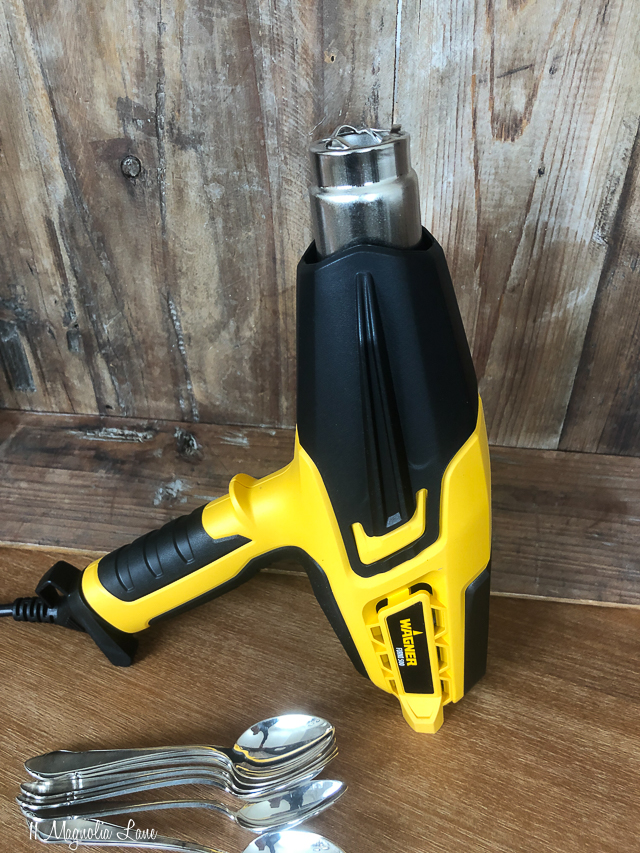
Start out by plugging your heat gun in and turning it on. It defaults to low heat but you can easily increase the temperature with the plus button. The integrated stand lets you keep your hands free while you’re working.
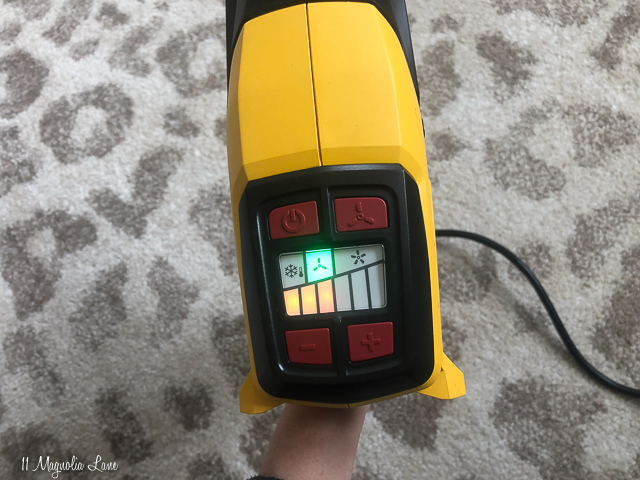
We used low heat and no tip for this project, but you might need to adjust your temperature setting based on the composition of your silverware. Generally, the higher the sterling content, the lower the heat you’ll need.
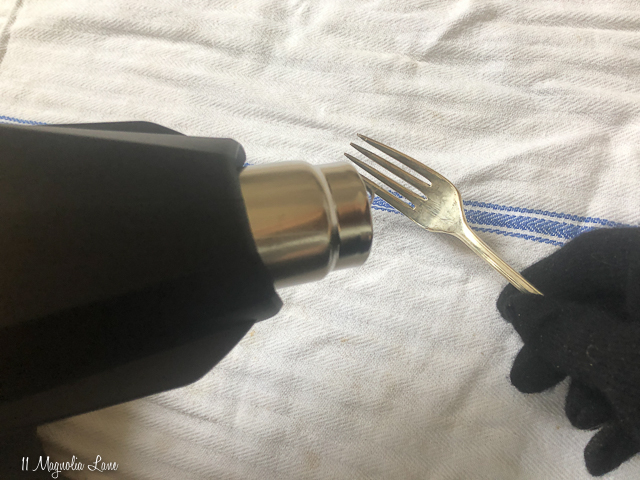
Start by heating the tines of the fork for 10-15 seconds and then use needle-nosed pliers to test whether or not they bend easily. Since the flatware will conduct heat, we recommend wearing heat-resistant gloves.
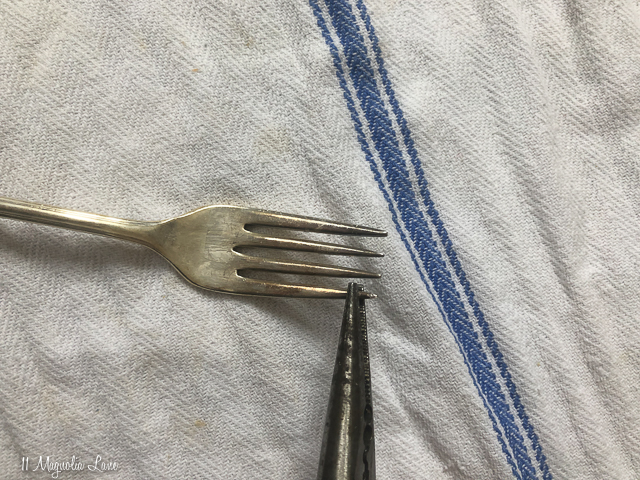
If your pliers seem to be leaving bite marks on the tines, use a rag to protect them.
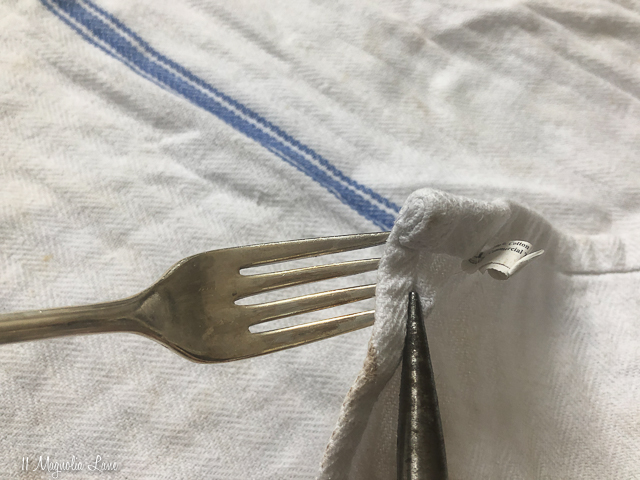
Curl three of the tines towards the base of the fork, leaving one tine completely upright. Variety is the spice of life, of course, but yours will look something like this:
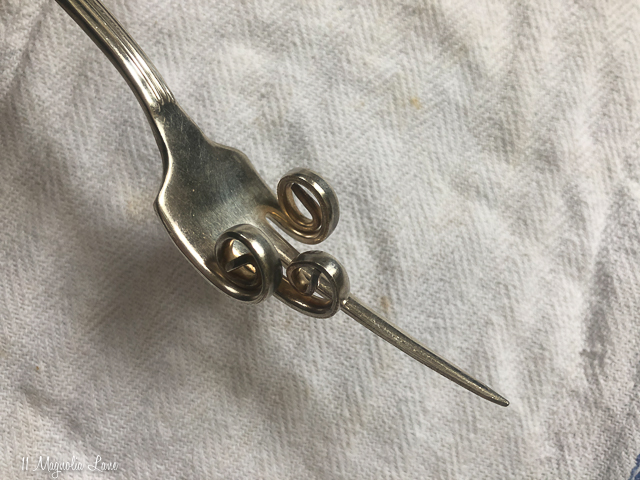
I like to do a batch of two or three at a time, keeping the FURNO running on its integrated stand the entire time. When you’re finished, just turn it off and the fan will run until the motor is safely cooled down.
Now, print your labels. I’ve made ones that say “Merry Christmas” and ones that say “Happy Holidays.” Just download the PDF that you prefer and print them on these tags (or you can print on white card stock and cut out your own tags).
If you don’t have a pickle recipe that you like, this one is easy and delicious and makes a crunchy, deli-style pickle.

Refrigerator Pickles
This easy recipe makes a nice, crisp, deli-style pickle.
Ingredients
- 12 cucumbers washed
- 3 c white vinegar
- 8 c water
- 1 c kosher salt
- 1/2 c sugar
- 1 T minced garlic
- 4 sprigs fresh dill (can use 2 t. dried dill)
- pepper flakes (optional)
Instructions
-
Prepare brine in a clean container. Whisk together vinegar, salt, sugar, and 8 c. of water. Whisk until salt and sugar are dissolved. Set aside.
-
Wash cucumbers. Trim ends if desired. For spears: halve and quarter. For slices: slice cucumbers by hand, with mandoline, or food processor. Slices should be no thinner than 1/4".
-
Pack cucumbers into one gallon jar. Spears must be stacked neatly but not packed overly tight. Slices are scooped in by the handful and can be settled by shaking.
-
Add garlic, dill, and hot pepper (if desired). Add brine. Cap and shake for one minute. Loosen cap, top up to brim with up to three additional cups of water, if necessary.
-
Recap and tighten lid. Sit jar in a cool place (not the refrigerator) for 24 hours. Never leave in hot sun or hot room above 80 degrees Fahrenheit. After 24 hours, refrigerate.
-
Pickles are ready after 24 hours but are best after a week or two.
Tie up your pickles with some red baker’s twine (sourced below) and you are ready to give savory goodness to everyone who’s on your nice list!


