• Skip to primary navigation
  • Skip to main content
  • Skip to primary sidebar
  • Skip to footer
  • MEET CHRISTY & AMY
    • IF YOU’RE NEW HERE…
    • WORK WITH US
    • 11 MAGNOLIA LANE 101
    • DISCLOSURE + PRIVACY (the fine print)
    • BEST OF 11 MAGNOLIA LANE
  • TOUR OUR HOMES
    • TOUR OUR HOMES
    • CHRISTY’S MAGNOLIA COTTAGE
    • CHRISTY’S MCC HOUSE
    • Christy’s Stuttgart Flat
    • Amy’s Virginia Craftsman Home Tour
    • AMY’S VIRGINIA CRAFTSMAN Building Process
    • HOLIDAY HOME TOUR SERIES
  • CELEBRATIONS
    • EVENTS + ENTERTAINING
    • GIFTS
    • HOLIDAYS
    • RECIPES
  • HOME
    • CLEANING
    • DECORATING
    • ORGANIZING
    • ROOM BY ROOM
      • BATHROOMS
      • BEDROOMS
      • CLOSETS
      • CRAFT ROOMS + OFFICES
      • DINING ROOMS
      • KIDS’ ROOMS
      • KITCHENS
      • LAUNDRY ROOMS
      • LIVING + GREAT ROOMS
      • OTHER SPACES
      • PANTRIES
      • PLAYROOMS + BONUS ROOMS
      • PORCHES + OUTDOOR SPACES
    • TIPS
  • SHOP
    • SHOP OUR INSTAGRAM
    • SHOP OUR AMAZON STORE
    • FRIDAY FAVORITE FINDS
  • PROJECTS
    • CRAFTS
    • DIY PROJECTS + TUTORIALS
    • FURNITURE
    • PRINTABLES
    • WINDOWS, DOORS, + WALLS
  • LIFE
    • FRIDAY FREE FOR ALL
    • HEALTH
    • SIMPLY ON SUNDAY
  • TRAVEL
  • CONTACT
    • Email
    • Facebook
    • Instagram
    • Pinterest

11 Magnolia Lane

Sharing our easy DIYs, decorating, entertaining and more!

Back to Basics: How to Apply a Vinyl Decal

September 21, 2015 By Christy 5 Comments

This Post Contains Affiliate Links

34 shares

How to apply a vinyl decal | 11 Magnolia Lane
As you know, we’re participating in a fun series this month with four other blogs; it’s called Back to Basics and every Monday, we’re all going to cover something basic that we think everyone should know (but might not!).  That’s where we’ll come in, as we’ll share our design and decor 101 ideas {see our previous posts here and here}.

I recommend that you pin all of them to your “Tips” or “Good to Know” boards on Pinterest, if you have those, for future reference.  My “Tips” board is {here} and that’s where I’ll be pinning all of the great ideas our fellow bloggers come up with.

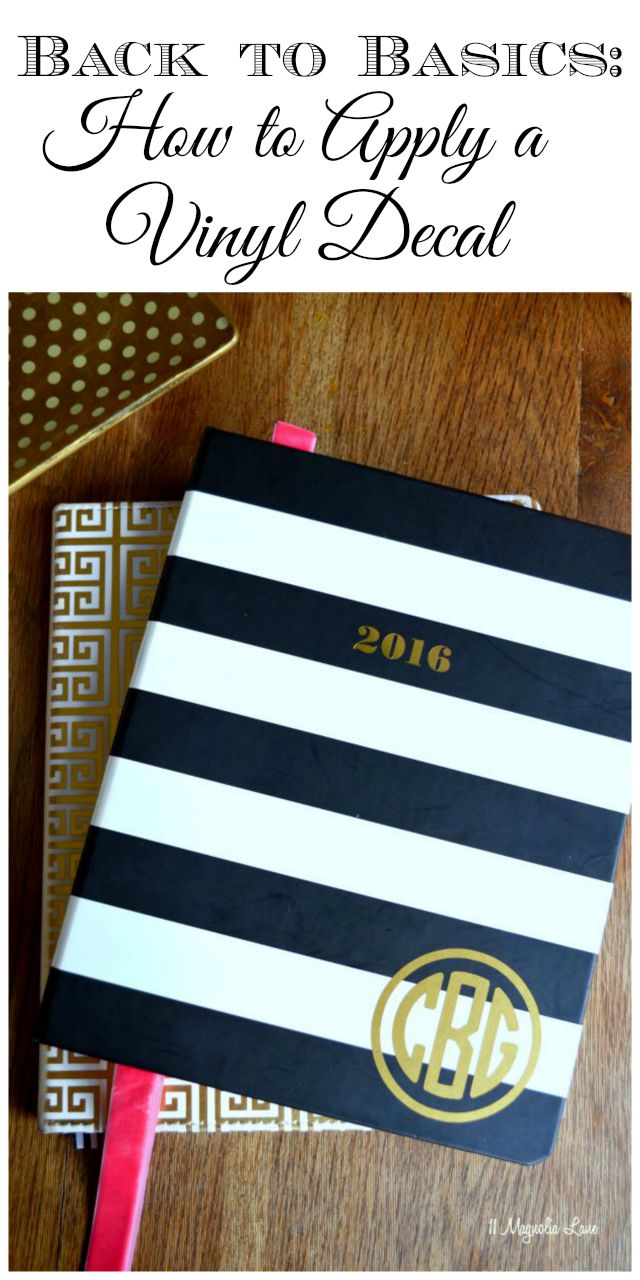
Today I’m covering how to apply a vinyl decal.  Since I have a Silhouette CAMEO and have been cutting and applying vinyl for years now, this seems like a very basic skill to me, but every day I come across customers at our Etsy shop that have never done this before.  It’s so easy!

You can read my tutorial on how to create round monograms {here}.  If you have a vinyl cutter, then {this} is the only vinyl I use–it’s the best I’ve ever tried.

Here’s what you do.

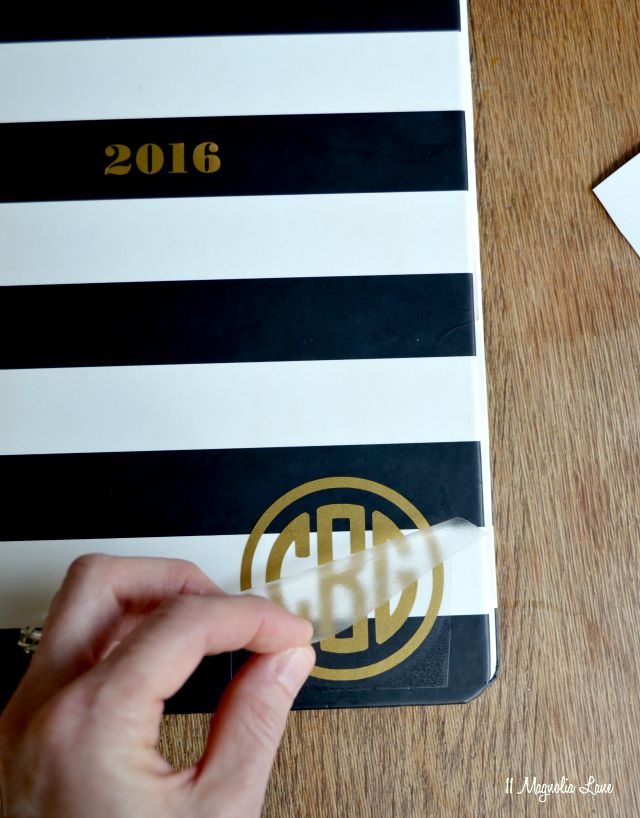
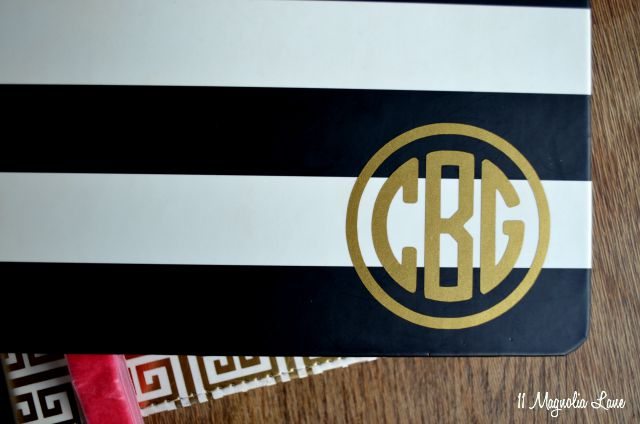
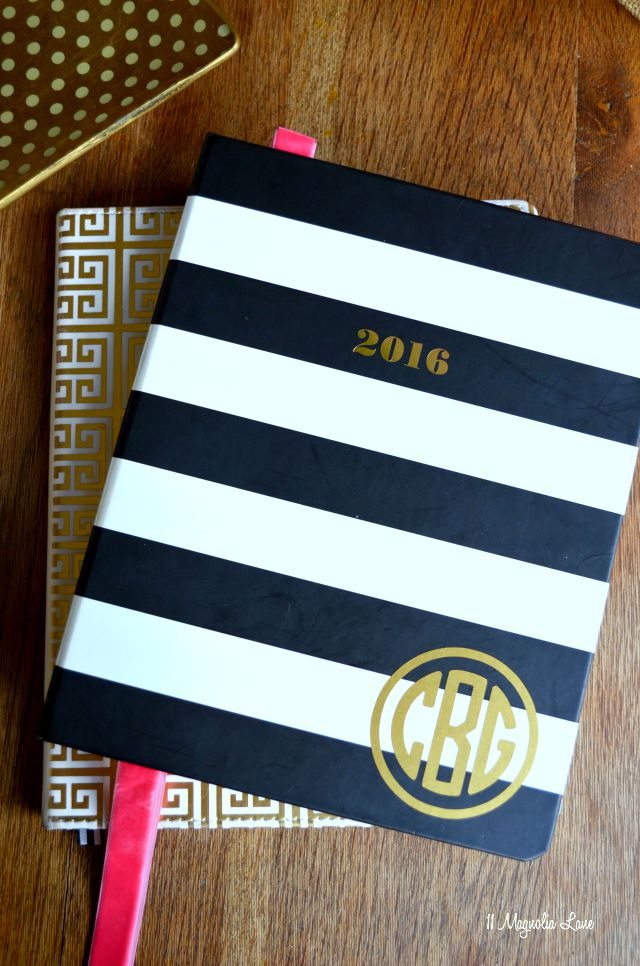
  1.  First, start with the item you want to decorate.  I’m using my black and white striped Kate Spade planner, which is just crying out for a gold monogram, don’t you think?

How to apply a vinyl decal | 11 Magnolia Lane

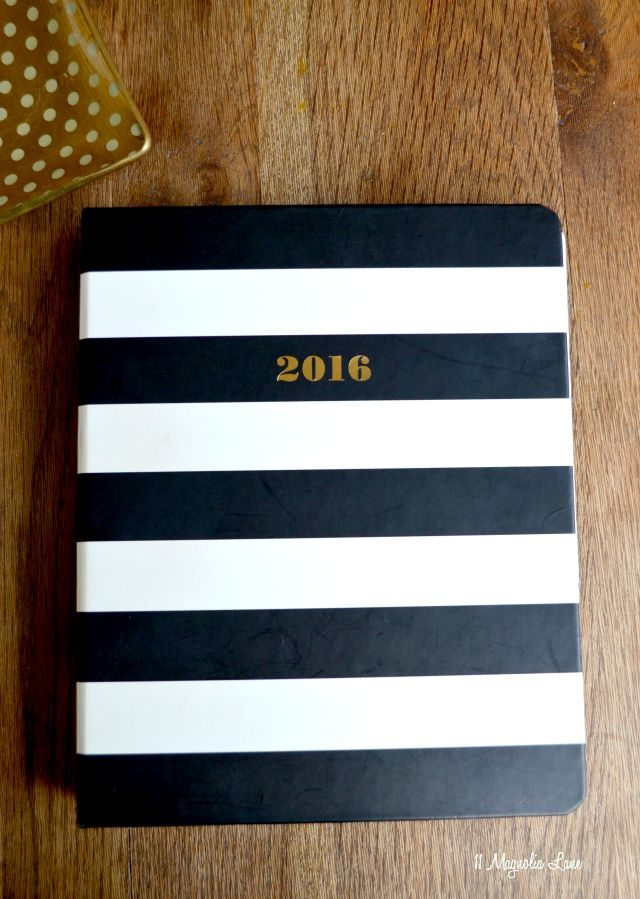
Since vinyl will stick best to clean, smooth surfaces, prepare your surface ahead of time. I’ll usually clean mirrors and other glass surfaces with Windex and let them dry.

2.  Your vinyl comes in three layers:  the top transfer tape (it might be clear or opaque), the monogram itself, and then the backing sheet on the bottom.

How to apply a vinyl decal | 11 Magnolia Lane

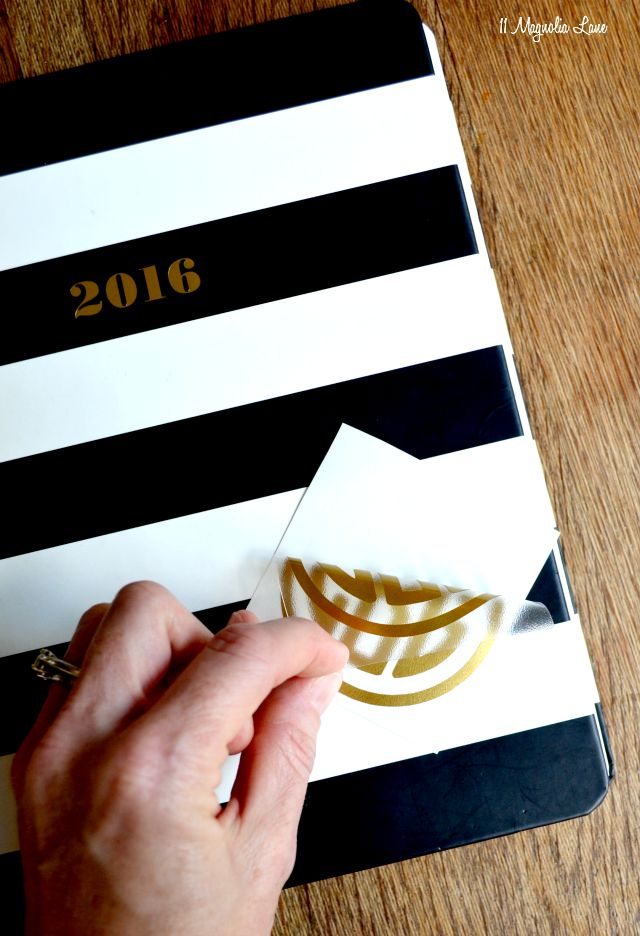
3.  Remove the backing sheet, leaving the sticker attached to the top transfer paper (if it doesn’t want to peel away from the backing sheet, rub it with a credit card or popsicle stick until it separates cleanly).

How to apply a vinyl decal | 11 Magnolia Lane

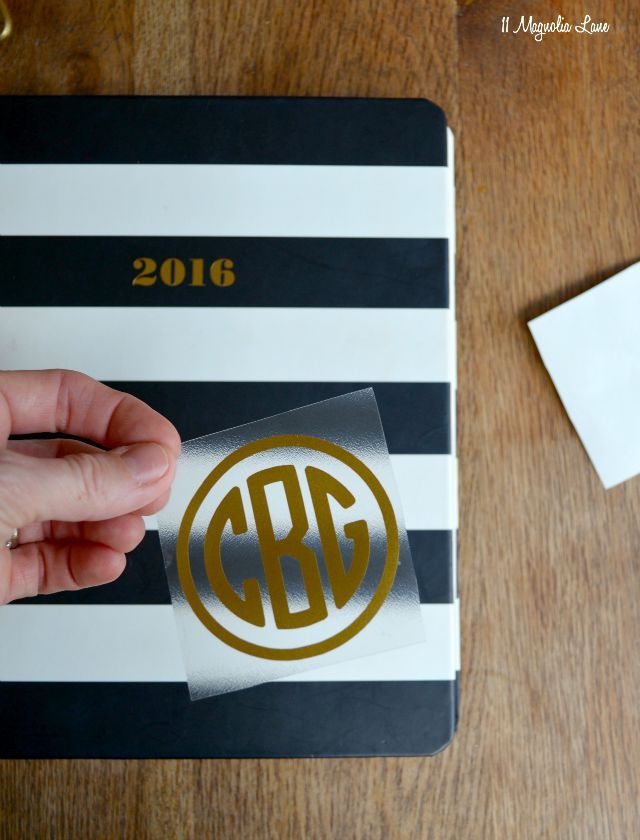
4.  Position the decal in place…vinyl can often be repositioned if you use a light touch but it’s best if you make sure that you place it correctly the first time.

How to apply a vinyl decal | 11 Magnolia Lane

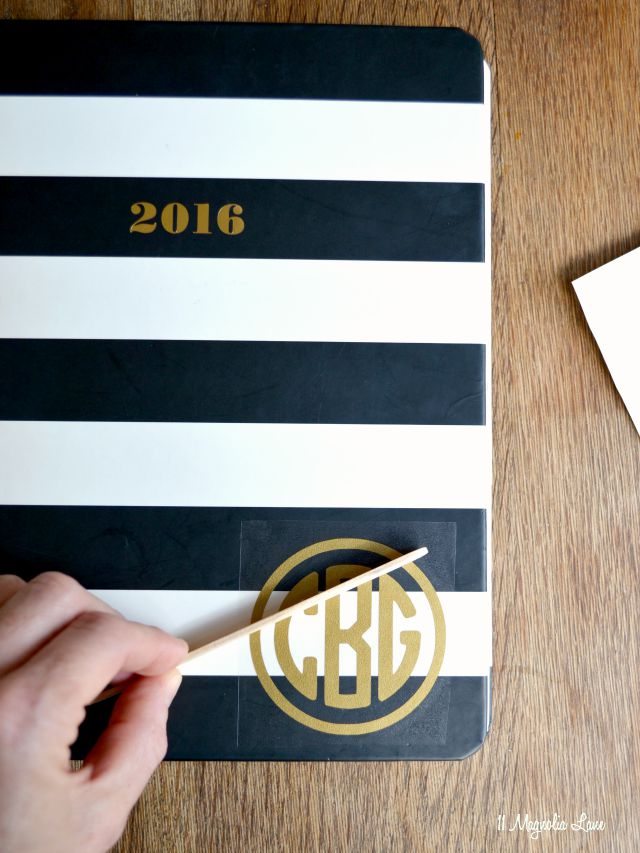
5.  Use a credit card, popsicle stick, or even your fingertips to smooth any wrinkles or air bubbles out of the decal and affix it to the surface.

How to apply a vinyl decal | 11 Magnolia Lane

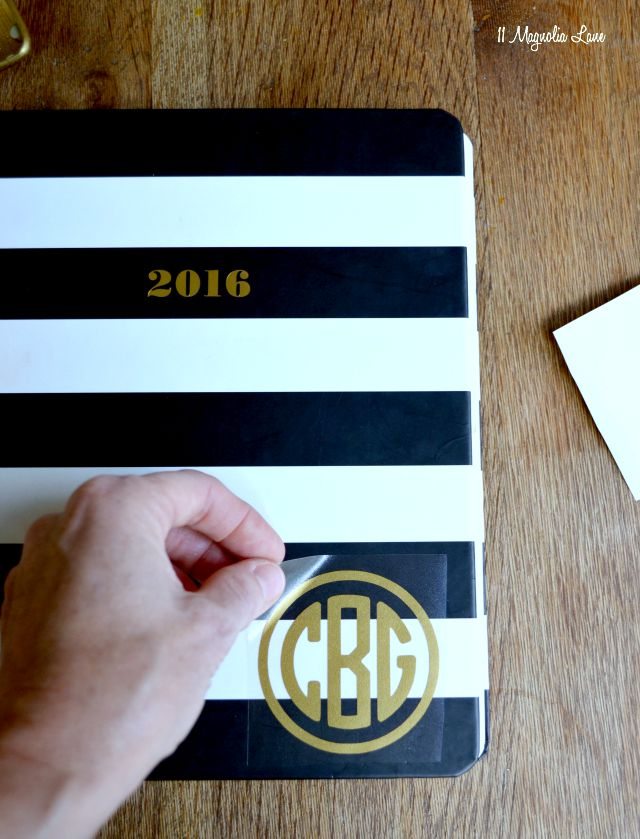
6.  Peel the transfer tape away from the decal; if the decal lifts with the tape, just burnish it again with the popsicle stick or credit card until it adheres.

How to apply a vinyl decal | 11 Magnolia Lane

7.  Enjoy your fabulous new decal, and when it’s time to remove it, visit {this} post for my tips on easy removal of adhesive vinyl decals.

How to apply a vinyl decal | 11 Magnolia Lane

There is an alternate method for large decals, although I don’t use it myself.

master bathroom mirror monogram

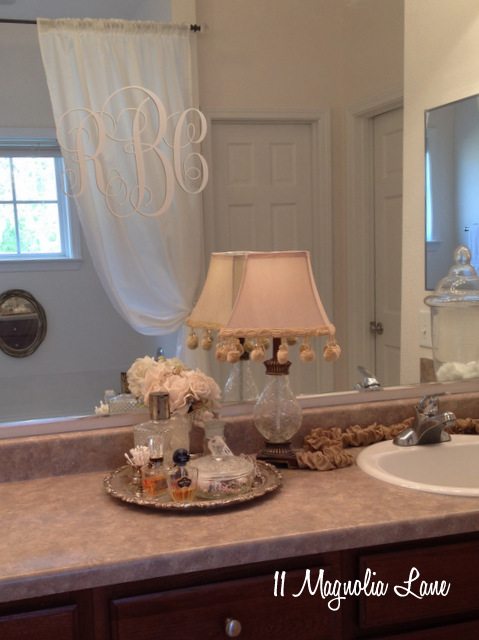
{source for giant monogram here}

Mix 1 cup of cold tap water with one drop of dish soap.  Pour the mixture into a clean spray bottle, or you can use a lint-free rag or sponge instead.  Apply the water mixture liberally to the surface.  This allows you to work from the center to the outside, smoothing out the sticker and eliminating wrinkles or air bubbles.  Once the decal is in place, let it dry for about 15 minutes and then spray the backing paper with the water mixture and carefully peel it off.  If an edge lifts from the surface, use the popsicle stick to smooth it back down and wait a couple more minutes for further drying.

front porch vinyl house numbers

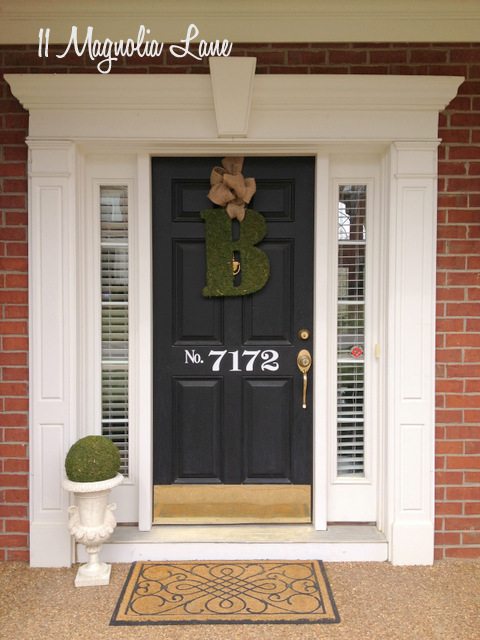
{source for house numbers here}

That’s all there is to it!

How to apply a vinyl decal | 11 Magnolia Lane

Let me know if you have any questions, and be sure to check out the other bloggers in the Back to Basics Series:

Being Bianca  |  The Heathered Nest  |  House By Hoff |

Southern State of Mind  |  This is Our Bliss

Our posts contain affiliate links.  If you make a purchase after clicking on these links, we will earn a small commission, which helps to keep our content free.  You don’t pay a cent more than you would otherwise, since that would be tacky!

Final New Christy headshot 2015
 

icon-facebook-1icon-instagram-1icon-mail-1icon-pinterest-1icon-twitter-1NEW Google+
 

YOU MIGHT ALSO LIKE THESE POSTS... :

How to Build a Wall Mounted Plate Rack
Entryway Update: Built In Bookshelves
Tutorial: How to Paint Horizontal Stripes On...
Vinyl Project: Monogrammed Ballet Booties

Filed Under: DIY/Projects/Tutorials, Vinyl Projects, Wall & Door Decor Tagged With: how to, vinyl

Reader Interactions

Comments

  1. brett says

    September 21, 2015 at 10:16 am

    Totally a basic everyone needs to know! Thanks for sharing – pinning to share with others! xx, b

    Reply
  2. Rachael @ This is our Bliss says

    September 21, 2015 at 11:25 am

    Great go-to tutorial for such a necessary basic! Thanks for sharing! And I just love the black, white & gold planner & decal 😉

    Reply
  3. Pat says

    September 21, 2015 at 12:21 pm

    Thanks so much! Love the black, white and gold!

    xo
    Pat

    Reply
  4. April Hoff says

    September 21, 2015 at 9:27 pm

    What a great idea for this series! I remember being very confused the first time I tried to apply a vinyl decal to something!

    Reply
  5. Ryan Kelly says

    August 6, 2019 at 5:32 pm

    It’s amazing how much people overcomplicate vinyl decals, I’ve only worked with car graphics but the fundamentals are the same. Clean the surface, pick your edge and slowly lay it down. Nice images on here as well!

    Reply

Leave a Reply Cancel reply

Your email address will not be published. Required fields are marked *

Recipe Rating


This site uses Akismet to reduce spam. Learn how your comment data is processed.

Primary Sidebar

Lowest prices. Straight Teeth,

•Don’t Miss A Thing!!•

•Do You Know Jesus?•

•Featured In•

Holiday Gift Ideas

Footer

  • Email
  • Facebook
  • Instagram
  • Pinterest

Copyright © 2023 · 11 Magnolia Lane· Blog Design by Little Blue Deer
Privacy Policy

11 MAGNOLIA LANE IS A PARTICIPANT IN THE AMAZON SERVICES LLC ASSOCIATES PROGRAM, AN AFFILIATE ADVERTISING PROGRAM DESIGNED TO PROVIDE A MEANS FOR US TO EARN ADVERTISING FEES BY ADVERTISING AND LINKING TO AMAZON.COM AND AFFILIATED SITES. AS AN AMAZON ASSOCIATE, WE EARN FROM QUALIFYING PURCHASES. WE ALSO PARTICIPATE IN SEVERAL OTHER AFFILIATE PROGRAMS; THIS INCOME ALLOWS US TO MAINTAIN THE QUALITY OF YOUR USER EXPERIENCE AND KEEPS OUR CONTENT FREE. WHEN YOU PURCHASE THROUGH ANY OF OUR AFFILIATE LINKS, WE EARN A SMALL COMMISSION AND YOU DON’T PAY A CENT MORE THAN YOU WOULD OTHERWISE; THAT WOULD BE TACKY!   READ OUR FULL PRIVACY AND DISCLOSURE POLICY {HERE}.
  ©11 Magnolia Lane 2019. Unauthorized use and/or duplication of this material without express and written permission from this blog’s authors and/or owners is strictly prohibited. Please email us at admin@11magnolialane.com for more information.

  • MEET CHRISTY & AMY
    • IF YOU’RE NEW HERE…
    • WORK WITH US
    • 11 MAGNOLIA LANE 101
    • DISCLOSURE + PRIVACY (the fine print)
    • BEST OF 11 MAGNOLIA LANE
    • Back
  • TOUR OUR HOMES
    • TOUR OUR HOMES
    • CHRISTY’S MAGNOLIA COTTAGE
    • CHRISTY’S MCC HOUSE
    • AMY’S NEW HOME BUILD
    • HOLIDAY HOME TOUR SERIES
    • SPRING HOME TOUR SERIES
    • Back
  • CELEBRATIONS
    • EVENTS + ENTERTAINING
    • GIFTS
    • HOLIDAYS
    • RECIPES
    • Back
  • HOME
    • CLEANING
    • DECORATING
    • ORGANIZING
    • ROOM BY ROOM
      • BATHROOMS
      • BEDROOMS
      • CLOSETS
      • CRAFT ROOMS + OFFICES
      • DINING ROOMS
      • KIDS’ ROOMS
      • KITCHENS
      • LAUNDRY ROOMS
      • LIVING + GREAT ROOMS
      • OTHER SPACES
      • PANTRIES
      • PLAYROOMS + BONUS ROOMS
      • PORCHES + OUTDOOR SPACES
      • Back
    • TIPS
    • Back
  • SHOP
    • SHOP OUR INSTAGRAM
    • SHOP OUR AMAZON STORE
    • FRIDAY FAVORITE FINDS
    • 11 ML ETSY SHOP
    • 11ML ORGANIZING SHOP
    • Back
  • PROJECTS
    • CRAFTS
    • DIY PROJECTS + TUTORIALS
    • FURNITURE
    • PRINTABLES
    • WINDOWS, DOORS, + WALLS
    • Back
  • LIFE
    • FRIDAY FREE FOR ALL
    • HEALTH
    • SIMPLY ON SUNDAY
    • TRAVEL
    • Back
  • CONTACT
    • Email
    • Facebook
    • Instagram
    • Pinterest
34 shares