• Skip to primary navigation
  • Skip to main content
  • Skip to primary sidebar
  • Skip to footer
  • MEET CHRISTY & AMY
    • IF YOU’RE NEW HERE…
    • WORK WITH US
    • 11 MAGNOLIA LANE 101
    • DISCLOSURE + PRIVACY (the fine print)
    • BEST OF 11 MAGNOLIA LANE
  • TOUR OUR HOMES
    • TOUR OUR HOMES
    • CHRISTY’S MAGNOLIA COTTAGE
    • CHRISTY’S MCC HOUSE
    • Christy’s Stuttgart Flat
    • Amy’s Virginia Craftsman Home Tour
    • AMY’S VIRGINIA CRAFTSMAN Building Process
    • HOLIDAY HOME TOUR SERIES
  • CELEBRATIONS
    • EVENTS + ENTERTAINING
    • GIFTS
    • HOLIDAYS
    • RECIPES
  • HOME
    • CLEANING
    • DECORATING
    • ORGANIZING
    • ROOM BY ROOM
      • BATHROOMS
      • BEDROOMS
      • CLOSETS
      • CRAFT ROOMS + OFFICES
      • DINING ROOMS
      • KIDS’ ROOMS
      • KITCHENS
      • LAUNDRY ROOMS
      • LIVING + GREAT ROOMS
      • OTHER SPACES
      • PANTRIES
      • PLAYROOMS + BONUS ROOMS
      • PORCHES + OUTDOOR SPACES
    • TIPS
  • SHOP
    • SHOP OUR INSTAGRAM
    • SHOP OUR AMAZON STORE
    • FRIDAY FAVORITE FINDS
  • PROJECTS
    • CRAFTS
    • DIY PROJECTS + TUTORIALS
    • FURNITURE
    • PRINTABLES
    • WINDOWS, DOORS, + WALLS
  • LIFE
    • FRIDAY FREE FOR ALL
    • HEALTH
    • SIMPLY ON SUNDAY
  • TRAVEL
  • CONTACT
    • Email
    • Facebook
    • Instagram
    • Pinterest

11 Magnolia Lane

Sharing our easy DIYs, decorating, entertaining and more!

Tutorial: How to Paint Horizontal Stripes On A Wall

September 7, 2015 By Christy 8 Comments

This Post Contains Affiliate Links

9761 shares
  • 13

How to paint horizontal stripes on a wall | 11 Magnolia Lane

We’re participating in a fun series this month with four other blogs; it’s called Back to Basics and every Monday, we’re all going to cover something basic that we think everyone should know (but might not necessarily know how).  That’s where we’ll come in, as we’ll share our design and decor 101 ideas.

I recommend that you pin all of them to your “Tips” or “Good to Know” boards on Pinterest, if you have those, for future reference.  My “Tips” board is {here} and that’s where I’ll be pinning all of the great ideas.

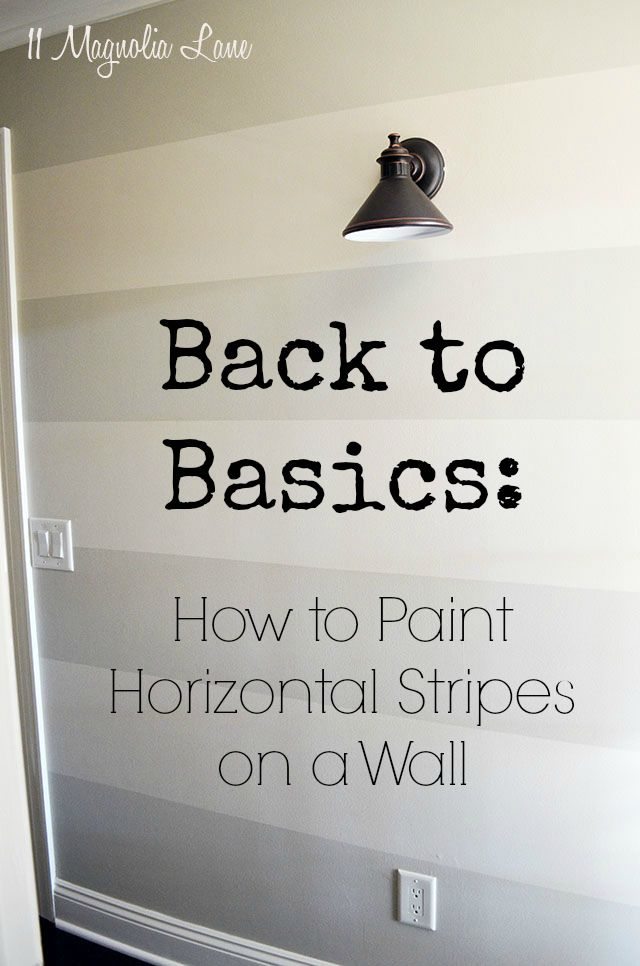
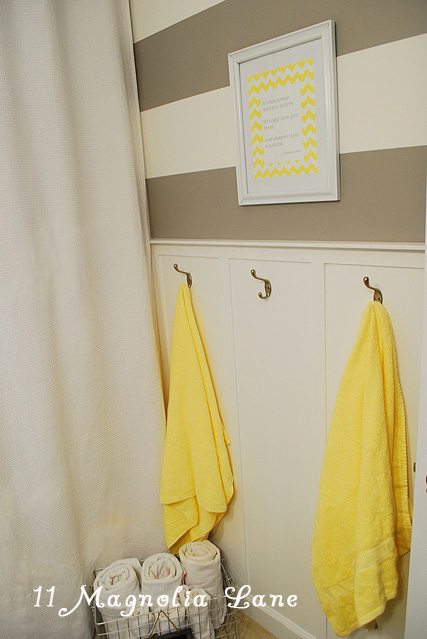
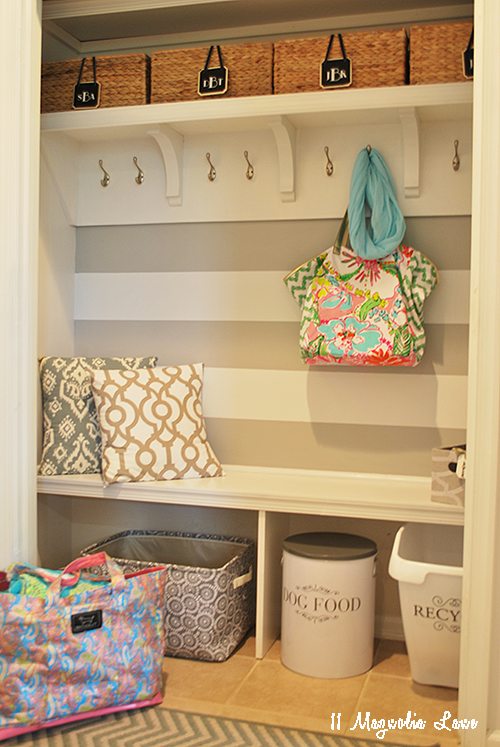
So, as you probably guessed from the above photo, today I’ll be covering how to paint horizontal stripes.  Clearly, we LOVE striping walls around here!  Check out Amy’s kids’ bathroom {more photos here}:

Grey and yellow bathroom with striped walls | 11 Magnolia Lane
And her closet-turned-mudroom in her new house {more photos here}:

Closet turned mudroom | 11 Magnolia Lane
And I’ve just striped a long wall in my garage entryway, as well as a (much smaller) closet-turned mudroom.

Striped wall in entryway | 11 Magnolia Lane

As often as we’ve used horizontal stripes in our decor, the how-to’s for painting them come pretty naturally to us, but there are a few tips for making them turn out right (i.e. not crazy crooked or wonky) that we’d like to share with you.

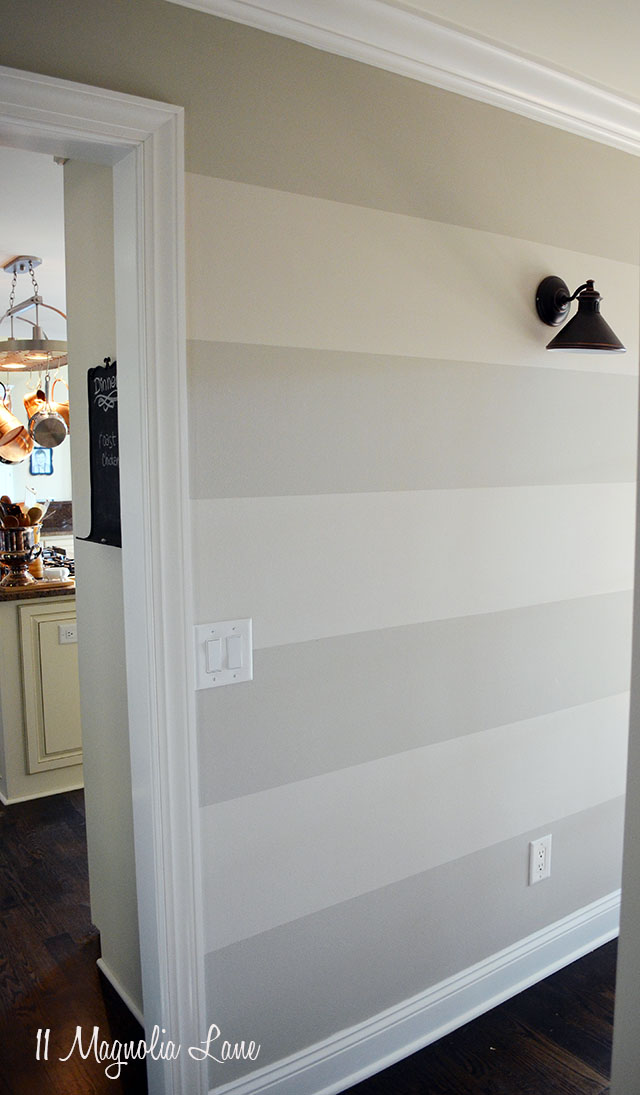
1.  First, decide on two (or more) paint colors.  Depending on how much you want your wall to “pop,”  choose two colors that are completely contrasting (ex.: black and white), close to each other on the paint chip (ex.: Edgecombe Gray and Revere Pewter, like I used on the wall above), or even the same color but a different sheen (flat and satin).  The same color with stripes done in a different sheen will be the most subtle and will only show up when the light hits it.

2.  Second, paint the entire wall in the darker color.  If you’re using the same color but different sheens, I would paint the entire wall in the flatter finish (but that’s not a deal breaker).  So I painted my entire wall in Revere Pewter, the darker of the two colors I was using:

Revere Pewter Benjamin Moore | 11 Magnolia Lane

Sconces    |   Paint

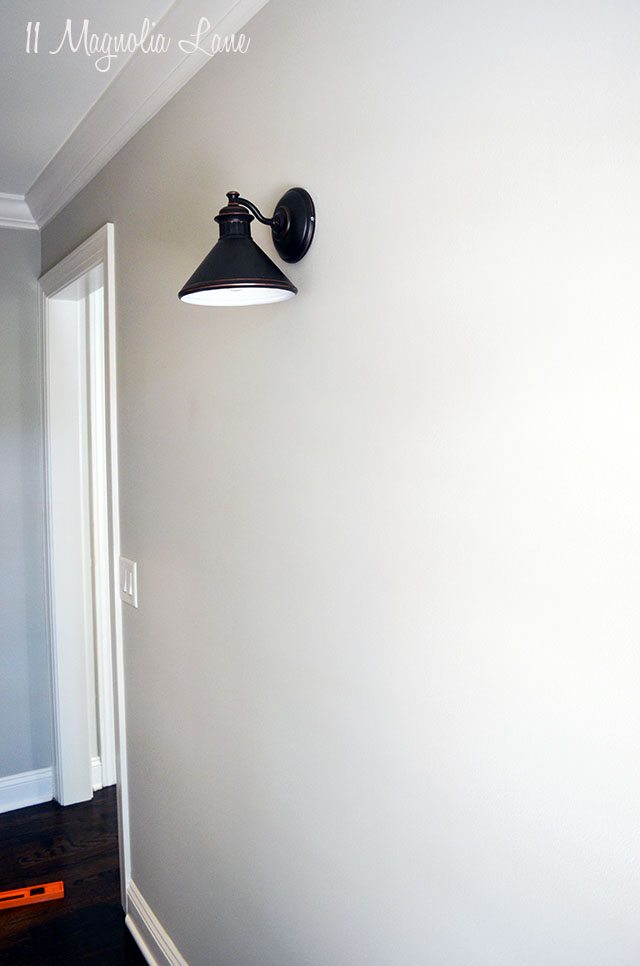
The reason that you’re doing the darker color all over is that you’ll want your darker color to be the very top and the very bottom stripe, right next to your crown molding or ceiling on the top and your baseboards on the bottom.  Why cut in your edges twice?

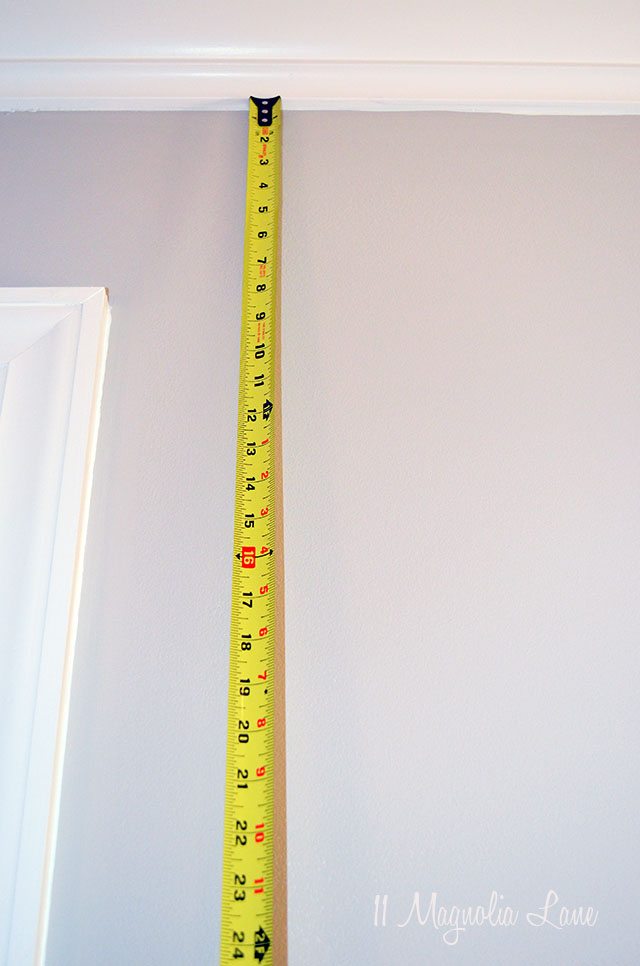
3.  Measure your wall from top to bottom and decide roughly how wide you want your stripes to be.  You’ll want an odd number of stripes to have the darker color at the very top and the very bottom.  For this wall, I decided that I wanted wider stripes–I chose seven total.  Do a little short division (your mother told you this would come in handy one day!!) to figure out approximately how wide each stripe should be.  You don’t want the very bottom stripe to be a lot thicker or thinner than the other ones, so you might come up with rather strange widths for your stripes.  Since my wall measured 86″, divided by seven stripes, my stripes were about 12.25″ wide.

How to paint horizontal stripes on a wall | 11 Magnolia Lane

4.  Once the paint is dry, use a level to measure down one stripe width.

How to paint horizontal stripes on a wall | 11 Magnolia Lane

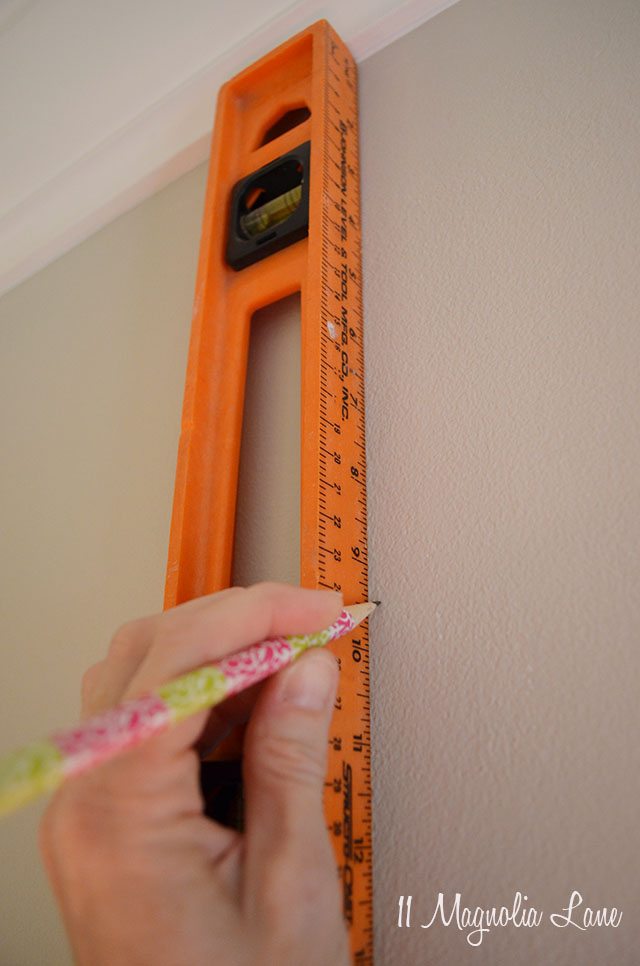
I put a few pencil dots on the wall to mark where my line should go, then use the level horizontally to make sure that they’re straight.

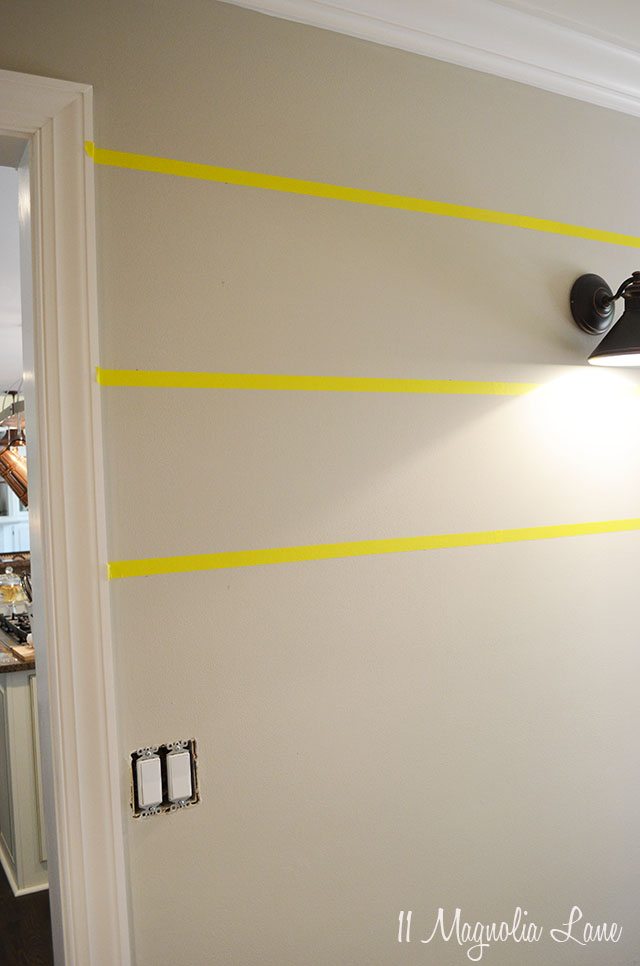
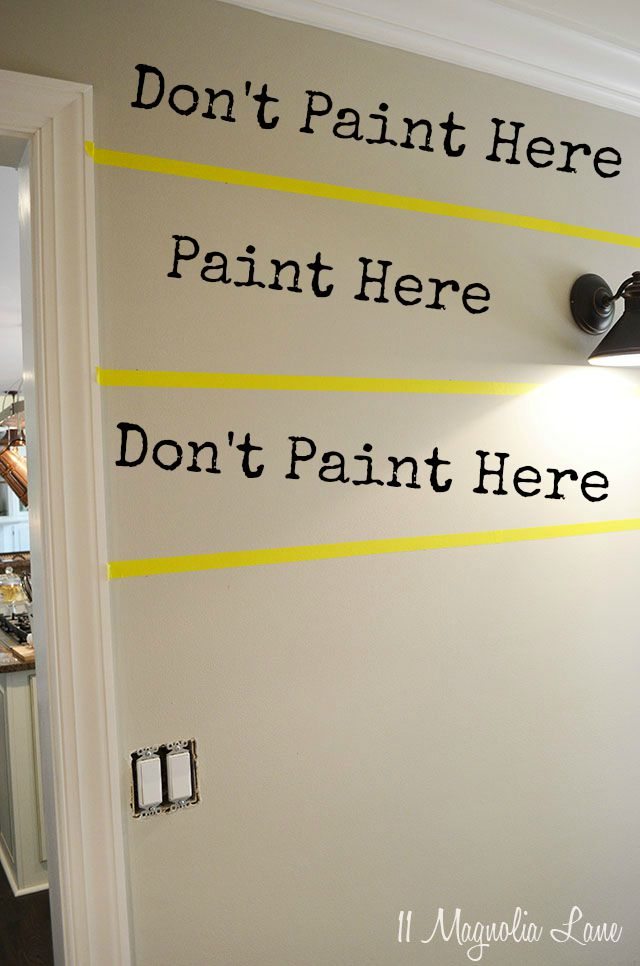
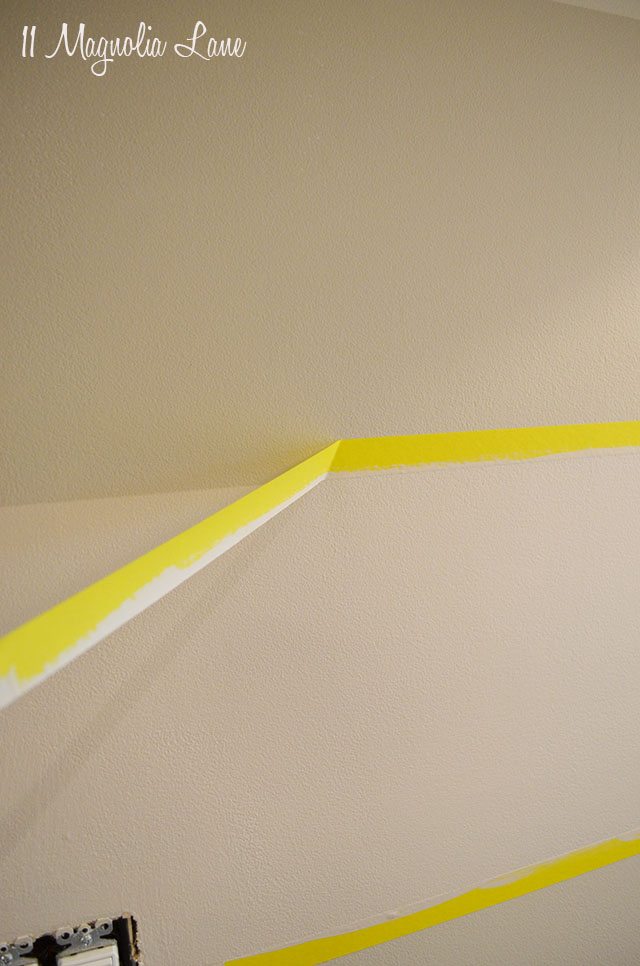
5.  Use painter’s tape for delicate surfaces to tape your lines, unless your base coat has cured for more than a week. **Important:  remember that you’ll want to put the tape on the outside of the stripes that you’re painting so they’re the right width.  I usually will tape a stripe and then write “Paint Here” in pencil in the middle of the one that I’ll be painting.  I know, it’s pure rocket science.

How to paint horizontal stripes on a wall | 11 Magnolia Lane

To really break it down, use this pic:

tape on wall-marked

6. Once your stripes are all taped and you’ve double check to be sure your tape is on the correct side of the line, go ahead and paint your stripes.  I paint from top to bottom, and I highly recommend that you use a roller so that your brush marks don’t show (the more of a sheen that your paint has, the more likely this is to happen).

How to paint horizontal stripes on a wall | 11 Magnolia Lane

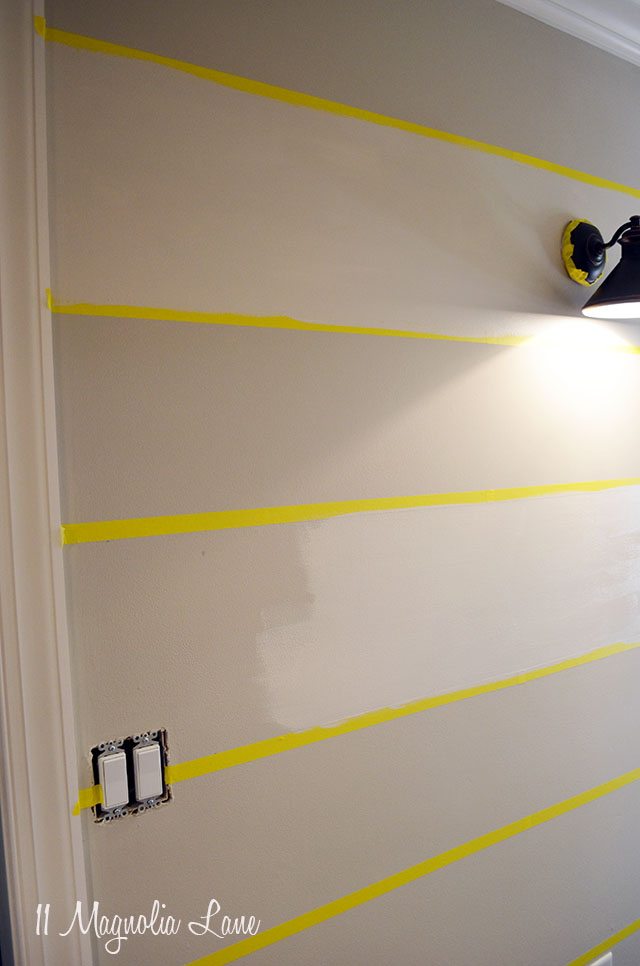
7. I remove the tape when the paint is still slightly damp.

How to paint horizontal stripes on a wall | 11 Magnolia Lane

It makes such a big impact!  I never get tired of stripes.

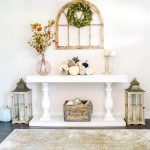
You can read more about how I added the chalkboard wall calendar (one of my organizing staples) here.

Striped wall with chalkboard calendar

Sconces    |   Paint   |  Days of the Week Labels   |  Chalkboard Rectangles

Let me know if you have any questions, and be sure to check out the other bloggers in the Back to Basics Series:

Being Bianca  |  The Heathered Nest  |  House By Hoff |

Southern State of Mind  |  This is Our Bliss


Final New Christy headshot 2015
 

icon-facebook-1icon-instagram-1icon-mail-1icon-pinterest-1icon-twitter-1NEW Google+
 

YOU MIGHT ALSO LIKE THESE POSTS... :

Tutorial: Quick and Easy Way to Hang Silver ...
Updated Mudroom + Painting Doors for Impact
The Look for Less--Console Table Makeover & S...
Furniture Projects with the HomeRight Finish ...

Filed Under: DIY/Projects/Tutorials, Wall & Door Decor Tagged With: back to basics, how to, paint, tutorial

Reader Interactions

Comments

  1. April Hoff says

    September 7, 2015 at 5:25 pm

    Great tutorial, Christy! Your stripes look great! So glad to be participating in this series with you! 🙂

    Reply
  2. heather says

    September 7, 2015 at 8:18 pm

    LOVE how your wall turned out…and the chalkboard organizer?! So great! See, that’s something I wouldn’t have thought of with my lack of organizational-savvy, but I ADORE how it came together! Great painting tips!

    Reply
  3. Pat says

    September 7, 2015 at 9:20 pm

    You and Amy are stripe painting professionals! Your wall is beautiful and wonderful instructions.

    xo
    Pat

    Reply
  4. Deb says

    September 8, 2015 at 6:43 am

    Hi Christy,

    Love a good striped wall! Such impact and dimension to a room. Though done so often…it is for sure a tricky one. I have a striped wall in my family room also almost exact same colors as yours. I could have sworn we used the same colors I think mine are BM Pale Oak and London Fog. So pretty pinning!

    Reply
  5. Rachael @ This is our Bliss says

    September 8, 2015 at 11:16 am

    Your wall looks fabulous! Thanks for such a detailed tutorial! I’d love to attempt this in our home someday – thanks for re-igniting my inspiration! Looking forward to the rest of the series with you guys 🙂

    Reply
  6. brett says

    September 10, 2015 at 9:05 am

    Perfect! I so totally needed this tutorial because I really want to paint stripes in Little B’s playroom but I’ve been too chicken thus far. You did leave off one important step to the project … if all else fails, invite Christy to come over and help you do it right! :). Thanks for sharing – I’ll let you know how it goes when I give it a whirl! xx, b

    Reply
  7. Kristy says

    October 17, 2018 at 10:18 am

    Thank you for this post! Very helpful! My only question is, you say to peel the tape off when wet but does that mean you only do one coat? Or do you mean after the second coat? Thank you!

    Reply
    • Diane F Strain says

      June 24, 2019 at 10:37 pm

      I’d like to know the answer to that, as well. If I start w/painting the whole wall the darker shade and my lighter shade is white, I’ll need to paint more than one coat. If removing the tape when still slightly wet, then I have to re-tape to do the 2nd coats of white.

      Christy….Your help would be appreciated! Thank You! Diane from Boston

      Reply

Leave a Reply Cancel reply

Your email address will not be published. Required fields are marked *

Recipe Rating


This site uses Akismet to reduce spam. Learn how your comment data is processed.

Primary Sidebar

Lowest prices. Straight Teeth,

•Don’t Miss A Thing!!•

•Do You Know Jesus?•

•Featured In•

Holiday Gift Ideas

Footer

  • Email
  • Facebook
  • Instagram
  • Pinterest

Copyright © 2023 · 11 Magnolia Lane· Blog Design by Little Blue Deer
Privacy Policy

11 MAGNOLIA LANE IS A PARTICIPANT IN THE AMAZON SERVICES LLC ASSOCIATES PROGRAM, AN AFFILIATE ADVERTISING PROGRAM DESIGNED TO PROVIDE A MEANS FOR US TO EARN ADVERTISING FEES BY ADVERTISING AND LINKING TO AMAZON.COM AND AFFILIATED SITES. AS AN AMAZON ASSOCIATE, WE EARN FROM QUALIFYING PURCHASES. WE ALSO PARTICIPATE IN SEVERAL OTHER AFFILIATE PROGRAMS; THIS INCOME ALLOWS US TO MAINTAIN THE QUALITY OF YOUR USER EXPERIENCE AND KEEPS OUR CONTENT FREE. WHEN YOU PURCHASE THROUGH ANY OF OUR AFFILIATE LINKS, WE EARN A SMALL COMMISSION AND YOU DON’T PAY A CENT MORE THAN YOU WOULD OTHERWISE; THAT WOULD BE TACKY!   READ OUR FULL PRIVACY AND DISCLOSURE POLICY {HERE}.
  ©11 Magnolia Lane 2019. Unauthorized use and/or duplication of this material without express and written permission from this blog’s authors and/or owners is strictly prohibited. Please email us at admin@11magnolialane.com for more information.

  • MEET CHRISTY & AMY
    • IF YOU’RE NEW HERE…
    • WORK WITH US
    • 11 MAGNOLIA LANE 101
    • DISCLOSURE + PRIVACY (the fine print)
    • BEST OF 11 MAGNOLIA LANE
    • Back
  • TOUR OUR HOMES
    • TOUR OUR HOMES
    • CHRISTY’S MAGNOLIA COTTAGE
    • CHRISTY’S MCC HOUSE
    • AMY’S NEW HOME BUILD
    • HOLIDAY HOME TOUR SERIES
    • SPRING HOME TOUR SERIES
    • Back
  • CELEBRATIONS
    • EVENTS + ENTERTAINING
    • GIFTS
    • HOLIDAYS
    • RECIPES
    • Back
  • HOME
    • CLEANING
    • DECORATING
    • ORGANIZING
    • ROOM BY ROOM
      • BATHROOMS
      • BEDROOMS
      • CLOSETS
      • CRAFT ROOMS + OFFICES
      • DINING ROOMS
      • KIDS’ ROOMS
      • KITCHENS
      • LAUNDRY ROOMS
      • LIVING + GREAT ROOMS
      • OTHER SPACES
      • PANTRIES
      • PLAYROOMS + BONUS ROOMS
      • PORCHES + OUTDOOR SPACES
      • Back
    • TIPS
    • Back
  • SHOP
    • SHOP OUR INSTAGRAM
    • SHOP OUR AMAZON STORE
    • FRIDAY FAVORITE FINDS
    • 11 ML ETSY SHOP
    • 11ML ORGANIZING SHOP
    • Back
  • PROJECTS
    • CRAFTS
    • DIY PROJECTS + TUTORIALS
    • FURNITURE
    • PRINTABLES
    • WINDOWS, DOORS, + WALLS
    • Back
  • LIFE
    • FRIDAY FREE FOR ALL
    • HEALTH
    • SIMPLY ON SUNDAY
    • TRAVEL
    • Back
  • CONTACT
    • Email
    • Facebook
    • Instagram
    • Pinterest
9761 shares
  • 13