This is the next installment of the progress I’ve made in our garage entryway. Phew–it’s getting there, but all the things slow me down. At least I’ll beat my Christmas goal that I set in a moment of pessimism. Oh, and am I the only one whose entire house goes to pot while working on a project? It’s like you come up for air and everything has collapsed around you–dog hair everywhere–17 loads of laundry–and we’re living in squalor. Gah!
At least this one small area of my world is tidy. 🙂
If you’re new, you can see my to-do list for this area {here}.
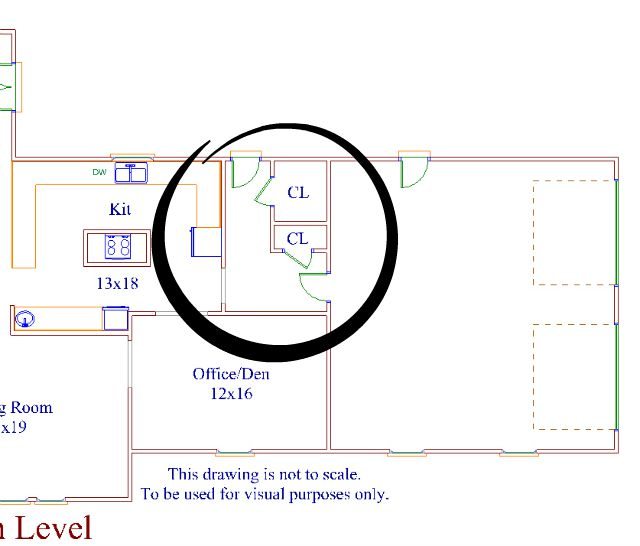
Here’s the floorplan for this quirky area:
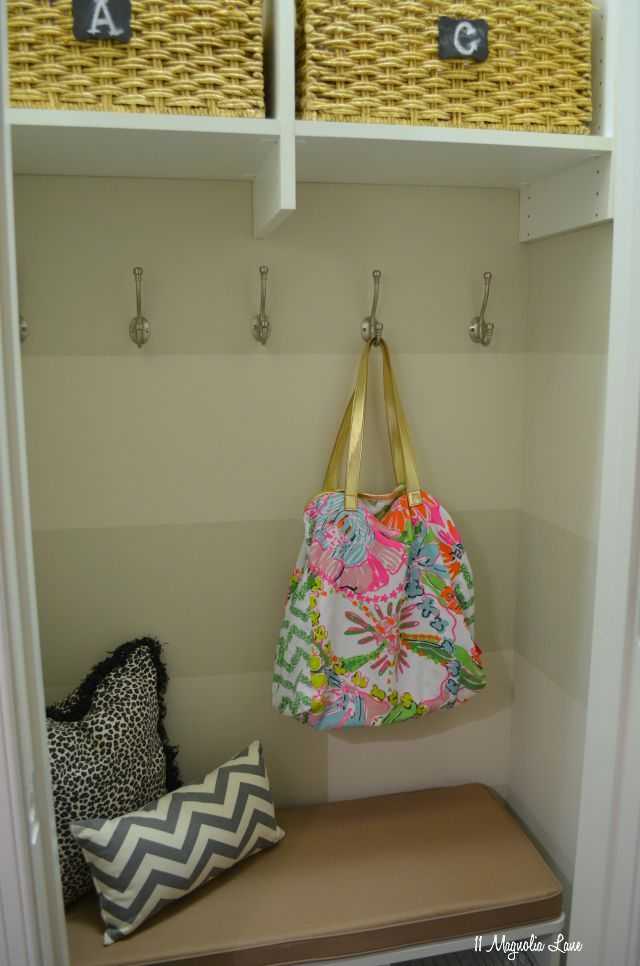
I posted on the closet-turned-mudroom (for renters) last week {here}. That’s the small closet right next to the door to the garage.
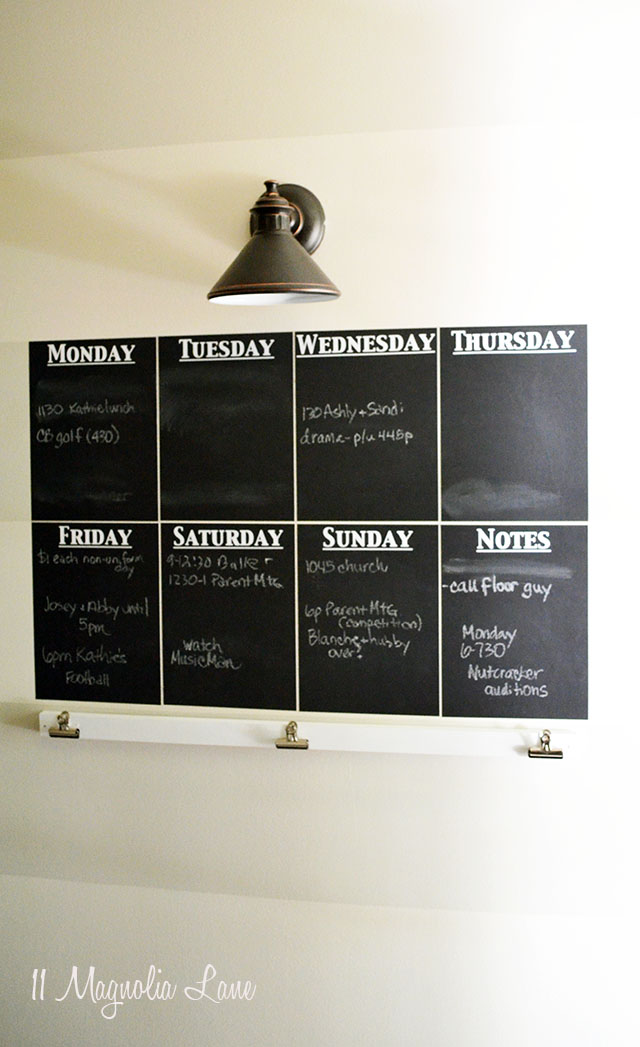
And the striped wall and chalkboard calendar {here}. That’s the long wall between the door the back deck and the kitchen.
The niche area started out as an empty space with a lot of outlets, and it would have been a good spot for art if it was at the front of the house. But who’s going to put a pretty statue or big vase of flowers in the utilitarian hallway that leads from the kitchen to the garage?
It looked like this when I started:
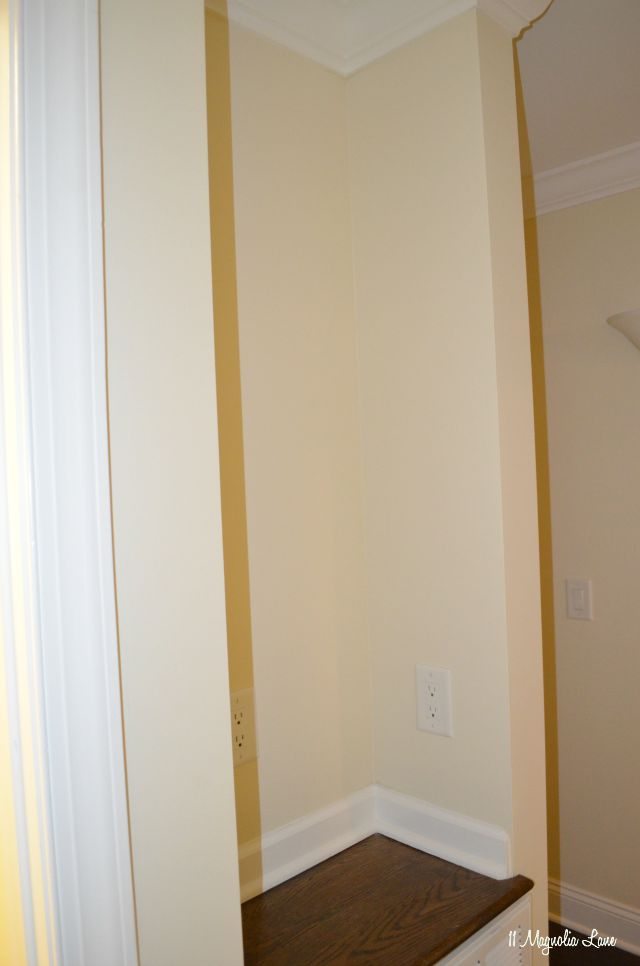
You can see part of it on the left:
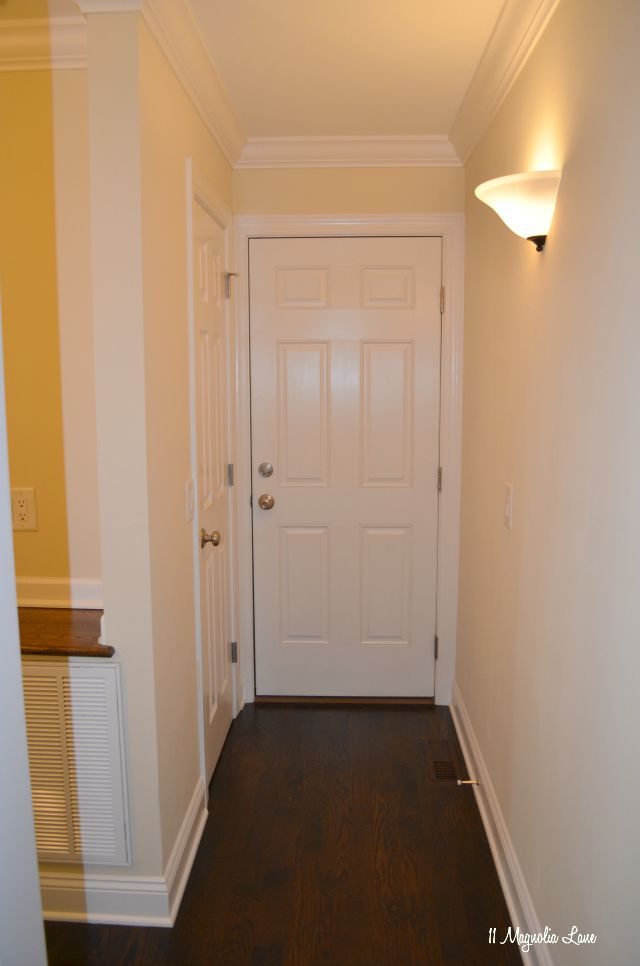
I decided that some shelves here would be a nice touch to store cookbooks and other kitchen essentials, especially since the room to the left of the niche was being outfitted as a big walk in pantry (I’ll show you that next week, but you can see a sneak peek in the post I wrote about my DIY plate rack).
The entire space got a coat of Benjamin Moore’s Revere Pewter and new sconces, and then I started to work on the shelves.
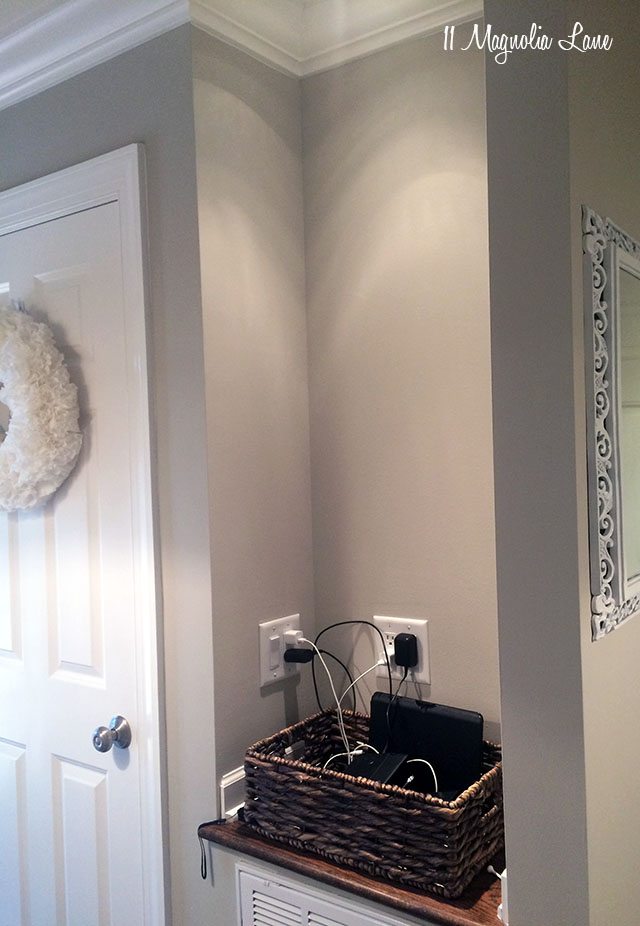
The niche is about 13″ deep, so I bought 12″ wide white wood (the best quality I could find) and primed and painted it. My favorite primer is Zinsser 1-2-3, because it covers bare wood like a charm (affiliate links used for your convenience).
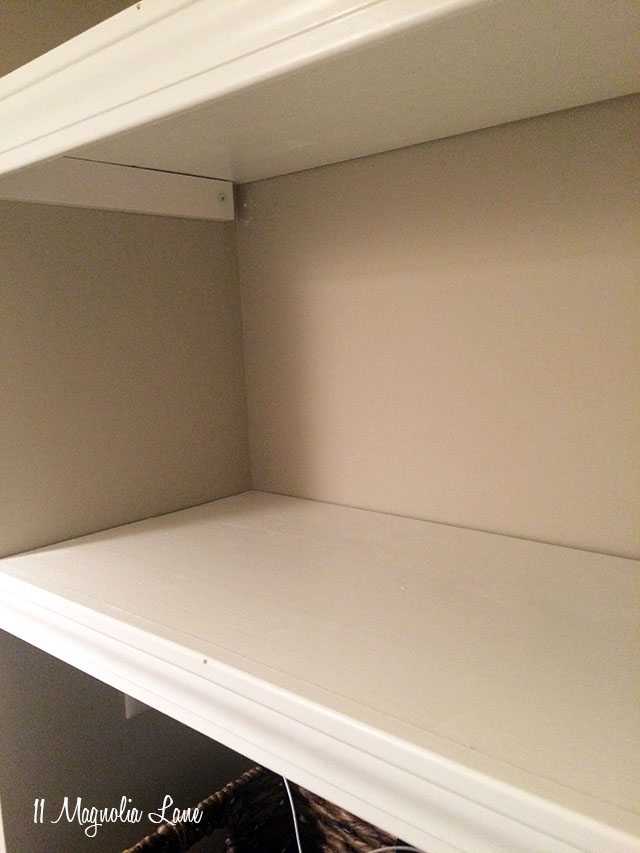
I used 1″ x 8′ lattice molding to build a support for the shelves, cutting the pieces on my miter saw (I have this one and love it) and using 2″ screws to screw them into the wall.
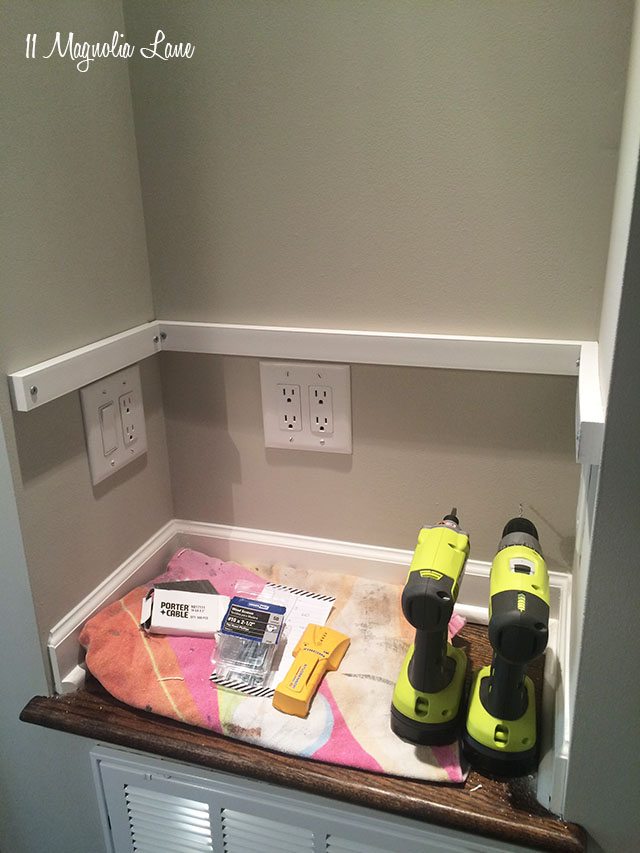
Then I cut my shelf pieces to fit and set them on top of the supports. It always amazes me that houses are neither level nor square–and this was no exception as there was a gap in the back left of about 1/2″!!
Note the wine glass; I was building these around 6pm while also cooking dinner and sometimes DIY makes you desperate!

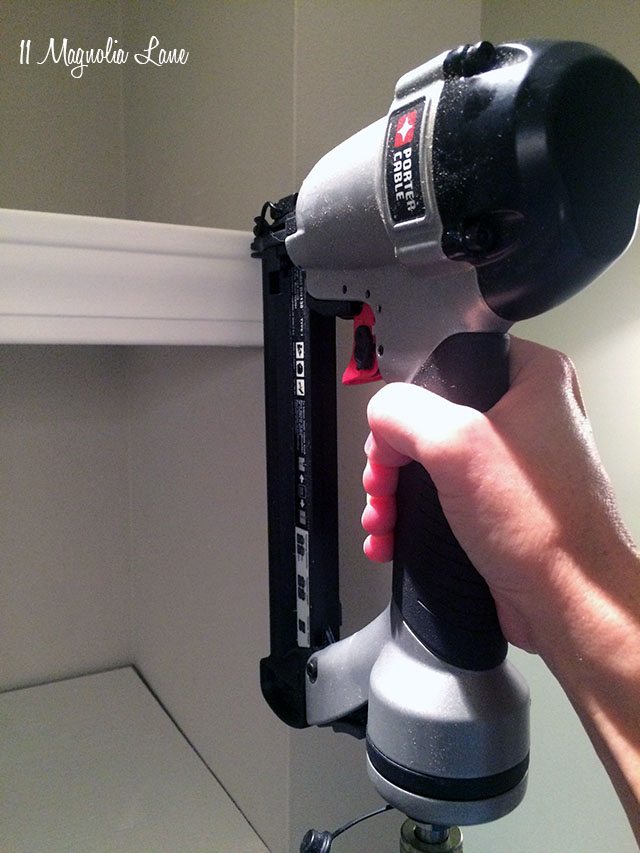
Then I cut a piece of window trim to fit and nailed it to the front of the shelf. I primed and painted that when I painted the wood for the shelves.
Note that on the second and third shelves I only used two supports on either side instead of a third one in the back; these are little shelves and that’s plenty of support for the weight that will be on them.

My husband gave me a set of nail guns and a pancake compressor for my birthday two years ago (at my request!) and I love it. I think he was scared I’d change my mind and berate him for such an unromantic gift, but it’s the gift of MORE TIME and MORE PROJECTS. It took me 30 seconds to put the trim on all three shelves.
Then all I had to do was fill the nail holes and paint them. I put a dab of paint on the screw heads, too, to hide them.
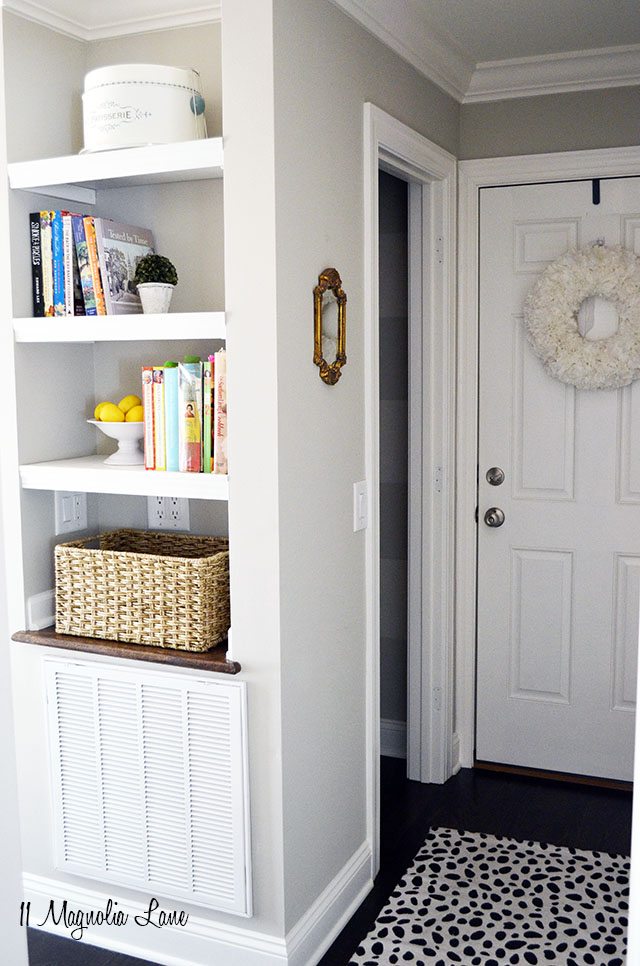
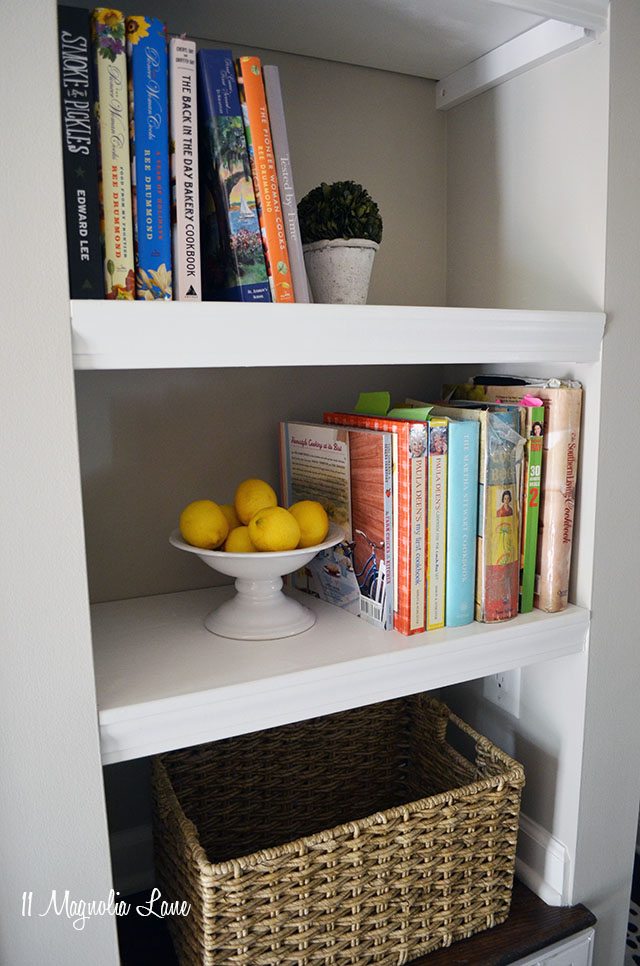
Then, my favorite part of any project–decorating! I had a stack of favorite cookbooks that I wanted to put on the shelves for easy access.
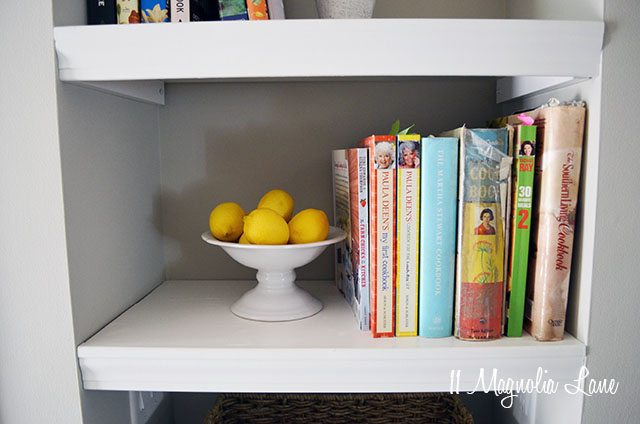
The basket on the bottom holds all of our technology; there are four outlets in the niche and so it’s the perfect space for a charging station. The basket hides the phones/iPads/Kindles and all of their cords while they’re juicing up. People still try to charge them on the kitchen counter, but I am breaking them down!
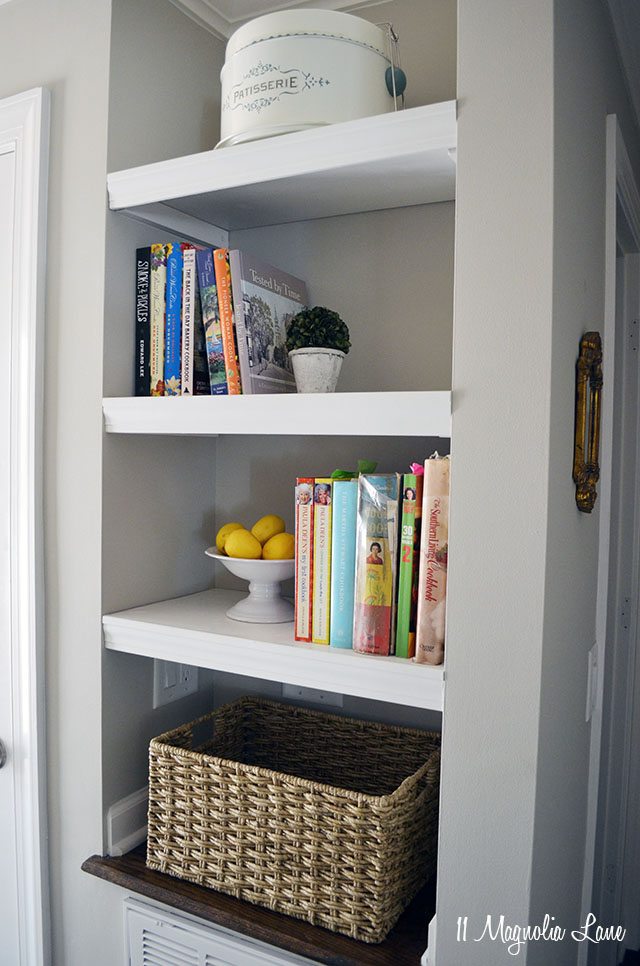
The door on the left is the pantry; you’ll see that next week, and I’ve shot a video of the whole space since it’s a tough area to photograph.
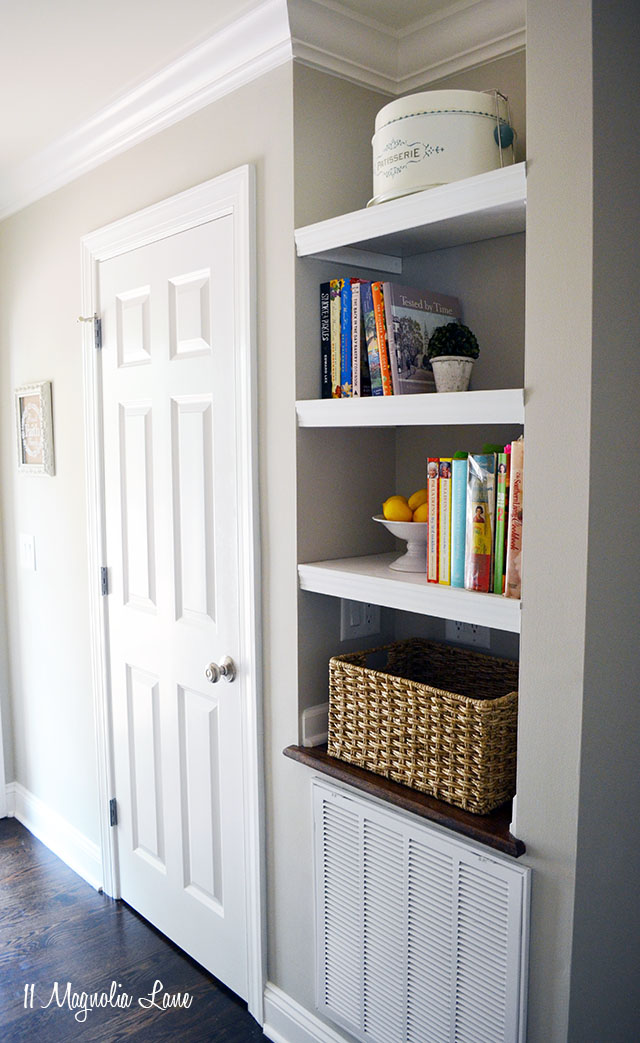
This project only took a couple of hours from start to finish (measuring probably took the longest but I am horribly challenged in that area!). It made the space both useful and beautiful, and I’m thrilled with how it turned out!
Stick around for the final installment next week. I guess I’ll have to decide which room will come next, once this space is finally finished!
Thanks for stopping by.
Our posts contain affiliate links. If you make a purchase after clicking on these links, we will earn a small commission, which helps to keep our content free. You don’t pay a cent more than you would otherwise, since that would be tacky!

