This post is sponsored by The Wagner Company.
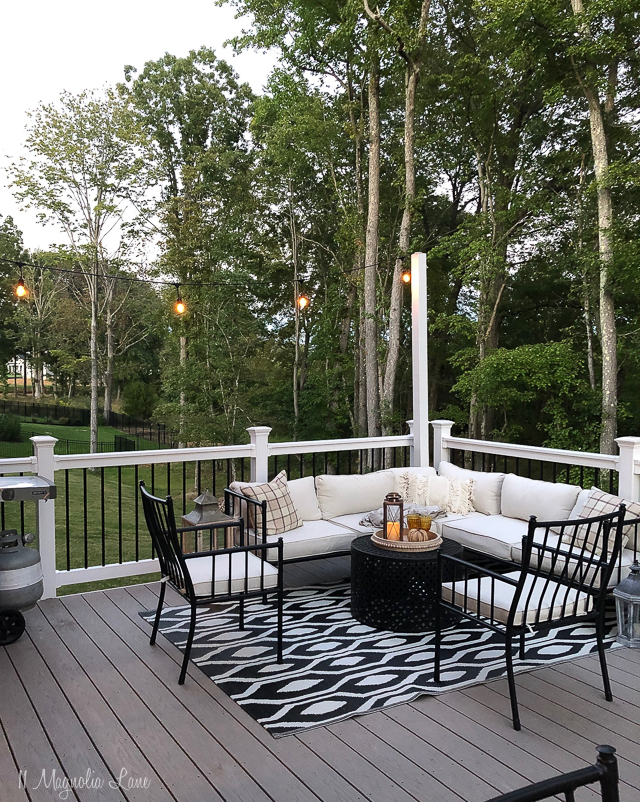
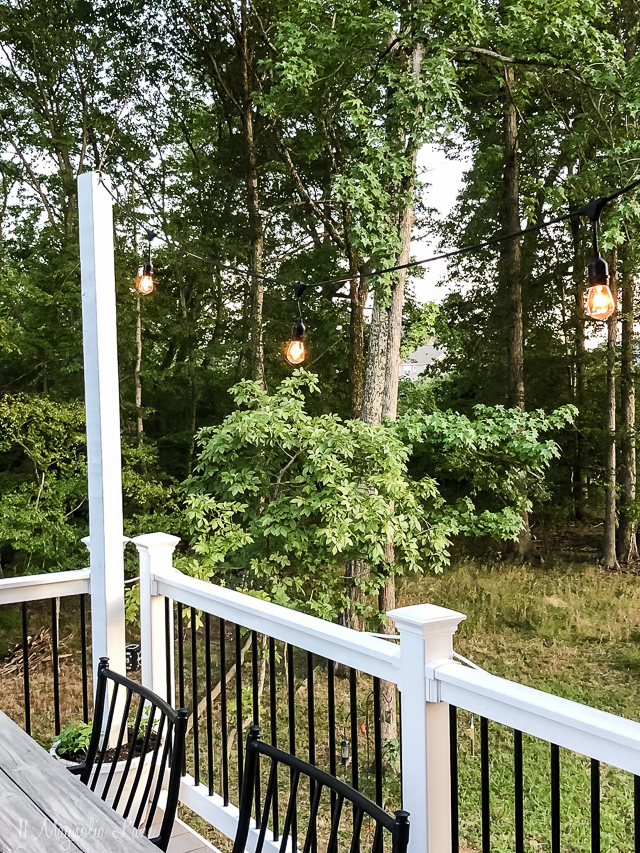
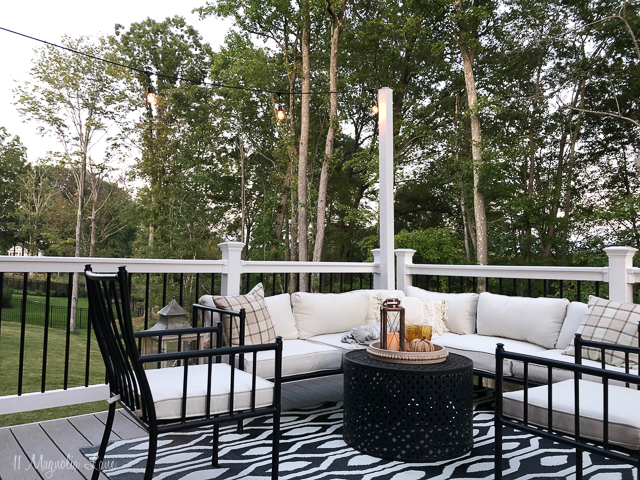
I mentioned in our weekly newsletter that we’ve been working on an outdoor project these last few weeks, we finally finished it and today I want to show you the result. We figured out a way to hang café lights around the edge for extra light just in time for shorter days.
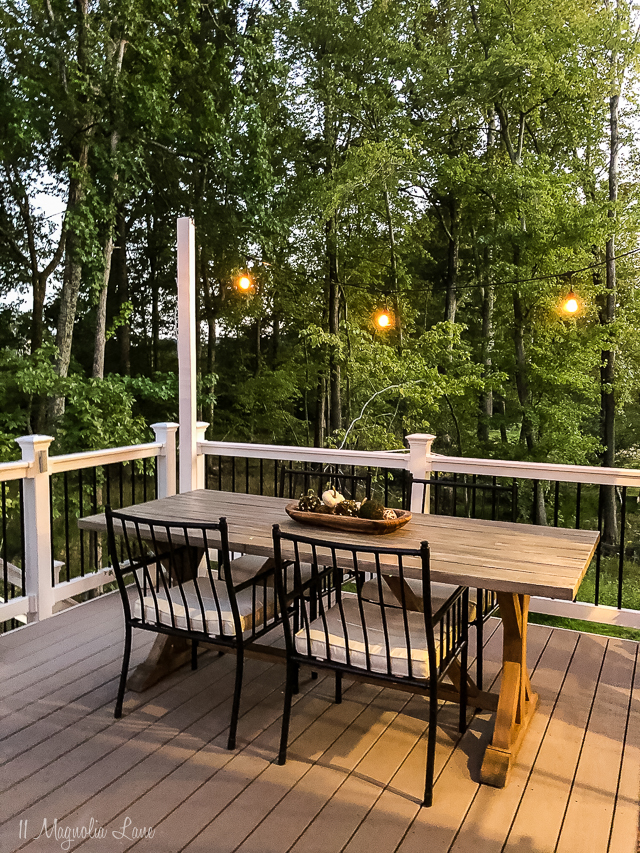
When we planned our deck I knew I’d want to be able to hang café style string lights around the perimeter, but things were pretty chaotic during the construction process and at the time I didn’t think to have the option for taller supports added. Knowing we could figure something out later I didn’t worry about it, we were just glad to get this outdoor space done in time for spring!
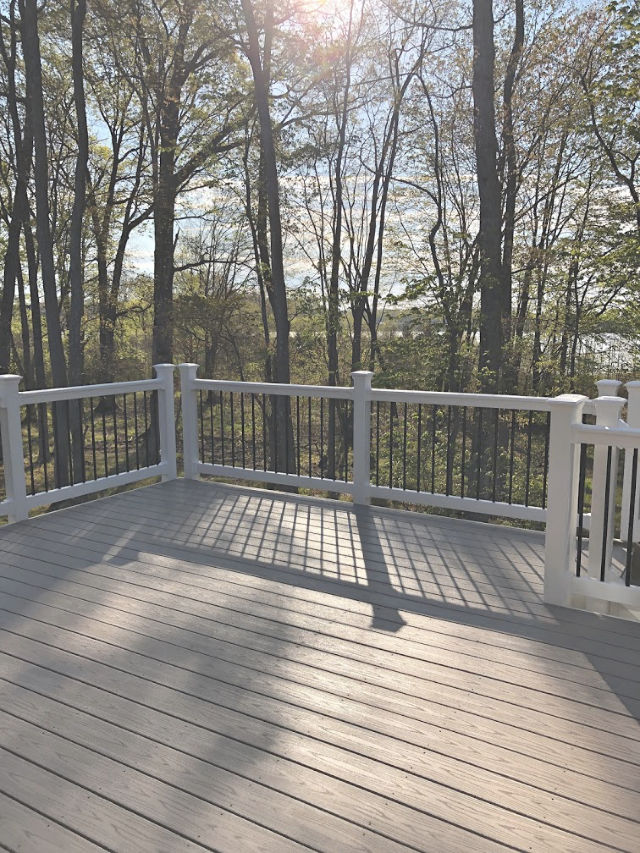
While we live in a dense, suburban neighborhood I think we have a pretty amazing lot. In just a few weeks the leaves will fall off the trees and we’ll have a beautiful lake view (you can see it peaking out above), for now we just have a ton of privacy from the trees. This is our outdoor living space where we spend quite a bit of time, you can see more about our deck here and the reveal post here.
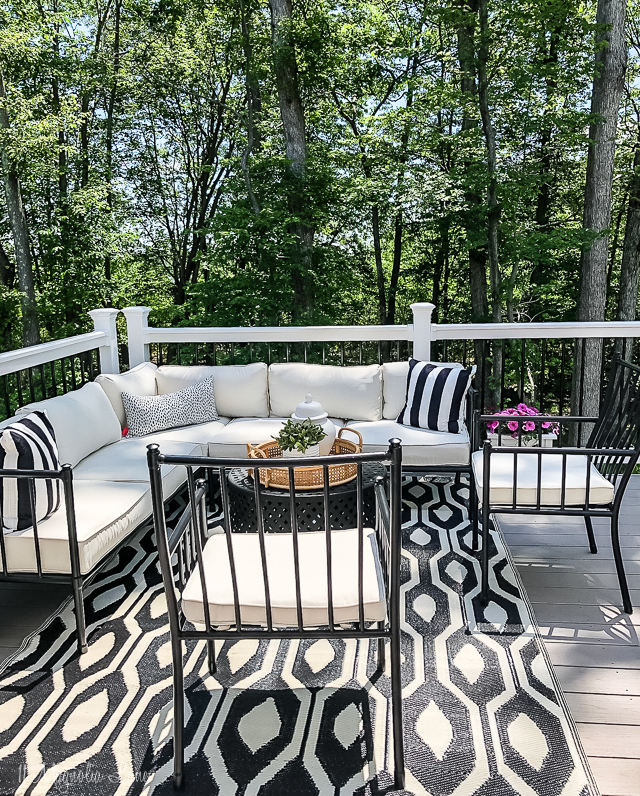
When we hosted my son’s graduation party this summer, we quickly rigged up a system for some hanging lights, and I can say it definitely didn’t work. The extra light was great as it got dark, but the lights hung too low and everyone had to duck under them all night. After that, I decided I needed a better long-term plan.

I decided rather than have the lights hang across the deck, that we’d work around the perimeter. I didn’t want to look at the black cords all day long blocking our lake view so we designed a plan so they would hang on each side and across the back of the house, leaving our view open. I ordered what I needed to make the supports from Home Depot. Once it arrived I got out my Wagner FLEXiO sprayer so I could paint it to make everything cohesive and match the black and white tones on our deck.

I used 3 large, inexpensive planters, 4″x4″x8′ pillars, quickcrete and paint (For outdoor projects I like to use the Sherwin Williams Interior/Exterior Latex). Using my FLEXiO Sprayer (available HERE) I gave everything several coats of paint so it would all be clean and white and be less obtrusive once it was all set up. This part went quickly, using the sprayer makes projects like this so fast and easy.

Luckily we’ve had plenty of great weather so painting outdoors was easy, and safety first–always wear a mask and eye protection when using a sprayer. This is a great sprayer for both large and small projects, you can control the flow of the paint and the clean up is quick and easy.
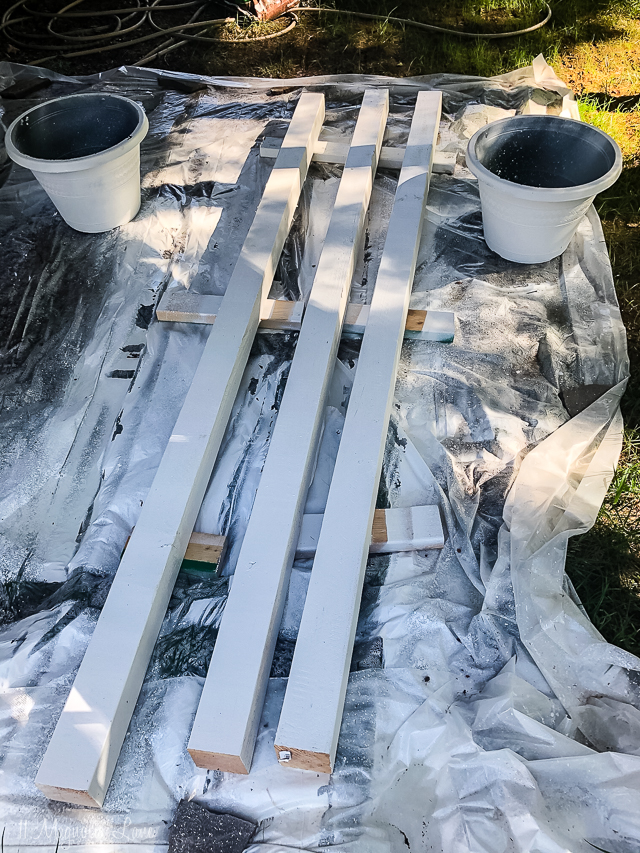
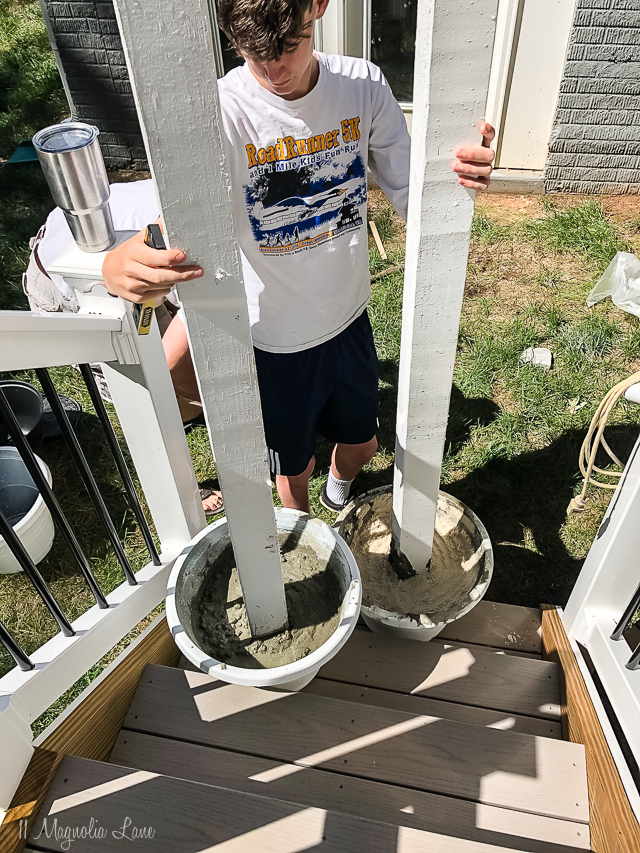
We let everything dry for a few days, then we started assembling the poles for the lights. This project took several of us, as you have to make sure the pillars stay perfectly vertical while the concrete dries. My husband mixed and poured the quickcrete (just follow package directions) and my son and I held them up until they were straight, a level comes in really handy to ensure they don’t lean. We also moved them to the step while they set as it is level vs. the yard which has more of a grade.
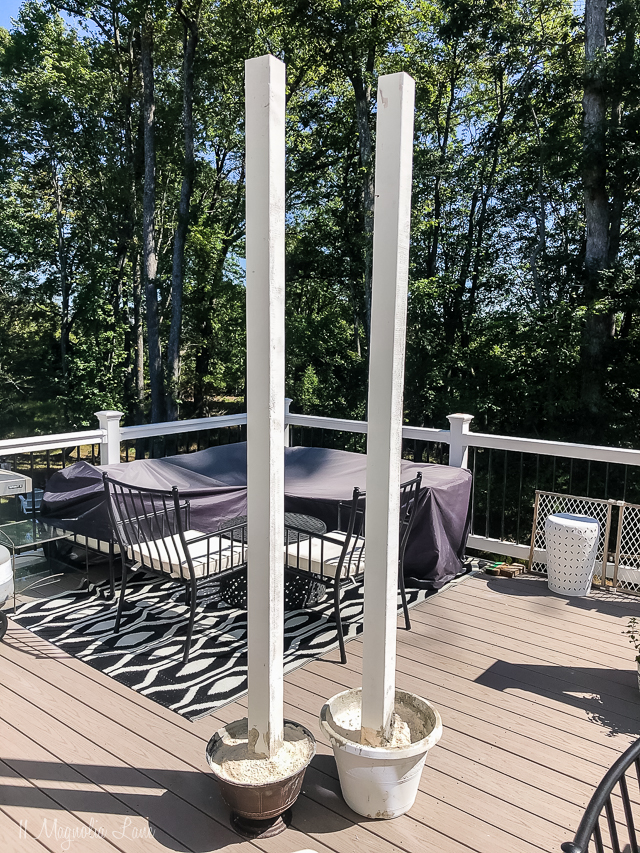
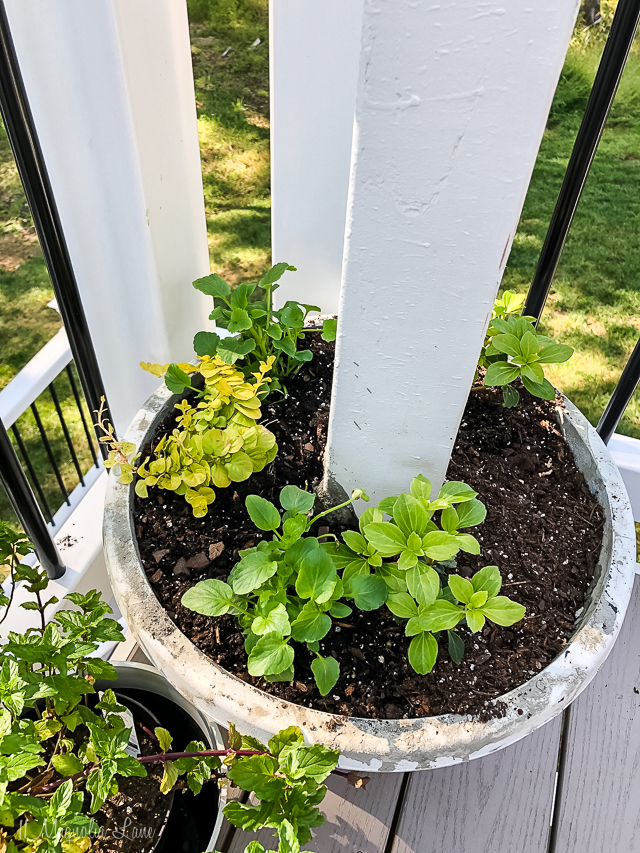
Then we added a layer of sand to the top for drainage since I knew I’d be adding small plants to cover up the concrete. You can see we added in a smaller pot (on the left) as we had to go back to the drawing board when we realized that the larger pot wouldn’t fit behind our deck sectional. This was a late addition (and hidden so I didn’t worry about painting it) and it is low enough to slide underneath the sectional in the corner.
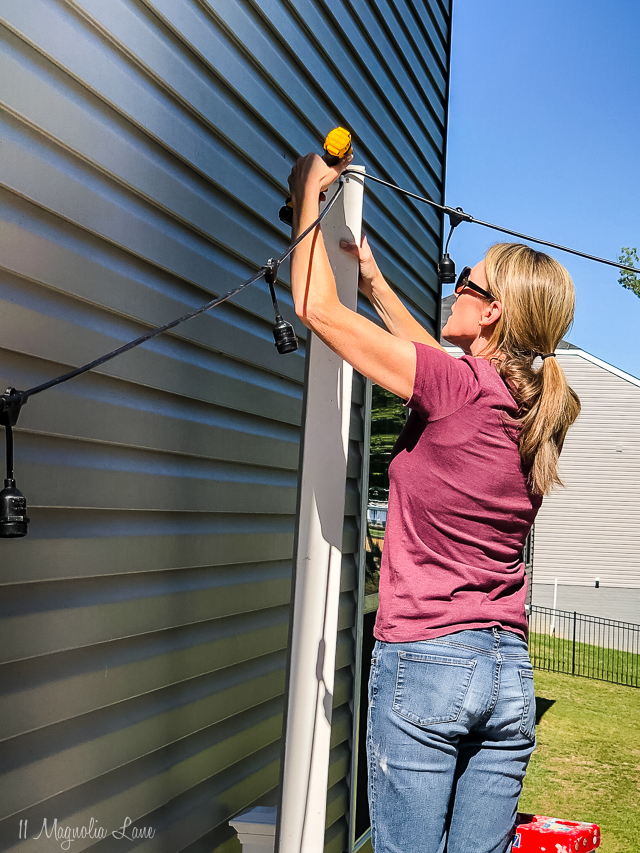
Then I set about hanging the lights, which was definitely a bit challenging, mostly because I was on a ladder a story and a half off the ground, I definitely tried NOT to look down! My husband helped me with this part, including spotting for safety. I recommend measuring your lights first and installing them with the pots sitting close together that way you don’t have as much tension in the line while you are securing the cables. I used these café lights here, below you can see what we used to attach the wires to the pillars.
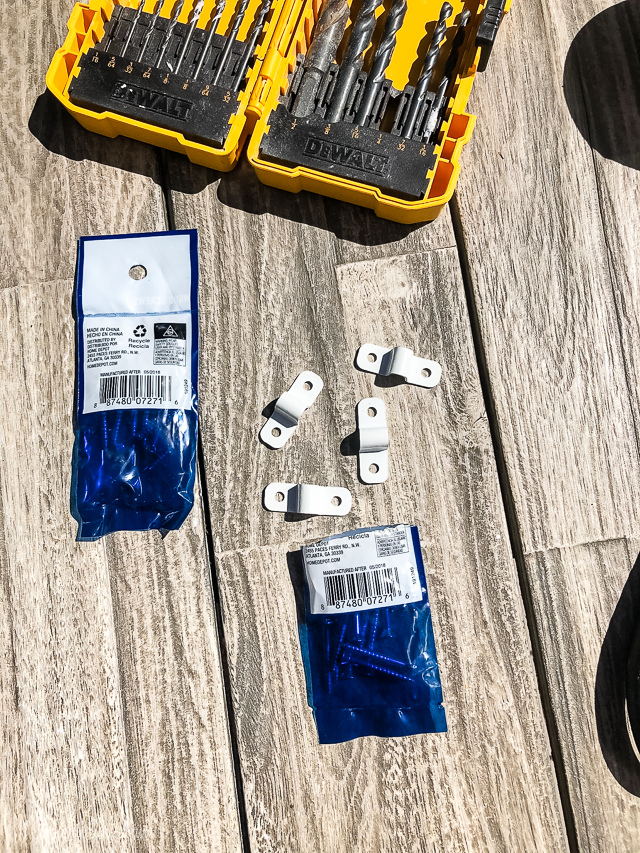
Also, make sure you don’t have any light bulbs screwed in at this point, inevitably the lines will drop and you’ll wind up breaking bulbs, just a lesson we had already learned the hard way. Once everything was attached we moved the planters into their places and I added some soil and plants on top of the concrete so they looked pretty.

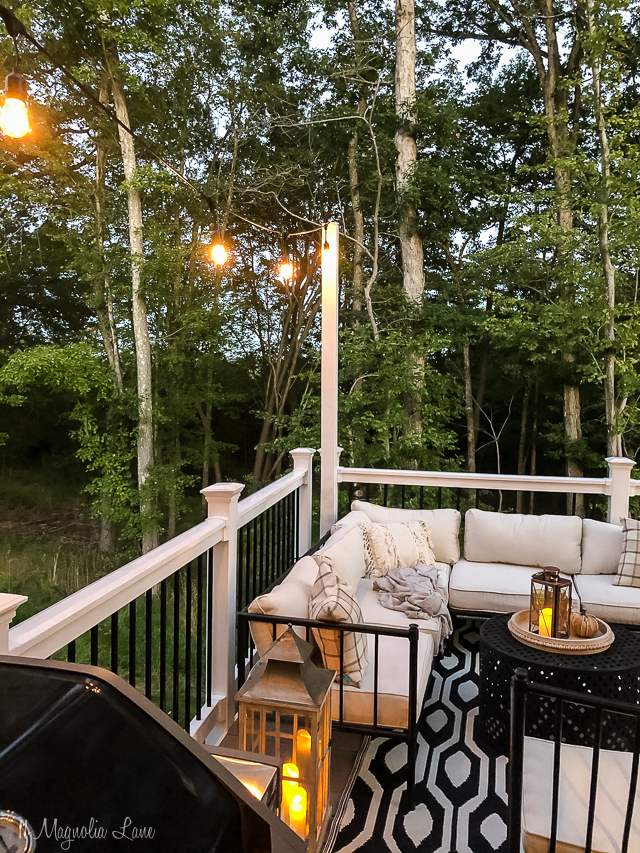
I admit we couldn’t wait for it to get dark so we could see them in action, and they didn’t disappoint. With it getting dark earlier, we’ll be able to use this space later in the evening and since we entertain outdoors often nowadays they really finish off the space perfectly.
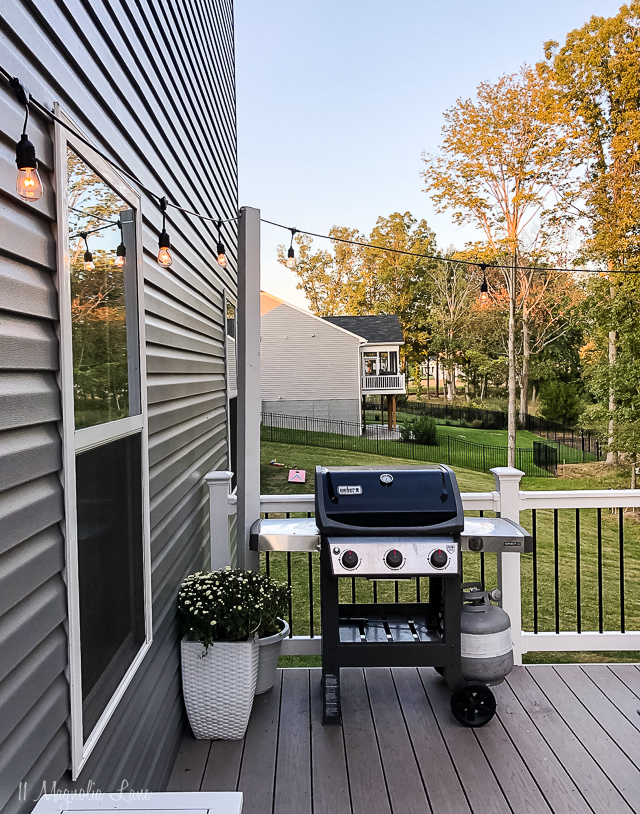
This project wasn’t hard to do but is definitely a two person job for the installation part, but it is well worth it. The pots are very sturdy (though we did say that we might have gone up another size for added security) and the thick posts hold the lights without pulling over. Since they are the same size as our deck supports I feel like they blend in well enough. I might even add the same vinyl caps we have on our deck to the tops at some point.
As with any project, the right tools make all the difference. Being able to quickly spray the planters and the support pillars made quick work of the prep. You can see more about the Wagner sprayers HERE and more of our other projects HERE.

XO,

We promise to never sell your email information. Our posts contain affiliate links. If you make a purchase after clicking on these links, we will earn a small commission, which helps to keep our content free. You don’t pay a cent more than you would otherwise, since that would be tacky! Please see our full disclosure policy here.




Leave a Reply