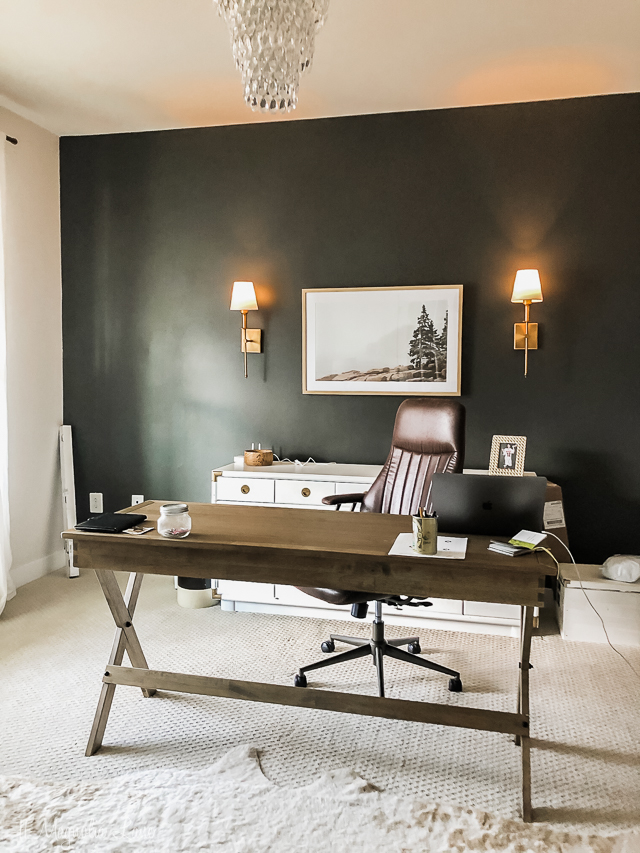
This idea is so simple, and while I can’t take credit for coming up with it, I wanted to share it with you all as it is a great trick. If you like the look of wall sconce lighting but don’t have the wiring in the wall, you can simply install the sconces using battery lights. When I shared my husband’s new home office, I had some questions about how I made this work so today I wanted too share a simple tutorial for using wall sconces without hardwiring them.
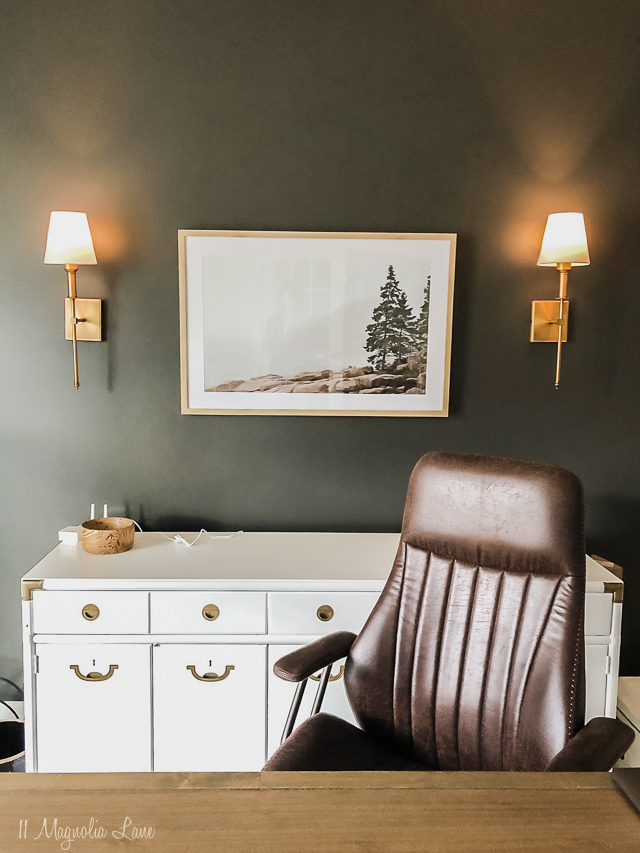
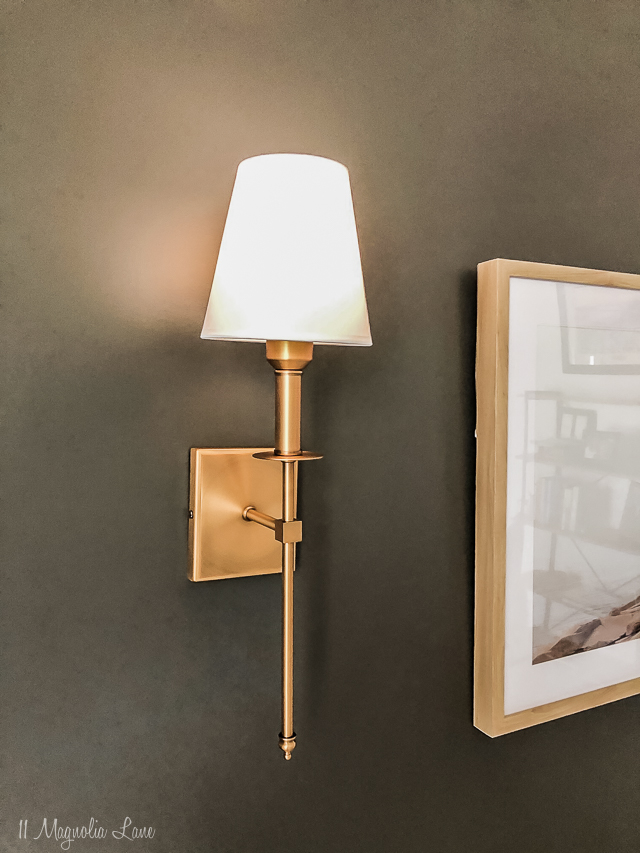
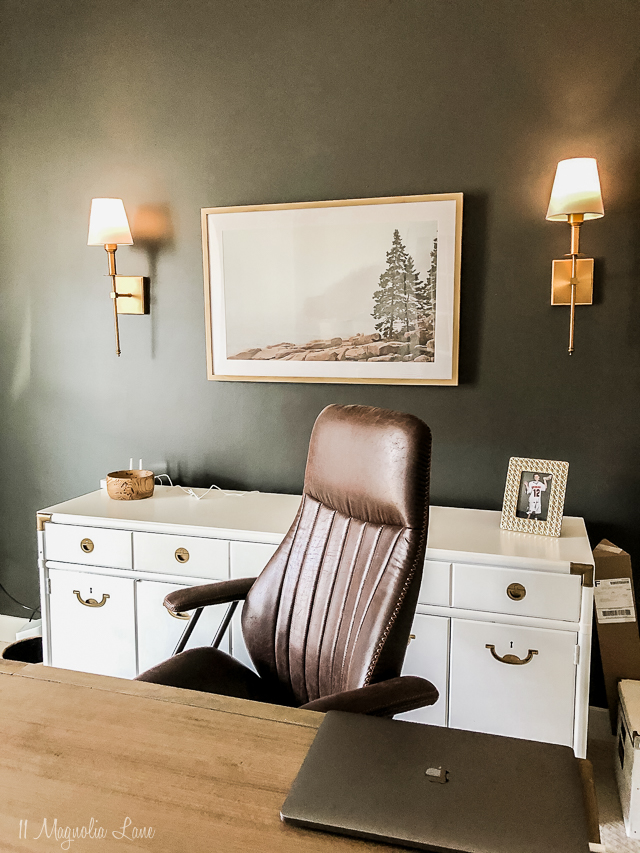
I knew when we painted this dark accent wall in our office that it would be nice to have brass sconces to highlight the artwork behind the desk. They make the room look a little more polished and while we don’t really need the lighting on the back wall, it is nice to have it. I loved the classic look of these wall sconce lights, especially in the warm brass (they are available here).
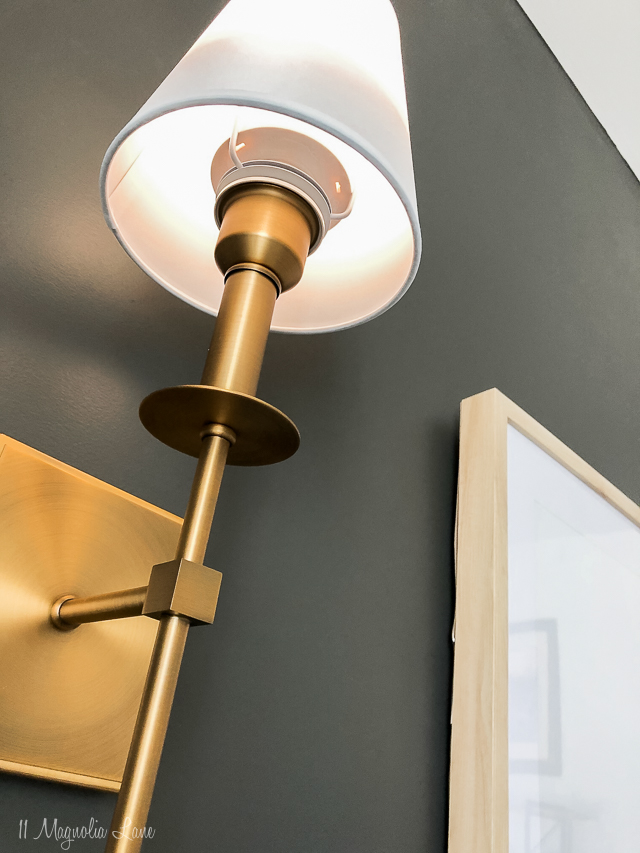
Installing them this way is really very simple. Depending on the type of sconce you use, you may have to trim the wires from behind the faceplate. I didn’t have to, I just tucked them inside as you can see below.
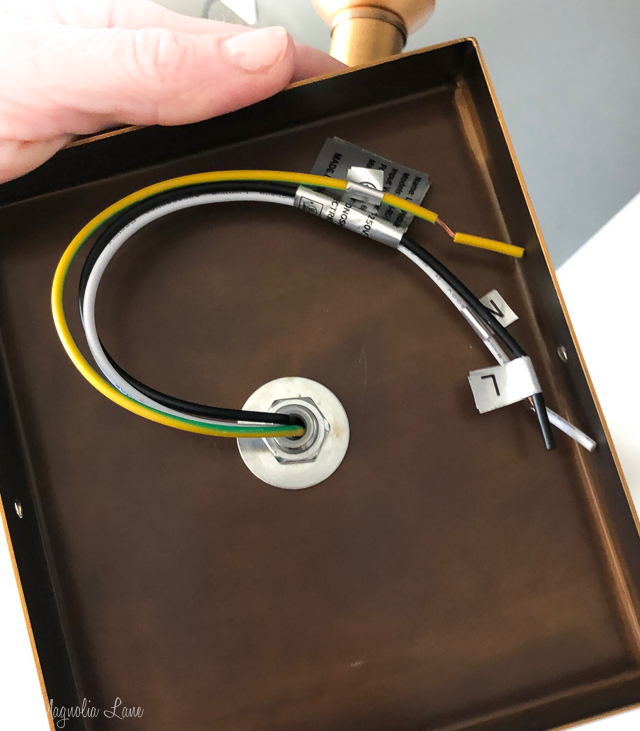
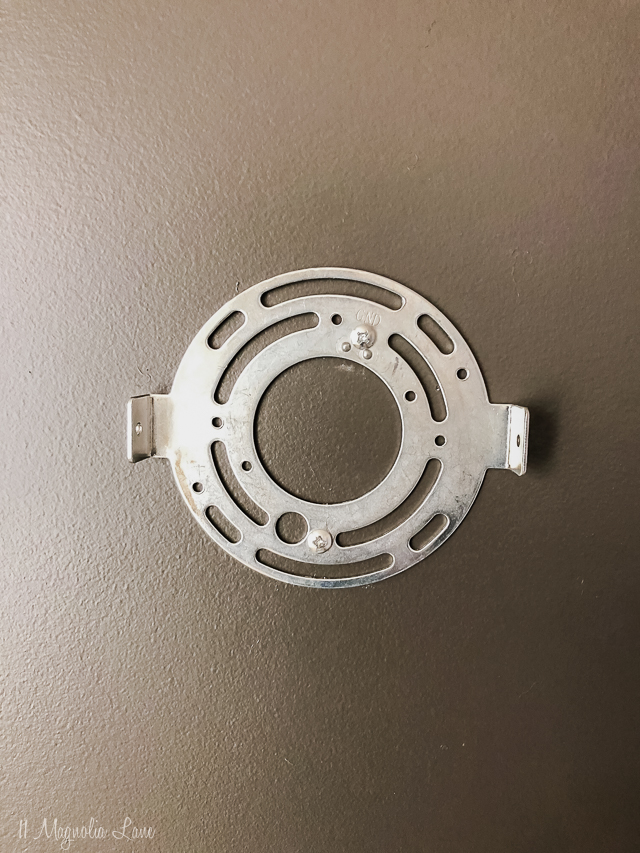
You simply install the bracket on the wall, just as you would normally, and place the faceplate right on top with the wires hidden inside. Make sure everything is level and then place the shades on as you normally would, minus light bulbs.
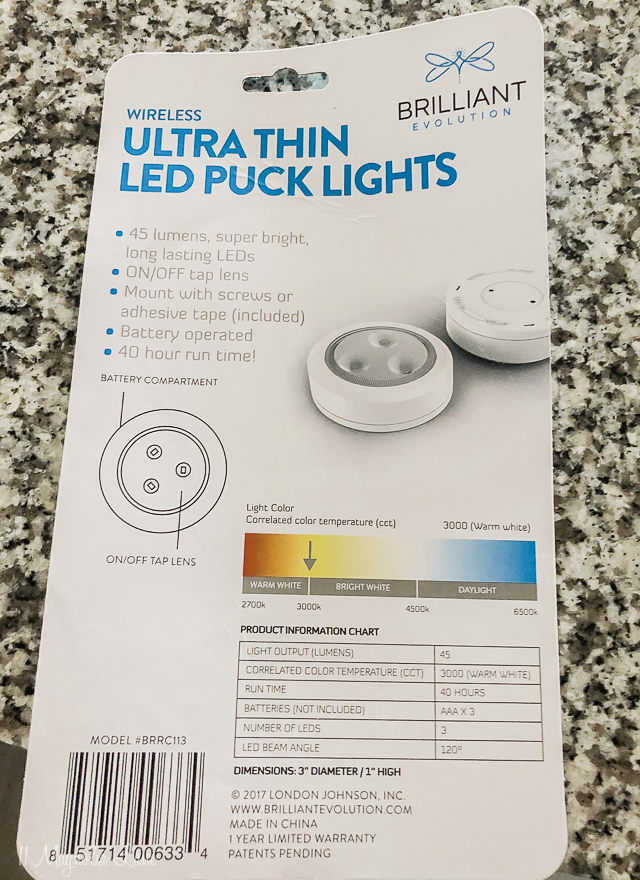
These are the battery operated lights I used. They were inexpensive and simply need three AAA batteries to operate. They turn on with a light tap, so really they are just as easy to use as a light that is switched or you can use the remote control. The only drawback with these lights is eventually you will have to replacing the batteries, but compared to the cost having having the walls wired this is a much cheaper option in the long run.
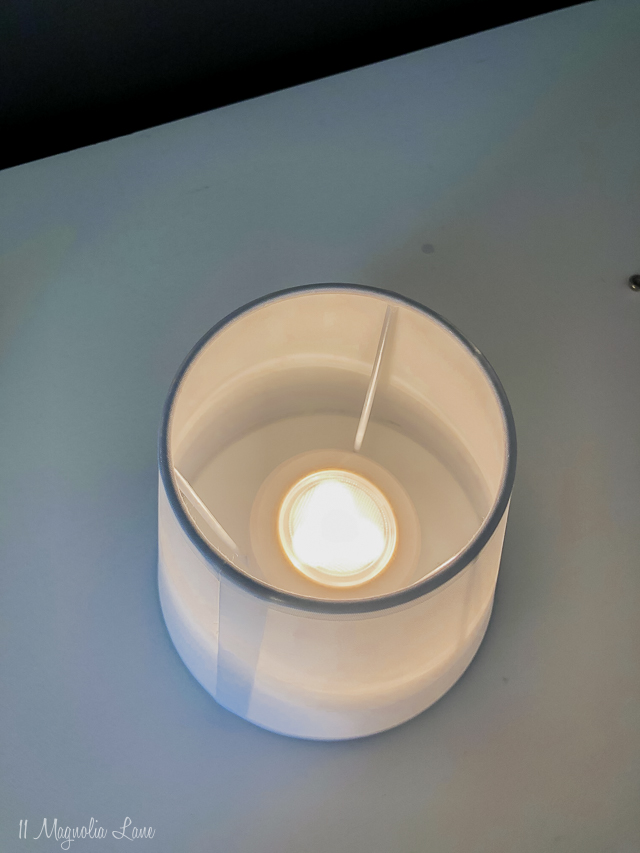
The only thing you have to pay attention to is the size of the shade and the diameter of the puck light, just make sure the puck light can fit all the way inside the metal in the lampshade frame. Outside of that, this is a simple and easy way to add lighting to literally any wall in your home, no wiring or outlet needed. You also have to select a certain style of light, a clear bulb style shade may show the bulb so I prefer the look of a solid shade. You can also use this trick with lights that point down, you just need to secure the puck light with strong double-sided tape.
These lights are really handy, you can also add them under cabinets for accent lighting or in dark closets/spaces. You can find the whole selection of them here (and don’t forget batteries!).

Below is a quick round up of some of my favorite inexpensive wall sconces you can use for a project like this. If you have questions, please leave them in the comments.
You can
XO,

We promise to never sell your email information. Our posts contain affiliate links. If you make a purchase after clicking on these links, we will earn a small commission, which helps to keep our content free. You don’t pay a cent more than you would otherwise, since that would be tacky! Please see our full disclosure policy here.