This post is sponsored by HomeRight, all opinions are my own.
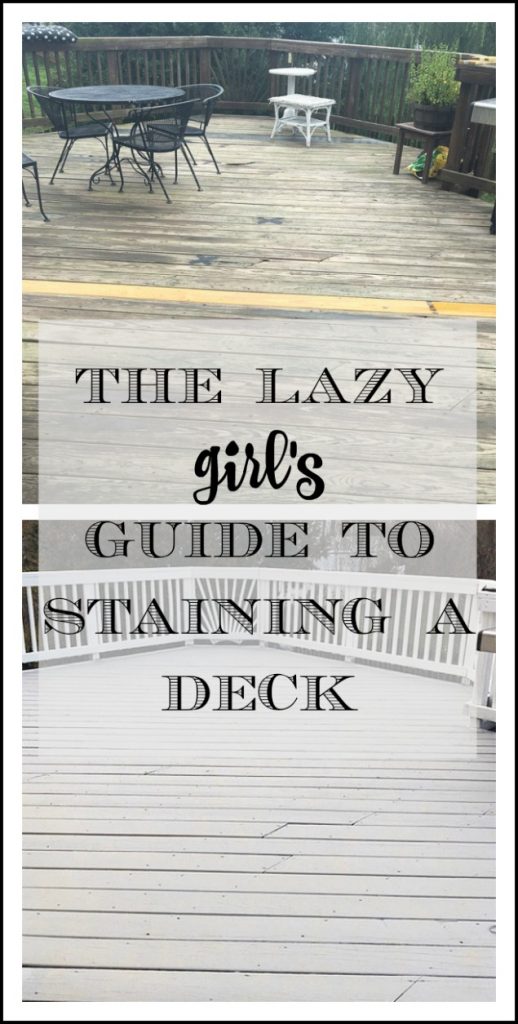
Ok, before we begin let me first say that if you are truly a “lazy girl” don’t take on this project! Hire someone, staining a deck is NO JOKE! LOL!
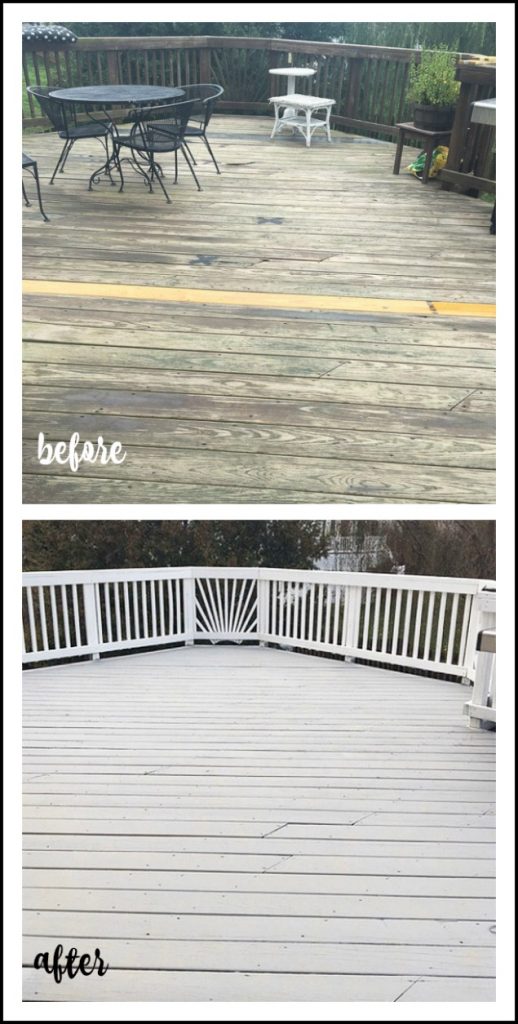
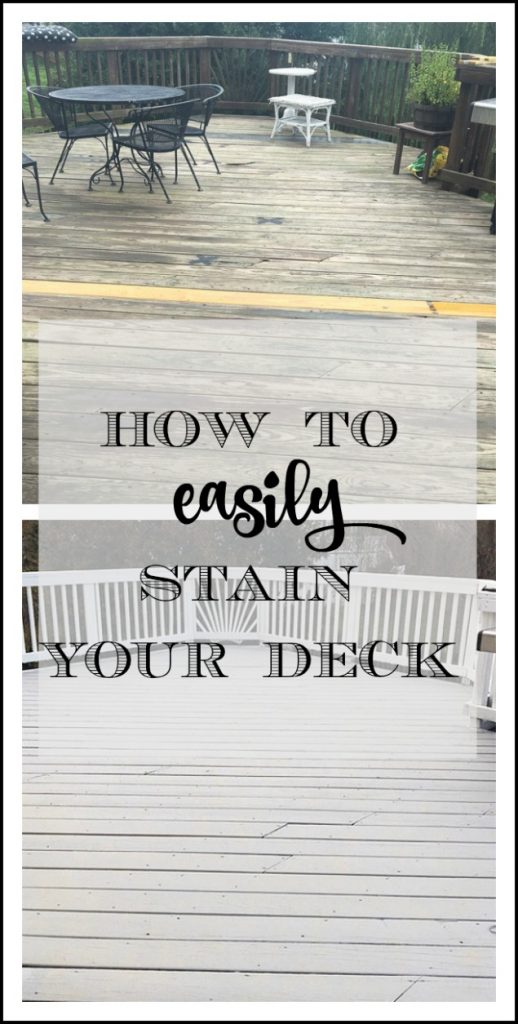
Here is what our deck looked like when we started, this picture was taken after power washing so we weren’t living with it quite in this bad of shape for the entire last two years but suffice to say, it wasn’t pretty.
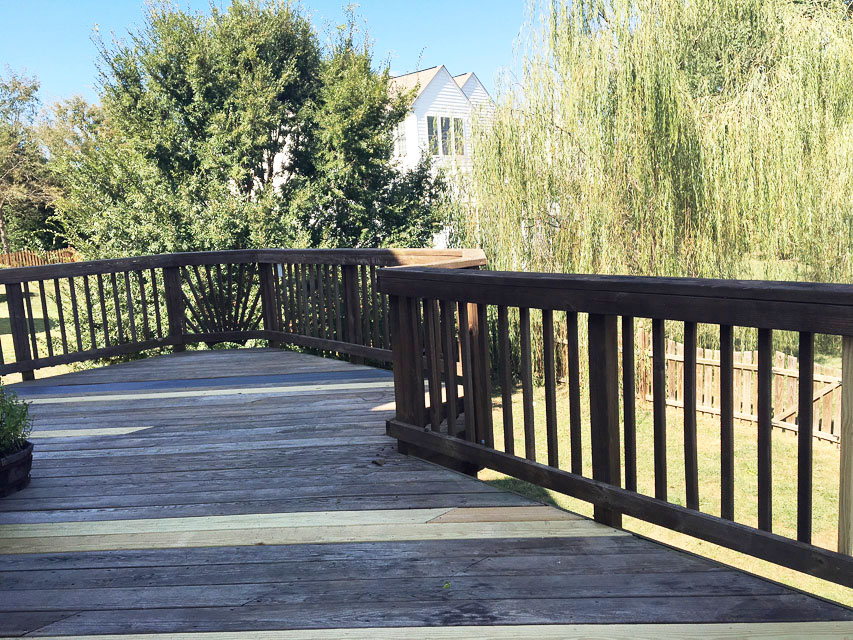
Our deck was worn, the dark stain originally on the deck was fading and the boards were cracking. Some even had started to rot resulting in splinters and safety issues. Much as I didn’t want to take this project on, we knew it was long overdue. Here is an in-progress once the railings were done but you can see how many boards we replaced before we applied the stain.
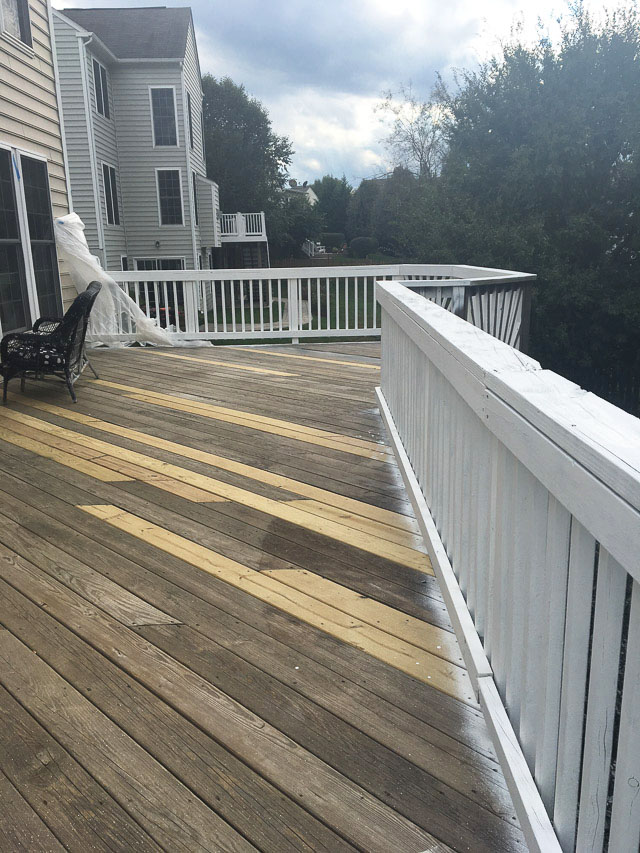
This was a time consuming project mainly due to the size of our deck, it goes the entire back of our house. I am so glad we took this project on, we saved a ton of money and we made our deck sparkle again. Here is the AFTER.
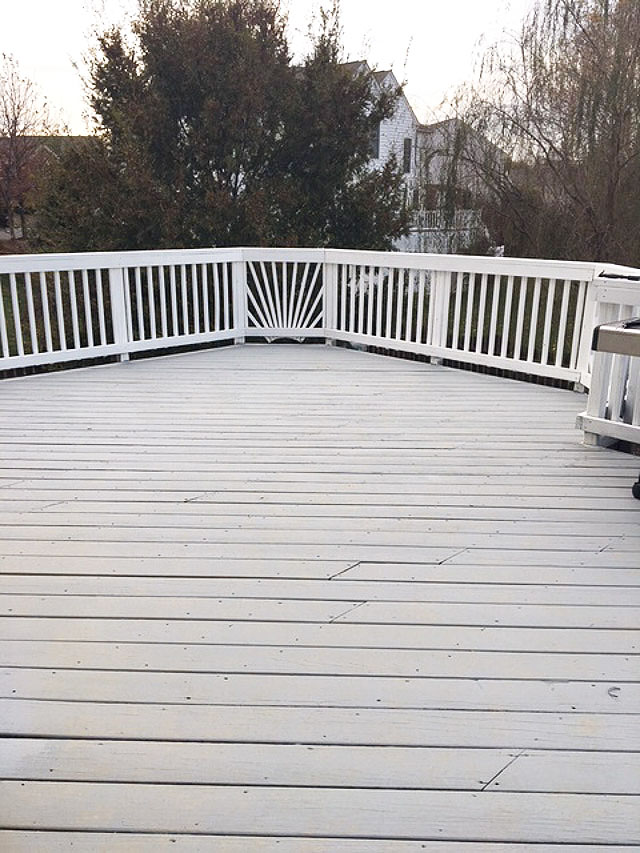
As you can see from the before pictures, our deck was literally falling apart due to lack of maintenance. We’ve lived in our house for two years and so many other inside projects took precedence {you can see our recap of all the projects we’ve tackled since we moved in HERE}.
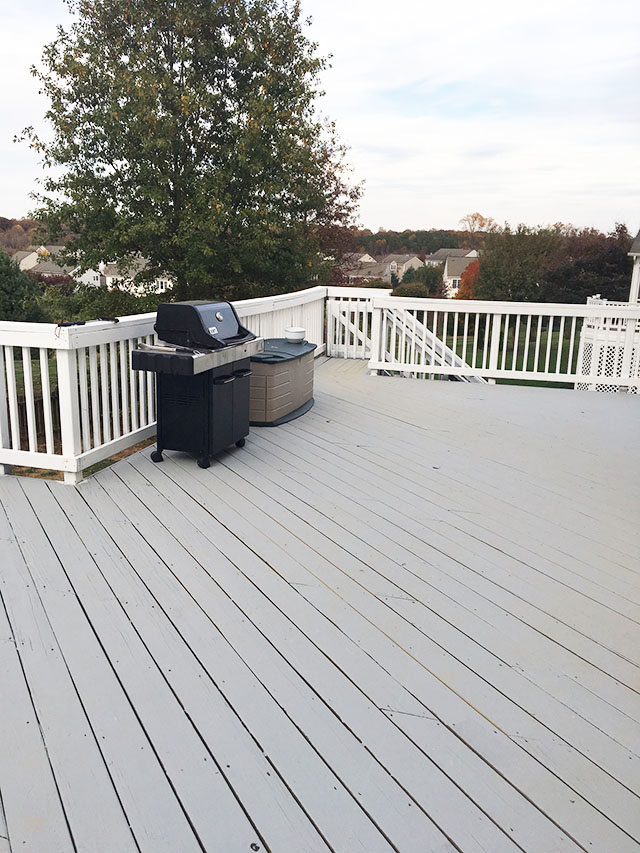
I literally don’t know how I would have handled this project without the HomeRight tools. They are truly what makes this project manageable for those of us who aren’t ‘fit as fiddles’ with hours to spend DIY’ing! Both the HomeRight FinishMax Sprayer, which was essential for spraying the stain on the railings, and the HomeRight DeckPro made putting the protective sealant down on the floor simple were must-haves for pulling off this project ourselves.
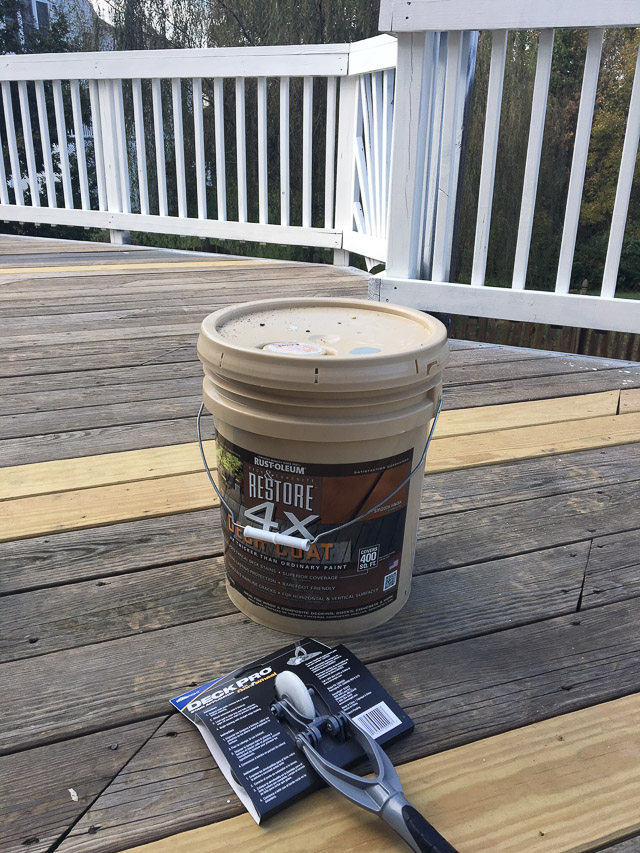
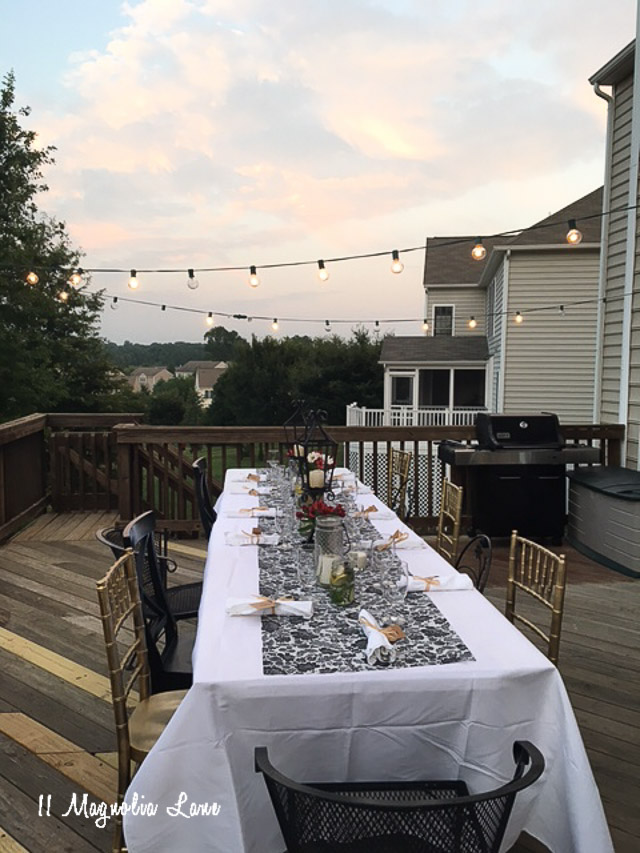
Here is what we started with, many of the flooring boards needed to be replaced before we could even start the project. Over the summer my husband starting pulling up the worst of the boards and replacing them one by one. If you are a regular reader, you’ll remember that was about as far as we got when we hosted this party and had our lovely multi-wood toned deck flooring working, though I am pretty sure after a few cocktails nobody cared.
My parents have a beautiful deck on the back of their home with gray flooring and a white railing, so without over-thinking it I gravitated toward the same colors when I went to buy the stain. Spraying the railings white was a bit of an after thought when we planned the project, the flooring was what was crucial so our initial goal was simply to take that task on. In looking at the space now I am so glad we tackled BOTH the railings and the flooring together, it looks so much better, even though it doubled the amount of work we had to do.
A new composite floor and railing system would have been lovely but it wasn’t in our budget. Since the deck is well built and the space is large, it is perfect for entertaining. I am however, crossing my fingers that the products we used will hold up in the elements {and two labradors} for many years so we don’t have to take this on again!
Here are the steps we took to stain the deck and the railing:
- First we replaced all the broken and rotted boards with new deck boards.
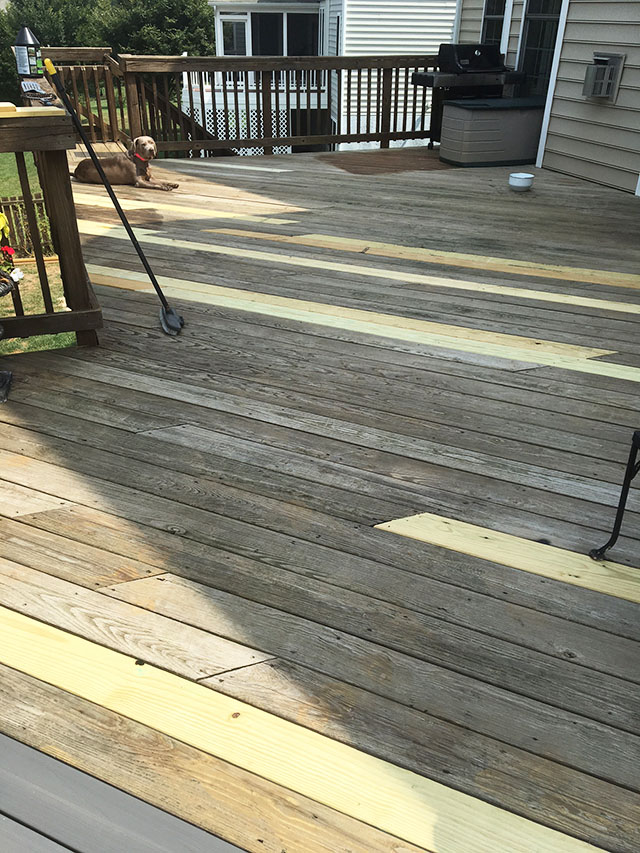
2. We power washed all the surfaces and sealed a few larger cracks.
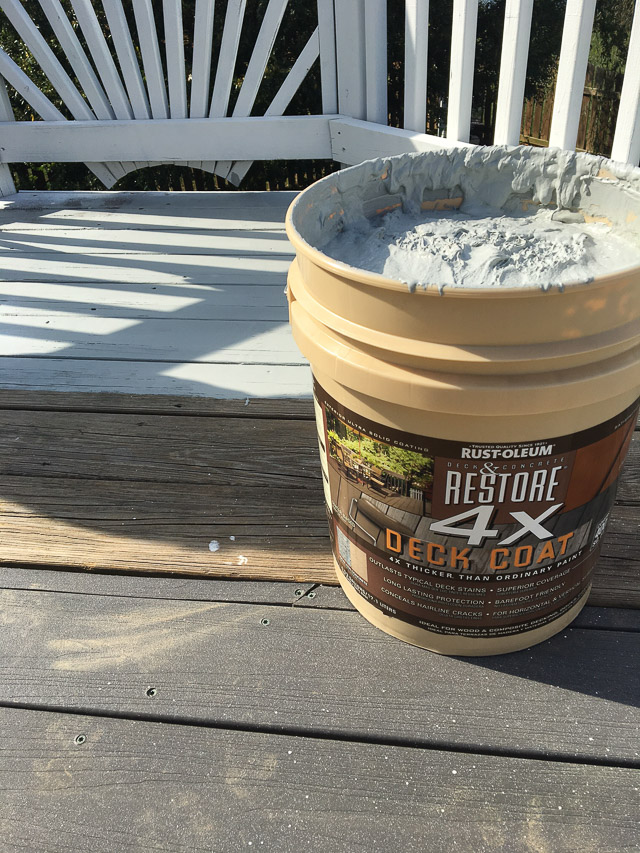
3. I selected Rustoleum 4x Restore Deck Coat in Gray, due to the amount of cracking and weathering in our boards, we needed to more more than just stain and seal. This product worked great {more in a minute}.
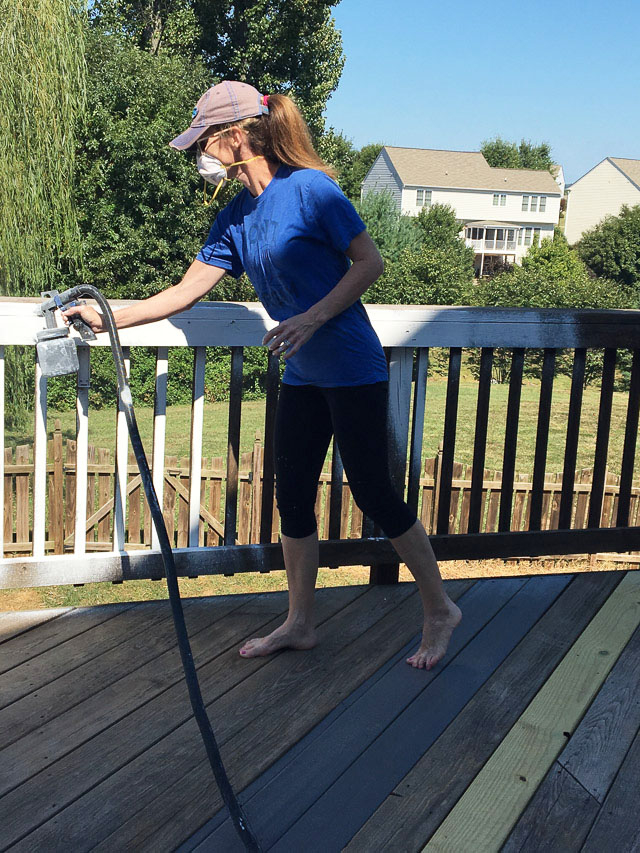
4. For the railings I used my HomeRight FinishMax Sprayer to spray Behr {off the shelf} deck stain in white. I went through FOUR gallons and it took several afternoons, I did a coat here and a coat there maybe in 45 minute increments? I can’t imagine painting each spindle by hand, I’d have gone insane, the sprayer was a lifesaver! Since we were painting the floor as well, we didn’t have to tape or cover much (other than some plastic on the house where the deck adjoins the house), that also made it much easier. Just be sure to do railings first, then flooring!
5. My husband stained most of the flooring using the HomeRight Deck Pro. This application product has a padded surface with a “gap” wheel that goes in the cracks between the boards so the stain gets pushed down in between each board, what a timesaver it was!
6. We used most of the 5 gallon bucket to do the deck floor, the Rustoleum 4X is a thick product so it gave us a bit of a work out applying it to such a large surface, but it dried fast and it is holding up great. We still have some cracking in the boards {the Rustoleum 10x product would have been better to fill that in but I didn’t care for the texture}, but I can live with it compared to where we started.
7. Because we have two dogs and have had almost no rain recently, you can see the dirt that was tracked on the deck in the pictures 🙂 That washes off but it is the price we pay for selecting the light color, something to think about if you have pets!
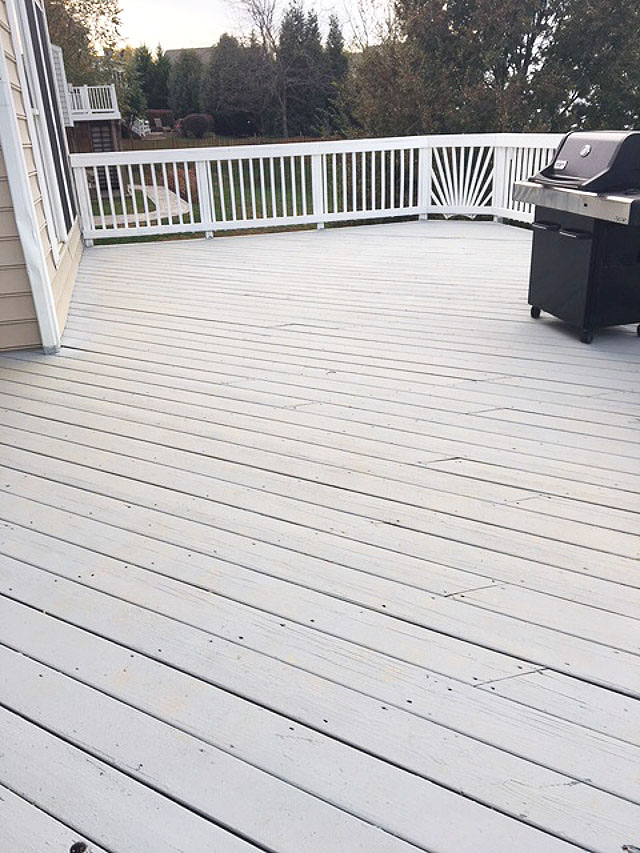
Overall this project had a huge payoff. We saved a ton of money doing it ourselves and I am so happy to have it checked off our house to-do list!
I can’t wait for spring to decorate out here, much as I’d love {sigh} to be showing off the space all newly decorated in full blogger ‘reveal”, with winter around the corner I didn’t want to invest in new furniture right now. Still I look out the kitchen window every day and am amazed at the difference the paint/stain made, it is so much cleaner and brighter.
Here is an easy to pin picture so you can tuck these instructions away for when you gear up to tackle your space, I promise it will be worth it!
I don’t want to sign off without mentioning Veteran’s Day. Thank you to all of you who serve or have served our country, we are deeply grateful for all that you do to protect our freedom.
XO,

Our posts contain affiliate links. If you make a purchase after clicking on these links, we will earn a small commission, which helps to keep our content free. You don’t pay a cent more than you would otherwise, since that would be tacky! Please see our full disclosure policy here.
