If you follow us on Facebook or Instagram, then you’ve been watching this project for the past month (er, six weeks). It’s not that the project itself took so long, but it was just a really busy time for us, and sometimes entire weeks went by without my touching it. Plus, I had the hardest time picking a fabric, and I wanted to be sure I chose correctly.
I’ve reupholstered dining chairs before (you can see them here), but never any large or difficult pieces. When I saw this small loveseat at Goodwill for $14.99, I figured I had nothing to lose if I took it apart and realized there was no way I could put it back together. Here’s the ugly “before”:
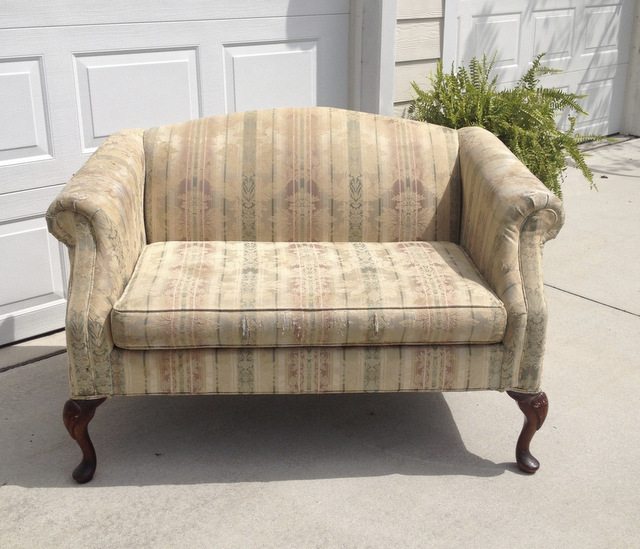
Before I took a closer look, I thought I might be able to paint the upholstery, the way I did with my gray chair, but there were so many rips and tears in the fabric that I realized that wasn’t going to be possible. It was pretty dirty, too–I didn’t really want that fabric in my house, painted or not!
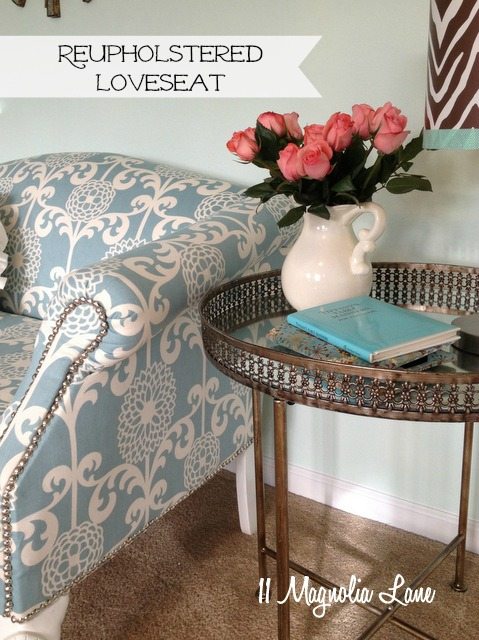
Because I took so many pictures along the way (mostly so I could remember how all the pieces fit together), I’ve decided the best approach is to show you the glamour shots in this post, so you can see the finished project, and then I’ll write up a Part 2/tutorial post on exactly what I did. The only thing you have to realize is that every piece of furniture is different, so what I did won’t necessarily be what you do, but at least you’ll know where to start (the bottom, and then the back!) So stay tuned for Part 2 next week, and for now, let’s enjoy some eye candy!
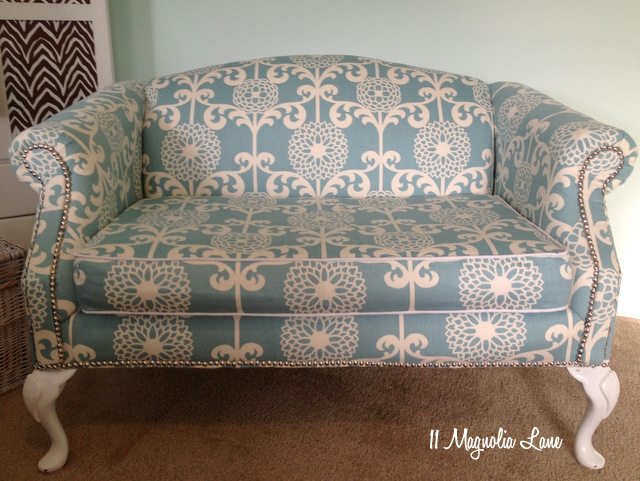
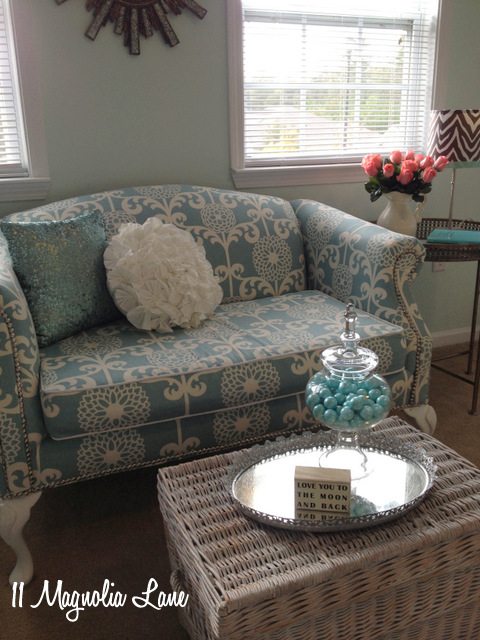
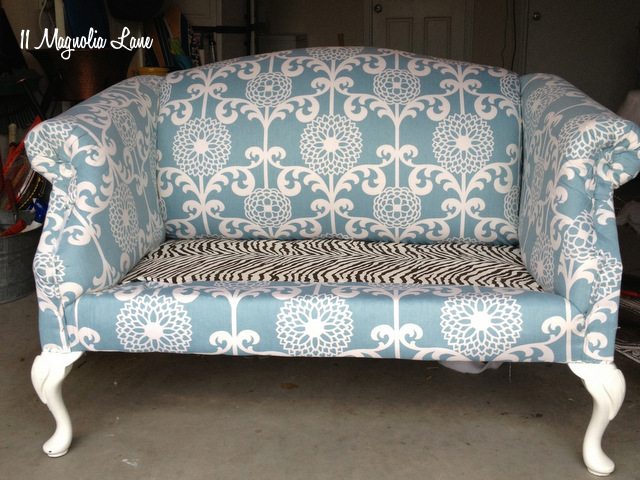
Here’s is the full frontal (ahem!) shot:
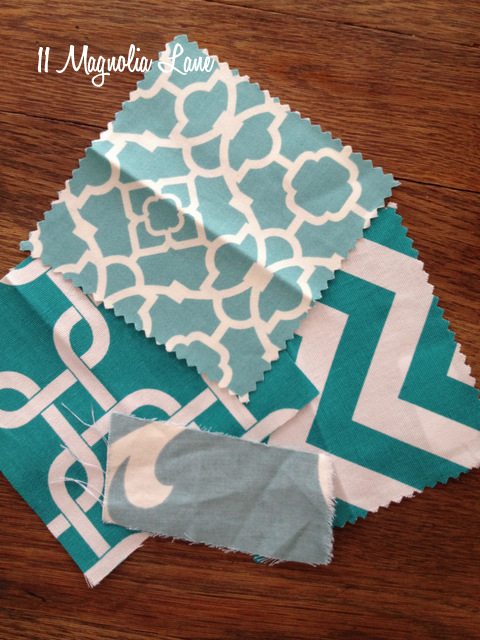
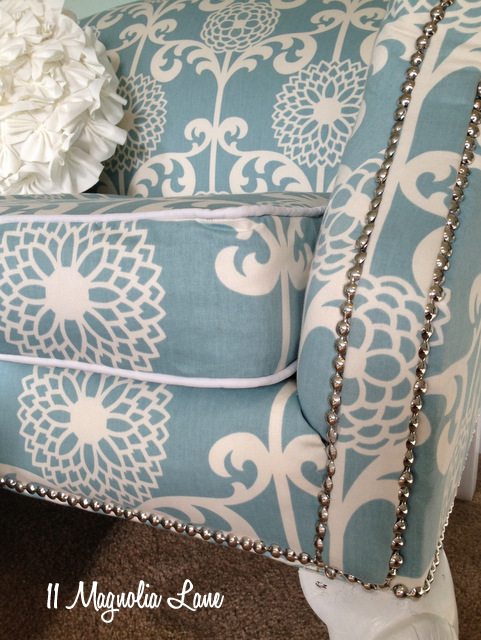
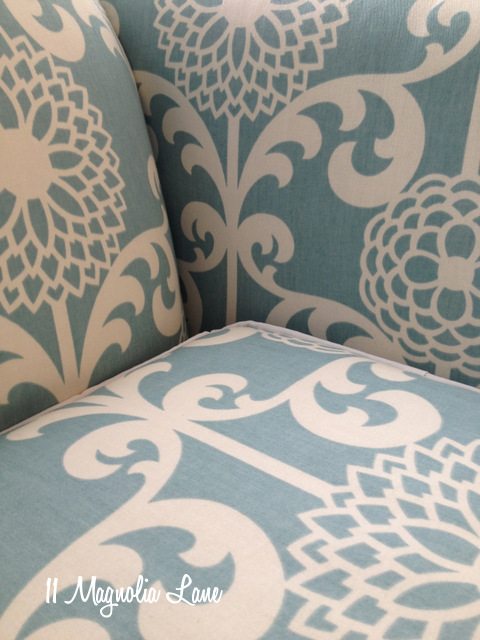
The fabric is Waverly’s Fun Floret in Spa, and like I mentioned, it probably took me two weeks to find exactly the color and pattern I wanted. I was trying to find an aqua and white trellis or quatrefoil pattern, but the blues just weren’t right for my daughter’s room. She’s the lucky owner of this piece, by the way.
Here are some of the fabric samples I considered:
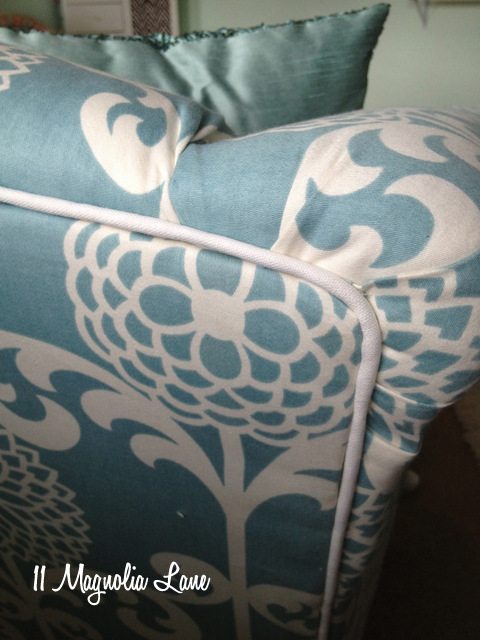
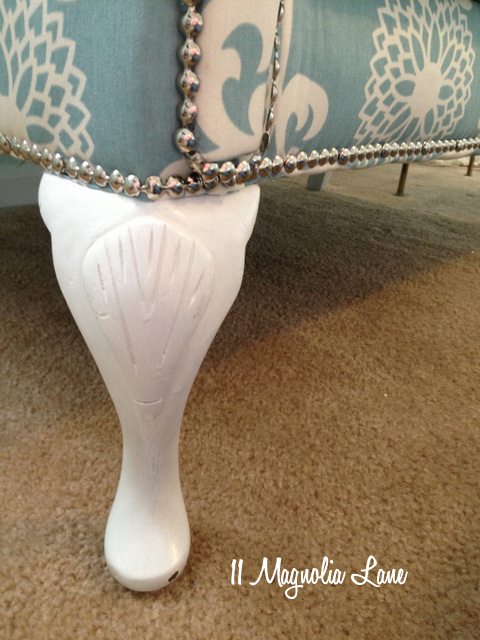
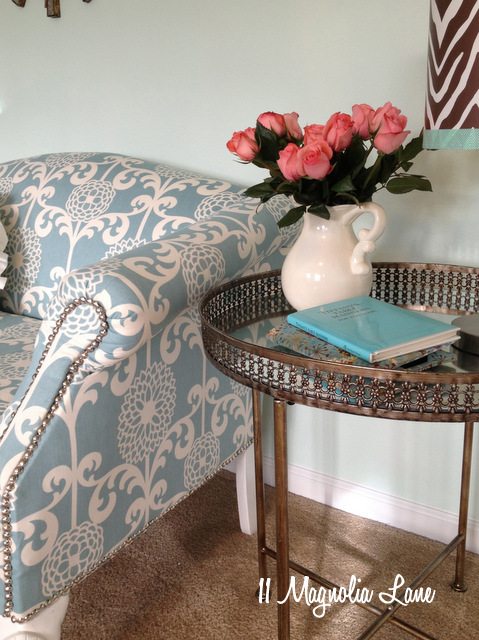
I painted the legs white and decided to add silver nailhead trim. The original piece had dark brown legs and piping everywhere you see the nailheads. I did sew white cording (I love how it contrasts with the print) for the cushion and the back of the loveseat.
Here’s the back:
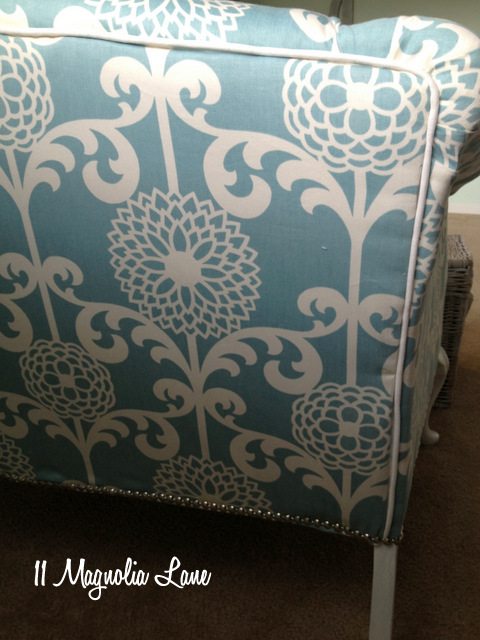
Getting the back to line up and lay without wrinkles was the hardest part. I had to rip the fabric off once and redo it, and it’s still not perfect, but it’s good enough.
The fabric was a little bit tricky to line up from piece to piece, but I’m glad I used the print instead of a solid.
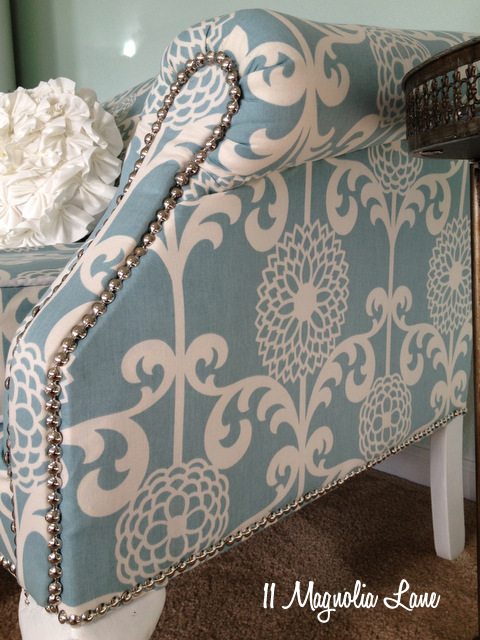
You can see that I distressed the legs just a little bit…it would have happened in the next move, anyway, I figure.
The nailhead trim was the kind you buy in a long strip–genius! I used 1-1/2 rolls for the entire project, and probably five hundred staples. Seriously. I also used my pneumatic staple gun and was SO glad to have it for this project!
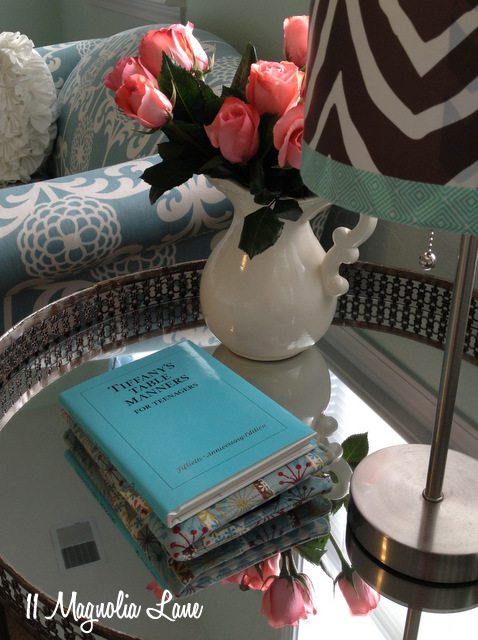
My daughter is only ten, so she can stretch out and read a book. I replaced a lot of the batting, so it’s nice and fluffy.
By the way, my neighbor Kelli is a sewing genius, and she pretty much made the entire seat cushion for me. I sewed the cording, but that’s it. She did an absolutely amazing job, and I learned a ton from her–maybe enough to try it on my own the next time!
I am about ready to show you the rest of my daughter’s room, IF she ever gets it clean enough to photograph! {Update: see her room here}
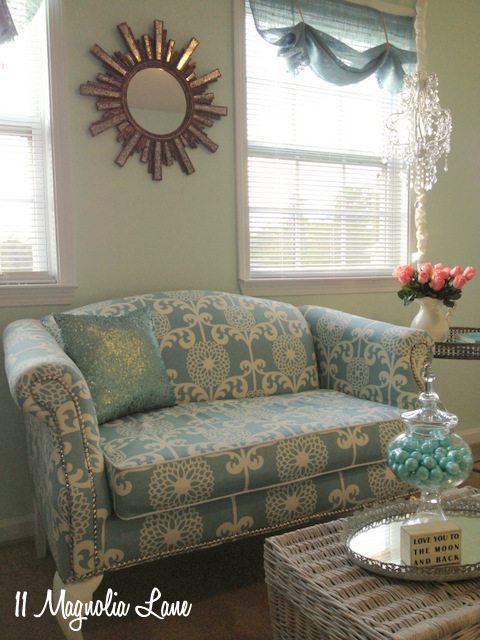
If you’re really paying attention, you’ll notice that in some of the photos the loveseat is in front of the two windows. That’s where it really lives, but the light is much better when it’s on the opposite wall, so some of the shots were taken over there. Also, I continued to play around with the styling and in some pictures you’ll see her brown zebra lamp on the gold mirrored table, and in the one below you’ll see her chandelier–that’s the way I left it, at least for now.
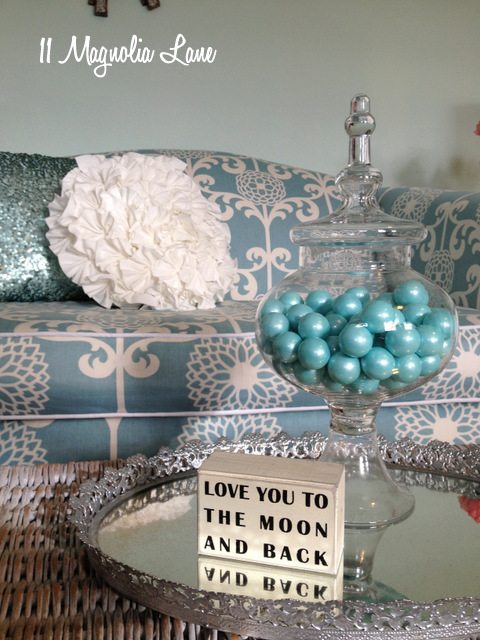
The table is a HomeGoods find, and the top is actually a removable tray. I think it’s really a bar tray, but I like it here for now.
Oh, and one last fun touch–instead of using the upholstery fabric that was on the seat and the bottom originally, I decided to use this brown zebra fabric instead. It was originally a sheet that I bought at the thrift store for $2, and it’s been in my fabric closet just waiting for this project. The underside is covered with it, too. It makes me smile every time I see it!
I’m so glad this project is done! Now I can park in the garage again. 🙂 It was a long job, but not too terribly hard, and I would definitely take on another reupholstery project if I found something with great lines at the right price. Stick around and next week I’ll give you a more detailed post on how I took it apart, put it back together, and the cost breakdown (about $150 total, if you’re wondering). UPDATE: Click {here} to read Part 2. Let me know if you’ve tackled any big reupholstery jobs lately–I’d love to hear what you’re working on!

Thanks for stopping by~


