I am proud to be a 3M-sponsored blogger, and as part of my responsibilities, I get the opportunity to evaluate 3M products. Opinions are my own and additional products used in the project were selected by me.
We’ve been in our new house for almost three weeks, and while at times I think we’ll NEVER be completely unpacked, we have managed to get quite a lot done. I always try to get my kids’ bedrooms unpacked and decorated as quickly as possible; it helps their new spaces feel like home.
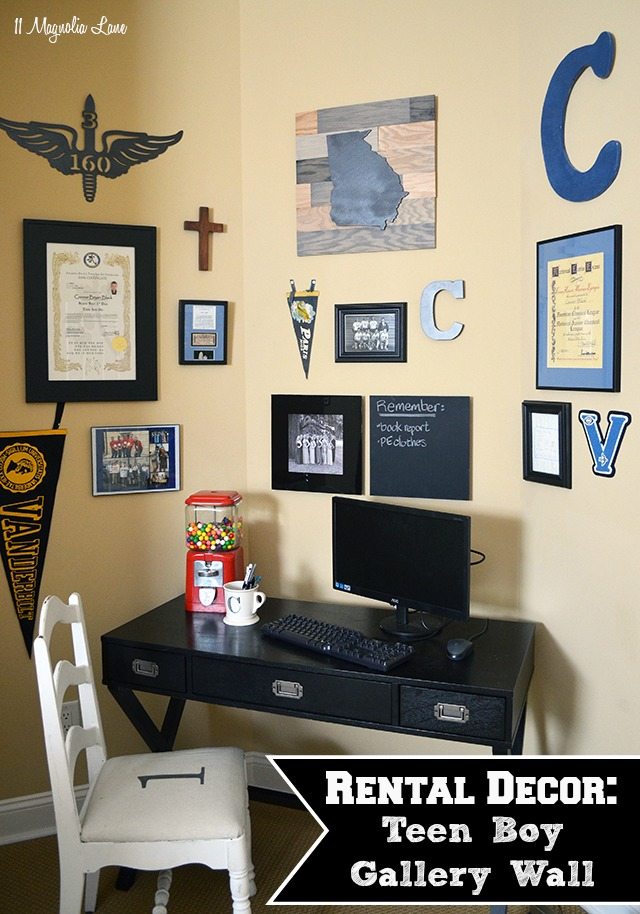
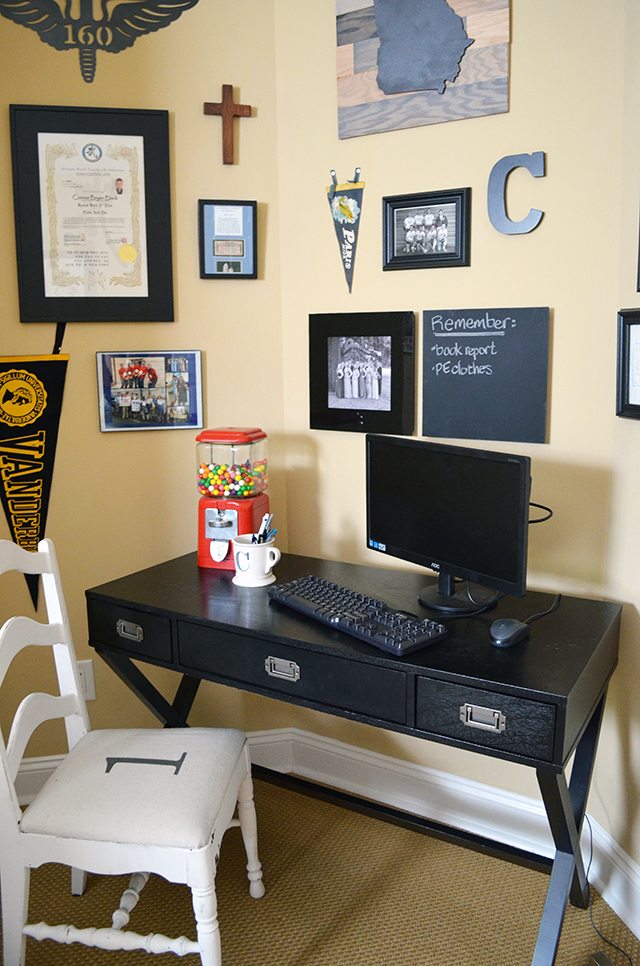
If you live in a rental, like we do, or military quarters, then you know that it can be tough to decorate while avoiding nail holes in the walls. That’s why I’m excited (and a bit smug) to report that I created this entire gallery wall in my teenage son’s room using nothing but Command Brand™ products–hooks, poster and picture hangers, and the newest addition to their line, the Command Décor Damage-Free Wall Tiles. Are you impressed?
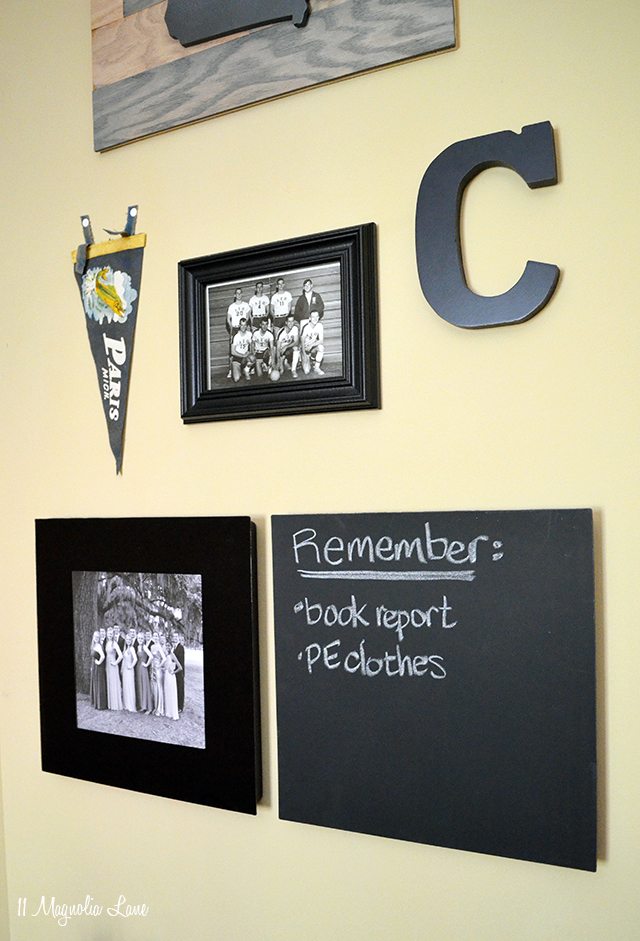
These tiles are pretty neat…once you adhere the back, using the included Command strip, you can change out the front tile to any of their designs. I used the black picture frame and the chalkboard square, but they have over 30 designs to choose from–a variety of artwork in different colors, dry erase, picture frames, and more.
The space started out as a completely blank canvas; I knew it was a great corner for my son’s desk, and a gallery wall is an easy way to display all the things.
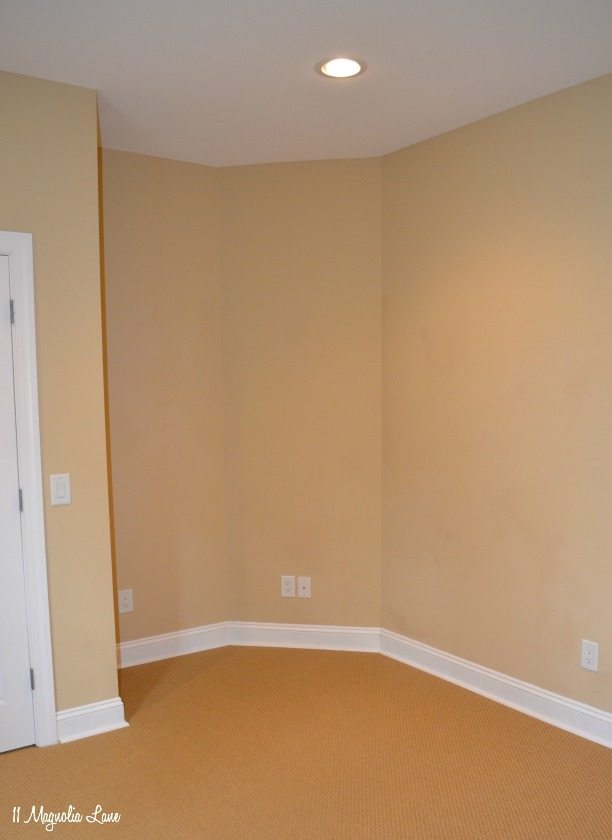
Of course, if you were building a gallery wall with nails and used the no-planning technique, you’d wind up with dozens of extra nail holes in your walls. If you’re using Command Brand strips and hooks, then you might have to pull one off and replace it–which is SO much easier.
The wall tiles are a snap to hang. Here’s how you do it:
1. Clean the area with alcohol and let it dry.

2. Place the Command strip against the back of the base until you hear it lock. Then remove the liner from the back of the strip.

3. Using the built-in level as a guide (yep, that’s pretty cool!), position the base and press firmly for 30 seconds.

4. Now, using the bottom corners, peel the base gently away from the wall. The strip will remain behind.
5. Press firmly on the strip for 30 seconds to be sure it’s adhered to the wall, and wait an hour (that’s the hardest part!).

6. Replace the base, and add the front. They attach magnetically, which is why it’s so easy to change them out. They even have risers that you can use to layer the tiles on the wall.
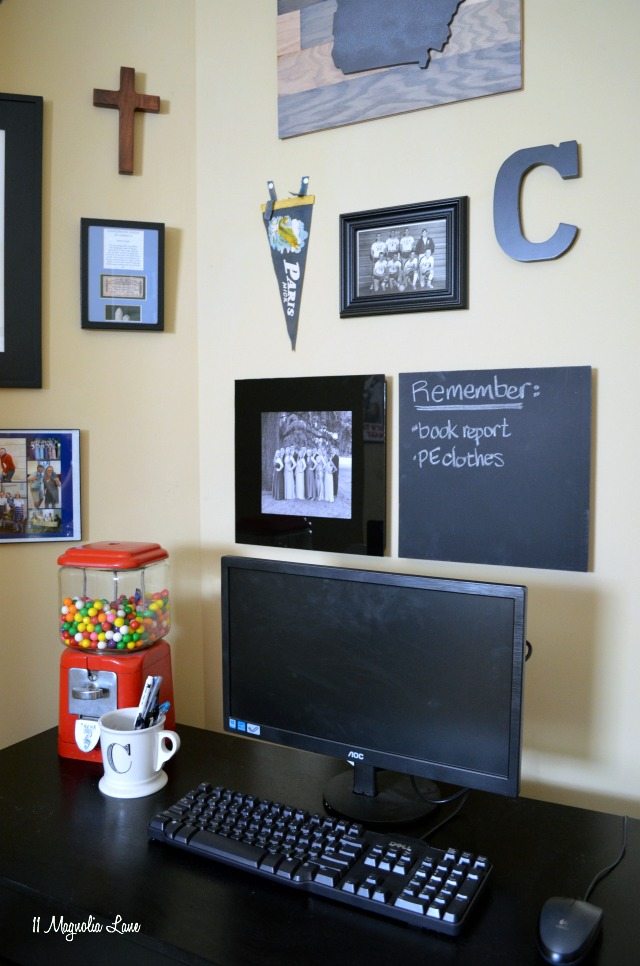
I chose the chalkboard panel for my son because we’re working very hard on organization, and I’ve been encouraging him to make reminder lists. He seems to do better with his list on the wall in front of him than on a piece of paper (maybe because it’s harder to lose!).
For the picture frame, I wanted to hang a photo of the friends he left behind in Savannah. Moving is always tough and I wanted to remind him that he’s got great friends in Georgia and will also make great friends here.
The picture size is 7.5″ square so I used 2400 x 2400 pixels to crop a picture I liked from this year’s Headmaster’s Dinner, and printed it as a black and white photo on my computer.
Command Décor Damage-Free Wall Tiles are available exclusively at Amazon. They have a deal running through 7/13/15 where if you buy one tile, you can get 20% off a second a checkout. Here are the two I used (although the price for the frame is for a three-pack, I only used a single):
And here’s a handy-dandy video on how the tiles work:
••••••••••••••
For a post I wrote on tips for decorating a rental (or military housing), click {here}.
For my easy trick for hanging silver platters on the wall using Command Brand hooks, click {here}.
And for a DIY screened porch (when you don’t have a screened porch) using Command Brand hooks, click {here}.
I’d love to hear your favorite tricks for Command hooks and hangers in the comments below!
••••••••••••••••
Sources:
Desk: Target (they have it in white at World Market)
Chair: vintage; it was my great-grandmother’s. I painted it and made the drop cloth numbered seat cover; that post is {here}
Gumball machine: vintage
•••••••••••••••
Disclosure: some of the links used are affiliate links. If you purchase using those links, we earn a small commission. You don’t pay a cent more than you would otherwise.
Thanks for stopping by–

