I had hoped to show you the final result on this project, but I had to special-order the knobs from Hobby Lobby, so you’ll have to stay tuned for another update next week.
I scored a dresser at Goodwill a few years ago, and immediately painted it an off-white and distressed it. This was in the days before chalk paint! It’s about to get a coat of Annie Sloan chalk paint in Pure White, because it’s going to go in my daughter’s closet when we move, and all of her furniture is white.
I’m going to keep the fabric covering the drawers, though, because it’s a great neutral shade. I’m really pleased with how this project turned out, and since it’s a fun alternative to simply painting a piece, I want to show you how I did it.
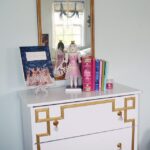
Here’s the dresser (minus seven knobs and a white paint job!):
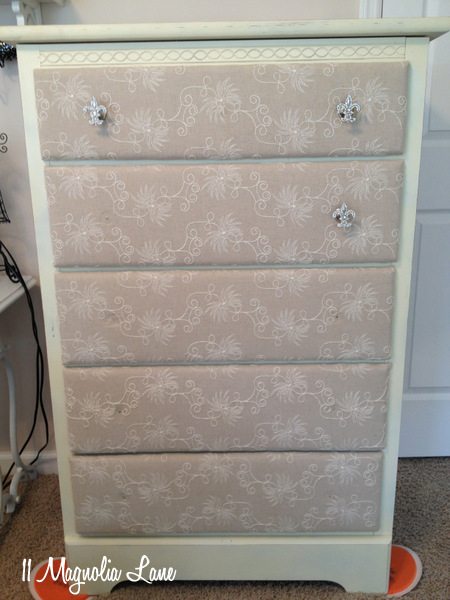
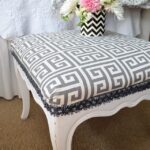
Here’s a close-up of the fabric on the drawers:

If you use a patterned fabric, like I did, it’s important to line up the repeats as much as you can, just like you would on pillows or window treatments. Also, be careful since sometimes drawers are slightly different sizes! Measure each one separately before you cut out the fabric.
I ironed the fabric and then used a layer of quilt batting between the fabric and the drawer front. This smoothes out any wrinkles in the fabric and creates a slightly padded look. I used a staple gun on the inside edges of the drawer fronts to secure the fabric:
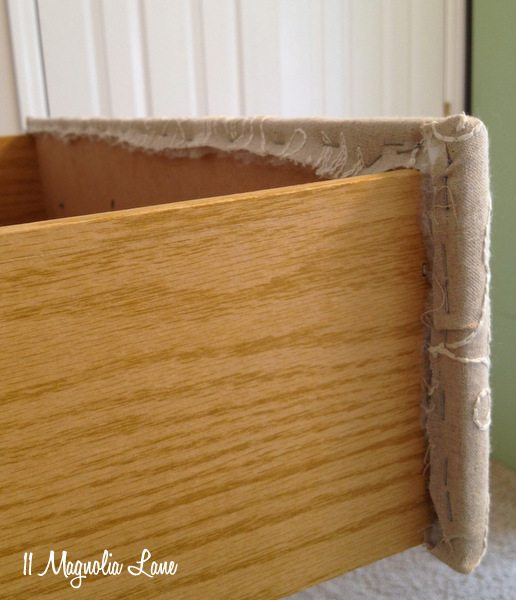
Here’s a close-up, so you can see the bits of batting peeking through:

You could certainly stop with just doing the drawers, but I covered the sides on this one. That was a little trickier, because it was impossible to hide the staples. You also have to fold your fabric over so no raw seems are showing:
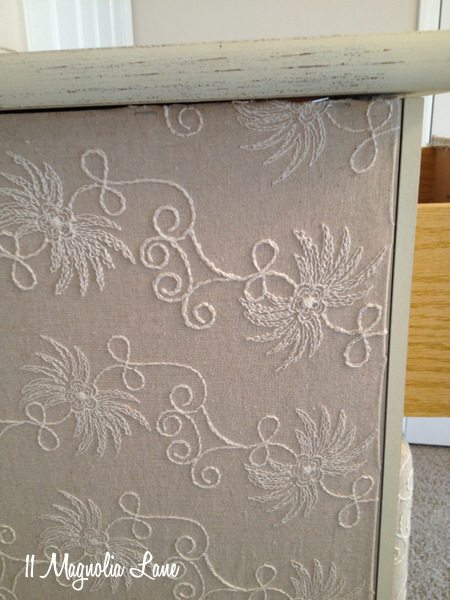
A row of trim (like the gimp I used on my dining room chairs {here}) would cover this edge easily, and really finish the piece.
My daughter picked out these rhinestone-embellished fleur de lis knobs, and I think they look great!
 Stay tuned for an update with the finished product, just as soon as those knobs arrive! (Update: read the post on the finished piece HERE)
