I wrote a few weeks ago about the big plans I have for the area between our kitchen and our garage; it’s a great space and has such potential. You can see my step by step to-do list {here}.
The space that I’m working on looks like this:

Our kids have been back in school for a month now and I’ve been getting so much done during the day–Etsy orders, seeing a few local clients, and of course, working on our own house. Their school is six minutes from our house, so I am saving at least 2 hours a day in the car as compared to when we lived in Savannah. I can’t tell you how HUGE that is!
So, I’ve accomplished quite a few of the things on my punch list over the past month, and I wanted to report in with my progress.
We started out with a builder color off white with yellow undertones; we had this in our house back in the late 90’s and I loved it then, but it was time for an update.
Here’s the before:
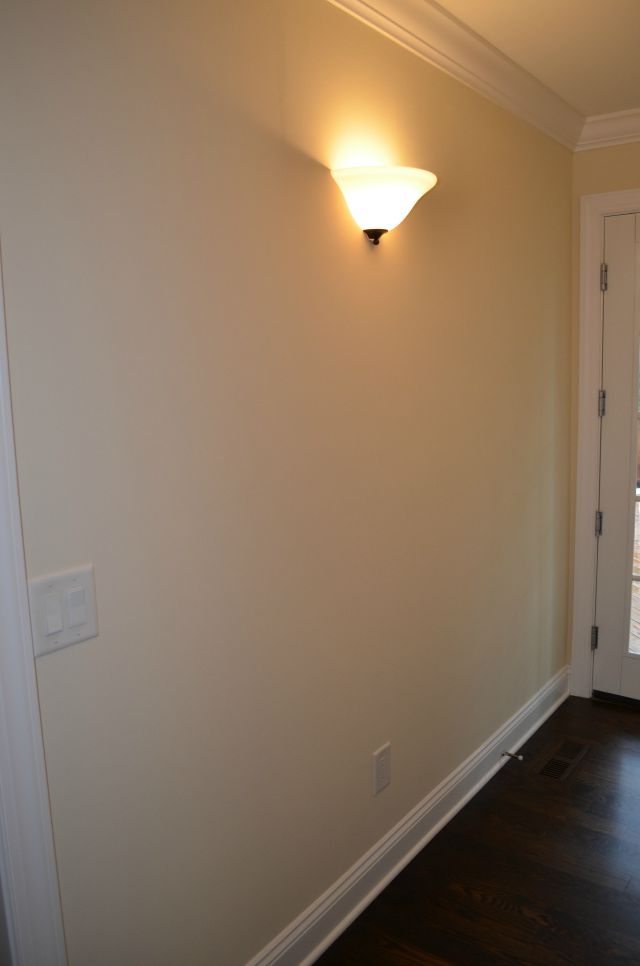
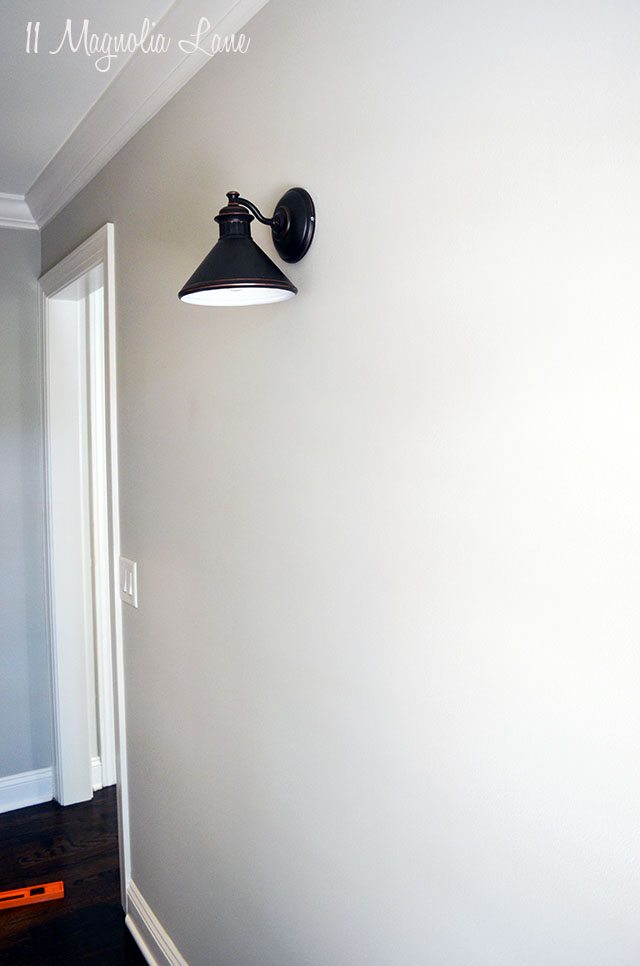
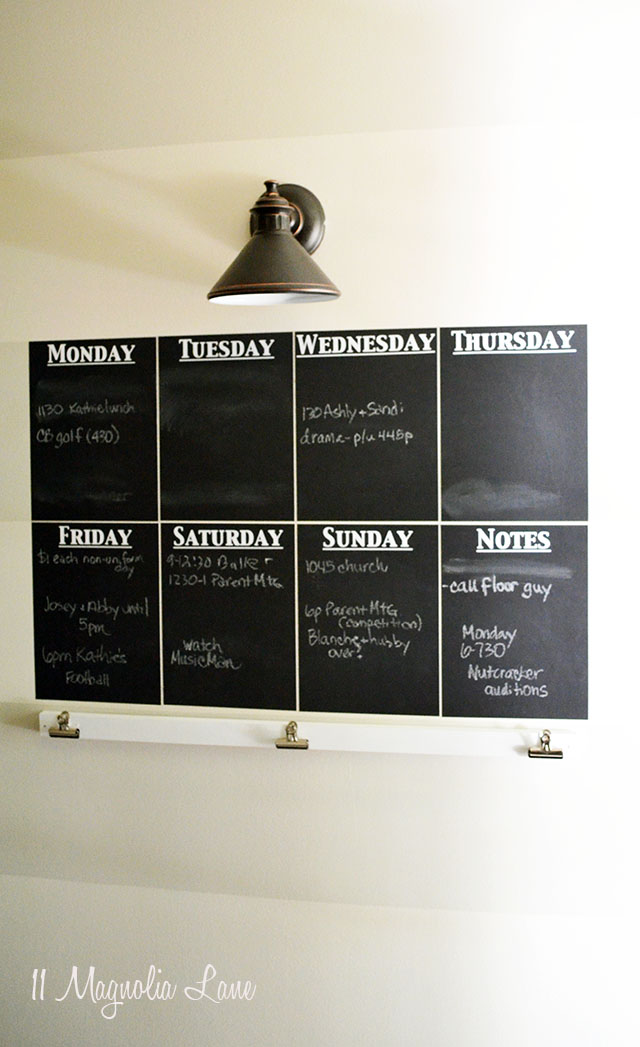
The first thing I did was give everything a coat of Benjamin Moore’s Revere Pewter, and then I changed the two wall sconces to something a little more industrial looking.
I originally was leaning towards galvanized metal sconces, but then decided that the oil rubbed bronze would tie into the kitchen better (the hardware in there is the same finish). I found the sconces for $43 each here and was really happy with that price.
Here’s the same wall with a coat of paint and its new lighting:
The pantry, niche, and coat closet got the same paint treatment; it made such a big difference!
I found a black and white dalmatian spot rug at Hobby Lobby and thought it added a fun touch to the hall leading in from the garage (sorry, I can’t find a link to it online so it must be in-store only).
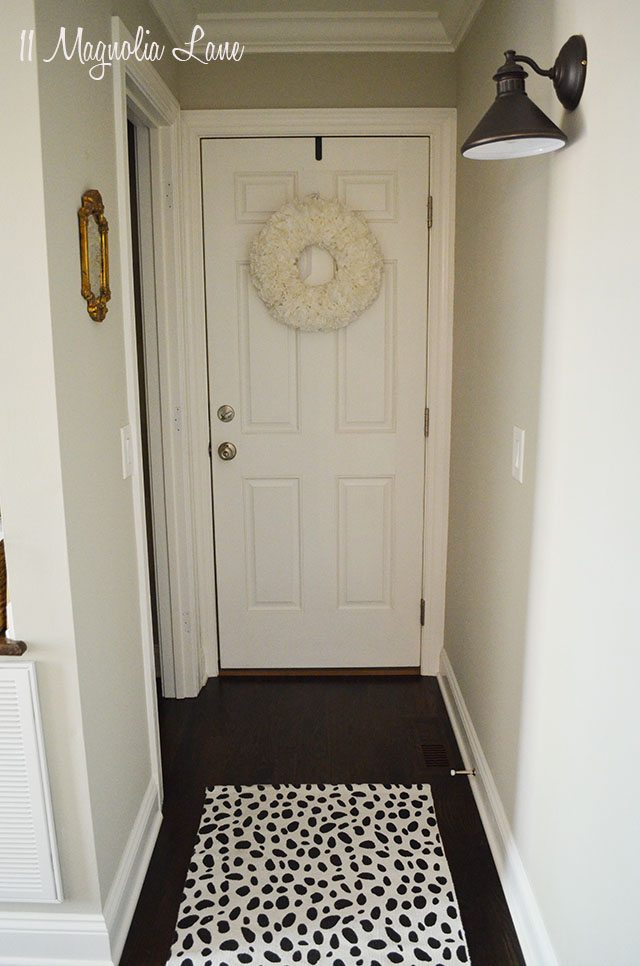
The door on the left is to the coat closet; I’ve removed the door and turned it into a mudroom area–I’ll be showing you that next time. And the sweet gold mirror on the wall is from Amy; she brought it as a hostess gift the last time she visited and I’ve had the hardest time deciding where to put it because it works everywhere. I figured I needed a mirror right next to the door, though, so I can check lipstick on teeth before I head out. I have a middle and high-schooler now and they are easily embarrassed. 🙂
Next, I painted the horizontal stripes in the mudroom and one of the walls. Although painting stripes is DIY 101, I’m going to post a tutorial next Monday as part of the Back to Basics series we’re participating in during September; there are a few tips that will make it go more smoothly.
This is how my stripes turned out:
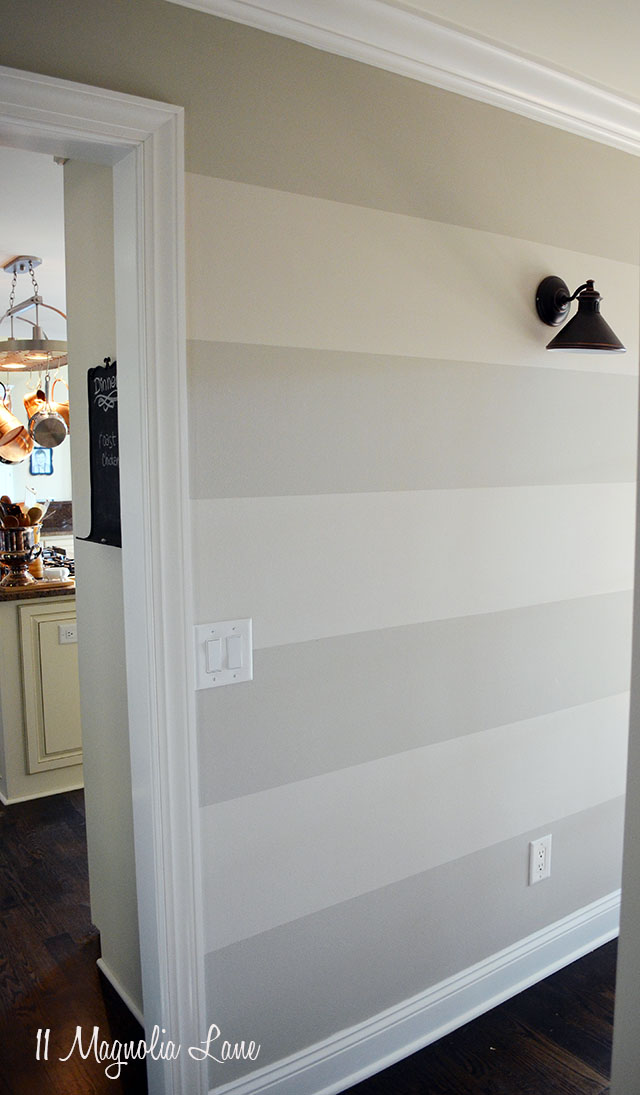
The lighter color is BM’s Edgecombe Gray; it’s one color lighter than Revere Pewter on the paint chip. It’s also the color I repainted my kitchen; I owe you photos of that, too!
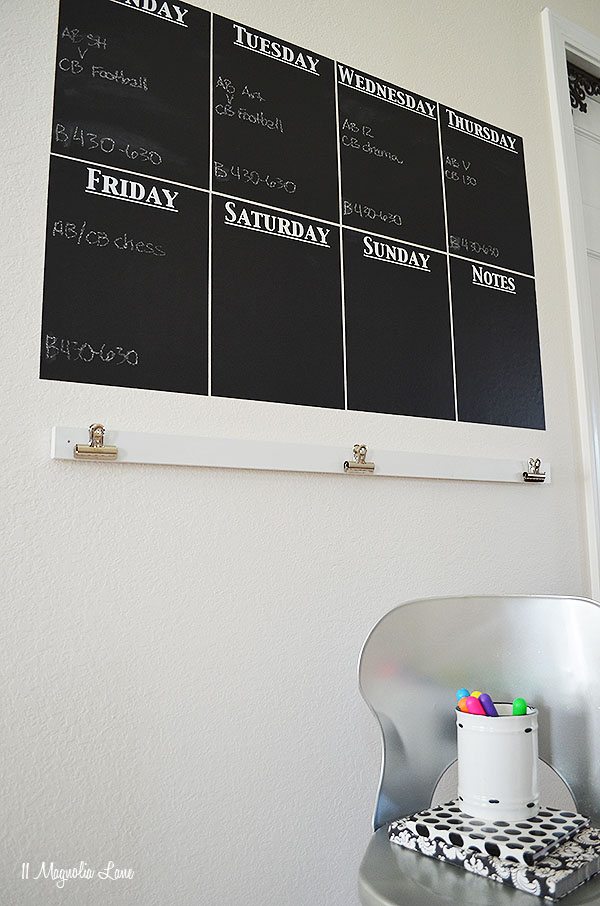
Then I let the paint cure for a week before I stuck my week-at-a-glance chalkboard calendar on the wall. As long as I have wall space for it, I have one of these in every house we live in–it’s so useful for keeping our family organized.
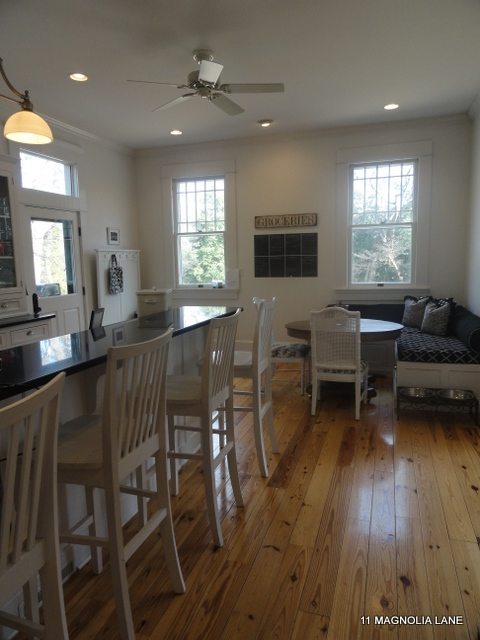
Here it is in our Savannah house:
And here it is in our last NC house, way back when we first started the blog:
When we moved this time, I just peeled the panels off, stuck them on freezer paper, and reused them. If you’re interested, they’re precut vinyl panels that I buy from Amazon {here}, and then I cut the days of the week using my Silhouette CAMEO. You can buy the days of the week in our Etsy shop {here}. They’re probably still sticky enough to survive another move or two, but they peel off without leaving any residue, so they’re great rental decor.
I also hang a wood strip with three bulldog clips on it underneath the calendar so I can keep loose papers (permission slips, checks, and that sort of thing) right out in the open. I originally made it to display my kids’ artwork back when they were creating lots of it; it’s a super-easy project and the tutorial is {here}.
The lighting is tough in this space since it comes in from the door on the right and then the rest of the space is pretty dark, but you get the idea.
I’ll show you the mudroom next week, then the built-in shelves I’m putting in the niche area for cookbooks, and then hopefully by then I’ll have the built-ins in the pantry finished. And by then it will be Christmas. 🙂
{Some of the links used are affiliate links; if you make a purchase after clicking on one of these links we will earn a small commission. You won’t pay a cent more than you would otherwise.}
Thanks for stopping by.