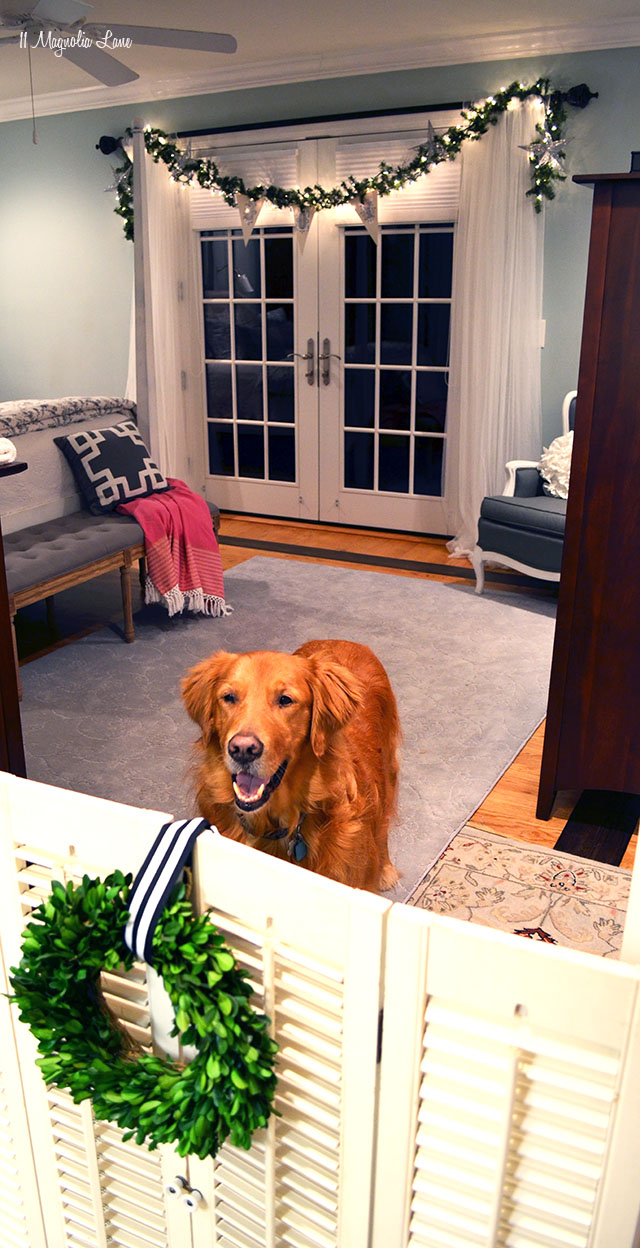
This is one of my favorite DIY projects ever, and as you can see, I hang these shutters up in every house. While we’re down to just one dog now, sadly, Harley still needs a quiet place to retreat when we have small visitors, and this is the perfect solution. They’re so much prettier than a plastic baby gate, and they work just as well.
This is a post from about four years ago, and so it’s an oldie, but it’s also a goodie. Enjoy!
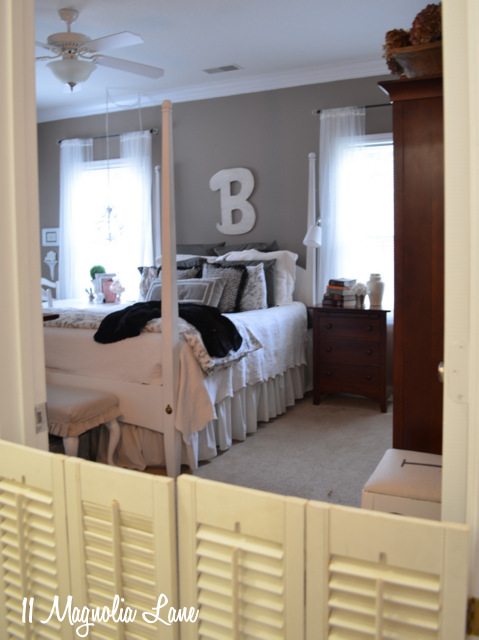

You know that I cannot tell a lie…these might be “vintage” mini plantation shutters, but they’re also “salvaged,” which in my world means that I snagged them from the side of the road on trash day! Hey, cheap is good, but free is better!
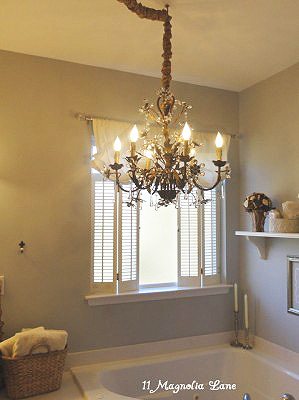
I picked two sets of shutters up curbside about four years ago when we lived in Virginia Beach. My husband thought I was crazy (this happens more often than I care to admit), especially as we moved them twice before I figured out a use for one of the sets. I propped them up in our master bathroom window to add a little bit of shabby chic to the window treatment:
I was planning to use one of the other shutters as a cute repurposed bath rack–you know, propped on top of the tub to hold my book, loofah, bubble bath, etc–but I broke one of the louvers when I was trying to get the hinges off. That made me sad, but then I thought about how I haven’t actually taken a bubble bath since I was in labor with my 12-year-old son, and then I didn’t feel so bad.
If you follow us on Facebook, then you’ve read about how we adopted a two-year old golden retriever, Harley, in August, from our local golden retriever rescue program. Then, we volunteered to temporarily foster Sunny, a nine-year-old golden in the program, while his regular foster family traveled out of town for the holidays. Sunny’s been waiting for his “forever” family since August, probably because the older dogs don’t get adopted as quickly. Also, he’s–ahem–morbidly obese and at least 40 pounds overweight. He’s dropped 20 pounds since he was surrendered into the program, poor baby, but he’s still a hot mess. SO, you can guess what happened (my extra-smart husband figured this out before we even volunteered to foster him)…yes, we’ve adopted Sunny! Now we have two kids, two big dogs, a cat with senile dementia (don’t get me started), and a hamster, AND I’ll get to fulfill my dream of vacuuming more in the new year (sarcasm intended).
Here are our two boys:

Harley has gorgeous manners because he lives to please us, and Sunny is quickly learning the rules of the house, but sometimes we have small visitors who find two big dogs overwhelming. Also, after an unfortunate incident involving three dozen sugar cookies on Christmas Eve, we’ve decided the doggies need to be confined while we’re out of the house.
I was literally heading out the door to buy a baby gate, because my kids are 9 and 12 and we don’t have any of those accessories anymore. But I kind of wanted something pretty…and then I thought about my shutters and realized I was sitting on a real trash-to-treasure moment. So instead, instead of buying a baby gate, I ran to Home Depot and bought new hinges for the project, spending a grand total of $2.71.

| Hinges (affiliate link) |
I propped the shutters up in the doorway to figure out where to place the hinges on the door frame. Since the trim around the door goes flush up against the drywall in the hallway, I was going to have to mount the hinges in the trim rather than on the sides. No biggie–when we move I’ll just patch the holes and touch up the trim.

I made sure the shutters would be placed so that the hook would close correctly and the shutters would be level and not sag. I also opted to hang them about an inch above the ground so they wouldn’t drag on the floor and scratch it, although with two big dogs in the house, I am probably fighting a losing battle on that one.
Screw the hinges onto the shutters first. Since mine are vintage, there were already hinges in place, or at least, half of a hinge. I had to remove those and screw the new ones in. Then I marked the trim, used a drill to make a guide hole (the hinge package will tell you what size drill bit to use), and screwed in the hinges. It took me 20 minutes, including sweeping up the floor.
I love that when the doors are closed, I can adjust the louvers so they’re open or shut. I left them the chippy white that they were, but they’d also be cute if I spray painted them in a fun color. Maybe at our next house.
Here they are one more time, closed:

And here’s what they look like open:
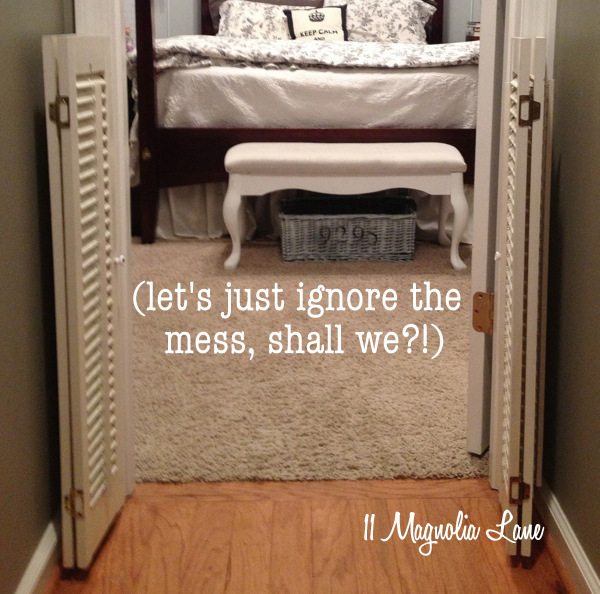
Sorry the picture quality isn’t the greatest. There’s never a lot of natural light in hallways, and it’s been overcast and dreary all week long.
Doggie gate–check. Next project–figuring out how to camouflage an ugly dog crate. Click here to see how I slipcovered it!
Thanks for stopping by!



Leave a Reply