
Hello! Has Operation Organization inspired you all to start a new project this year? These girls have such great ideas, we’re so honored to have them here sharing with us.
Today’s guest is Jennifer from My Fabuless Life, just check out how her roadkill cabinets helped organized her garage entry area~
******
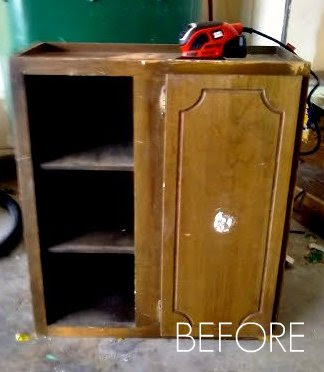
What can you do with a discarded kitchen cabinet, a pallet, and some paint? Make a place to dump store all those little things that get deposited around the house when you come in from the garage.

A while back my sister called me and told me that she was driving down the road and spotted a guy putting old kitchen cabinets (which had really cute hardware) out on the side of the road and did I think she “dare ask him if she could have them?” Of course I told her YES (I’m not the one asking him–although I probably would)! So with my moral support thrown behind her, and her bravery, or shamelessness–call it what you want–she scored herself a boat load of free cabinets, in all different sizes. Can you tell we inherited the same hoarding collecting gene? (So did sister #3 for the record). My sister’s husband is almost as excited about the collection in their garage as my husband is about mine, so guess who benefited from her having to git rid of three of those cabinets? Yours truly. My husband was so pleased to add to the hoard collection in our garage. She did keep the hardware to use later, but I may or may not have an old hardware collection of my own.
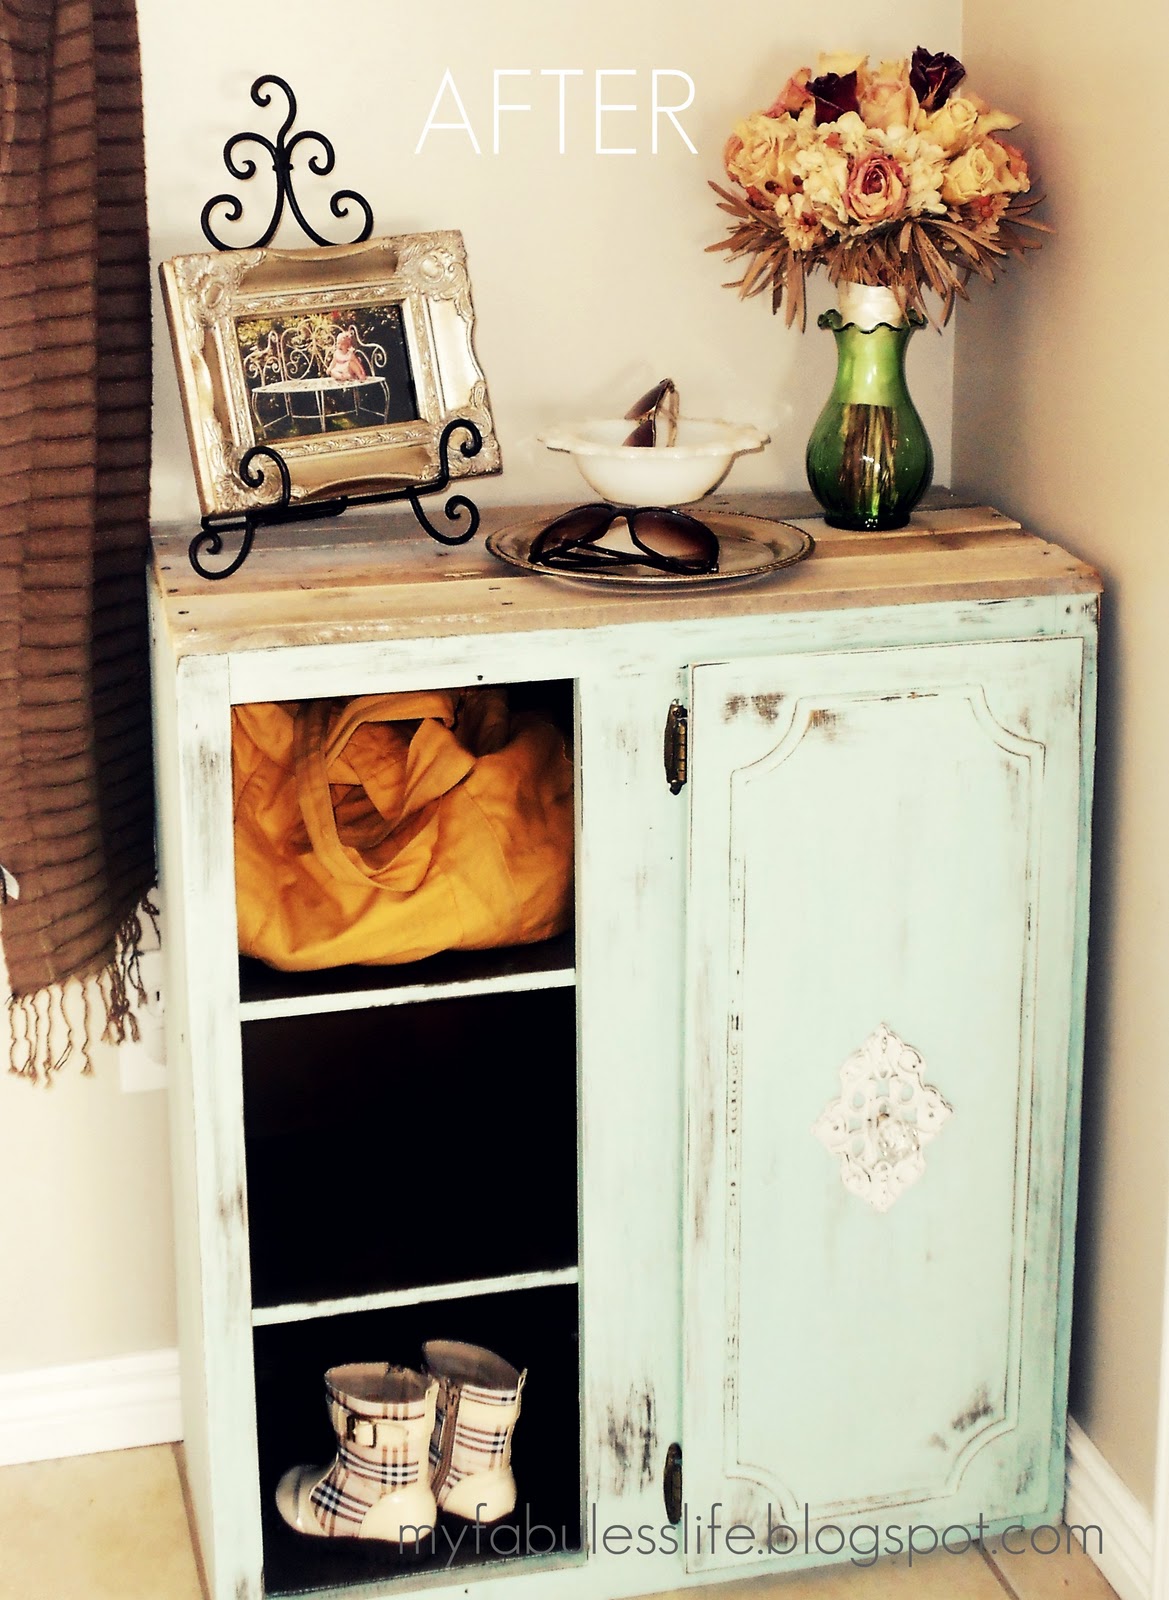
Cabinet number one has now turned into a “catch all” for my garage entry way. If you happen to have old kitchen cabinets kicking around, something like this would also be great for a bathroom for towels, etc. (my sister’s idea). But my bathrooms don’t have the room and my garage entry was in desperate need of some help, both asthetically and organizationally.
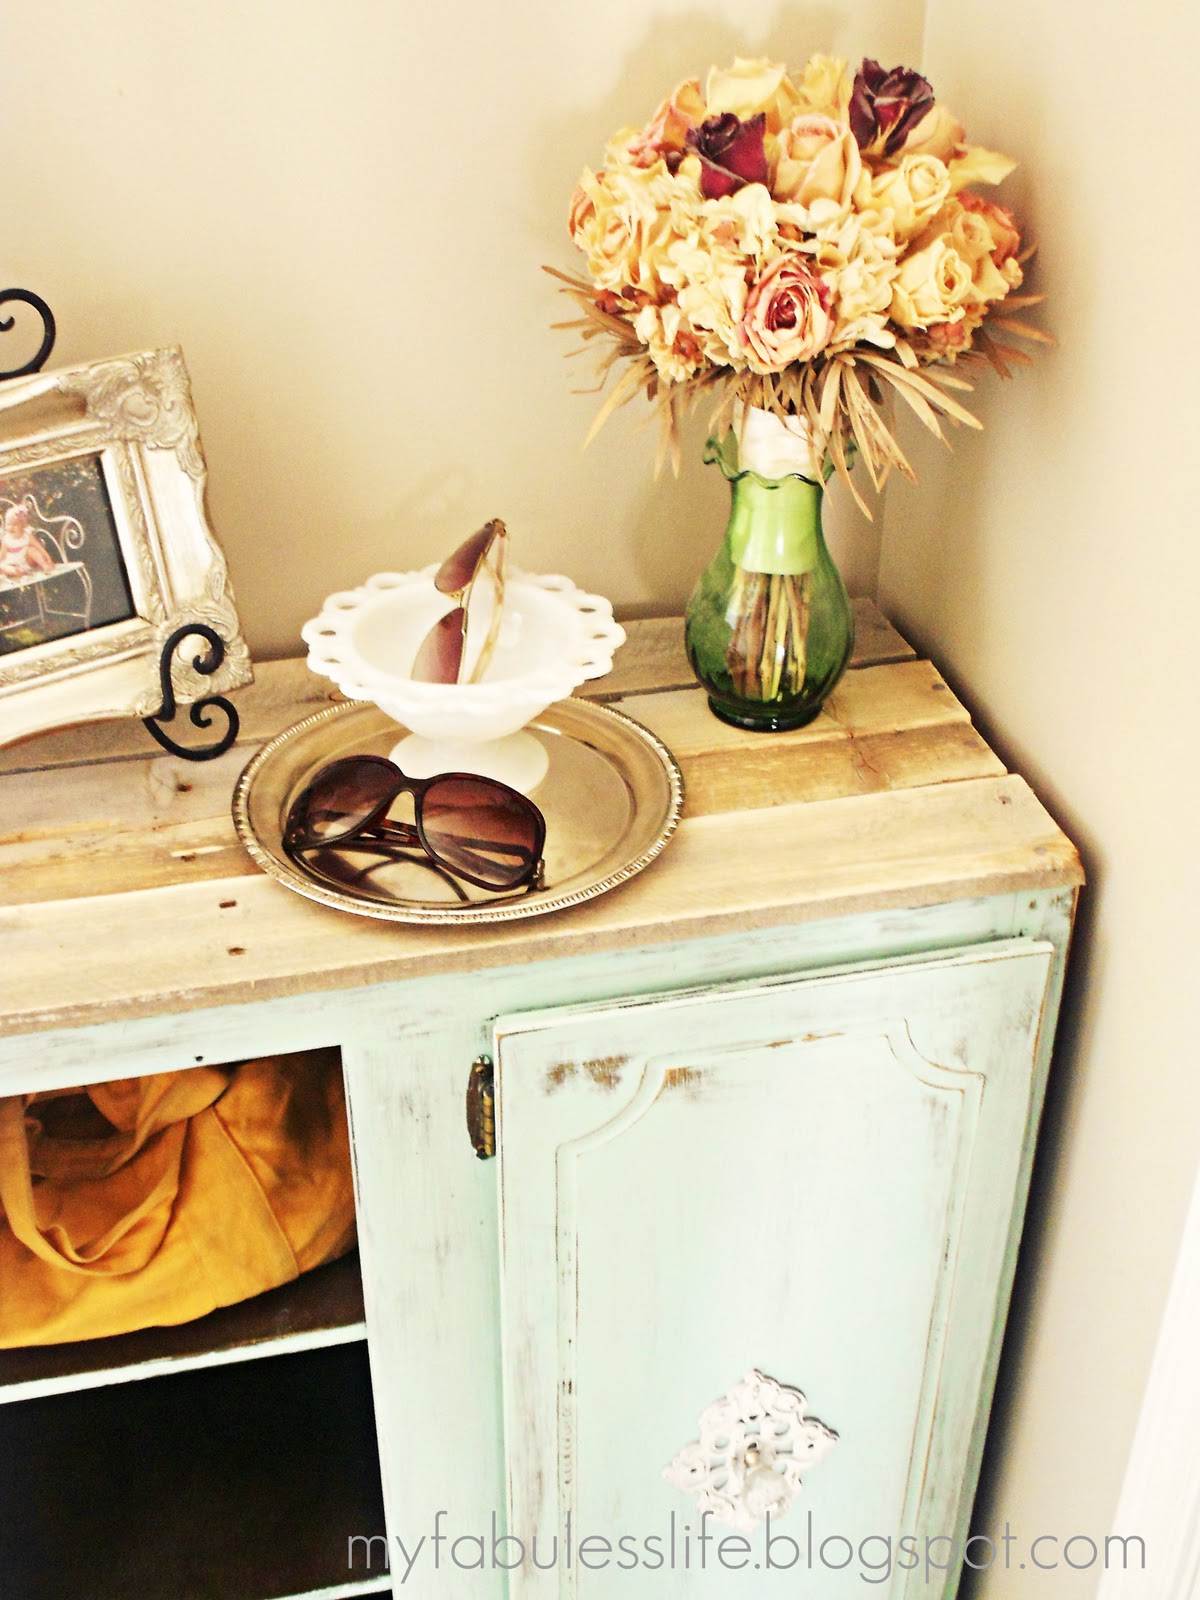
So here’s how to take an old kitchen cabinet from this
to this
You’ll need:
Kitchen Cabinet
Wood from a pallet (or any thin, scrap wood)
Wood Filler
Liquid Nails
Nails
Paint
Sand Paper
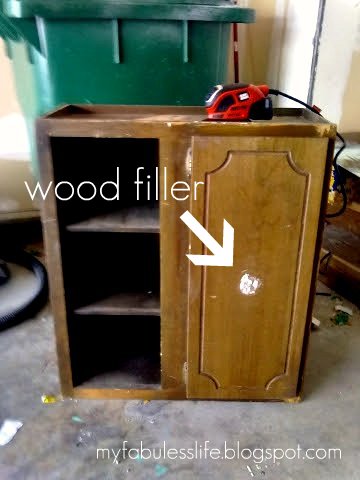
I planned on keeping the hardware in the middle of the cabinet door, but the existing hole would have been too big for the hardware I wanted to use, so I filled it in with wood filler. All you need to do is apply it roughly with a putty knife and make sure the hole is completely filled. If you’re keeping original hardware, you can just skip this step.
Next, a very light sanding. Not to the bare wood, just enough to rough up and even out the surface and any major dents or dings. If you’ve used the wood filler, you’ll also need to sand it down smooth so it’s even with the rest of the cabinet surface. Let me offer a few little pieces of advice here:
1. I know sanding totally sucks, and a lot of people say they don’t even bother with it, but a light sanding makes a world of difference! In my experience, second-hand furniture tends to be a lot more beat up that what initially meets the eye, and there’s nothing worse than finally being ready to paint a piece, starting that first coat and finding dents and dings everywhere. And believe me, the paint will show every one of them. There’s a difference between a beautifully distressed piece of furniture and a beat up piece of furniture.
2. And because sanding is so awful, trust me when I say that investing in an electric sander is $20 that will change your life. I’ve been sanding by hand FOREVER and finally got one for Christmas–it’s $20 I should have spent A LONG TIME AGO! Twice the work in half the time makes it almost enjoyable. (You can see what mine looks like in the “wood filler” picture).
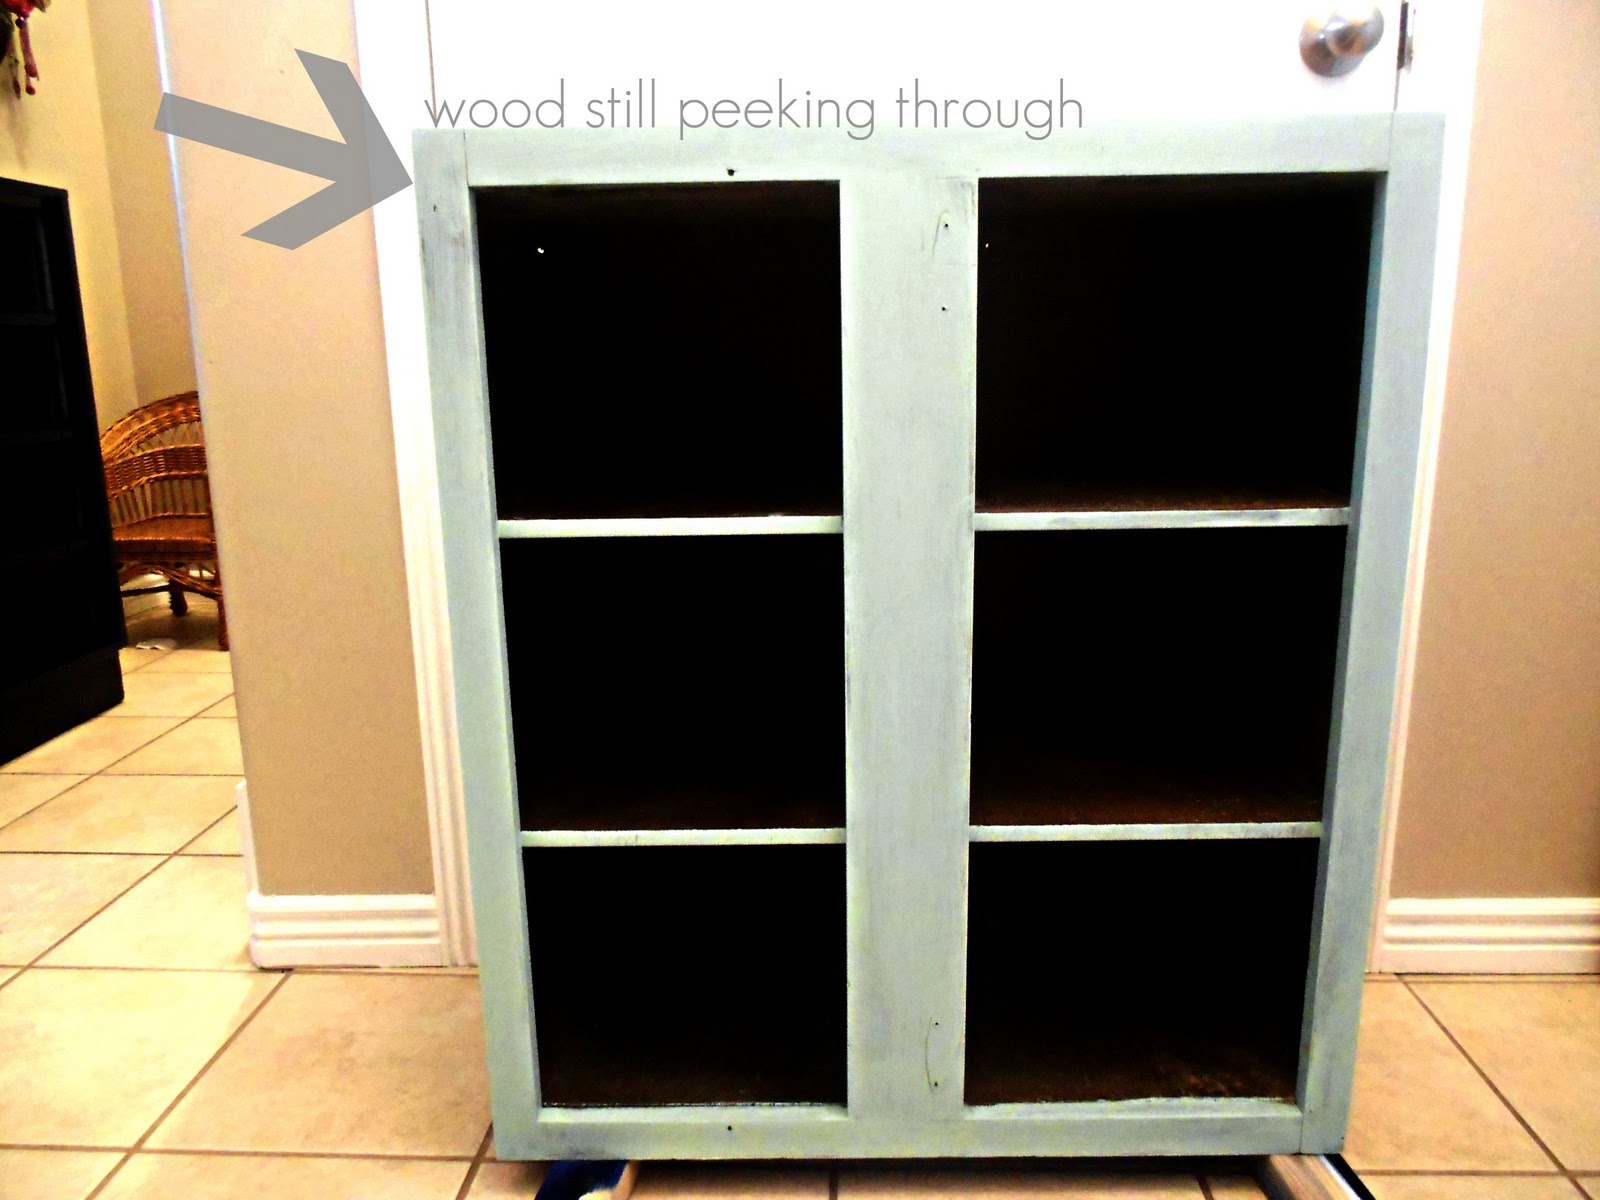
After you’ve sanded, paint the cabinet. To get a really distressed look in the end, I just use flat paint (this one is Martha Stewart Sea Glass from Home Depot) and just brush on one coat fairly unevenly. Notice here how you can still see some of the dark wood peeking through in several places.
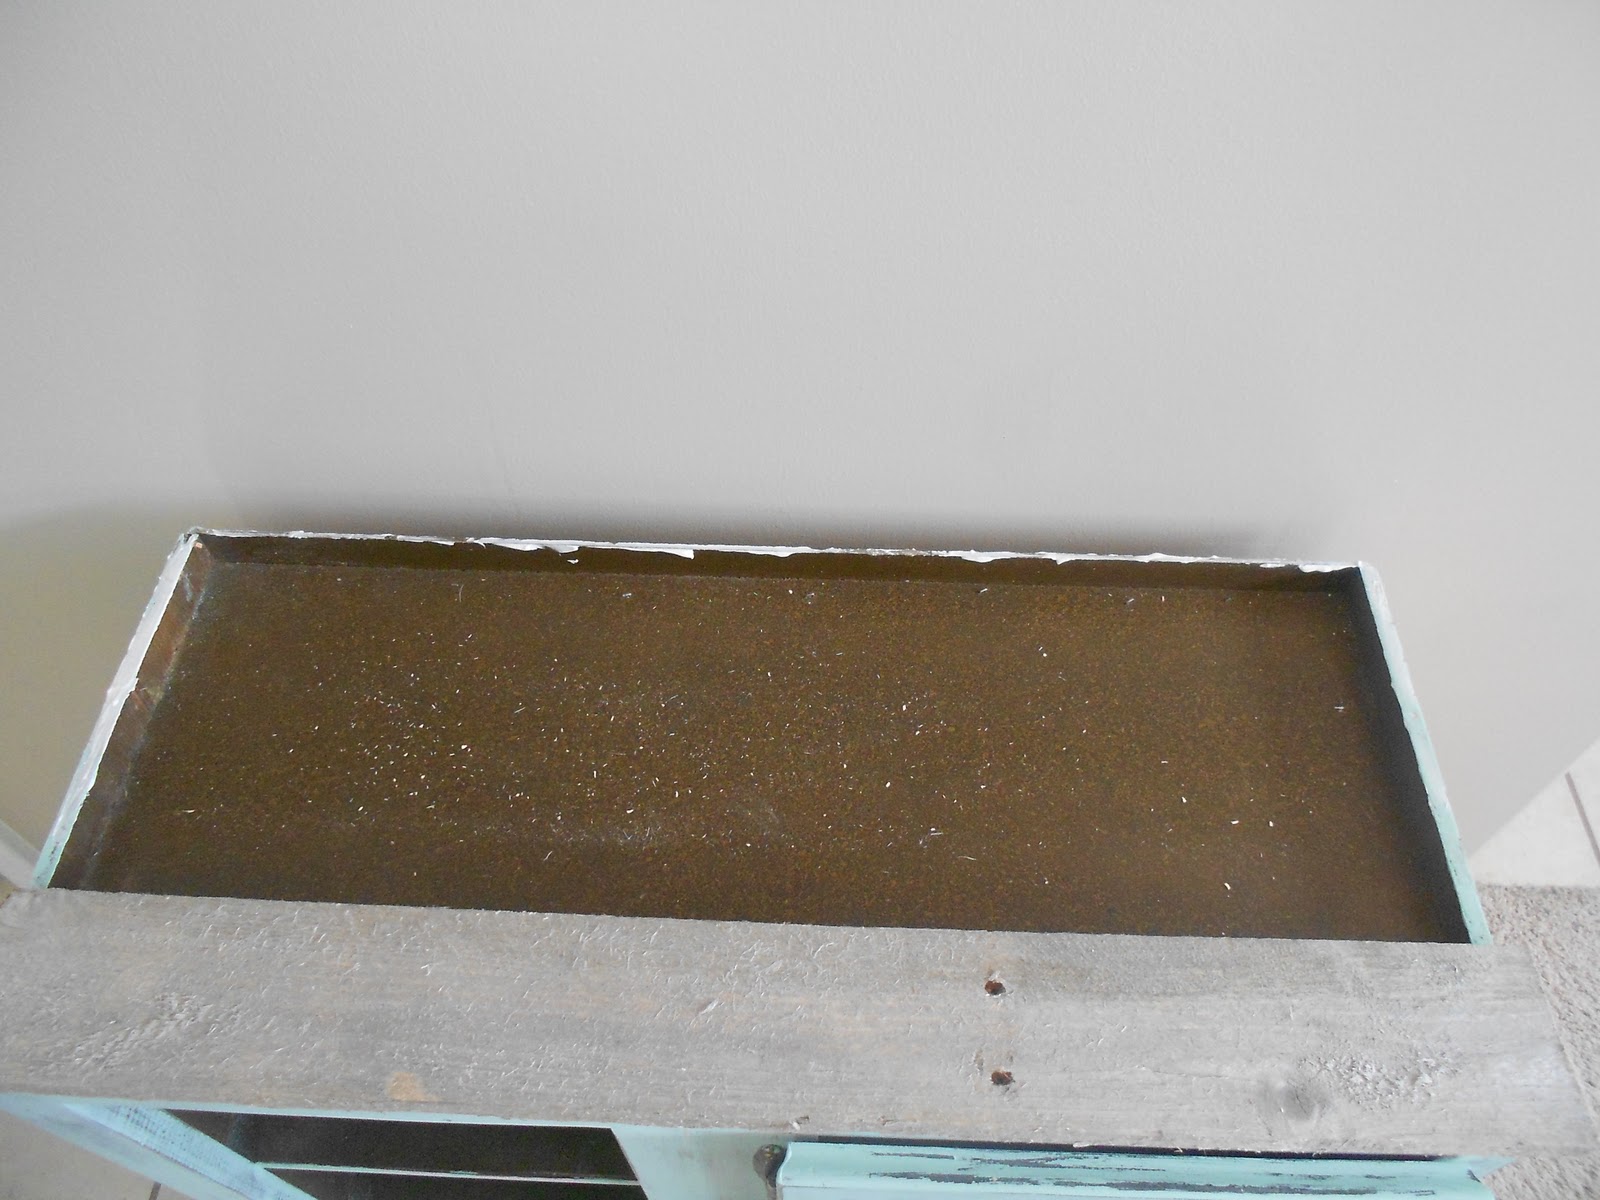
While the paint is drying, measure the top of your cabinet and cut down your pallet wood to the appropriate lengths. Much to my husband’s horror, I picked up my pallet off the side of the road in our neighborhood, but I see them for free in the classifieds all the time if you’re unable to find such treasures in your neck of the woods. Anyway, to cover the cabinet, it took three pieces and instead of cutting them to the exact width, I just set the first one flush with the back of the cabinet and let the front one create a little lip over the front.
When your paint is COMPLETELY dry, distress the cabinet (if you desire). If you don’t let it dry completely, you’ll end up with an ugly mess. Distressing is as simple as taking some sand paper and sanding where you want it to look distressed. I always sand corners and edges heavily and then lightly sand the rest so it all looks “blended.” It’s really a matter of taste, so just keep going until you get the look you want.
Next comes liquid nails. Just ask at your hardware store, they’ll point you in the right direction.
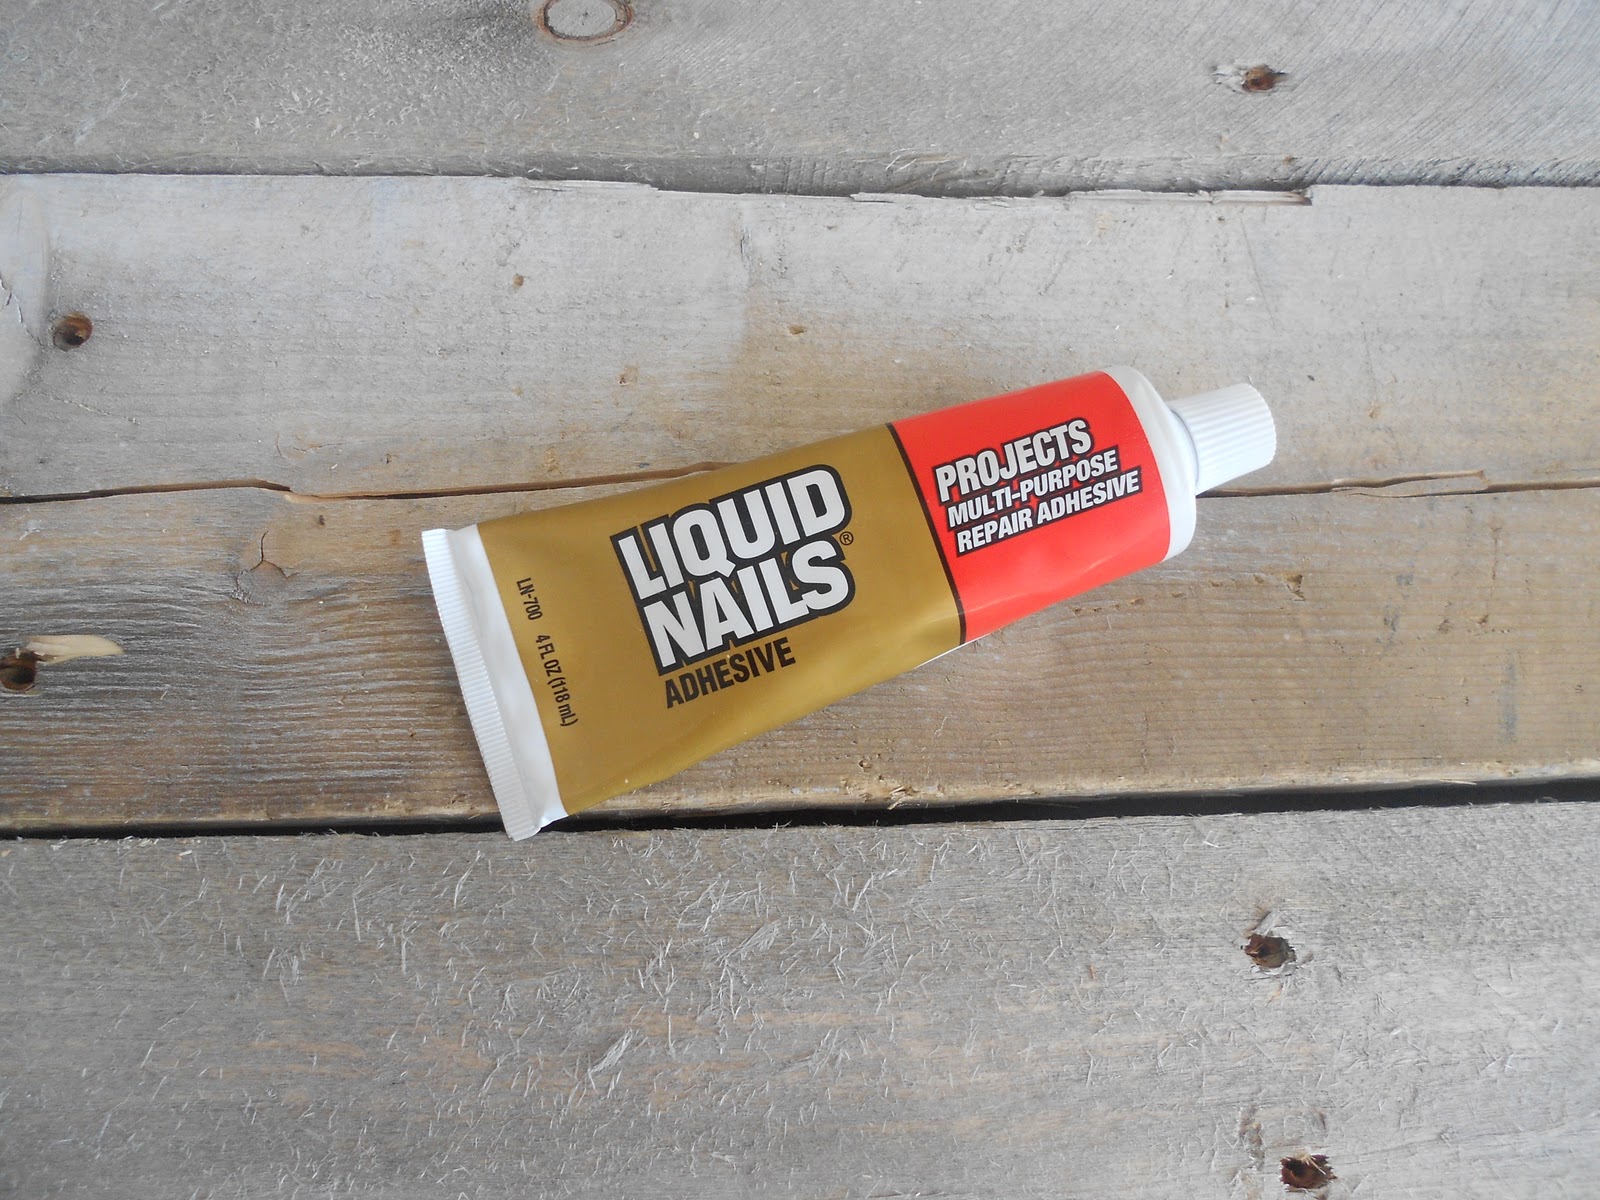
This won’t create a very permanent bond because your pallet wood is probably anything but clean and smooth (as the directions specify), but it will tack it down enough so that when you nail the wood down, it won’t move around.
Put a bead of the liquid nails around the top of the cabinet, but make sure it’s not too much, because it will squish out when you put the wood down (think Elmer’s glue in Kindergarten). Wipe off any that squishes out.
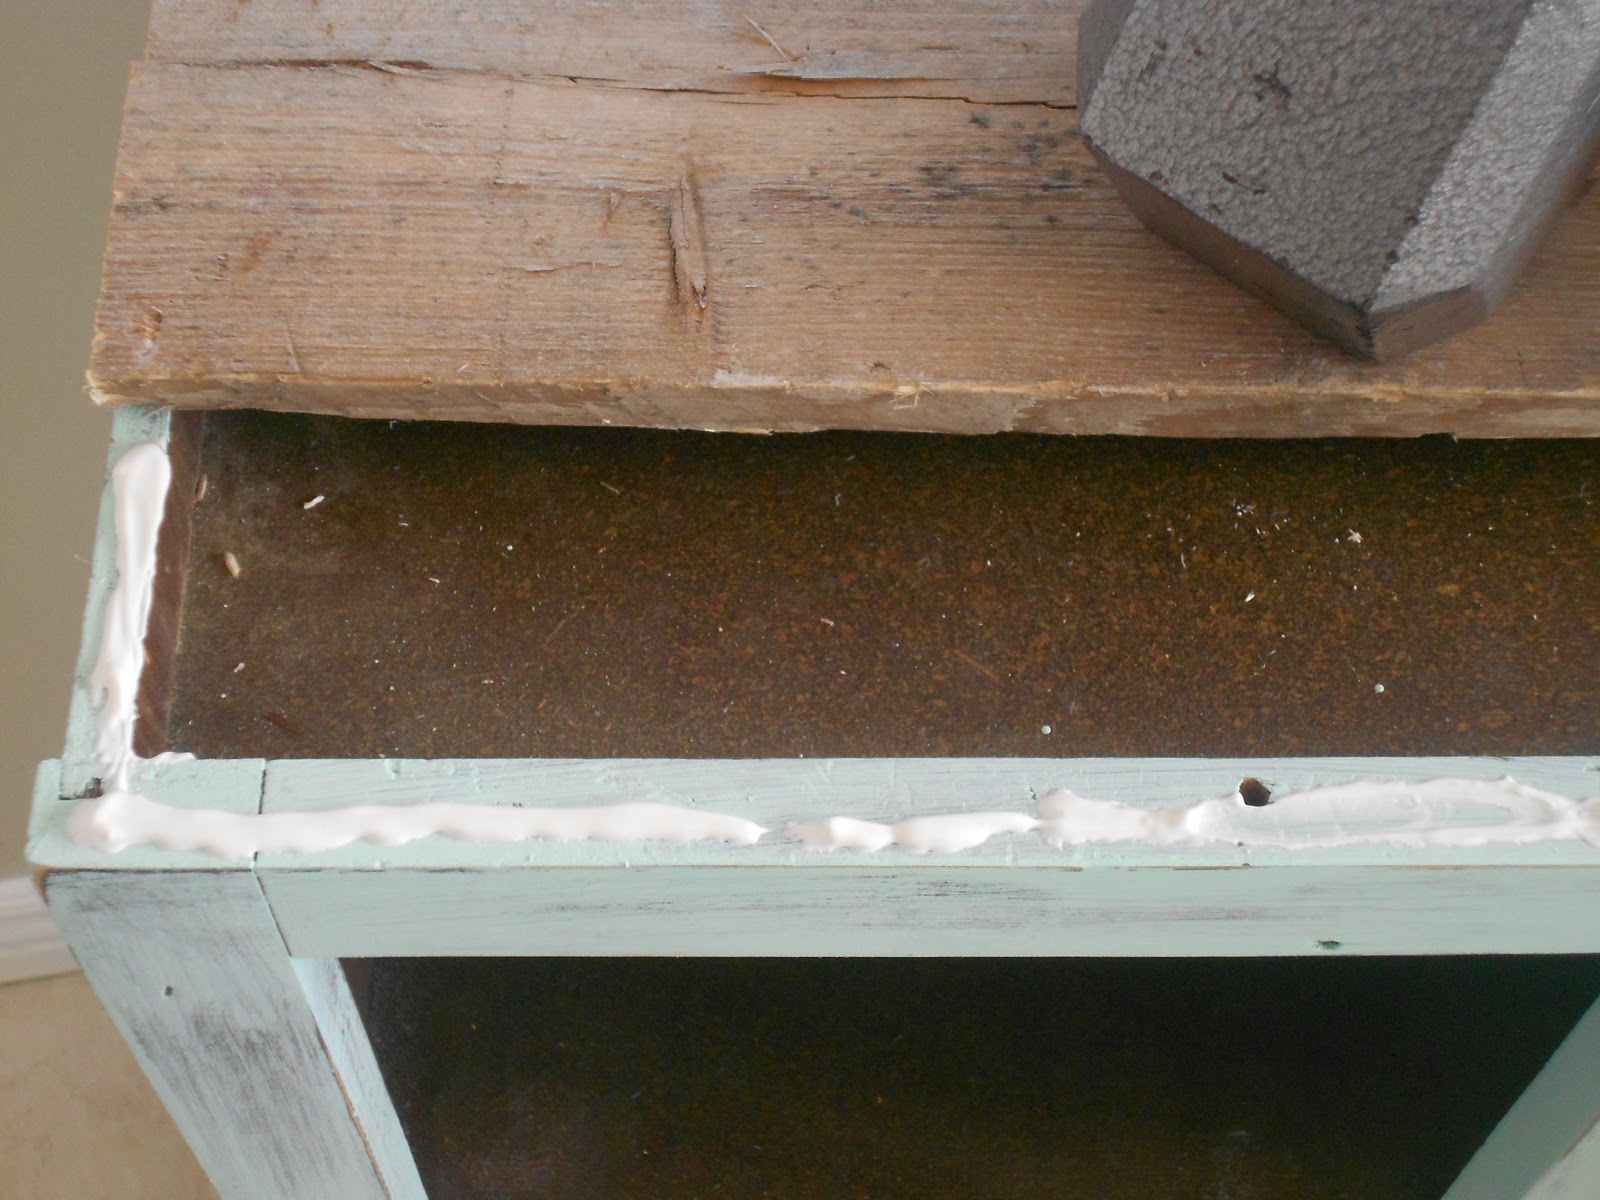
You’ll notice the wood on the back of the cabinet was very thin, so I applied the liquid nails on both the cabinet and the piece of wood for that portion.
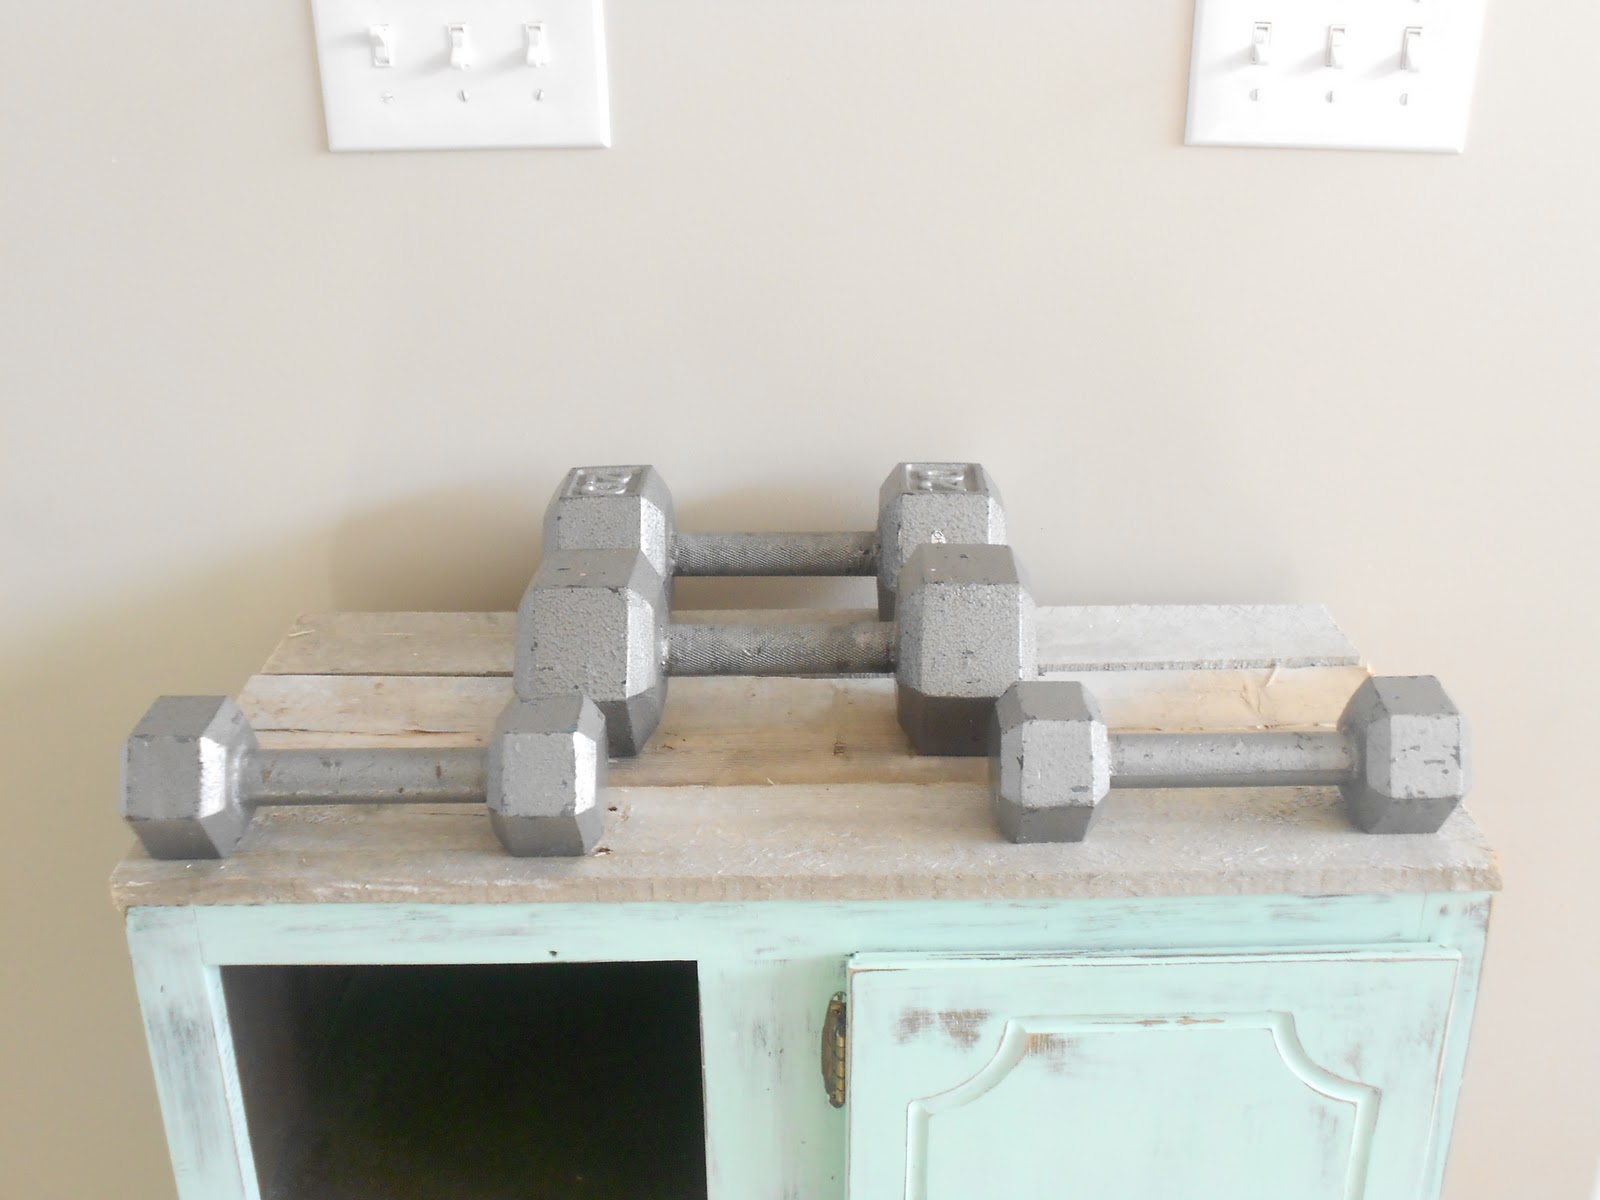
Let the liquid nails dry. If your pallets are like mine, they’ll be anything but flat, so I needed a lot of weight on top of them to get the liquid nails to grab the wood. Dumbbells worked great. After I took this picture, I also put bricks on the outer edges where they missing some weight.
Once the liquid nails are dry, finish it off by actually nailing down the wood at each end. I used two nails per piece of wood and make sure you set them far enough into the cabinet that they don’t come busting out the side. I just used big, flat-head nails to keep that rustic look, but you could use the little finishing nails and sink them into the wood like I did here.

Drill the hole for your knob, screw it in, and sand down your pallets to smooth them out (if you prefer–I did) and you have a lovely, 100% free entry organizer.
The brass plate I used behind the knob is from another piece of furniture and spray painted white, but you could accomplish the same thing with the wood appliques they sell at Lowe’s or Home Depot. And I got my little crystal knob at Hobby Lobby in the summer for about $2.00 (on sale).
*****
Thanks Jennifer for joining us today!
You can follow the Operation: Organization Pinterest board {here}.
Here’s the rest of the all-star lineup for Operation: Organization:
Friday, 1/3: Janis at All Things Beautiful
Saturday, 1/4: Amanda at Dixie Delights
Monday, 1/6: Samantha at Simply Organized
Tuesday, 1/7: Amanda at Burlap & Denim
Wednesday, 1/8: Julie at Less Than Perfect Life of Bliss
Thursday, 1/9: Debbie at reFresh reStyle
Friday, 1/10: Christy at 11 Magnolia Lane
Saturday, 1/11: Jenn at My Fabuless Life
Sunday, 1/12: Terry at 11 Magnolia Lane
Monday, 1/13: Amy at 11 Magnolia Lane
Thanks for stopping by!


