Photo courtesy of Better Homes & Gardens Kitchen + Bath Makeovers
This is one of those tutorials that I almost didn’t think needed to be explained because it’s so easy (that’s a good thing, right?!), but I have gotten dozens and dozens of requests for it, so here goes!
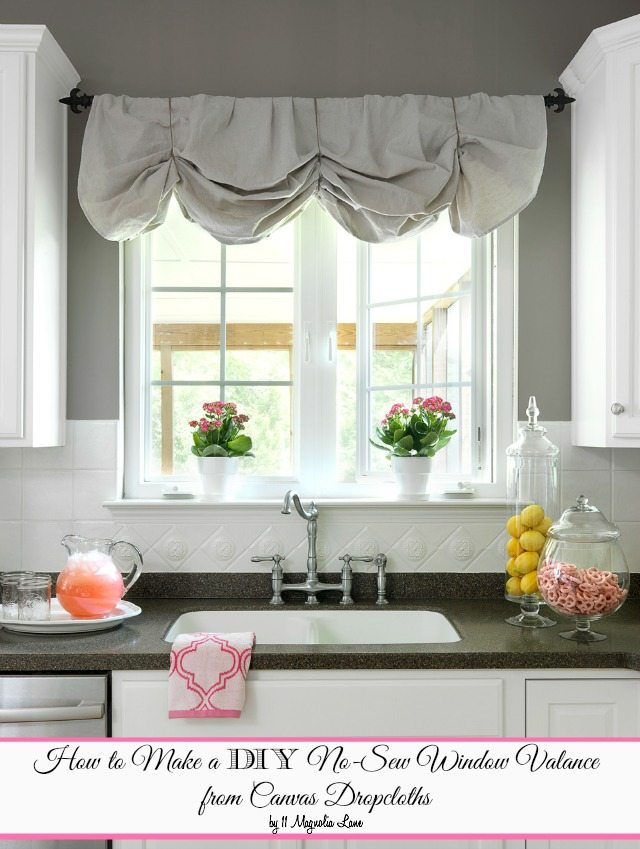
When we redid our Nashville kitchen, I used canvas painters’ dropcloths to make the window treatments. I made long curtain panels for either side of our sliding glass door, and a valance for above the sink.
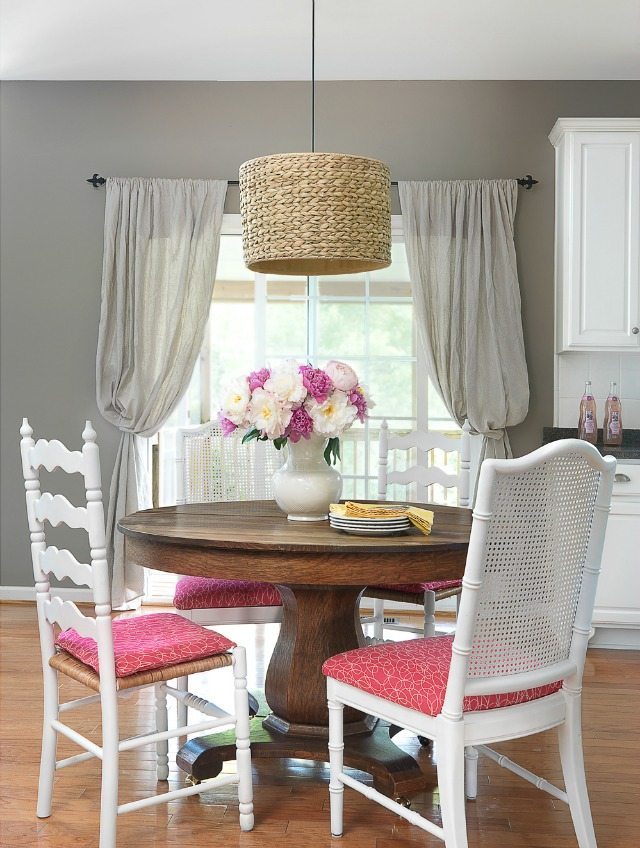
Photo courtesy of Better Homes & Gardens Kitchen + Bath Makeovers
Dropcloths are a great source of inexpensive yardage. They come in a variety of sizes and are a wonderful neutral shade. Read more about the many uses for them in {this} post I wrote.
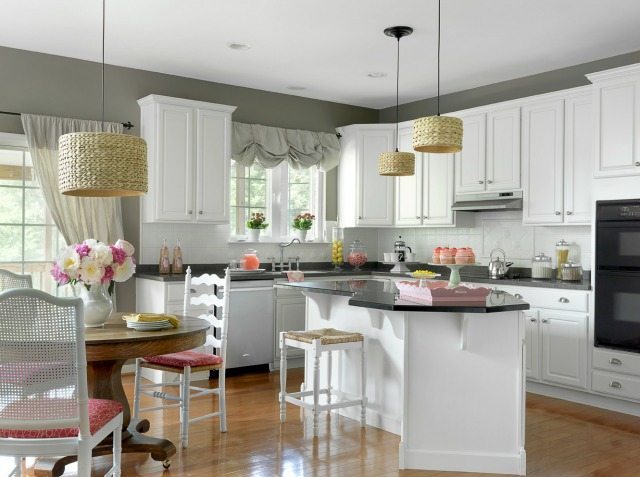
Photo courtesy of Better Homes & Gardens Kitchen + Bath Makeovers
This window valance is a great way to inexpensively dress a window, and best of all, it’s no-sew (my favorite)!
I buy most of my dropcloths at Home Depot; this is the one I bought for this window size:
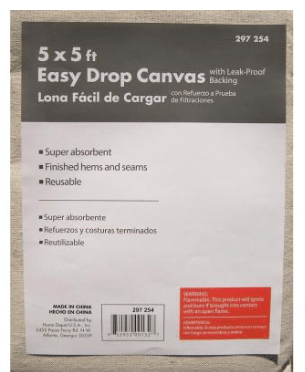
Check to be sure that there are no center seams in your cloth before you buy it; usually there aren’t, but sometimes you’ll find one. If you want to launder it ahead of time, or even bleach it so that it’s a bit lighter, now is the time.
For this window treatment, I used a dropcloth and jute twine, but for the “how to” photos, I used a curtain panel and some red ribbon so that the steps would be easy for you to see in the photos. Of course, there’s no reason this technique wouldn’t work perfectly with the fabric of your choice and any string, twine, or ribbon.
Here’s how you make it:
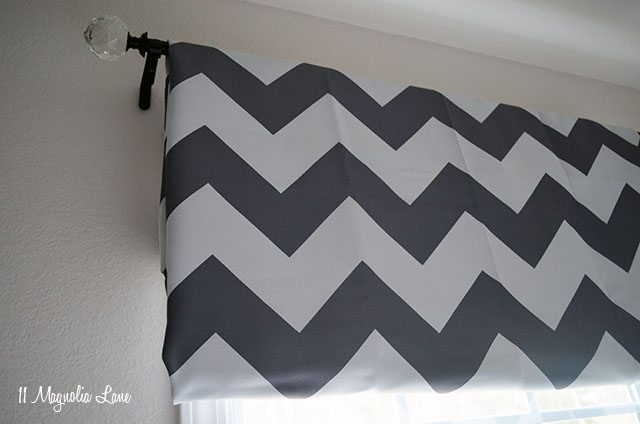
Step 1: Measure your window and adjust your curtain rod accordingly.
Step 2: Place your drop cloth good side down on a flat surface, and fold the finished edge in so it’s the correct width for the curtain rod:
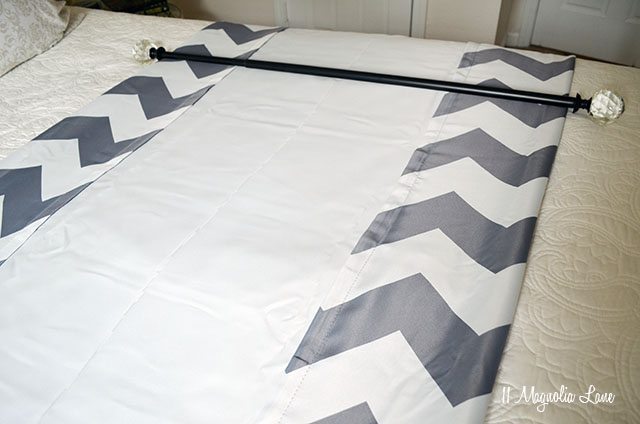
Step 3: Fold the bottom of the cloth up and over the top of the curtain rod (the longer you leave this section, the lower your valance will hang and the more “poofy” you can make it:
Step 4: Fold the top of the cloth over the curtain rod:
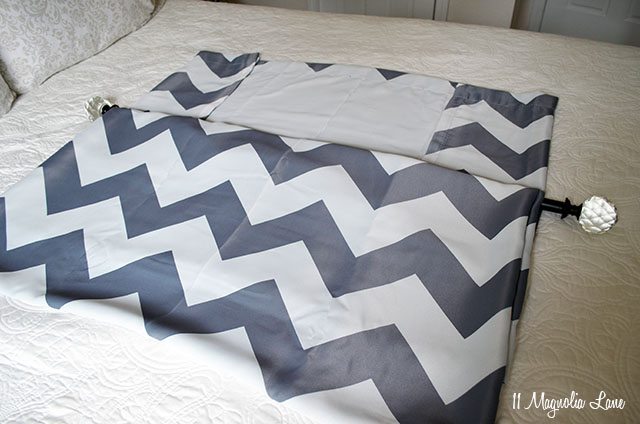
Step 5: Now, hang your curtain rod up with the seam towards the window:
At this point, if you need to use a pin or two to secure your fabric “sandwich” in place, feel free. I didn’t need to, but it probably depends on the weight of the fabric that you’re using.
Step 6: Using several lengths of twine or ribbon, create “poufs.”
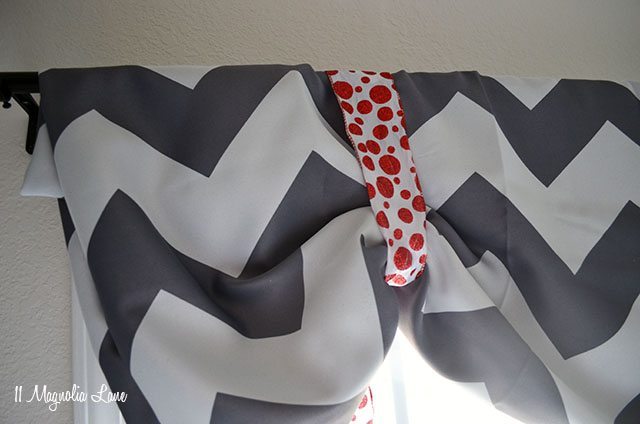
If you use two lengths of twine/ribbon, your valance will look something like this:
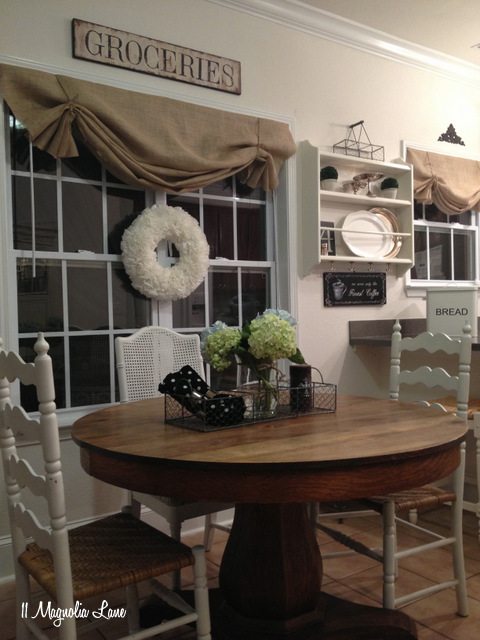
FYI, that’s another no-sew valance project, with burlap, that you can read about {here}.
For my kitchen valance, I used three lengths of twine, and the finished product looked like this:
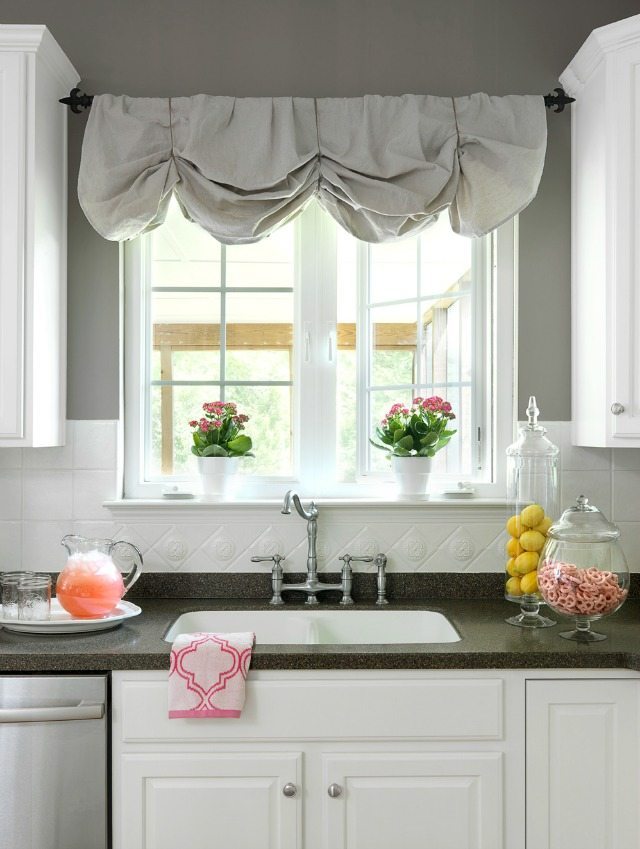
Photo Courtesy of BH&G Kitchen + Bath Makeovers
Step 7: Fluff and rearrange until you’re satisfied!
Once you’ve figured out that you’ve got the right proportions with your fabric and the length of your twine, just fold, pleat, and fluff until you’re satisfied with how the valance looks. This part can take some time, but you’ll get there!
You can read more about this kitchen redo {here} and {here}, about the painted tile backsplash {here}, and about the magazine feature {here} .
Let me know if you have any questions, and thanks for stopping by.