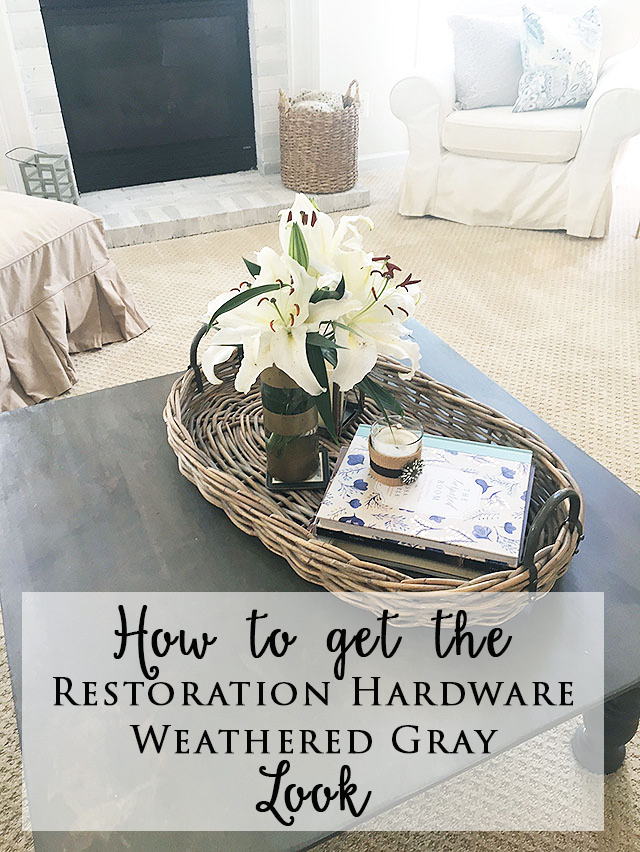
I have an easy way to update your furniture for you today. We’ve had our coffee table for over 10 years, and it had certainly seen better days. We originally purchased it from Pottery Barn, so while I still liked the square size and classic lines, the top was scratched and worn and the edges were even chipped in places. I went back and forth on replacing it vs. trying to refinish it, eventually I decided it would be worth a try to restain it.
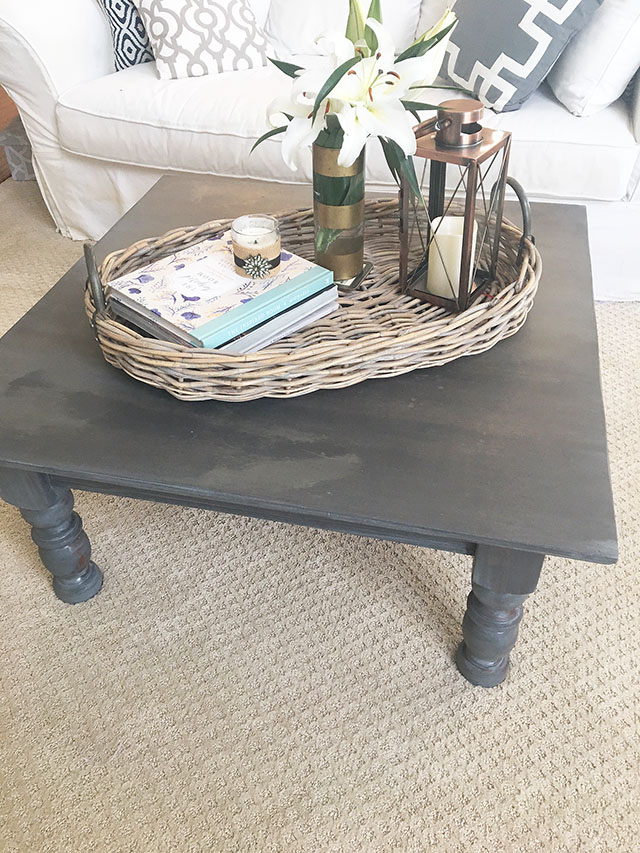
My style has evolved from dark, brown, cherry-esque stain that the table came with, I wanted to try a gray/farmhouse-like finish on it that would update it to my current lighter taste. I have never been afraid to throw on a coat of paint to update a furniture piece but honestly, I wasn’t sure how changing out the stain would go when I started this project. I did some research online as to the best way to achieve the gray, weathered ‘Restoration Hardware’ look I was hoping for, I found it to be fairly simple, the key was just in using the right products.
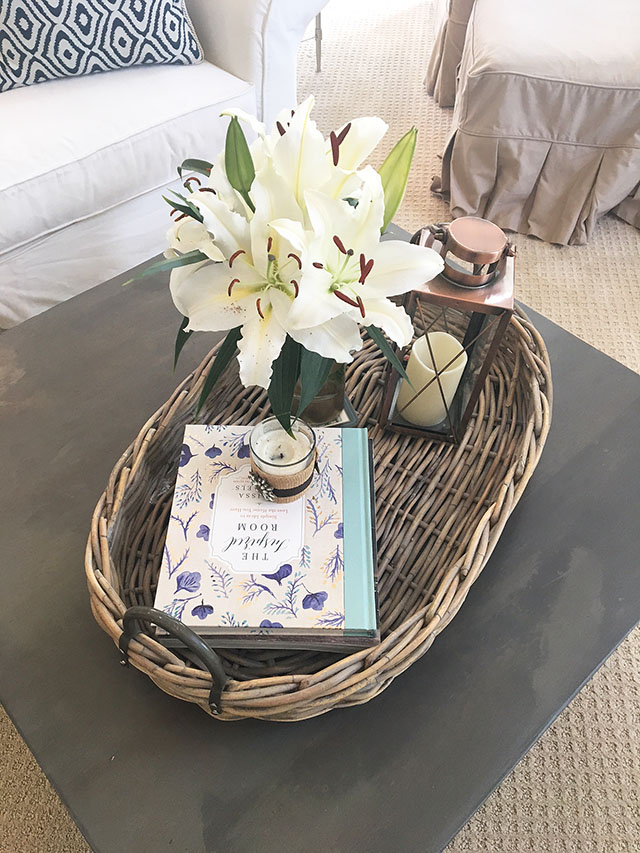
I started by completely sanding down the coffee table to remove as much of the existing cherry stain as possible, you can see what the original finish looked like when we started in this picture below.
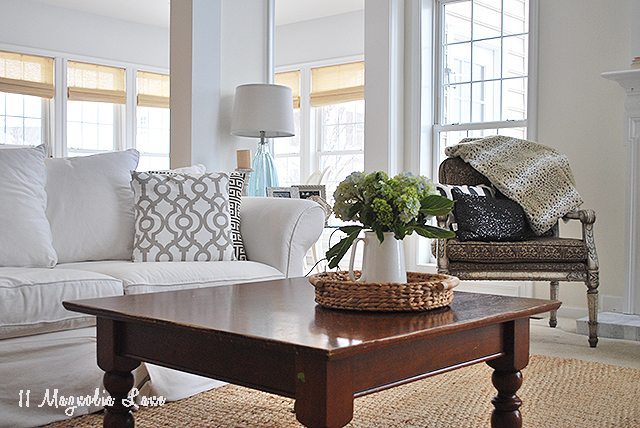
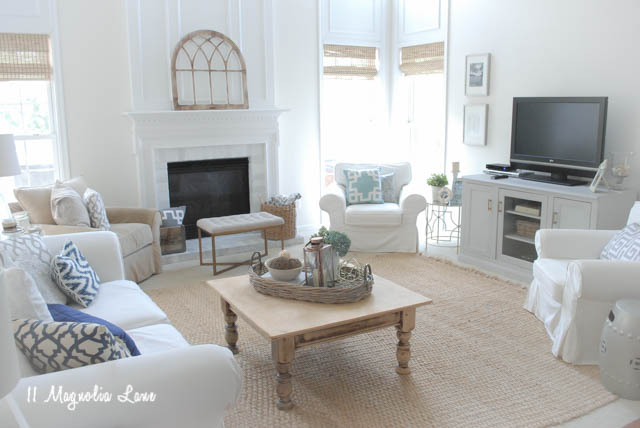
I used a palm sander on the top of the table, so that part went quickly, but getting the stain off the legs wasn’t the easiest even with a corner cat sander {which is such a useful tool by the way!}. There was still some stain left in the grooves of the legs even when I called it quits from sanding, but in the end, I think that just adds character. After all the sanding happened, I took a break from the project for a few weeks but I had to take some photos for a blog post about the room. Those of you with sharp eyes might have wondered about the wonky finish on the coffee table, at this point we can just call the raw wood finish “beachy” right?
A few weeks later I got back to it and that was when I made my first mistake. I grabbed a random ‘gray’ stain off the shelves at Home Depot instead of the Rustoleum one I’d read that was recommended for the project. It failed completely, giving me a patchy and pale color, so be sure to take my advice and purchase Rustoleum’s Weathered Gray Stain to do something like this.
After every thing is all sanded, you need to put a base color back on the wood. I used Minwax Provincial to do this, this gives the wood a base of color. It seemed crazy to me to restain my table back essentially to the brownish color similar to what it started with when it came from Pottery Barn, but the gray didn’t show up correctly without this first. Trying to add the gray stain directly to the sanded wood was my second mistake, you’ll have to trust me on this.
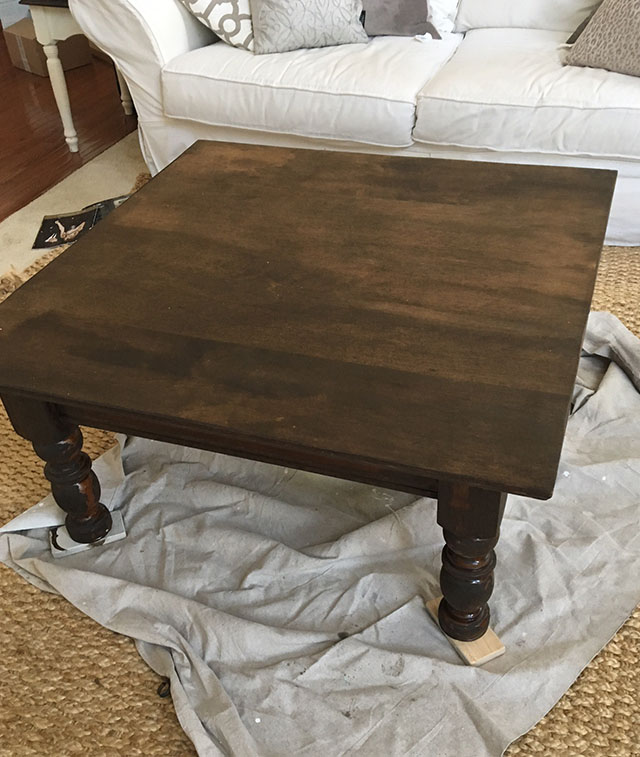
Applying the stain was easy, I just used an inexpensive brush to apply light coats of the stain and wiped off any overage with a rag. You can see the first (brown) coat above, once it dried I started with the coats of gray stain over top.
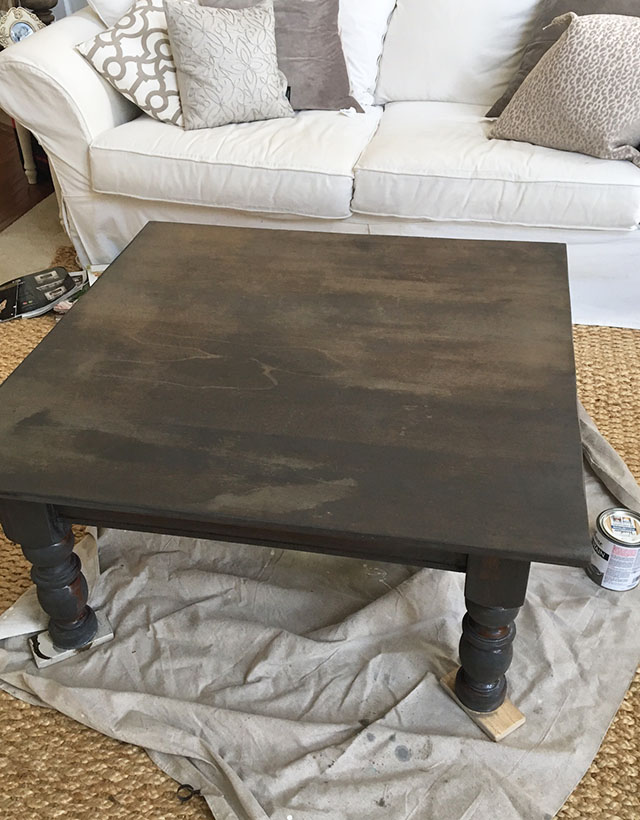
It took 4 coats to get it looking nice and gray, and I let each coat dry for a few hours before adding a new one. There was some water damage to the wood of the table, you can see it showing through the stain but since I was looking for a weathered look, it doesn’t really bother me. I think it shows up more in the pictures than real life anyway.
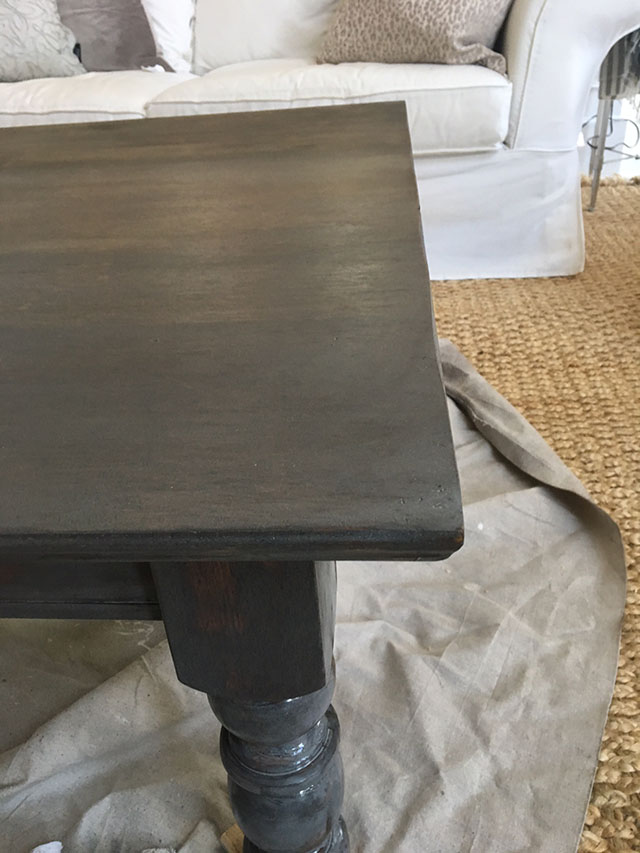
By the third and fourth coat, it was looking as I had hoped {sigh of relief!}, the stain on the leg is still wet above, you can see how it looks as it goes on.
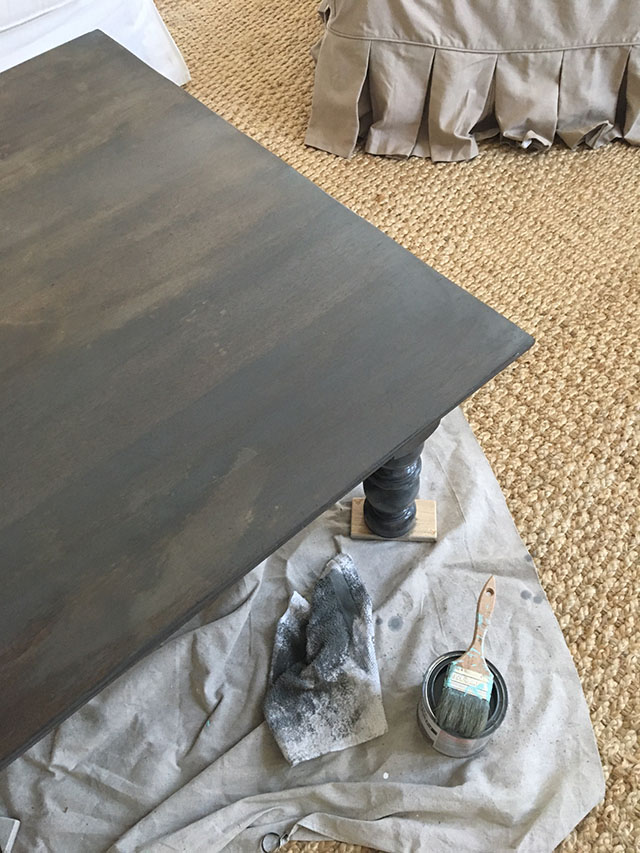
Another tip is to always lift your furniture up when refinishing, I use small blocks leftover from when my kids were little, but that way you can paint all the way to the very bottom of the feet/legs.
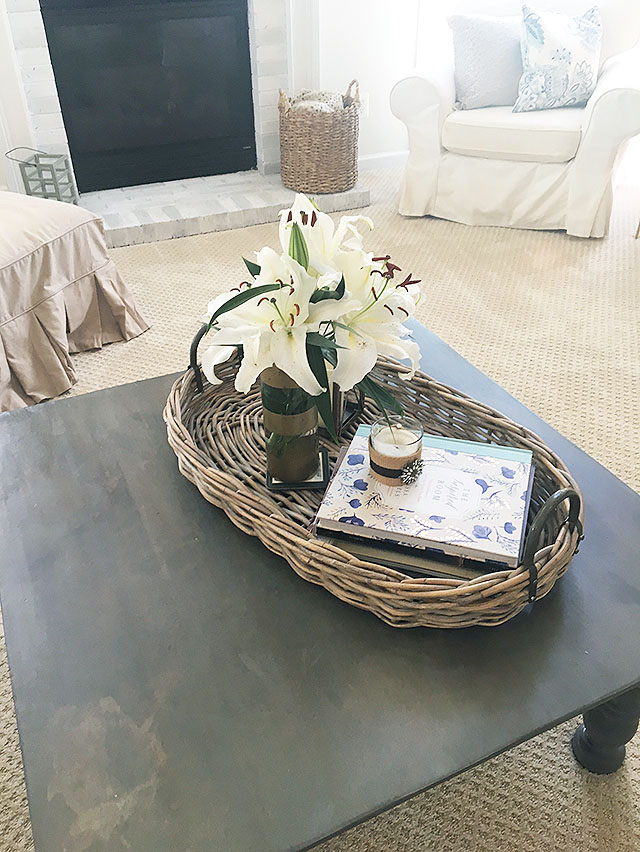
Since we use this table often and it usually has drinks/feet/card games etc on it–because well, we live here 🙂 –I also finished it off with two coats of a clear-coat polyurethane in a semi-gloss finish, which has just enough shine to make it look ‘newish’. So far it has held up great, I constantly pick up abandoned drinks and we haven’t had any trouble with a condensation rings at all. My kids are happy that I don’t have to hound them about coasters!, life is too short for that anyway!
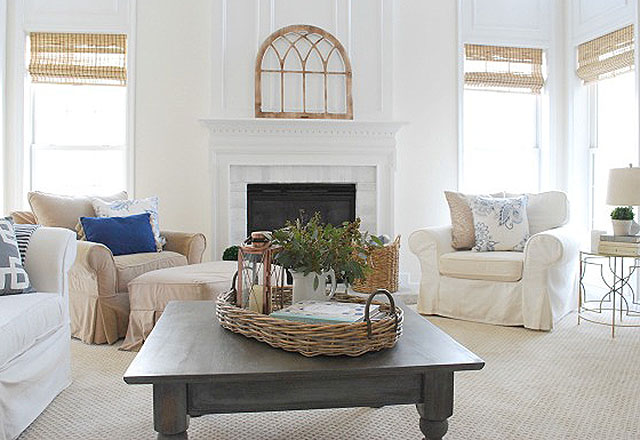
You could also add a more rustic look by sanding down some of the stain, but I liked it as it was. I think that now it is updated the gray blends nicely into the more neutral decor in this room.
Thanks for stopping by, if you have questions on the process as always please leave them in the comments.
You can see more posts on this room HERE:
How we updated our dark brick fireplace
Decorating for the seasons–winter living room
Decorating for the seasons–summer living room
See our complete house tour HERE.
XO,

Our posts contain affiliate links. If you make a purchase after clicking on these links, we will earn a small commission, which helps to keep our content free. You don’t pay a cent more than you would otherwise, since that would be tacky! Please see our full disclosure policy here.

