It’s strawberry season, and while I haven’t picked any myself this year, they are dirt cheap in the grocery stores. In my family, that always means that it’s time to make strawberry jam! I picked up four quarts this weekend, threw my jars in the dishwasher, and got to work.
If you’ve never made jam before, then you’ll definitely want to start with a batch of freezer jam. It’s delicious, simple, and there’s no canning/processing required. I can frequently–salsa and tomatoes/spaghetti sauce are my favorites, but when I make jam, I always prefer the freezer version over the cooked version. The color is much more vibrant, and the taste is amazing. Of course, you have to store your jam in the fridge or freezer until you eat it, but it will last a year in the freezer. I make several batches in the spring to last us throughout the year (they’re great hostess gifts, too), and then in late summer, I make a batch of peach when our delicious Georgia peaches are in season (that recipe and free printable labels are here).
Homemade Strawberry Freezer Jam
This recipe is easier to make than cooked jam and I prefer the taste. Store in the freezer until ready to eat, then keep in the refrigerator.
Ingredients
- 2 c crushed strawberries buy 1 qt ripe strawberries
- 4 c sugar
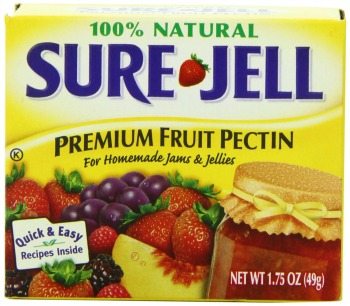
- 1 box Sure-Jell fruit pectin
- 3/4 c water
Instructions
-
Rinse 5 (1-cup) plastic containers and lids with boiling water. Dry thoroughly. Remove and discard strawberry stems. Crush strawberries thoroughly, 1 cup at a time. Measure exactly 2 cups prepared fruit into large bowl. Stir in sugar. Let stand 10 min., stirring occasionally.
-
Mix water and pectin in small saucepan. Bring to boil on high heat, stirring constantly. Continue boiling and stirring 1 min. Add to fruit mixture; stir 3 min. or until most the sugar is dissolved. (A few sugar crystals may remain.)
-
Fill containers immediately to within 1/2 inch of tops. Wipe off top edges of containers; immediately cover with lids. Let stand at room temperature 24 hours. Jam is now ready to use. Store in refrigerator up to 3 weeks or in freezer up to 1 year. (If frozen, thaw in refrigerator before using.)
I posted on the process in quite a bit of detail last year. You can read that post {here} if you want the blow-by-blow. It will take you under twenty minutes to make a batch of jam; I made three in 30 minutes, but I’m a pro. 🙂 And since this is a simple and truly fool-proof recipe, why not get the kids involved?
While last year I deviated and used the Ball fruit pectin, this year I went back to my old favorite, Sure-Jell. It looks like a box of Jell-O, and that’s where most grocery stores sell it. They might also have it next to the canning jars. It’s the stuff that makes your pureed fruit “jell.” Here’s what it looks like:
Gather your supplies:
- fresh strawberries, washed and hulled (1 qt yields about 2 cups of pureed fruit, which is what you’ll need for this recipe)
- 4 c. sugar
- 1 pack Sure-Jell
- jars (I use half pint and pint jars for jam; the half-pint ones are the ones in my photos and they are the best size for gifts); you’ll get about 5 cups of jam out of one batch
Now, this is the recipe that is in the Sure-Jell box, so I make no claim on it as my own. I use it every year and never tinker with it–if it ain’t broke, don’t fix it!
- Wash, hull, and mash your berries; you’ll need 2 cups. I use my Vita-mix, but a food processor works, or even a potato masher. Use the exact amounts of all measurements for jam or things won’t work right.
- Stir mashed berries together with 4 cups of sugar and let sit for ten minutes, stirring occasionally. I start prepping my next batch of berries during this time.
- Heat the package of Sure-Jell in 3/4 c. water in a saucepan. Bring to a boil, stirring constantly, and boil for 1 minute, still stirring constantly.
- Pour the pectin into your berry/sugar mix and stir for three minutes.
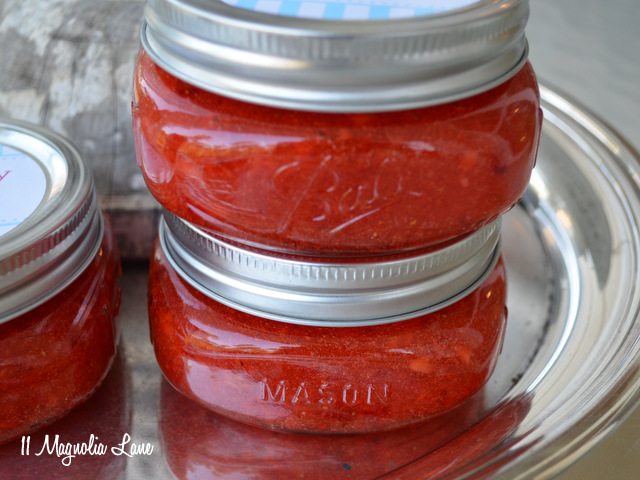
- Pour jam into jars. By the way, I just wash my jars and lids in the dishwasher ahead of time; you really only need to boil your lids when you’re canning.
- Let the jam sit on the counter for 24 hours (it will “jell” well before that, in my experience) and then freeze what you’re not going to use right away. The jar you decide to eat first can go in the fridge.
Aren’t they pretty? You will love the fresh fruit taste, too. If you need a low-sugar recipe, then Sure-Jell sells a version of pectin for you. Don’t try to revise this recipe by reducing the sugar, though, or you’ll be disappointed.
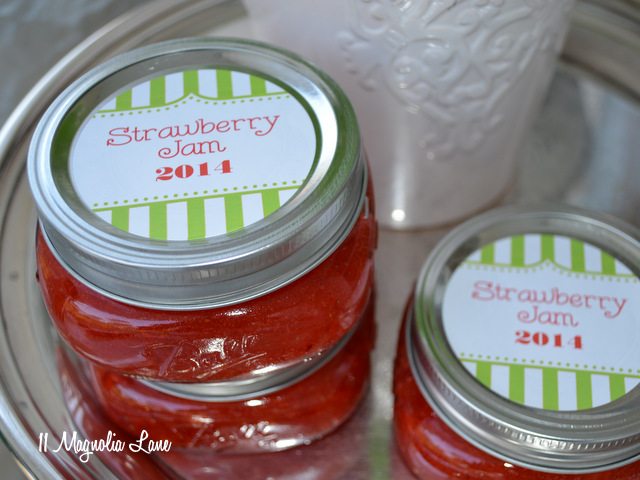
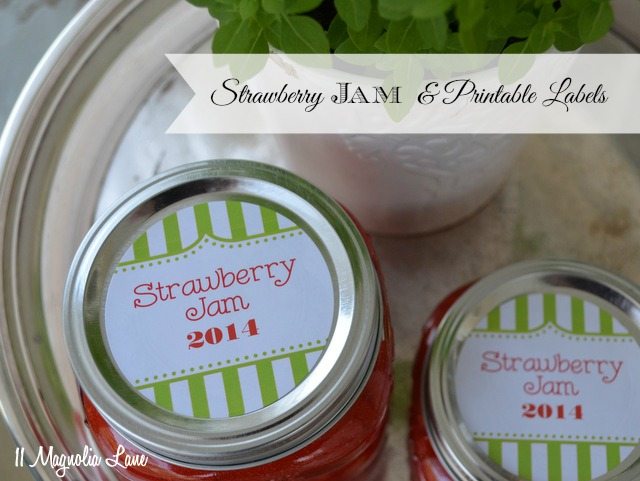
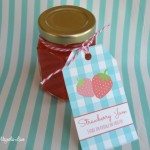
I made printable labels for the top of my jars, using Avery 2-1/2″ print-to-the-edge round labels and Avery’s Design and Print Online program (it’s free and available here). I bought my labels at an office supply store but I will admit they are quite a bit less on Amazon, especially if you have Amazon Prime and get free shipping:
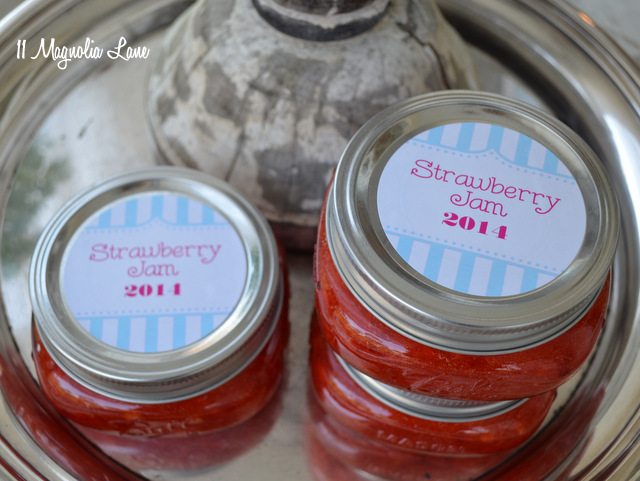
These pdf files will print on the round labels, of you can simply print them onto a full-sheet sticker page and use a scrapbook punch to cut them out. Just be aware that the top of the wide-mouth jars is 2.5″, so don’t use a punch any larger than that. Click on the image to download; I did a green/red and a blue/red version just for fun.

Click on image to download

Click on image to download
Just remind me in 2015, and I’ll make another version for us to download and print!
Happy jam-making, and thanks for stopping by!
Disclaimer: I included our Amazon affiliate link in the above post; if you buy through that link we get a small commission (I will name my yacht after you). You don’t pay a cent more than you would otherwise.


