Wow! What a week and a half we have had at 11 Magnolia Lane. I’d like to thank all the amazing bloggers who have shared their beautiful homes and creative ideas- I’m inspired! I also want to thank Amy and Christy for all the long hours they have been put in these past two weeks. They are two awesome ladies and I am so grateful to call them my friends.
Without further ado, welcome to my home!
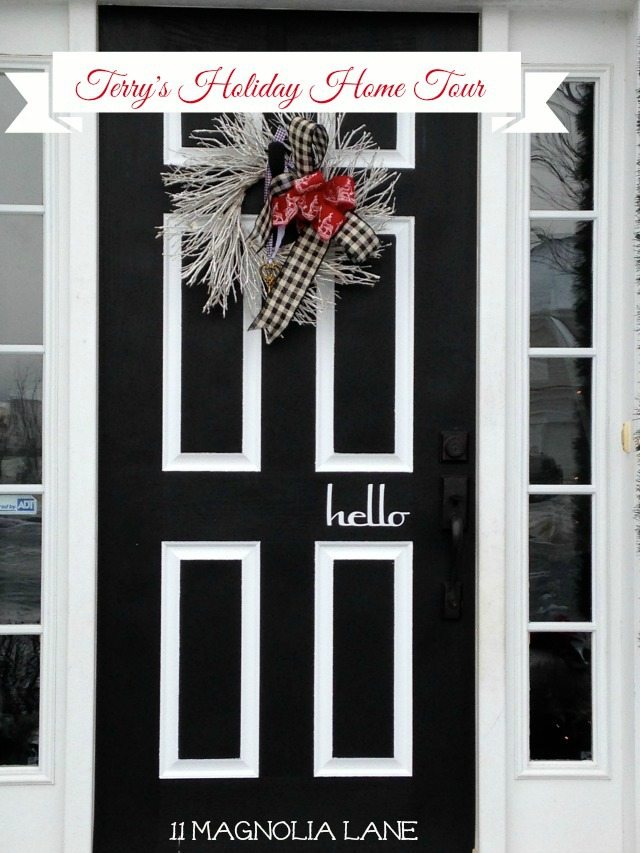
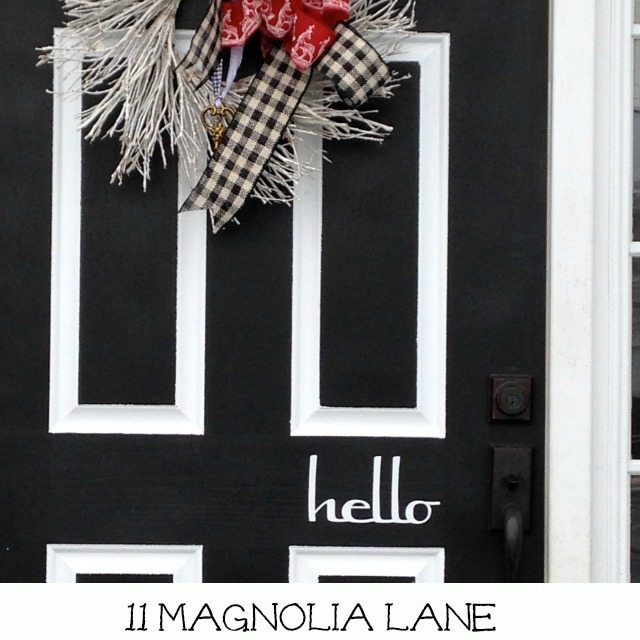
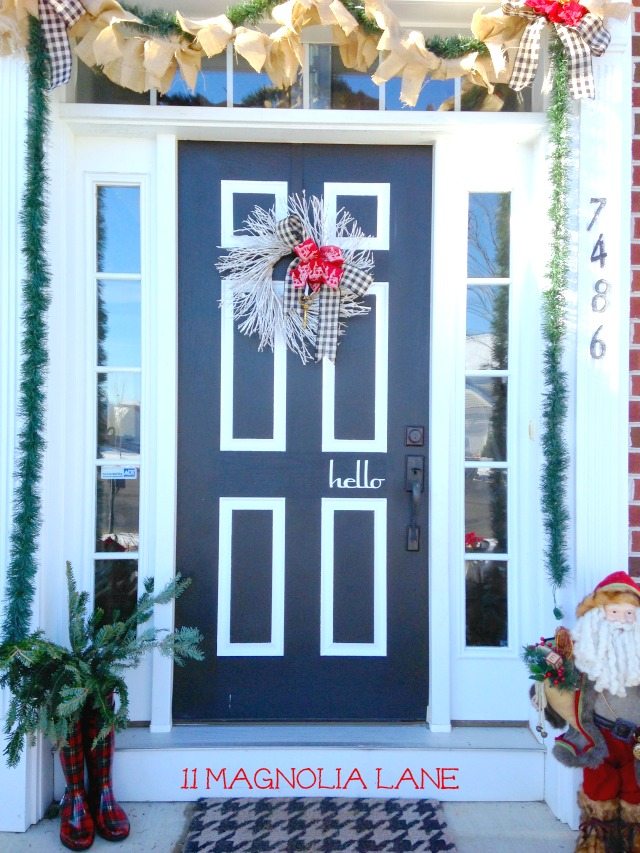
I recently outlined the panels on my front door with white paint. It was such an inexpensive and easy DIY project, and what a huge impact a little bit of paint has made! My front door really pops and I am simply smitten with it. I found the wreath at HomeGoods and purchased the houndstooth ribbon during a girls-only trip to Hobby Lobby. I love the shot of red from the deer ribbon (that was on the wreath when I bought it) and the gold key adds some true holiday “spirit.”
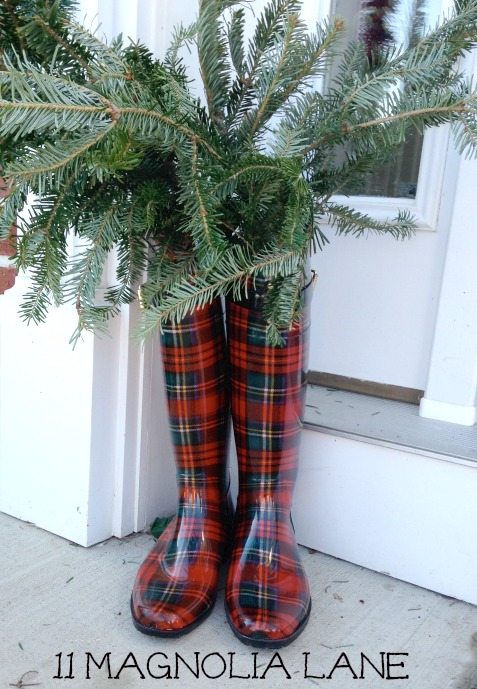
Aren’t those rain boots amazing! I got them for Christmas last year and love, love, love them. Sadly, they are made by Ralph Lauren and he just designs boots for girls with really skinny calves.
However, I am not throwing them away! They are just too cute and I love them even more filled with greens on my front stoop.
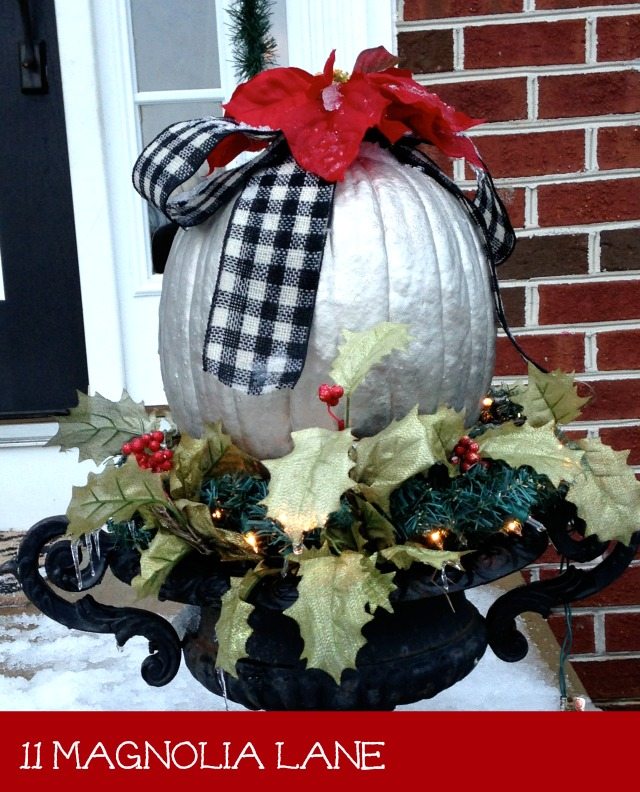
I wanted to find two large silver ornaments to place on top of my urns that flank my front door, but they are not easy to find. I guess giant silver ornaments are not very popular? The closest I found were mercury glass garden balls, which are beautiful but super-expensive. Since I still had my pumpkins from Halloween I decided to recycle them into Christmas balls. I simply sprayed them silver, added a bow and placed them on top of a light-up Christmas wreath. I cannot believe that my pumpkins have lasted this long- maybe I’ll get to recycle them again this spring and paint them like Easter eggs? 🙂
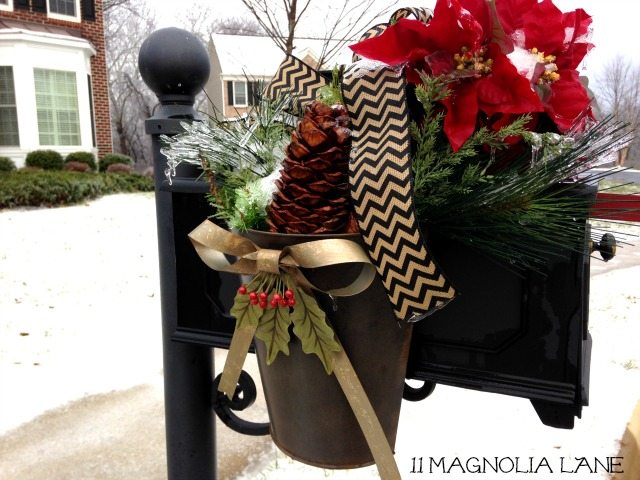
Here’s my mailbox:
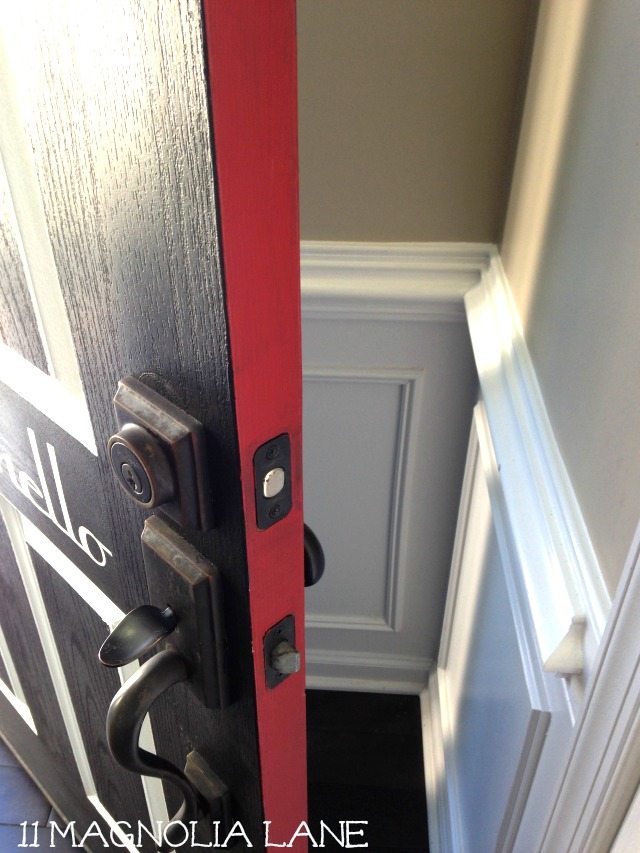
And here is the inside of my front door- isn’t it cool?! I painted it RED!
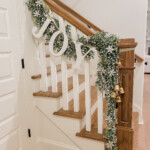
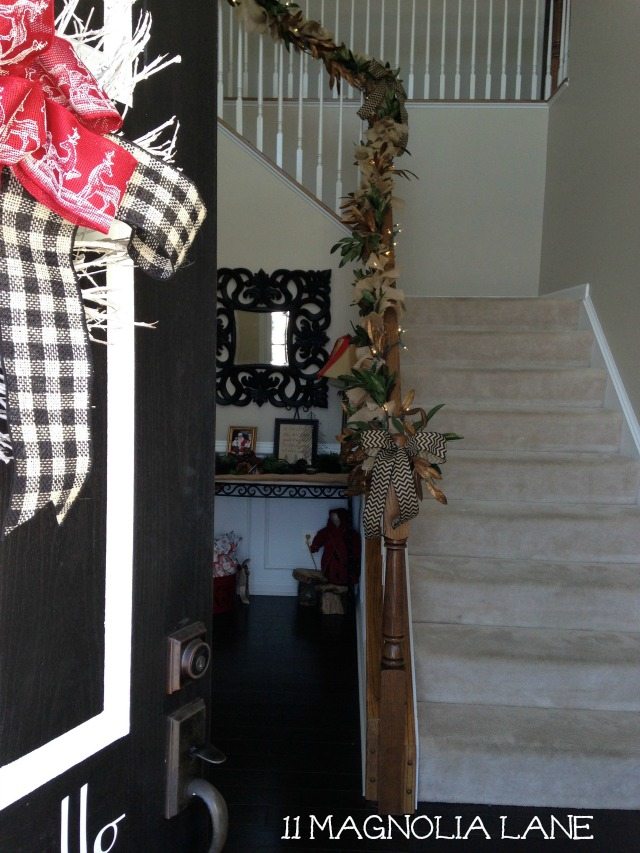
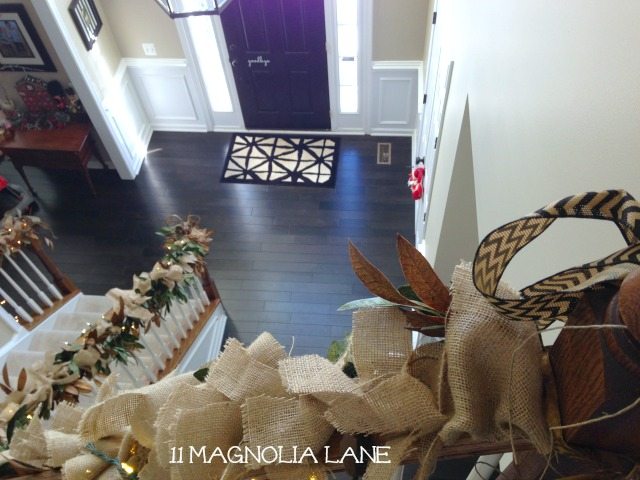
Welcome to my foyer! I have some projects that still need to be addressed (carpet on my stairs and oak railings-ugh) but I hope you can look past that and see how pretty that burlap and magnolia garland is.
 Upstairs looking down…
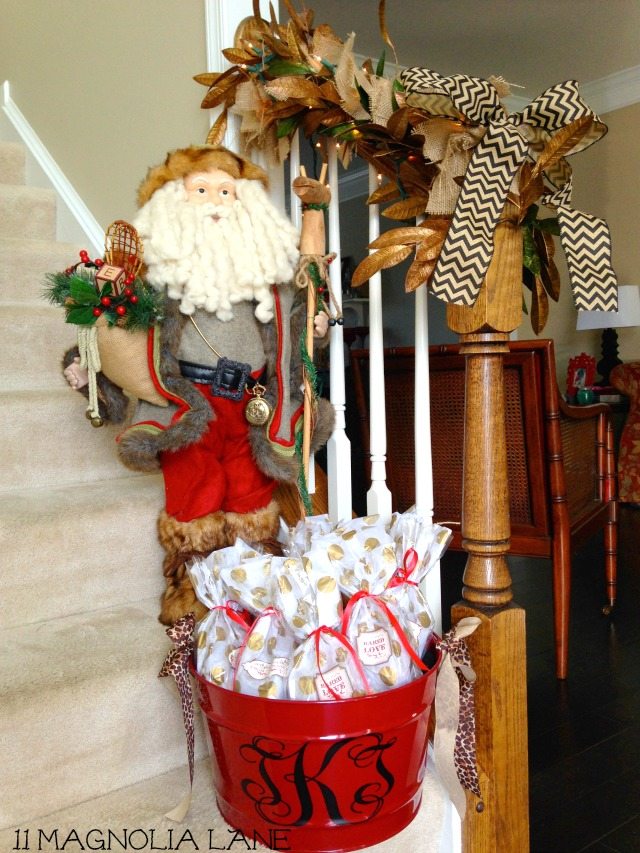
Are you curious about what is inside those goodie bags?
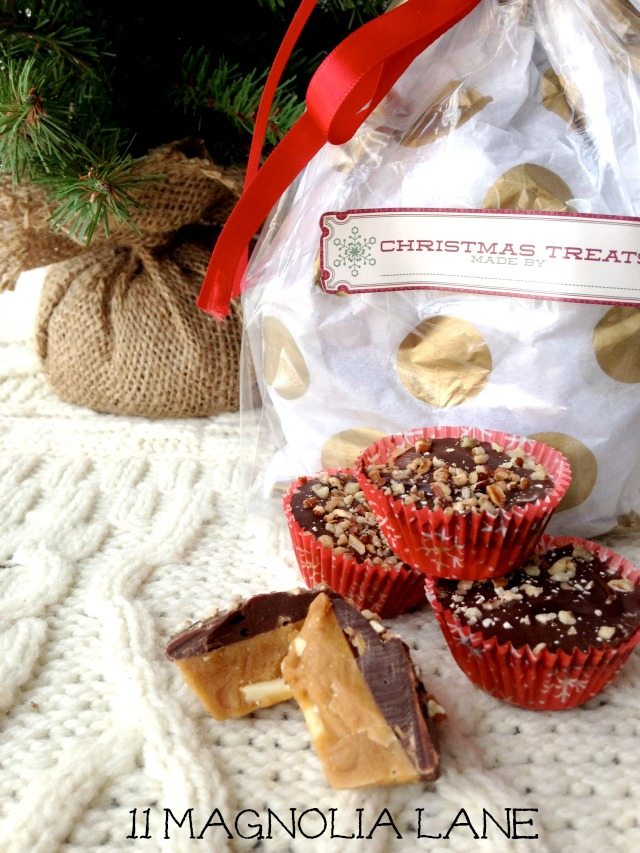
Well, here’s the recipe:
Chocolate Covered English Toffee Bites
Ingredients:
- 1 cup unsalted butter
- 1 cup granulated sugar
- 1/2 tsp vanilla extract
- 1/4 tsp kosher salt
- 12 oz milk chocolate, melted
- 1 cup unblanched whole almonds (I used slivered almonds)
- 1 cup finely ground walnuts (I used pecans)
Directions:
- On a foil lined baking dish (11×7)- or in a silicone brownie bite pan (with 24 bites)- arrange almonds in a single layer. Set aside.
- In a heavy pan, combine butter, sugar, vanilla and salt. Cook over medium-high heat with a wooden spoon until butter melts, stirring constantly (REALLY STIRRING CONSTANTLY!). Bring mixture to a rolling boil. Continue boiling (AND STIRRING) an additional 5-7 minutes until candy turns the color of almonds (about 300 degrees). Pour over almonds. If using the brownie bite pan, I use a small metal scoop to get toffee into each bite, working quickly!
- Cool completely.
- When candy is cooled and set (about 2 hours), spread chocolate over top of toffee. Sprinkle generously with ground walnuts. If doing both sides, use only half of the chocolate and walnuts. Allow top to set before flipping over and doing bottom. When set, pop out of silicone pan and store in a airtight containers. OR cut into pieces. ENJOY!
- **Tip- when I say “stirring,” I’m talking taking that wooden spoon and whipping it! Haha!! I have an electric stovetop and turn my heat on 7…and it remains on 7 through the entire boiling process.
- **If you choose to scoop into brownie bite pan vs.pouring into a baking pan, your butter might separate a little bit by the time you get to the 20th scoop! Don’t worry about it. I use my scooper to slightly stir as I take a scoop of toffee.
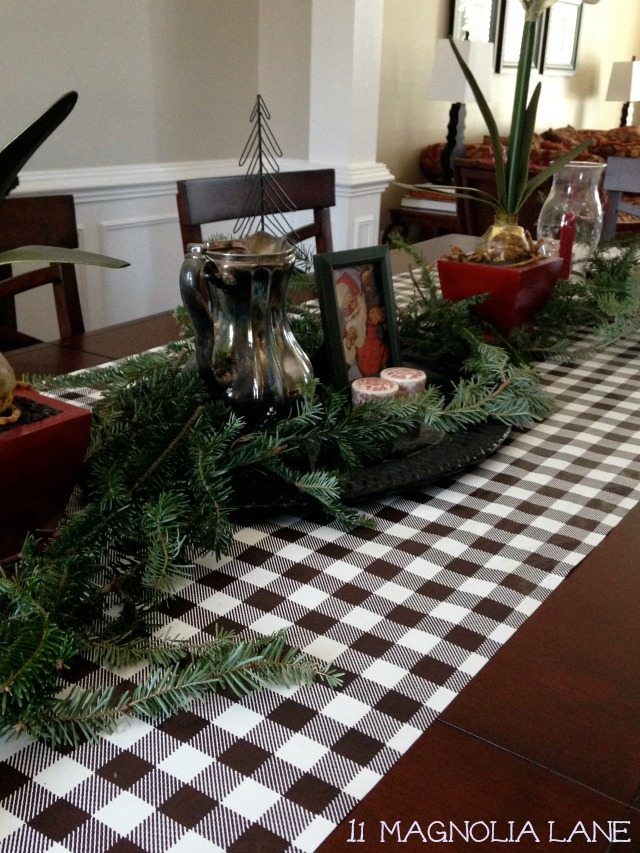
I repurposed this buffalo check wrapping paper from HomeGoods and used it as my dining room table runner this year.
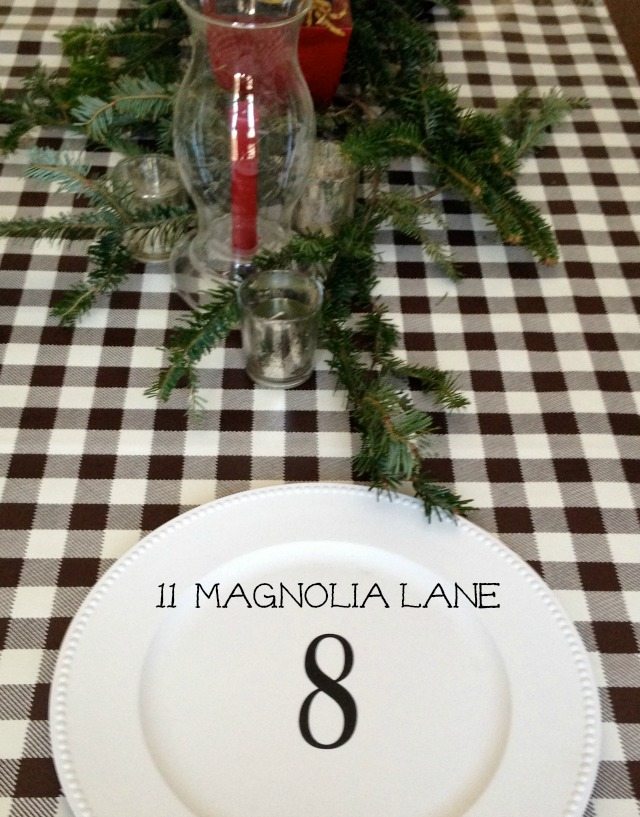
I spray painted the chargers white and added a black vinyl number. You can read about that project {here}.
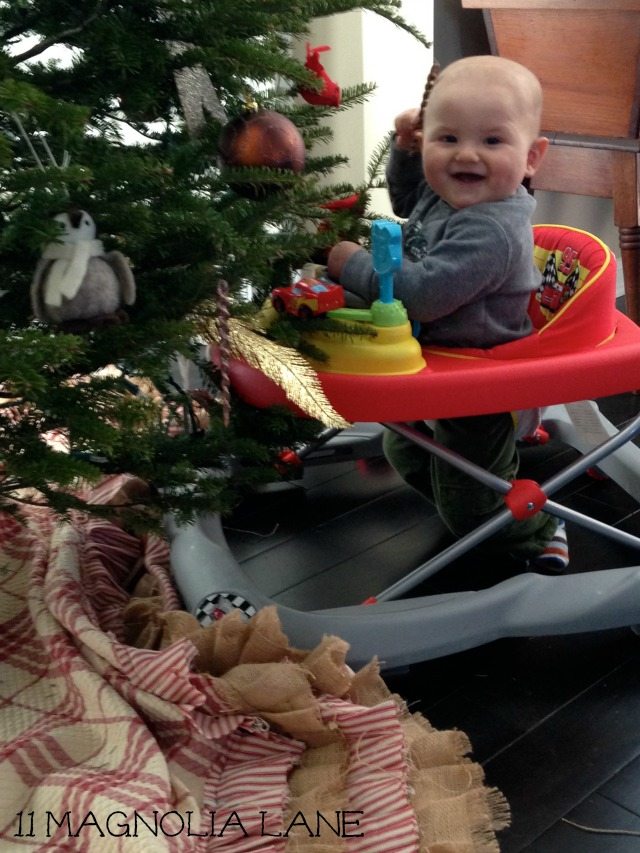
Here is the reason why my tree is adorned with plastic ornaments and the rest of my house isn’t decorated – caught in the act!!
The tutorial for the burlap and ticking stripe tree skirt is {here}.
And here is the rest of the Open House line up ~
Last Week:
Tuesday ~ Everyday Occasions
Wednesday ~ Dixie Delights
Thursday~ DIYShowOff
Friday~At the Picket Fence
Sunday~Surprise Home!
This Week:
Monday~ Celebrating Everyday Life with Jennifer Carroll
Tuesday~ Housepitality Designs
Wednesday~ 11 Magnolia Lane {Christy}
Thursday~ 11 Magnolia Lane {Terry}
Friday~ 11 Magnolia Lane {Amy}
Follow all the inspiration from this series HERE via Pinterest!
And keep up with the Season of Giving HERE.
Thanks for stopping by and Happy Holidays~
