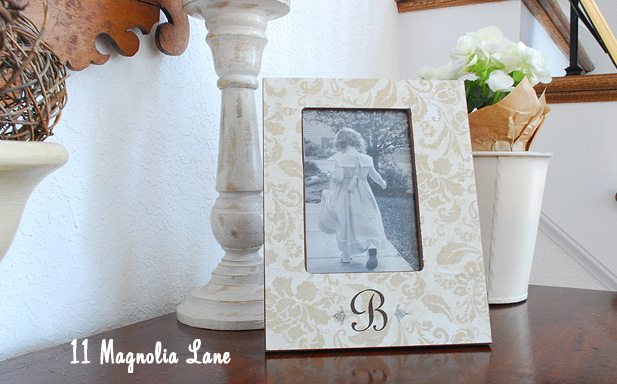
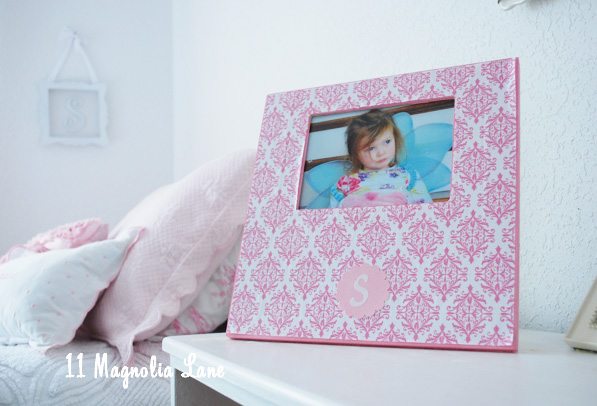
I have always loved these frames by Marye Kelley. This one was a special gift and it matches the décor in my house perfectly.
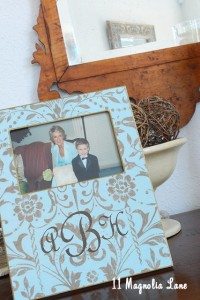
Recently I was organizing my office and I found these craft frames I had tucked away. I knew I could very easily make some more frames similar to the pricier Marye Kelley frames.
The supplies you need to make these frames are:
Plain wood frame
Scrapbook paper
Exacto knife & cutting mat
Craft paint in a coordinating color to your paper (or gold/silver if you prefer)
Embellishment (sticker letter, vinyl monogram) or you can just print a monogram directly on the paper first.
Double-sided tape (optional)
Mod-podge
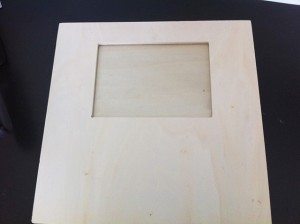
I started with this (above) wood frame from Michael’s.
I first painted a thin coat of a coordinating color around the edge of the frame and the window of the picture part. This paint will show outside the paper once it’s taped on and give the paper a nice, pretty edge.
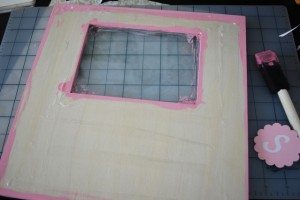
Then I cut the frame for the window out of the scrapbook paper. This is the hardest part. I find the easiest way is to trace the inside of the frame on the back and then cut just inside it. Cutting the round corners takes some patience, but they don’t have to be perfect. *Be careful to make sure your monogram (if you have pre-printed one) is placed where you want it on the frame before you trace so everything lines up perfectly once its done.
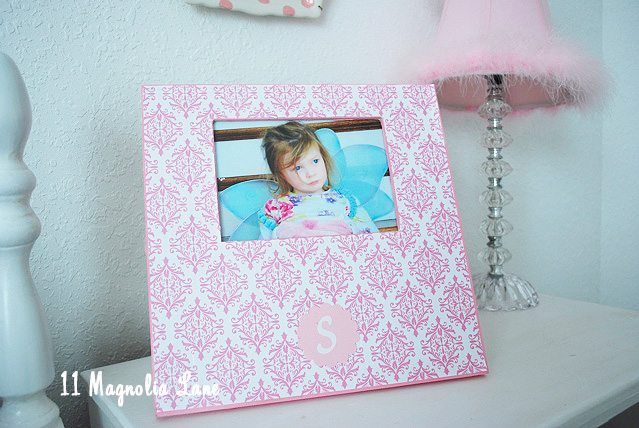
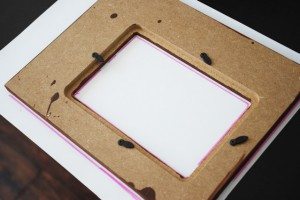 I love the large 12×12 frames but my printer won’t print on paper that wide so it creates a challenge if I want to add a monogram. I considered making a custom monogram using a vinyl cutter (like a Cri-cut or a Silhouette) to cut the letters, but for this pink frame I went the easy way and just punched out a circle from pink cardstock. Then I added a white “S” sticker for my daughter’s name. For the smaller beige damask frame, I was able to print a monogram in dark brown on the scrapbook paper first.
To do this, I designed the monogram on my computer first. (I use Adobe InDesign but there are many design programs available)
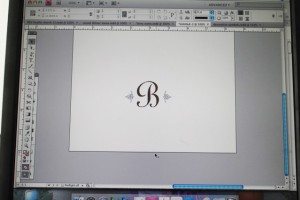
Then I printed it using my regular printer, printing directly on scrapbook paper cut down to 8.5 x 11 to work in my printer.
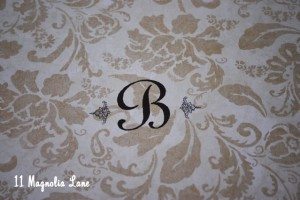
When the paint on the frame is dry, I taped the scrapbook paper to the frame first with double-sided tape. I am fortunate to have a double-sided tapegun I use my paper/invitation business, but you can use regular double-sided tape, or even glue or modge-podge if you prefer.
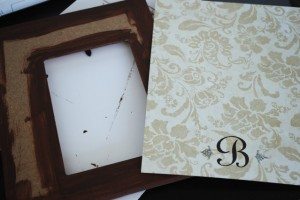
Once the paper is on just where you want it. Adhere your embellishment with glue or more tape, then you modge podge over the whole thing. A thin coat should be all you need. Once it dries, insert your picture and you are all set.
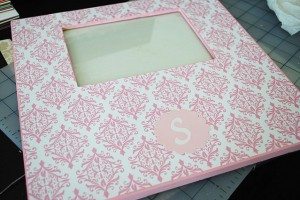
With so many scrapbook papers to pick from, the possibilities for these frames are endless. I think this would make a cute personalized mother’s day or graduation gift, wouldn’t it?
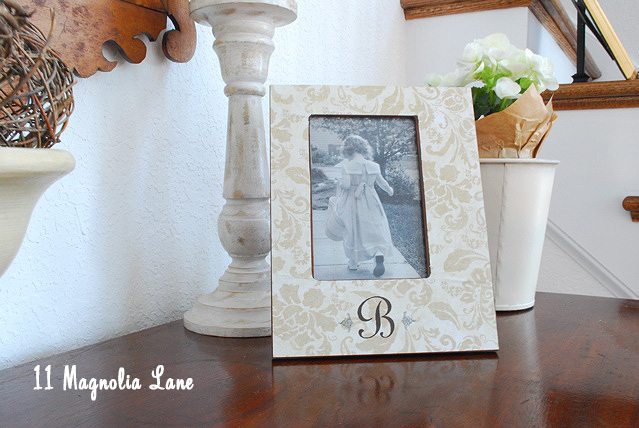
This frame has a picture of my daughter last Easter. Notice her basket and her precious sailor dress? I have to capture the fancy “dress-up” moments while I can. The pout with the fairy costume (below) is really more typical.
Thanks for stopping by!
