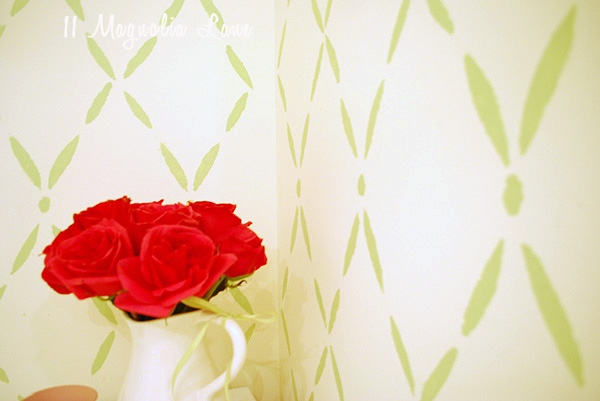
 There are tons of fabulous stenciled wall ideas out there right now, and an abundance of wall stencils available for purchase. I searched everywhere for a stencil to match a vision in my head for this nook in my Mom’s workroom {see the whole room HERE}, but just couldn’t see paying $40+ (with shipping) for such a small space.
So, I decided I didn’t have much to lose, and figured I could at least try to make my own. While I was waiting for the workroom paint to be mixed at Benjamin Moore, I saw these heavy duty sheets of paper (I think they are designed for sampling paint?). They were like a plastic poster board and cost just $3.95. I grabbed one, thinking at that price it couldn’t hurt to try it. And, I figured if it worked, I wouldn’t have to wait for a stencil to be shipped as our time in town to work on the project was getting tight.
It worked out GREAT.
First I printed an image off my computer. To make it the size I wanted, I drew beyond what printed out on 8.5×11 paper freehand, which worked out fine. FYI: You will want to chose a very simple design if you try to make your own, or you will drive yourself nuts cutting it out.
Using an exacto knife, I cut the image out with the print as a guide on the top of the plastic posterboard. I found I had to turn it over are re-cut from the bottom in order to cut all the way through the thick vinyl. I found it cut best if you used the knife at an angle instead of straight on. Go slowly, and be very, very careful.
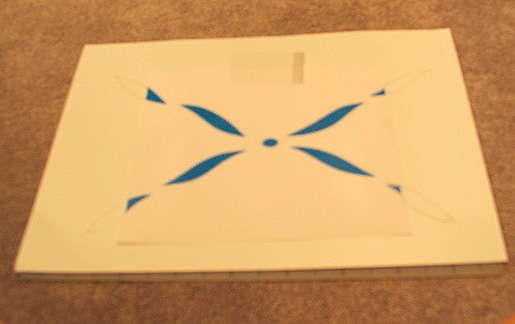
Then I (or I should say Terry) 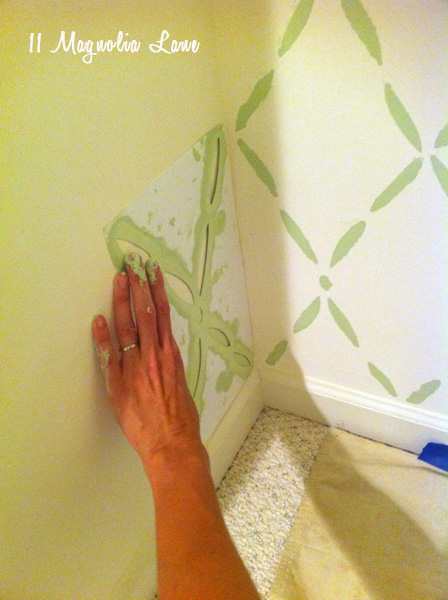 stenciled the space just as you would with a ready-made stencil.
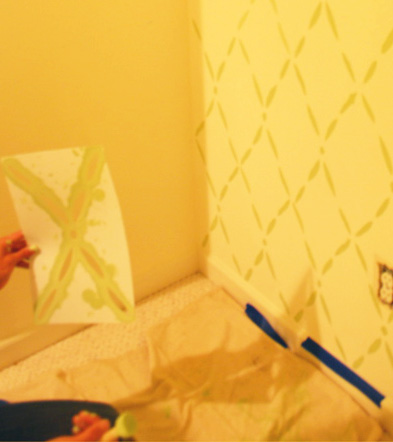
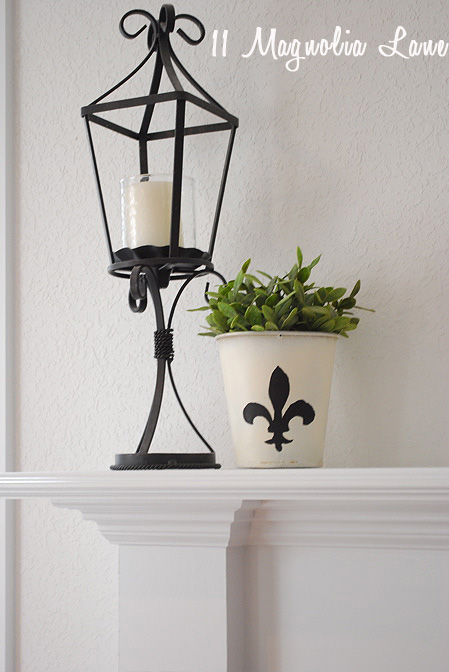
Because I only used half the posterboard (so actually the cost is about $2 a stencil! bargain 🙂 I used the leftover to create a design for this little pot I have had forever, and to use as a second example.
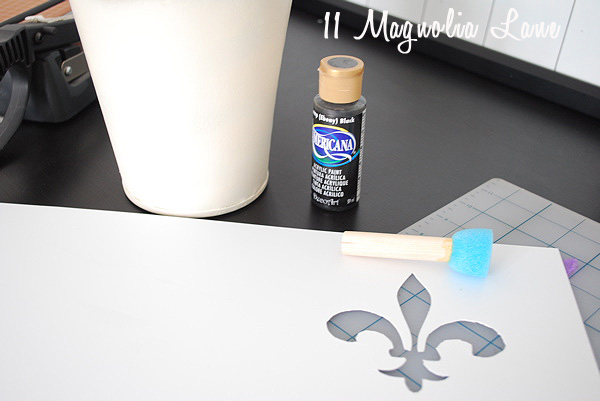
I used the same technique, printing off a design, then overlaying it on the plastic/paper and cutting it out.
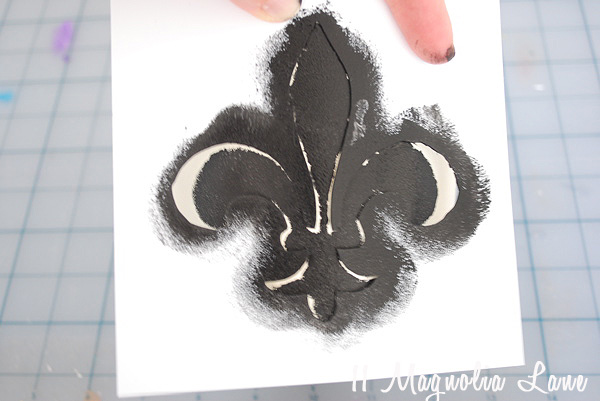
While this isn’t 100% perfect, the little pot is so much more interesting now? And the design possiblities are endless.
Have you stenciled anything creative lately?
Thanks for stopping by!

