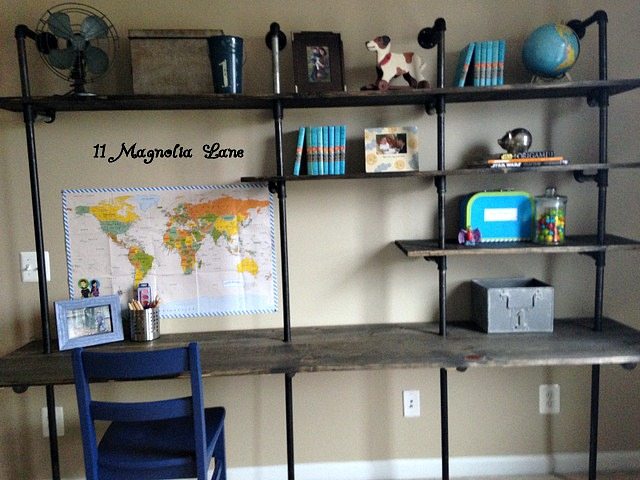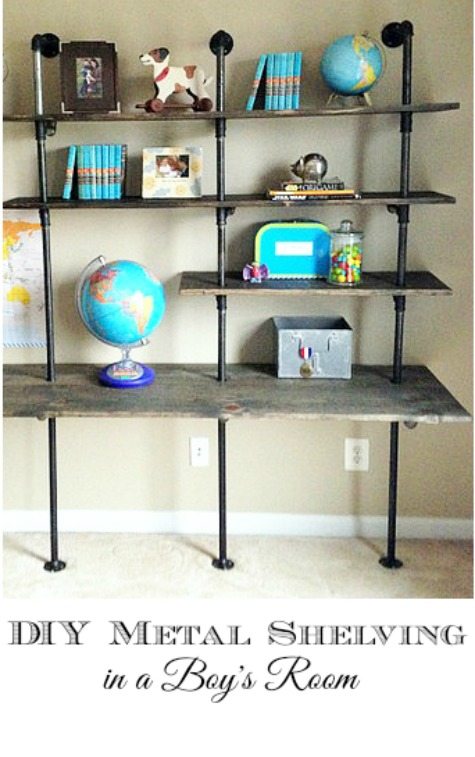
We had a truly amazing weekend a couple of weeks ago. Not only did we celebrate my son’s first birthday but my husband, father-in-law and brother-in-law put up industrial shelving in my middle son’s room (check out the before pictures here). Talk about a whirlwind weekend! I quite honestly don’t know how we pulled it all off but the party and the shelves turned out amazing.
{Click if you would like a sneak peek into my son’s first birthday.}
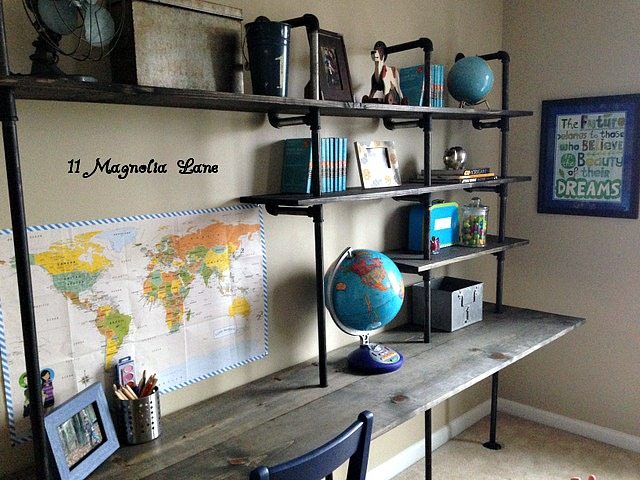
My husband’s father is an amazing woodworker. He has made us many pieces of furniture over the years, including my kids’ custom bookshelves (click here) and a beautiful cradle that both of my sons have slept in (click here). Since the whole family came into town for the birthday party, my husband, his father and brother-in-law decided to take on a DIY project. It only took one day for these three awesome guys to design, cut, measure, paint and complete the installation of these custom industrial shelves in my son’s room. It was an amazing surprise and a successful weekend to say the least.
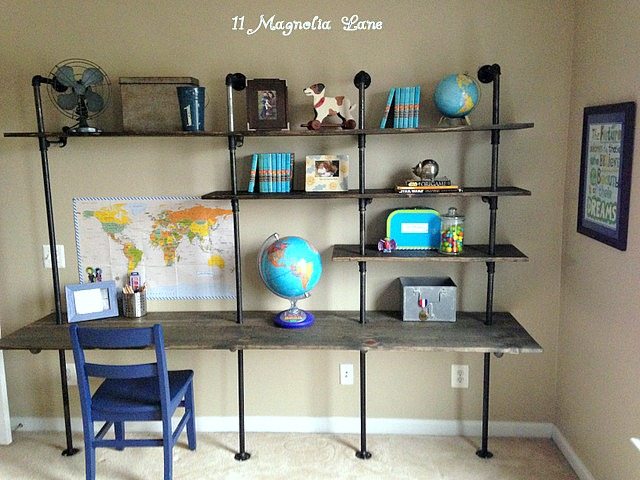
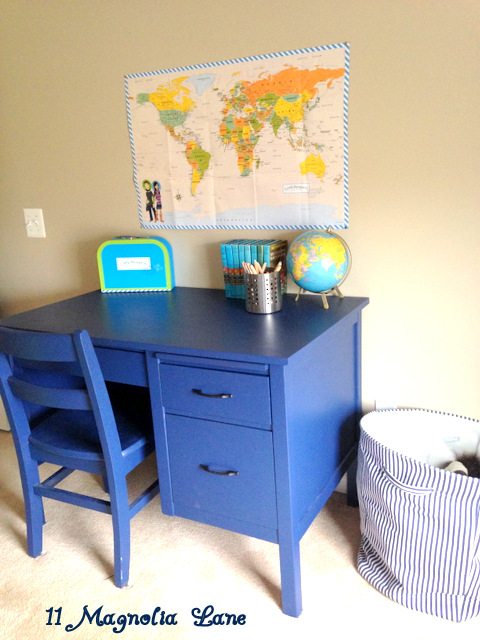
Below is how his room looked prior to adding the shelves. The industrial shelves really help to fill up that long wall and I love that they were able to create a desk space by adding two boards across the bottom shelf.
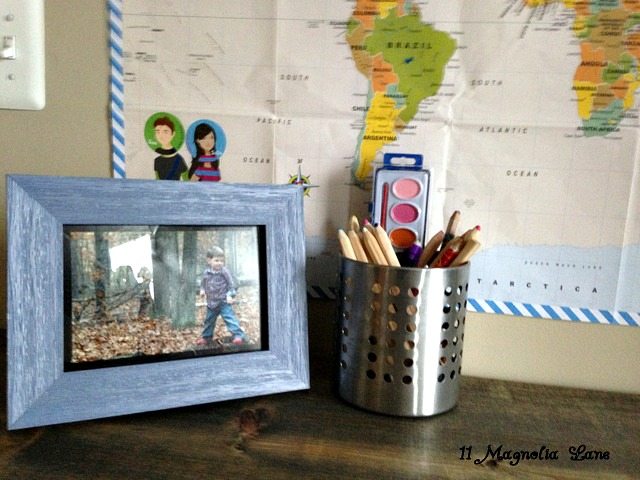
My son loves to draw so colored pencils and art supplies are essential tools for his desk. Both the pencil holder and supplies are from IKEA.
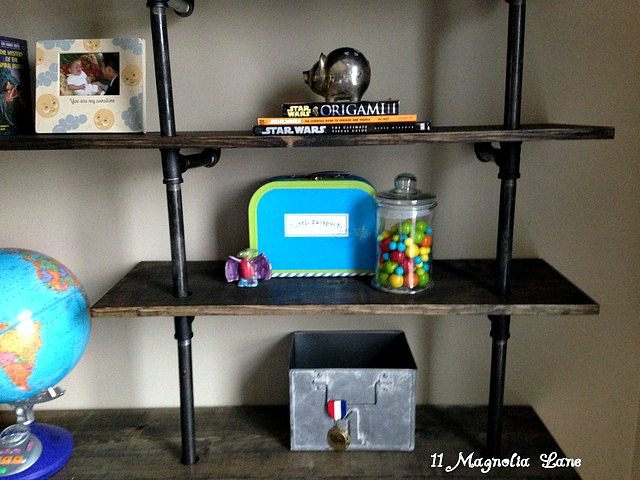
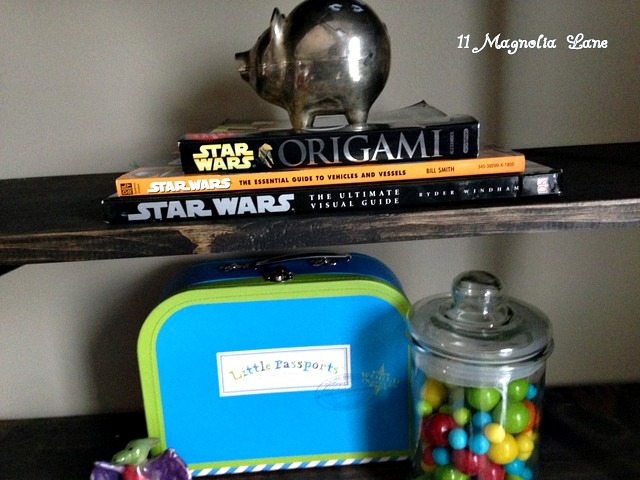
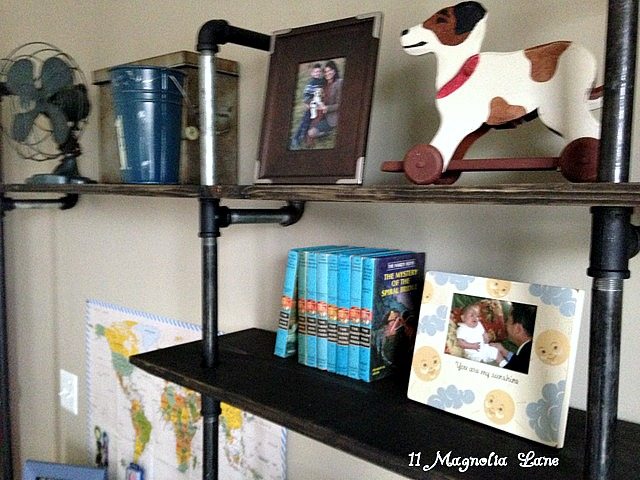
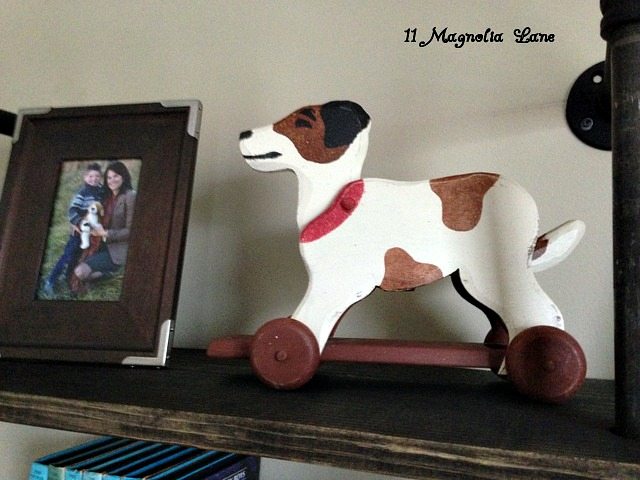
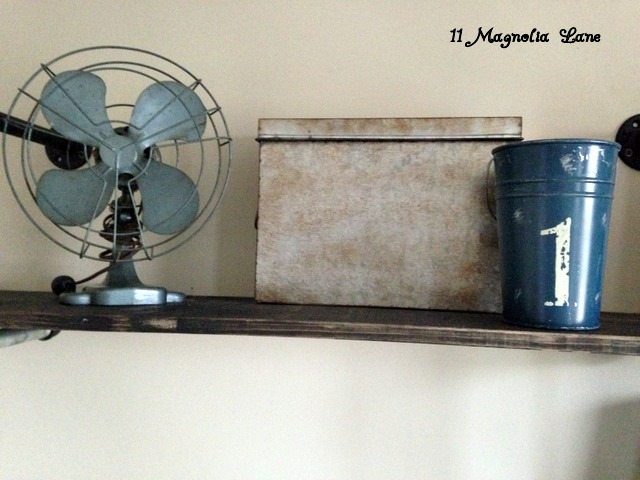
Decorating the shelves have been such a fun project. I’ve mixed antiques, metal boxes and toys to create a colorful yet rustic look. I the pops of turquoise from the globe, Hardy Boys books and the gumballs.
The small metal box is from HomeGoods. Lincoln has since filled it with Legos, his wallet and a few other adorable trinkets. I love to see how he makes his new space his own.
Tutorials and information on how to build shelves like these are HERE and HERE.
See how to create built-ins using IKEA bookcases HERE.
For a simpler way to build shelves, see the easy DIY stained shelves Amy built in her kitchen.
Sherry@The Impatient Remodelers says
That is awesome!!
Now I wonder how I convince my husband to do this in our sons room…
Terry says
Hi Sherry-
This project really happened on a whim for us. The guys just started– go out and buy the materials and then he has no choice:)
Best of luck!
Terry
susan says
I am so impressed with this shelving design. It is amazing. I would love instruction on how to recreate this design. It would be perfect for my teenage son. Are you planning on posting this soon? I am so happy I came across your blog. Such talent! Thank you for sharing. Keep up the fabulous work!
Terry says
Hi Susan-
Yes, I definitely want to post my materials list and the how to. I am not exactly sure when I will get that us but I hope to in the next month. Please subscribe, if you have not already, so you get the update.
Thank you for stopping by and all your support!
Terry
Michelle says
Hello!! I love this design and would love to use it for my son’s room! He’s away at church camp this week and I’d like to surprise him when he gets home next Friday! Can you please share your supply list with me? Thank you!!!
Terry says
hi Michelle
I am so sorry for the delay. I am working on the “how to” post and I plan to have it up prior to school starting. Please subscribe, if you have not already, so you get the update.
Thank you so much for stopping by
Terry
Andy says
Hello Terry! Big fan! When do you think the tutorial will be posted? I’ve been looking forward to building this for my son for school! How’d you manage to get the two boards connected for the desk section? Is it stable?
Terry says
Hi Andy-
Thanks for your note and yes I do owe you all a tutorial. I am in the middle of a large project right now, I hope to get the tutorial up soon. The table top boards simply sit side by side and are attached to the piping underneath. It reminds me of a picnic table as there is a small space in between the planks. It is very study for a boys room but if you are building it for a school (with a lot of use), then I would probably suggest reinforcing it from the floor up (like the back of the desk). More to follow- I promise! Terry
Kristina says
Hi, I know you did this project last year but I just came across it and loved the shelves! I know you spoke about posting a tutorial on how you built your shelves and just wondered if you had posted it yet. Looking forward to it! Thanks, Kristina
Stephanie says
Looks great, but I’m trying to find a tutorial for this project to do with my dad. PRETTY PLEASEEEE post the tutorial!! 😀
Stephen says
Great project! Very nicely done…
How did you deal with the carpet and padding issue? I assume the carpet and padding would provide for some unwelcome “give”…
Thanks for sharing…
-swm
Elizabeth says
I’m begging you! Please give me a full list of all the supplies needed for this. I want to make the exact one for my sons room.
Chris says
Hi there–do you happen to have the complete supply list for this industrial desk? Great look!
Jill says
Hi! I loves this shelving and ask my handyman to build it for my son. It turned out great! Sorry i can’t post the photo here. Thank you for the idea!!
Lindsay says
Did your husband drill the pipe into the ground through the carpet?