Right before Christmas, I decided that I was sick to death of hiding my sewing machine in the guest room closet every time I was done using it. Surely (if I moved around several incredibly heavy pieces of furniture), surely there was room to carve out a craft corner. I already had an old sewing machine table I’d found at Goodwill years ago and painted white…I abandoned all plans of cooking dinner, which is what I was supposed to be doing (sorry honey!), and started moving furniture.
I painted the old sewing table and a thrift store chair in robin’s egg blue. In hindsight, I probably should have used a blue chalk paint so they’d be a little more muted (I used spray paint for immediate gratification), but it’s safe to say that they’ll be painted again one of these days, so I’m not going to stress over it. I covered the chair TWICE before my third try made me happy–Amy Butler’s Love Bliss fabric. The teal and aqua colors match my old mason jars.
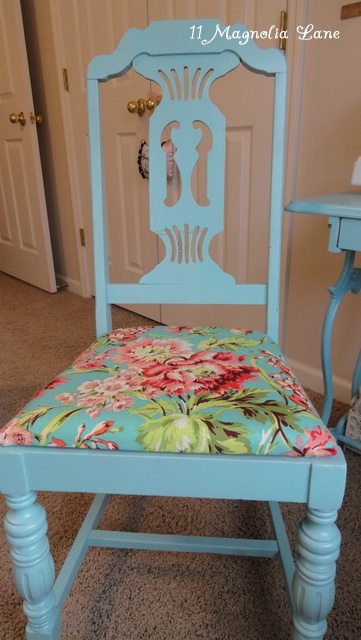
Old chair recovered with Amy Butler’s Love Bliss fabric in teal.
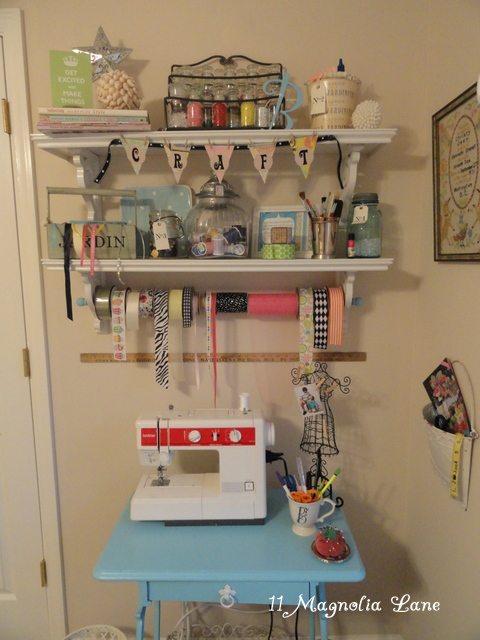
I already had the two white shelves with fancy scrolled corbels. My dad made them with me years ago (one of my first DIY projects!) to hang on either side of my recessed bathtub area in another house. I just hadn’t figured out where to put them in this house yet. They’re perfect above the sewing machine to hold notions and other crafting goodies.
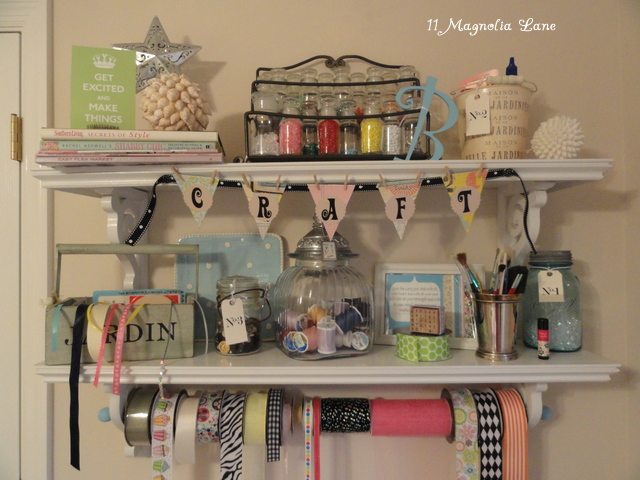
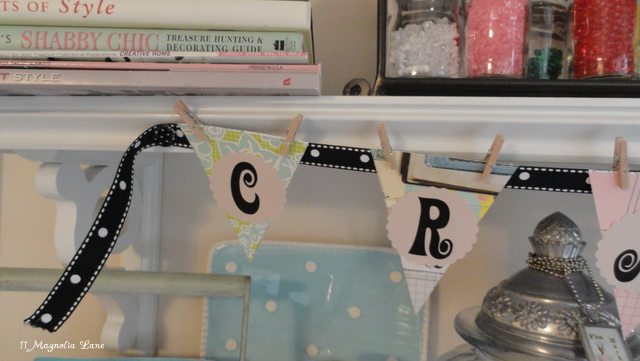
I made the banner–it was my first attempt at such things! The flags need to be twice as long as they are wide, so just cut them any size you want based on those guidelines. I used tiny clothespins to clip them to the ribbon, which I thought was very crafty (LOL).
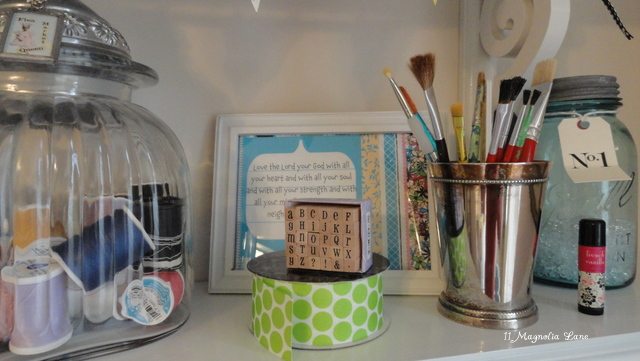
Let me give some credit where credit is due here: the “Get Excited and Make Things” printable can be found HERE and the cute number tags can be found at HERE.
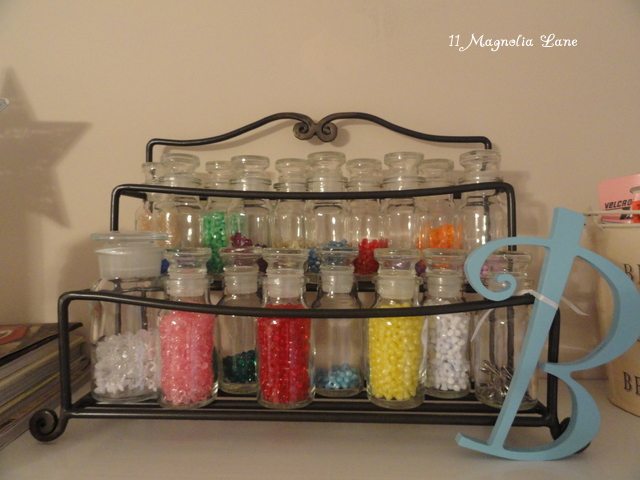
I love old spice jars–the apothecary-style ones–and I picked up this spice rack at the thrift store. It holds my tri-beads, organized by color.
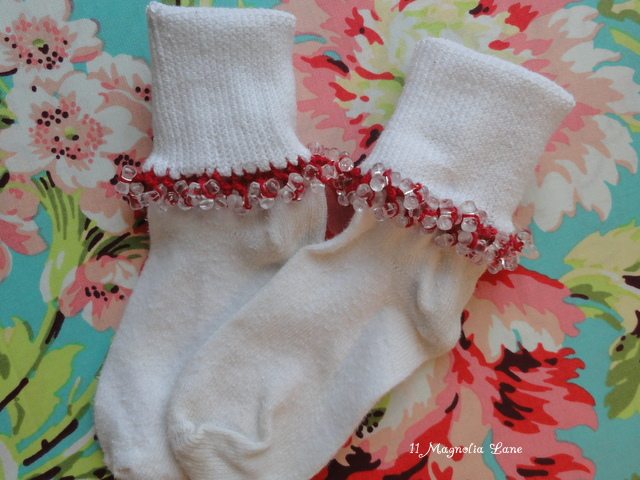
Why do I have so many tri-beads, you ask? I have one crafty-type thing that I can do, and that’s crochet bead socks for all the little girls in my life. Here’s an old pair of Annabelle’s to show you what I’m talking about:
Because I do sew things from time to time, I thought it would be fun and different to mount a yardstick on the wall to make measuring easier. I had an old one from my grandmother’s house in Michigan, and I love that it says “Big Rapids” (her town) on it. I secured it on the wall using 3M’s command tape (just no hooks this time).
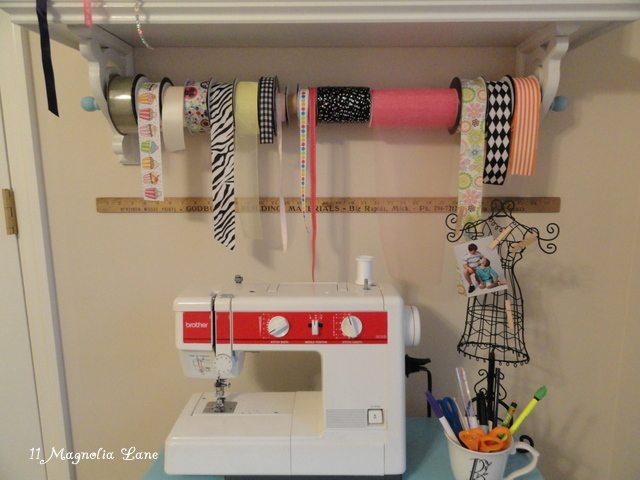 Do you like my ribbon organizer/dispenser? I love those things, but I didn’t want to go out and buy one (not that there’s anything wrong with you if you do!). I had a wooden curtain rod in my garage, not being used, and when I played around with it, I realized that it was small enough to hold ribbon and small enough to go through the scrolled corbels of my lower shelf. I just cut it to fit and spray painted it blue (I’ll probably spray it white one of these days). Not bad, huh?
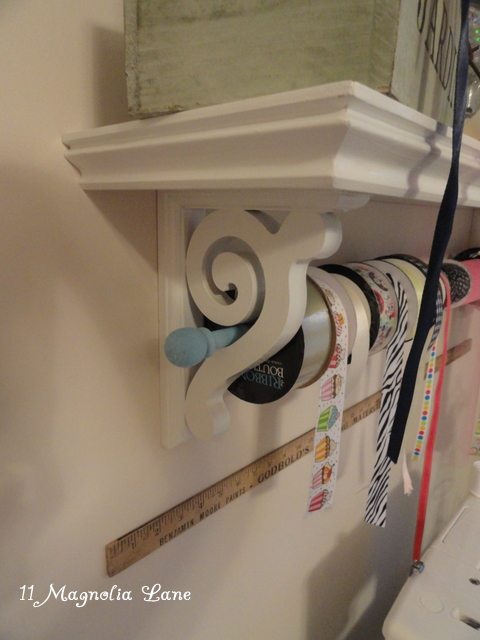
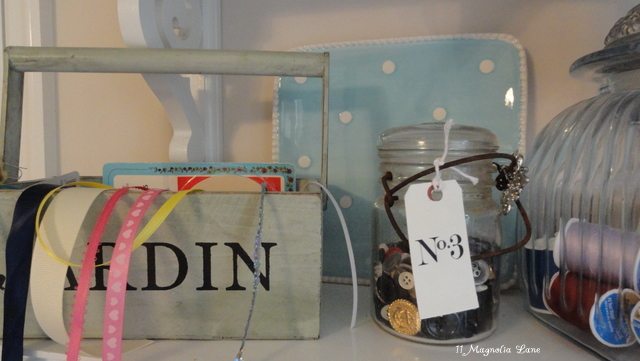
Yes, I do have more ribbon that just that. The overflow is stored in the little green box on the first shelf (pictured below) and in the dresser I have in the closet.
On the opposite wall is that old entertainment center armoire that I painted green in this post. It’s not being used for its true purpose in this house because we had to juggle the TVs around to make them work in this floor plan. But it’s great for holding some of my family’s quilts and overflow craft supplies.
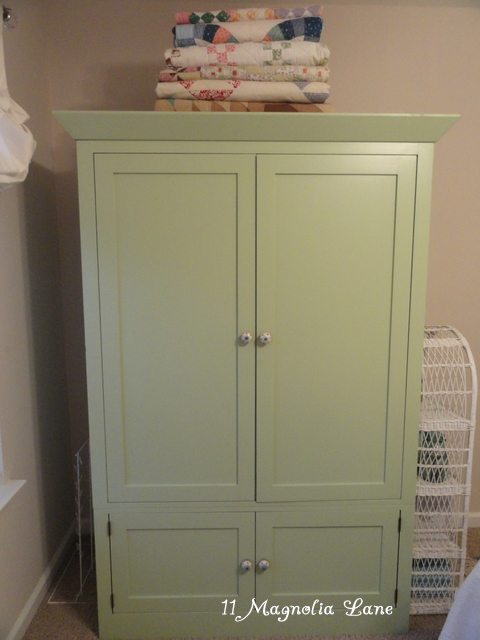
Closed–to hide the big mess inside!
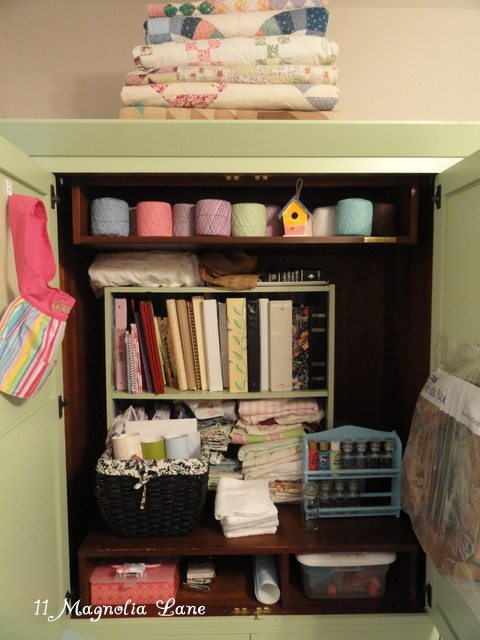
Open–because I like letting it all hang out!
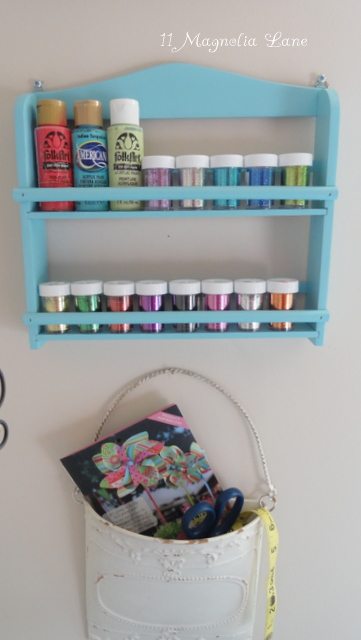
I’ve got one more thing to do. The spice rack that’s currently living in the armoire needs to be mounted on the wall to the right of the sewing machine. Spice racks are the perfect size to hold acrylic paint bottles, and they make a colorful display all on their own. You can find an old spice rack at the thrift store almost any time you walk in there.
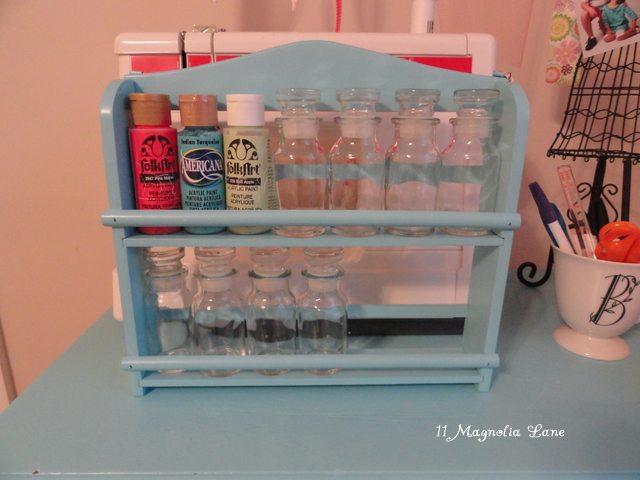
My craft area is smaller than ten square feet, but it’s big enough to hold everything that I need, and I’m happy with the colorful and fun way that it turned out.
Update: I mounted the spice rack on the wall. All of my paints dried out in the move this summer, so while I work on re-building my collection, I put my vials of glitter on the rack instead. The downside to this plan was that my daughter took the blue glitter and sprinkled it all over her desk and nightstand to “jazz up my room a little, Mommy.” Yeah…glitter defeats even my Dyson!
Thanks for stopping by!
