Hey everyone! A big thank you to Amy and Christy for inviting me once again to join their series, Operation: Organization! I’m bringing up the rear on this incredible 2-week series and hope I’m able to keep up with the talent and creativity shared by my fellow bloggers. I had the absolute pleasure of meeting Amy and Christy in person over the summer at The Haven Conference in Atlanta…

It was incredible to finally meet in person (along with Ginny) 2 wonderful girls I’ve met through blogging. True, real, genuine friendships do occur just from starting a blog. Girls, I’m sure my fellow Operation: Organization series bloggers will agree when I say a big thank you for hosting us and putting so much time and effort into this series. Big kisses to you from San Francisco!
Mushy stuff aside, let’s talk back-to-school organization with a little DIY!
I’m a professional organizer living in the SF Bay Area and my passion is helping families get organized and run efficiently. Sometimes helping clients involves getting creative and throwing together DIY solutions. These systems end up being some of my favorites. My home is the “test spot” for said creations / solutions and this DIY garage mudroom has been a huge hit – in my home and with clients alike. So I’m very happy to be here today sharing this system with all of you. It’s simple to assemble, a quick weekend afternoon project and will save your family countless amounts of time during the school year.
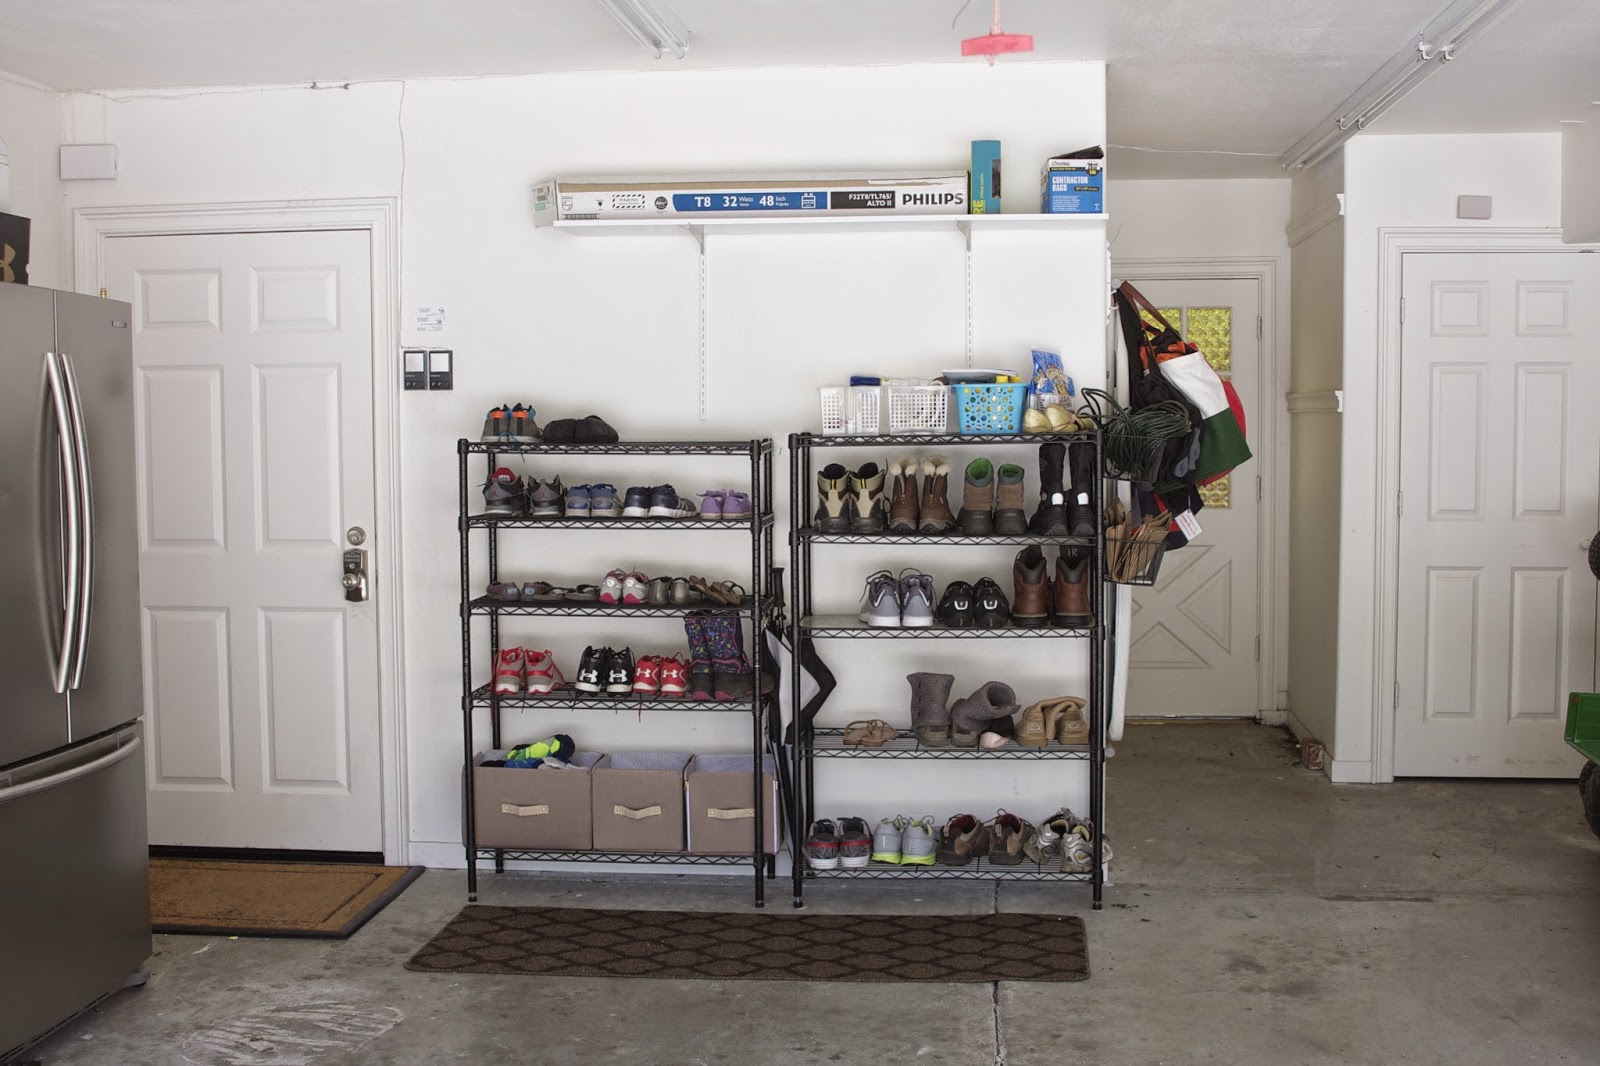
A mudroom is a luxury for most homeowners, especially those of us living in high-price cities (ahem). But if you have an open wall in your garage, a mudroom *is* possible. Here was my previous set-up, which included 2 free-standing wire shelves…

You can see the wall is directly outside our door to the garage – the perfect landing spot / mudroom!…
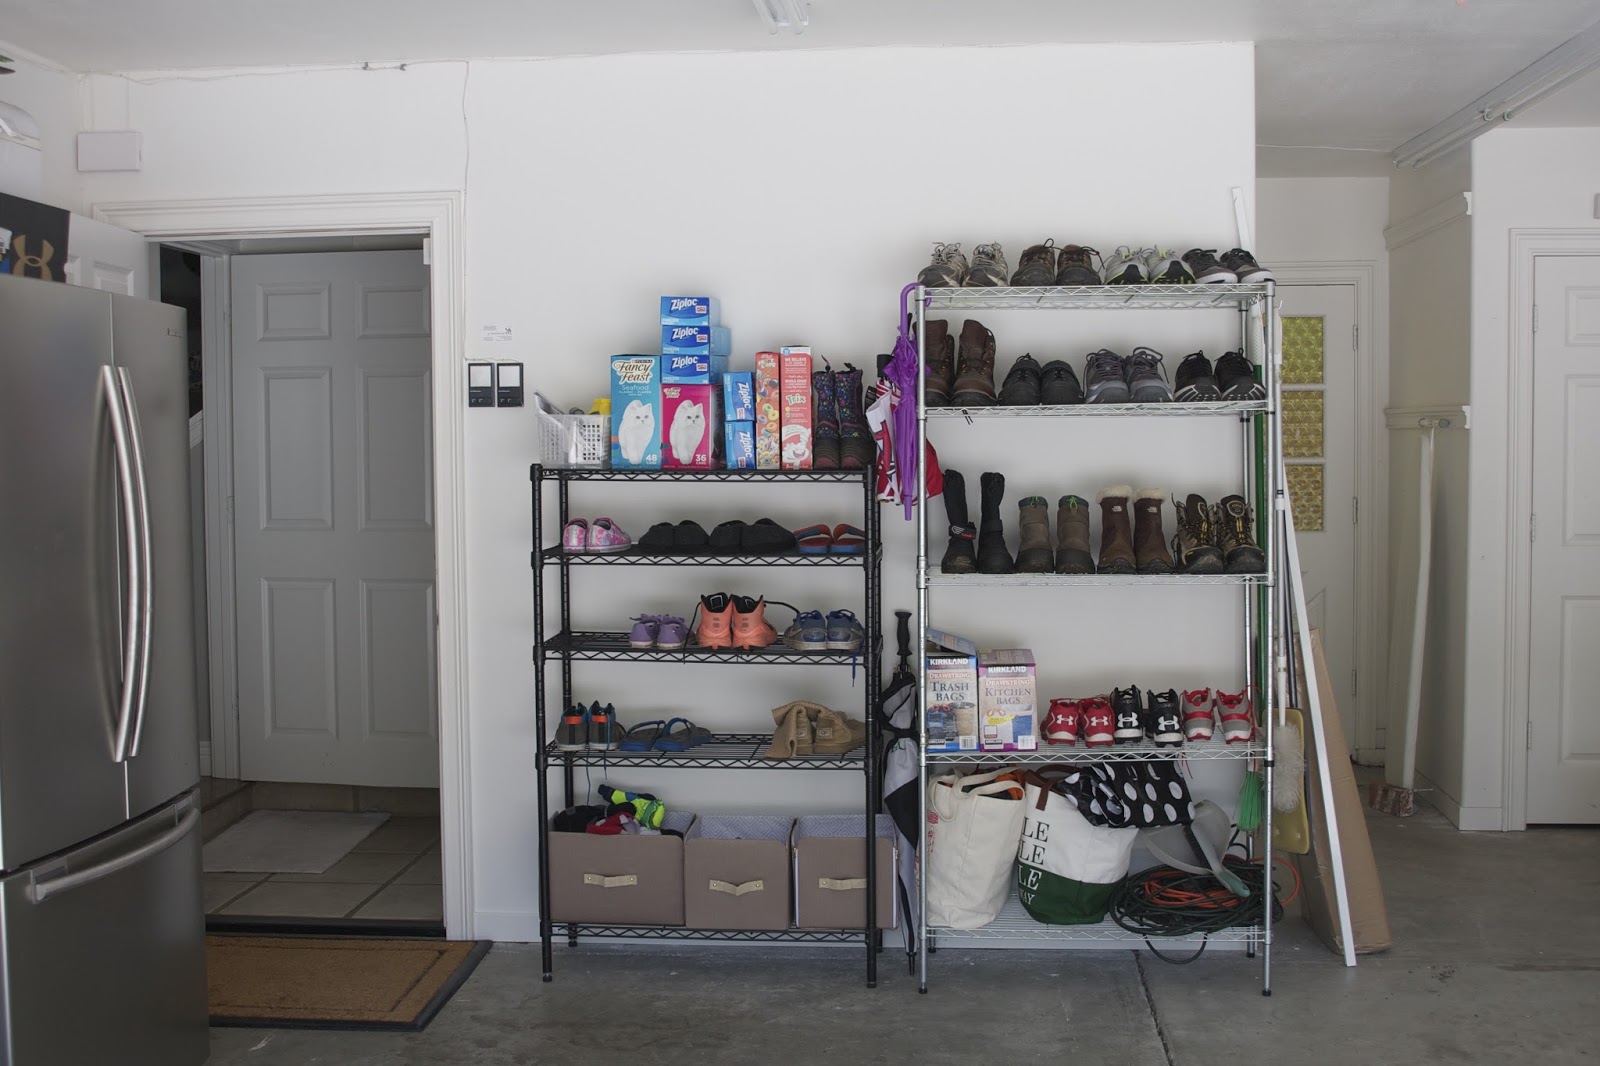
Those shelves worked well temporarily, but wanted to make use of the entire wall and add features like hooks and a bench seat.
I started this project with a fresh coat of paint…

With my blank slate, I got to planning. For this system I went with Elfa from The Container Store (which happens to be on sale right now for 25% off!) and a cubby / bench from the Martha Stewart for Home Depot collection. TIP: Before you head to The Container Store, or any other place to purchase a solution, make sure you know what you’re storing on it. I knew exactly what would be set up in my mudroom, therefore I planned on enough shelving to more than cover that. I also chose 12″ depth shelves due to the door on the left. I didn’t want the kids or anyone else bumping into something protruding near this walk-through. Spend a little time thinking through those important details and make note of garage door opener buttons or electric outlets too.
Shelving gone…

Now let’s get to DIYing!
If you’ve never installed Elfa, it’s simple! I don’t do complicated, as evidenced by my blog / business. Your system will come with very detailed step-by-step instructions. What I love about Elfa is that there is only ONE wall-mounted piece – the top track. Everything else for your system will hang off that one track. Easy!
You start by holding up your top track at the top of the wall and mark the holes with a pencil. The holes are 8″ apart. After marking your holes, you’ll pre-drill your pencil marks. Depending on if you hit studs or drywall will depend on how thick your drill bit is. I hit drywall with each pre-drilled hole. So in this case I used a 3/8″ drill bit…

Yes, it’s big but necessary for your drywall anchors…
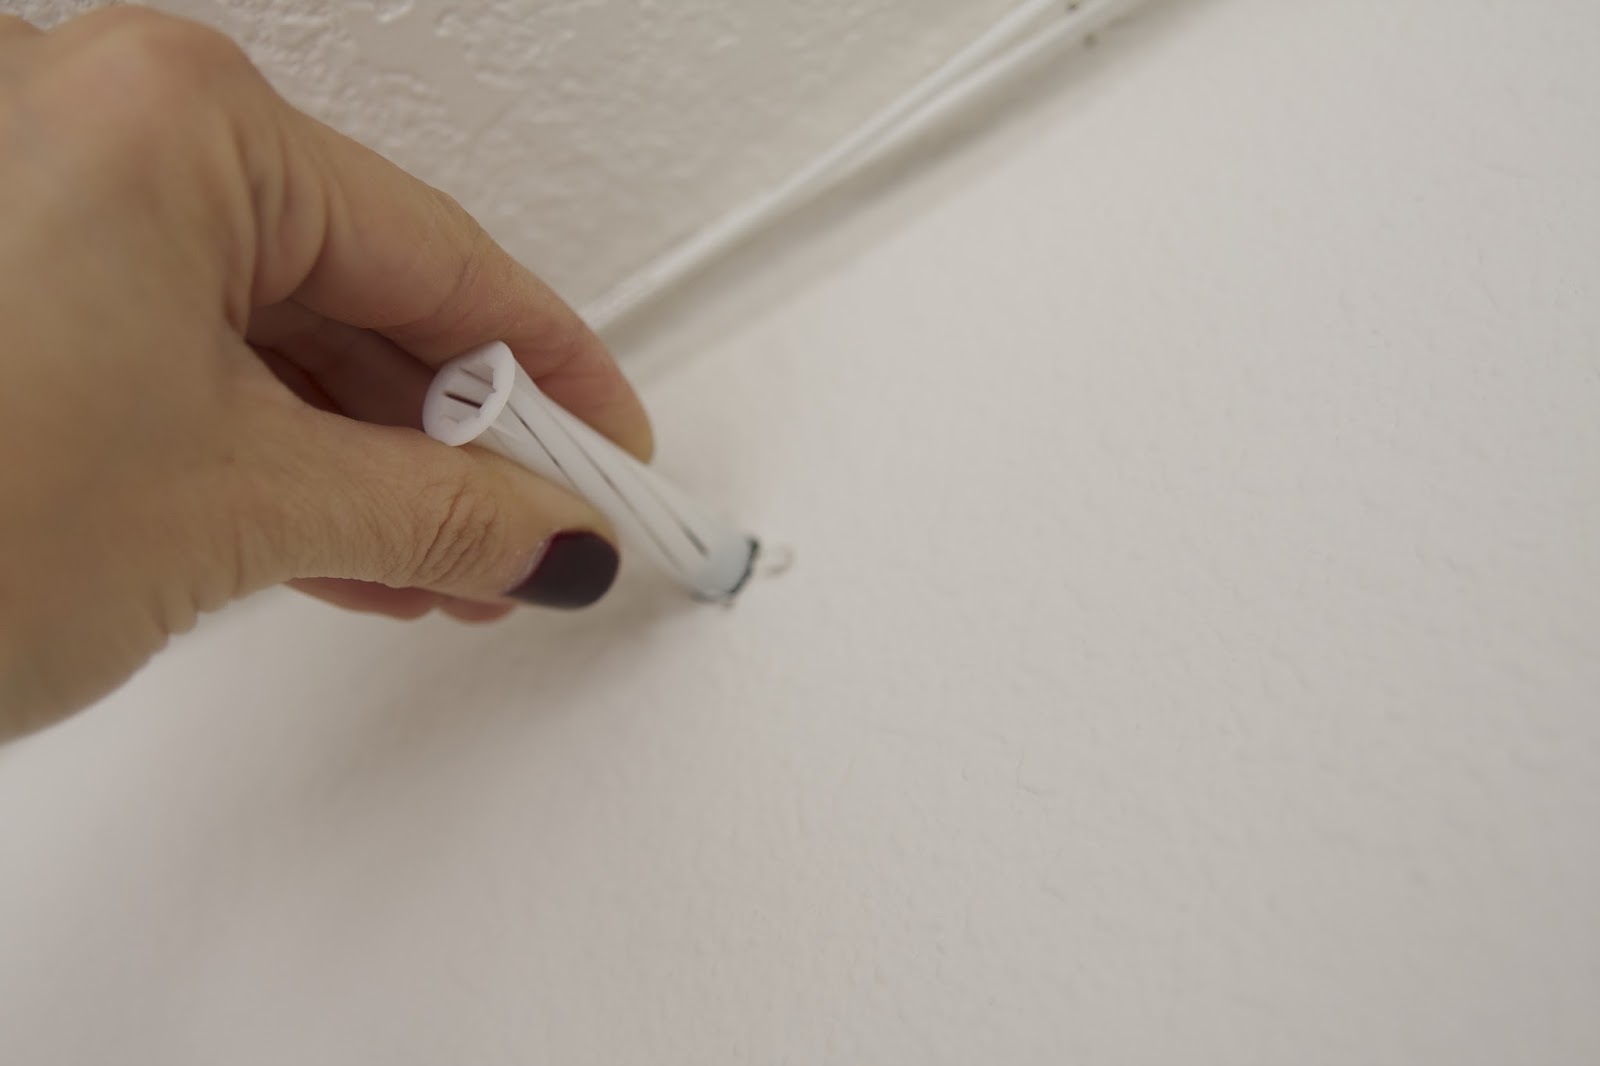
After you’ve pre-drilled your holes, you simply tap those drywall anchors into place. Then you line up the track once again (with the holes you’ve already drilled / anchored) and drill in the screws. For this you’ll need a standard phillips head drill bit…

Just drill away until you’ve filled each hole…
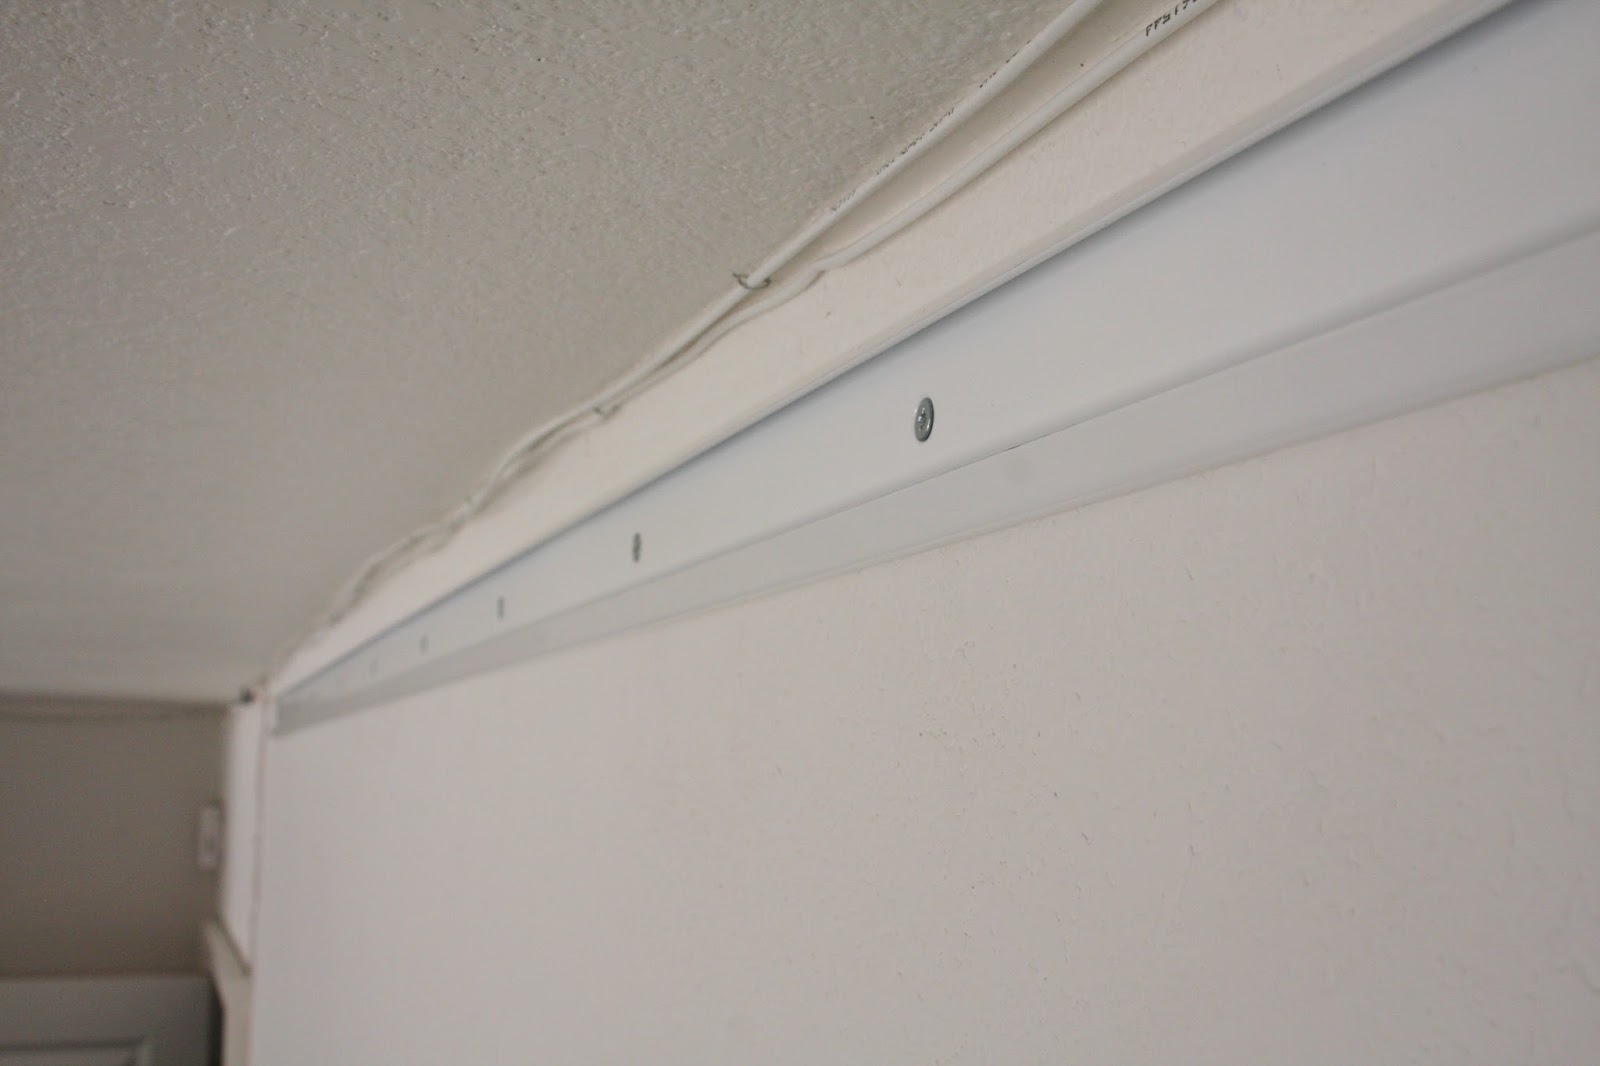
With the top track in place, you’ll now have fun hanging the shelving and accessories. Again, this step doesn’t require tools! I started my top shelf a bit lower than usual as I was adding 14″ tall winter clothing bins…
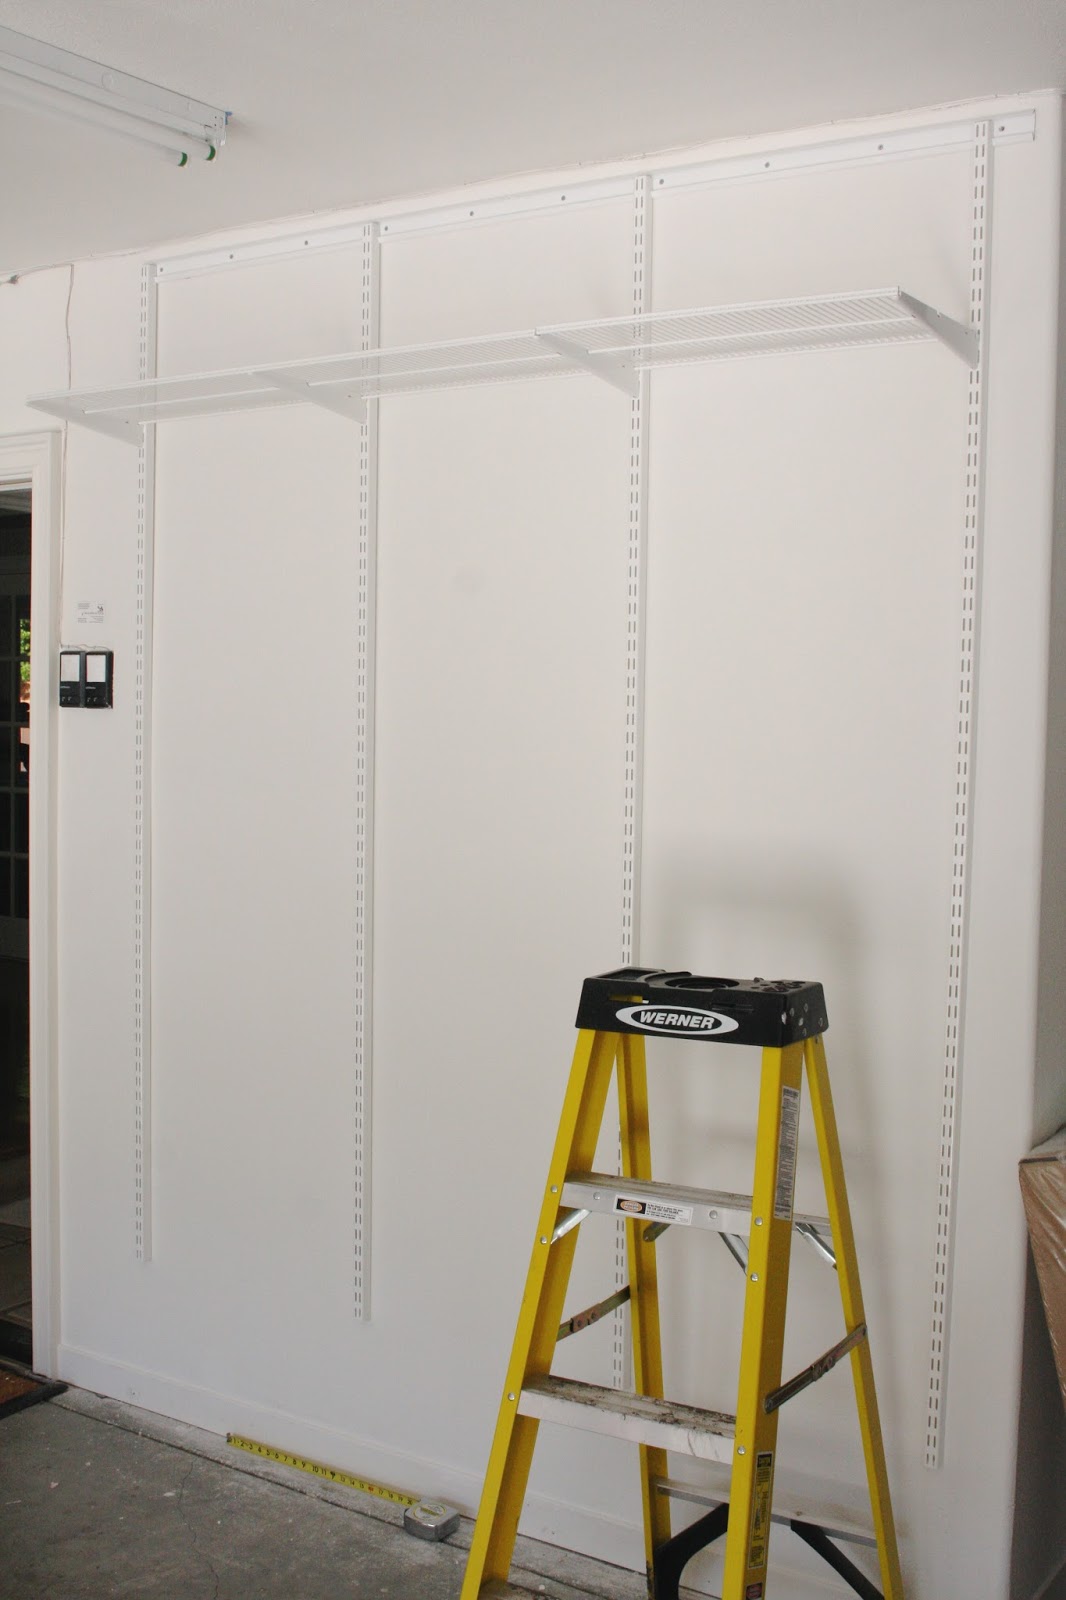
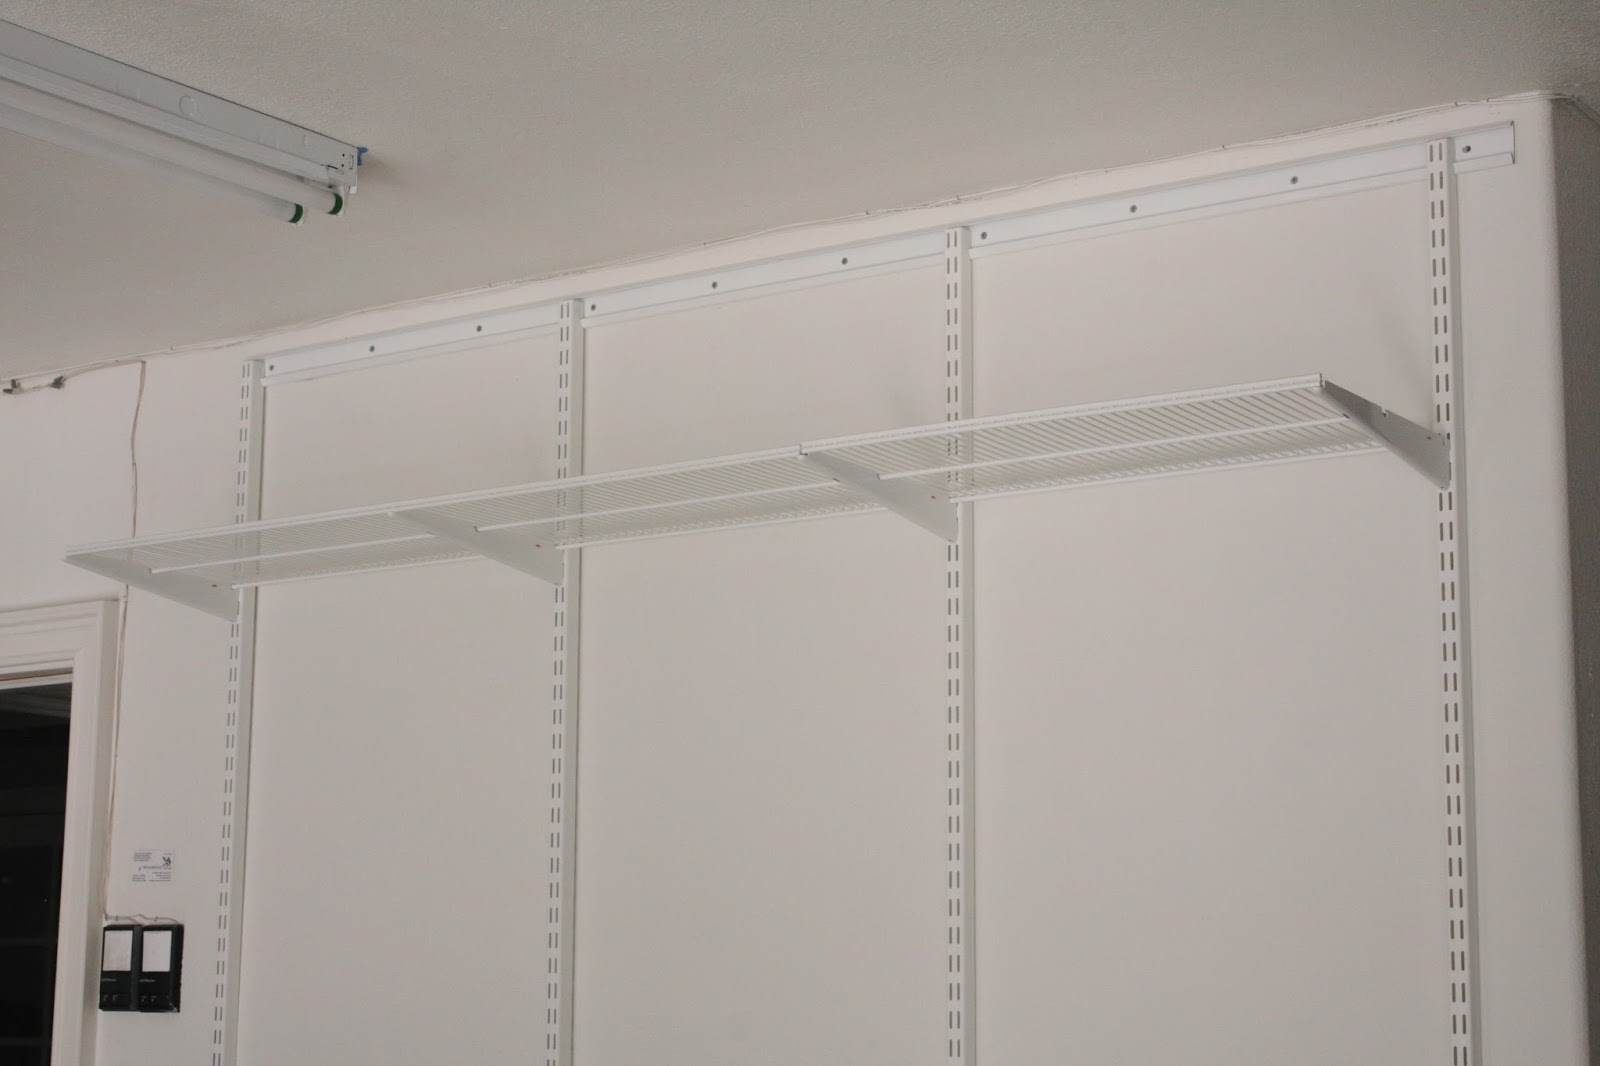
Once that shelf was secured, I added the brackets. It’s a good idea to begin by adding all of the brackets alone. This way you can step back and decide if some shelves need to be closer together or not. Maximize that vertical space, friends!…

I also added 3 2′ utility tracks, which again required no tools to install…

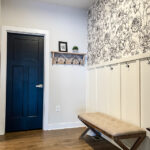
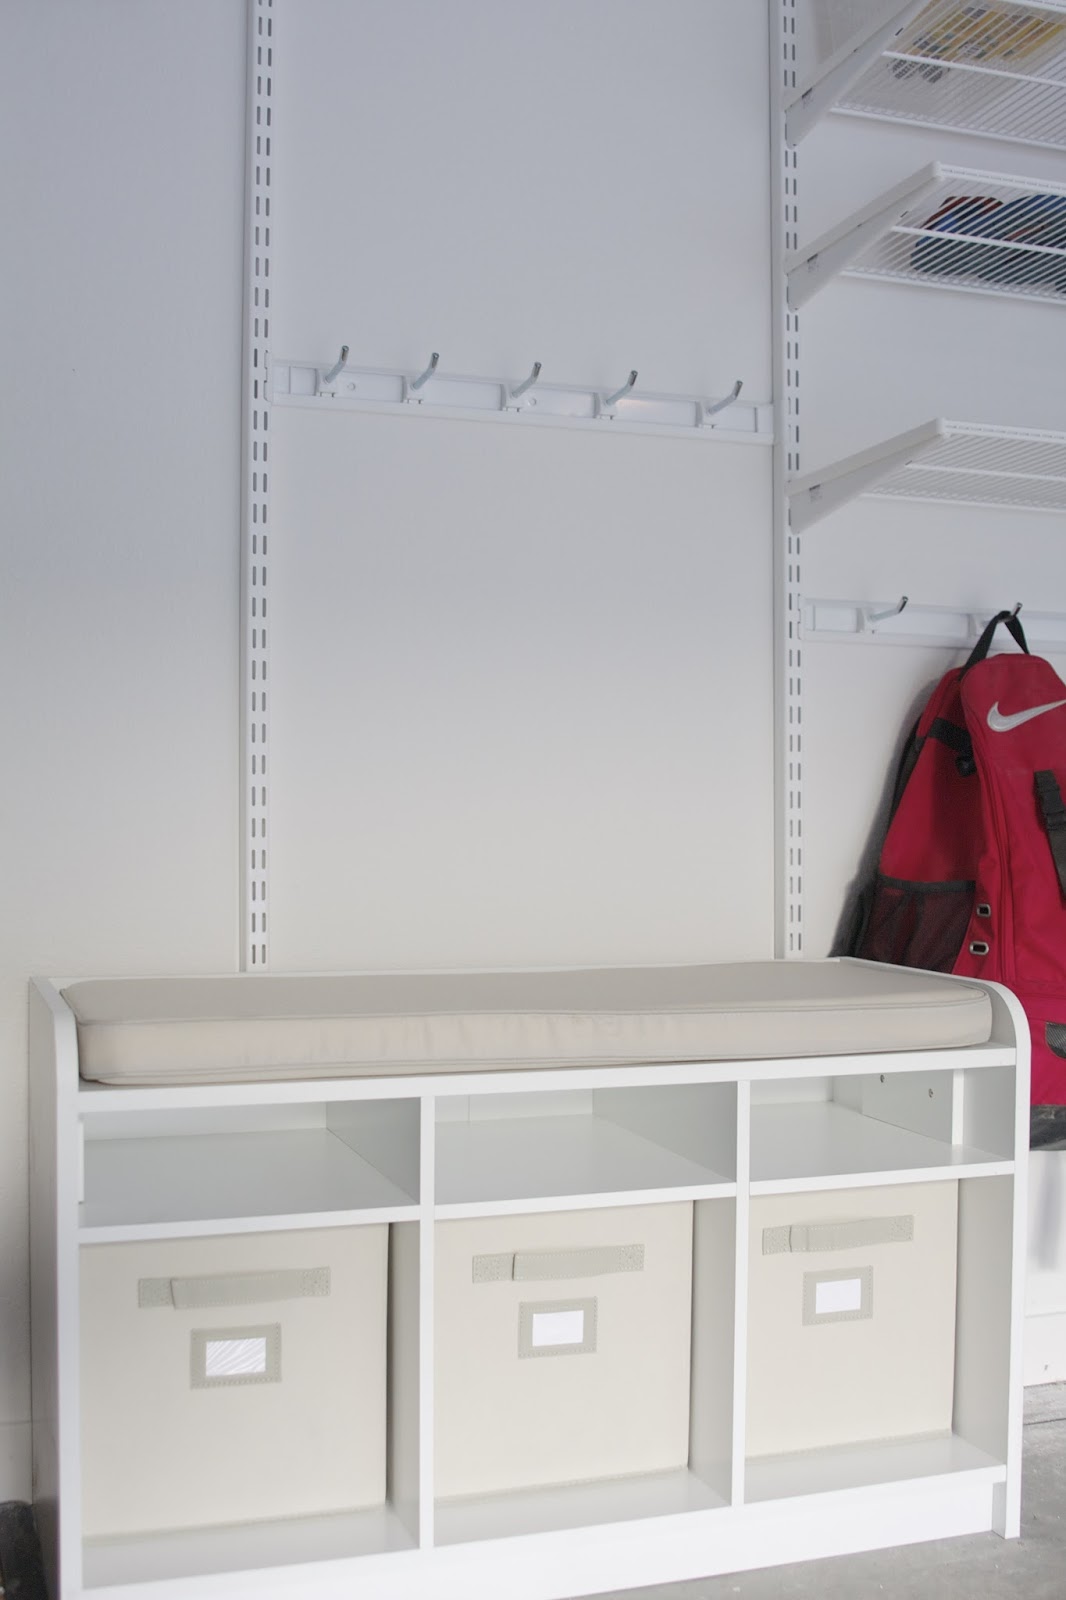
Then I assembled this great Martha Stewart cubby / bench…
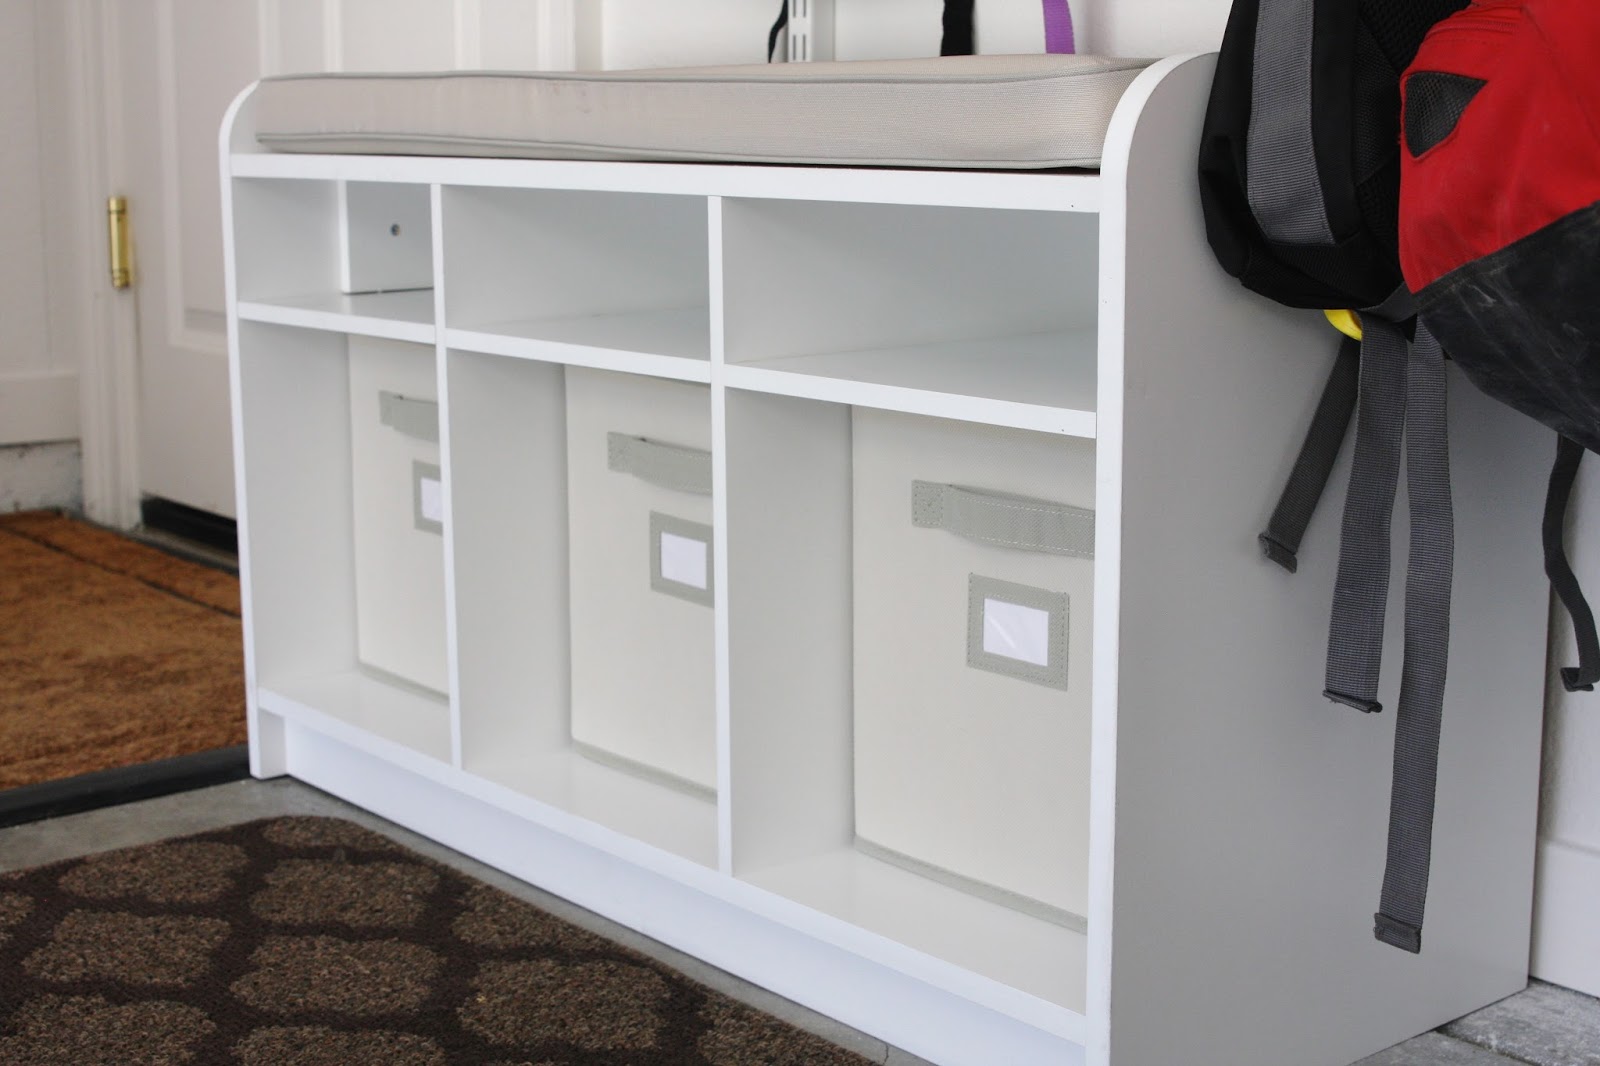
The kids now have a place to sit, and their socks are in the bins below…

I made sure the hooks above the bench would be away from their heads…
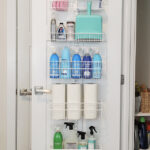
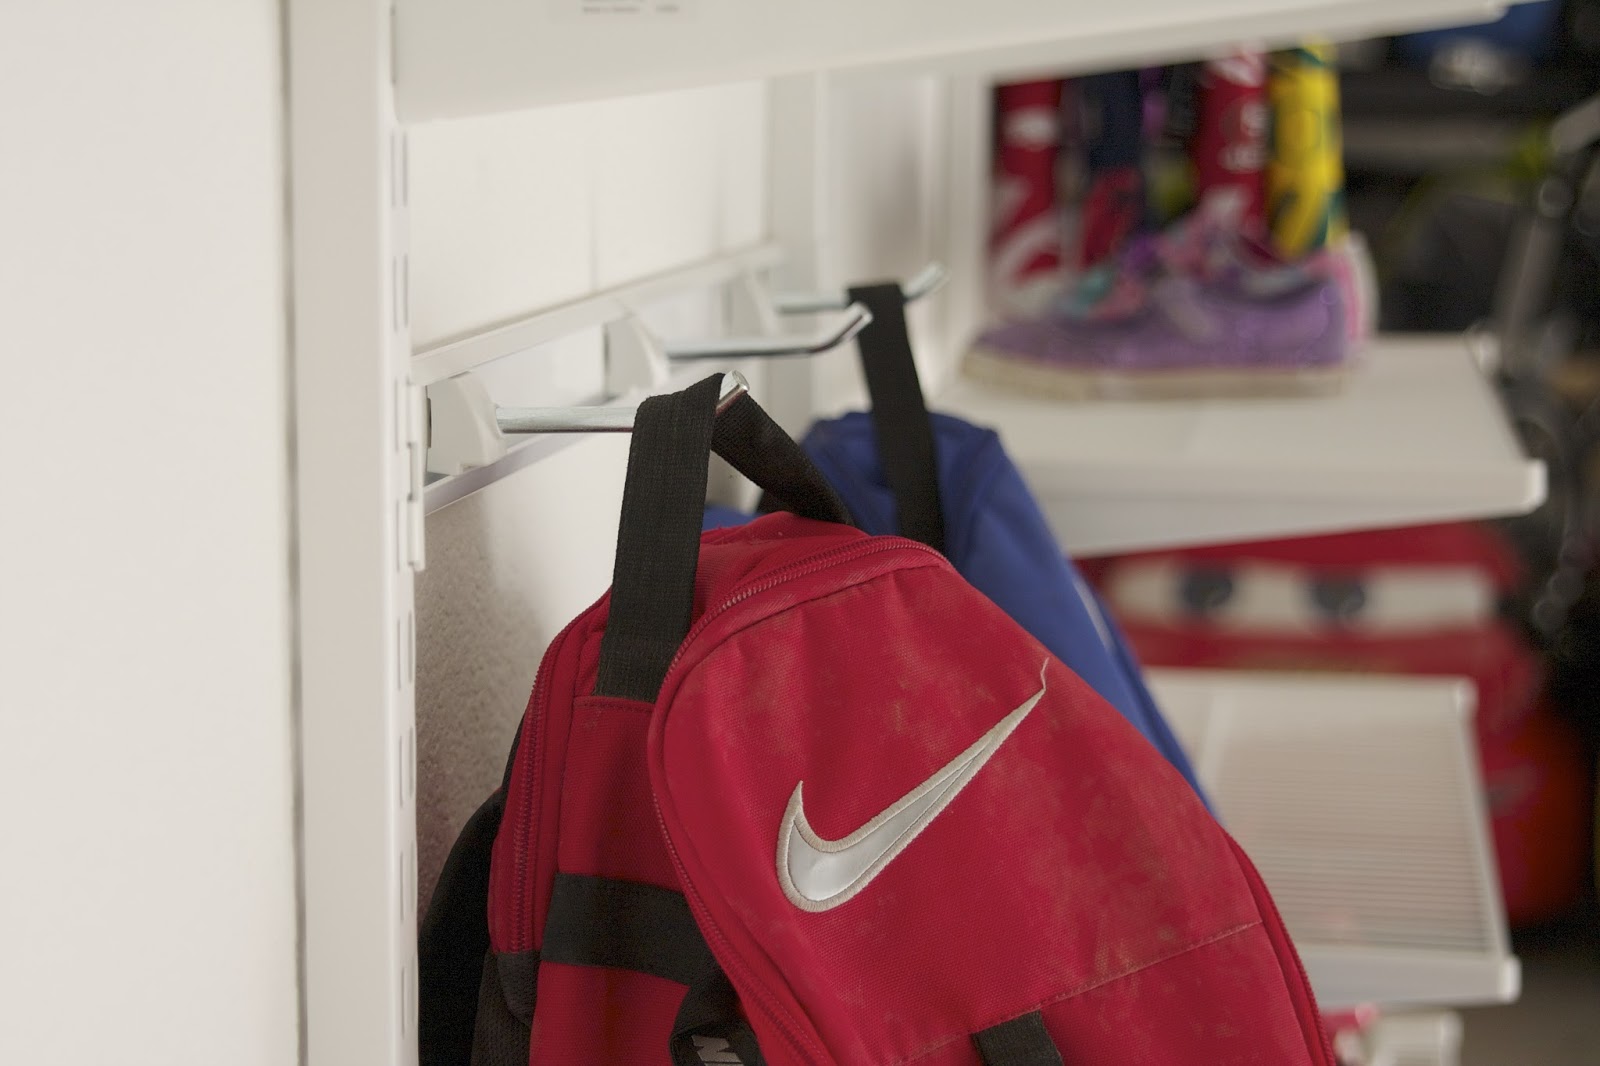
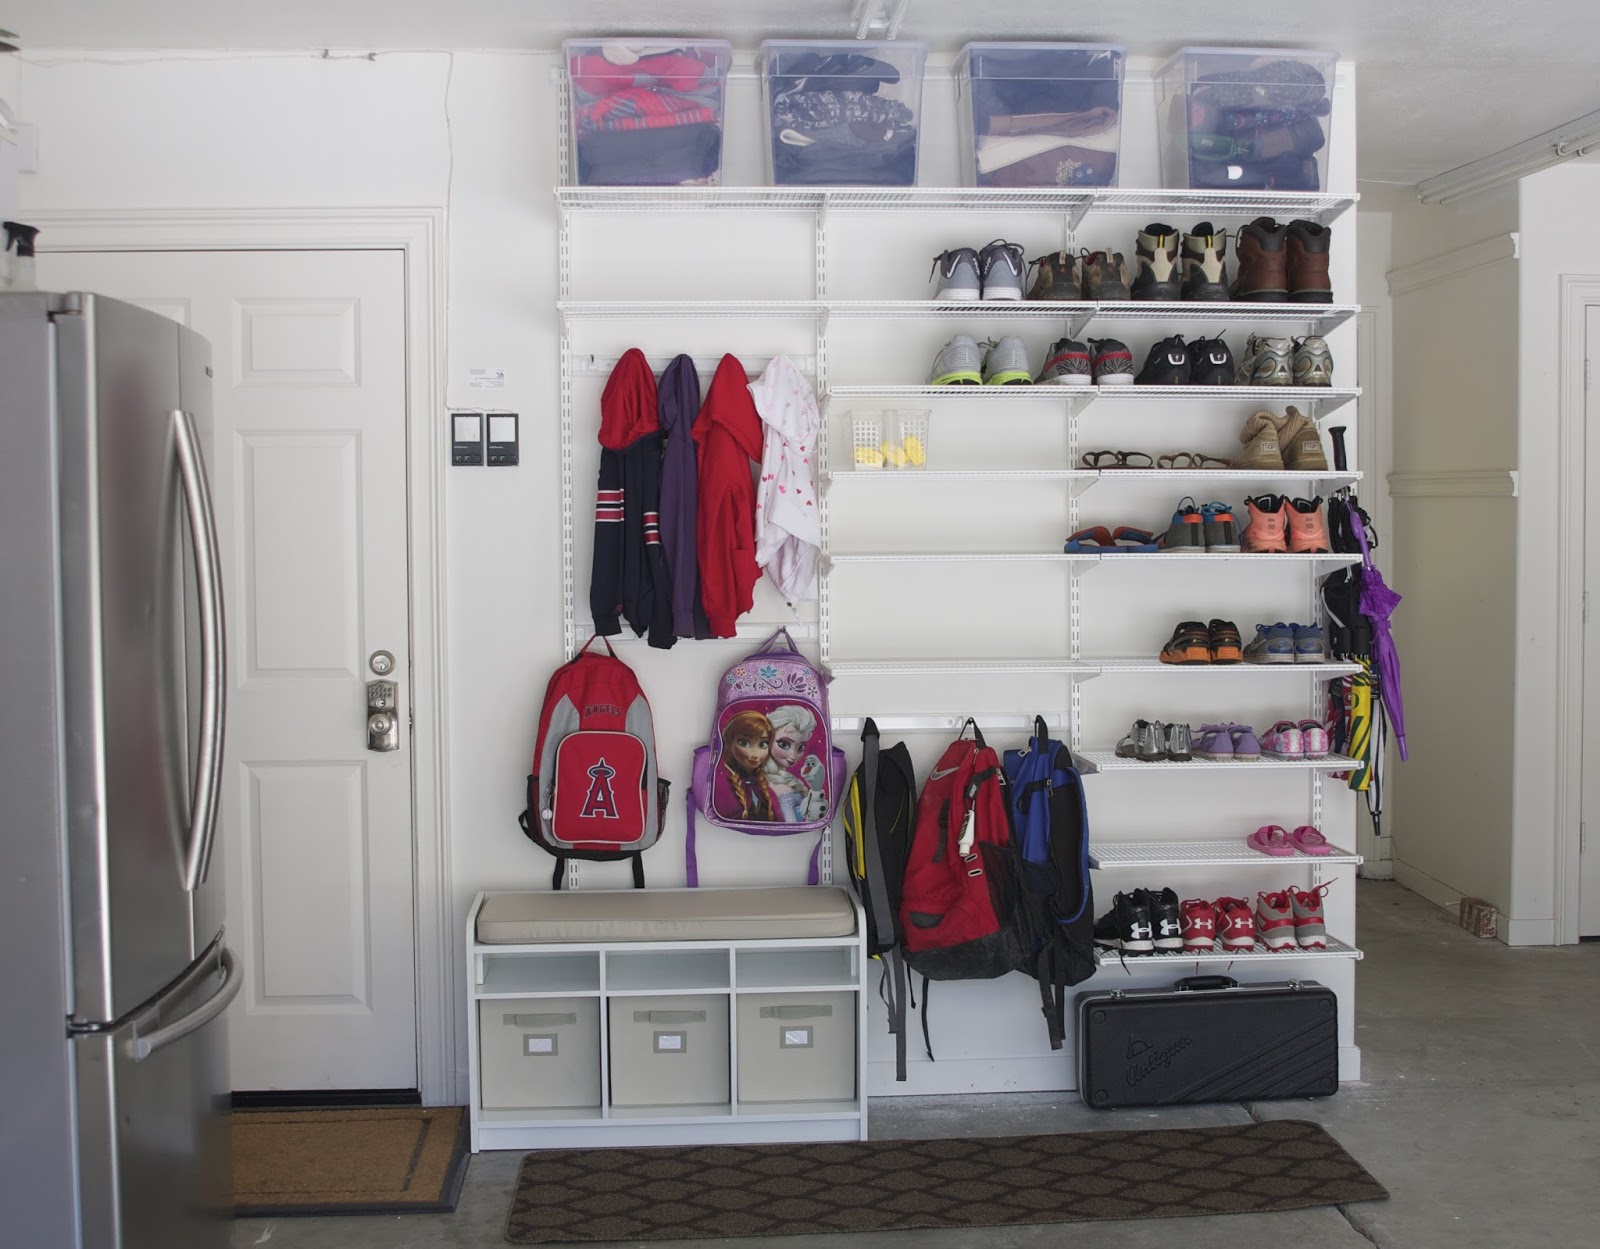
With everything secured, I added our mudroom items to the system…
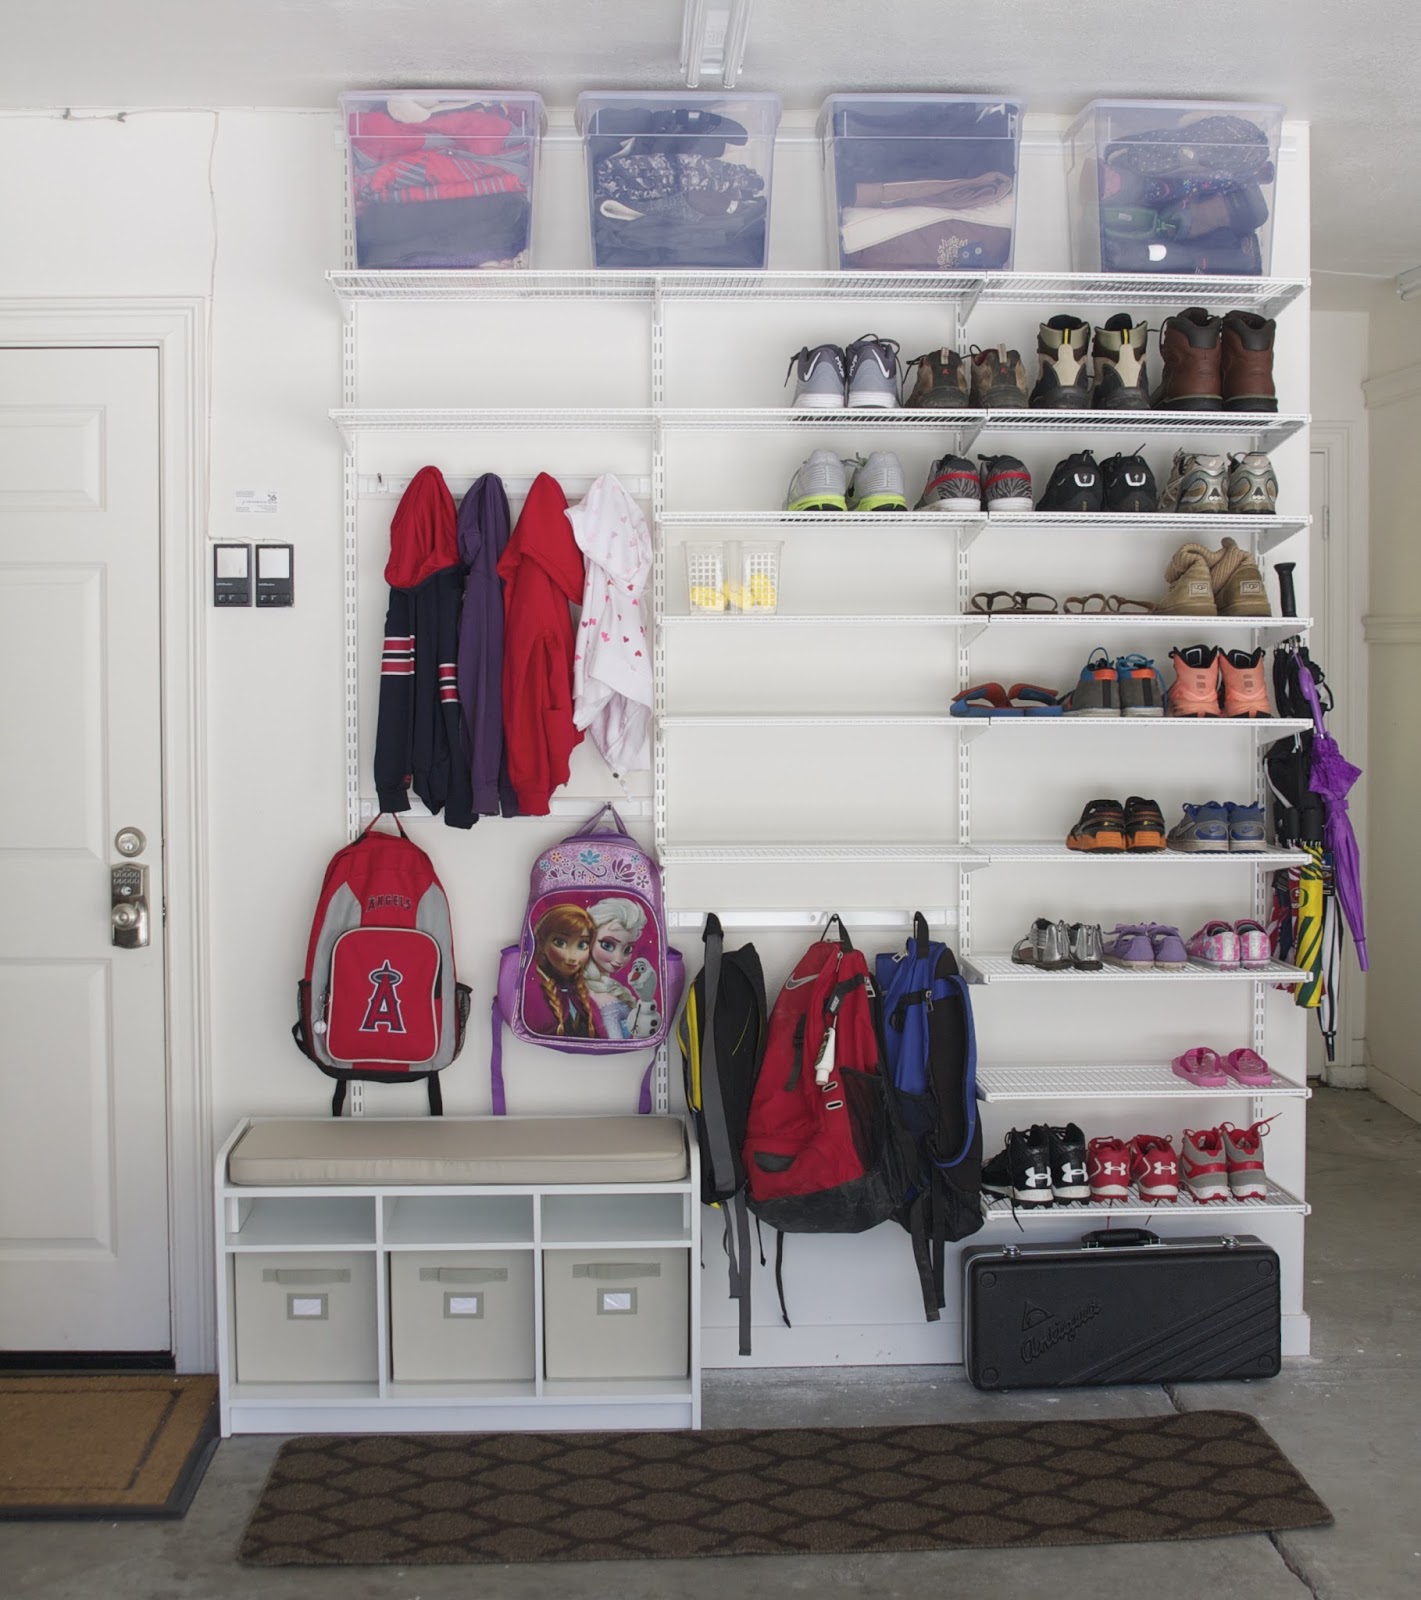
Look at all that space! #hearteyes
Wondering what’s here? It’s our most frequently worn shoes, the kids socks, baseball bags, school backpacks, the kids daily sweaters, umbrellas, all of the kiddos winter gear (for going to the snow or just when it’s cold here in the Bay – beanies, jackets, boots, snow clothes, gloves, scarves), and I even had a spot to tuck away my 10 year old’s sax. He plays in the school band and this cumbersome instrument was taking up too much floor space inside.
I also added a few side hooks to corral our umbrellas…

This mudroom has been exactly what this busy family needed and has kept us from running around searching for shoes or backpacks. If you have a wall in the garage where a mudroom is possible, please consider this idea. It’s not that much money (this was a few hundred bucks – and don’t forget the sale going on now!) and will ramp up your efficiency factor for sure. You’ll know where everything is and you’ll free up precious space inside your home!
Before…
After…
Have a great day guys and go organize / DIY something! xoxo
********
I love this so much! Our last home didn’t have a mudroom and I always dreamed of creating an organization space such as this, who knew it was so easy? Thanks Sam for sharing and please go visit her blog over at Simply Organized for tons more ideas.
See all of the previous posts in our Operation: Organization series {here} and follow the Pinterest board {here}.
Operation: Organization {Back to School Edition} 2015 Schedule:
8/17: Sunny Side Up
8/18: Bless’er House
8/19: Sunny Side Up
8/20: Monthly Pretty Preppy Party
8/21: The Heathered Nest
8/22: The Creativity Exchange
8/23: Just a Girl and Her Blog
8/24: This is Happiness
8/25: Dixie Delights
8/26: Organizing Made Fun
8/27: Pretty Preppy Party Features
8/28: Simply Organized
**********
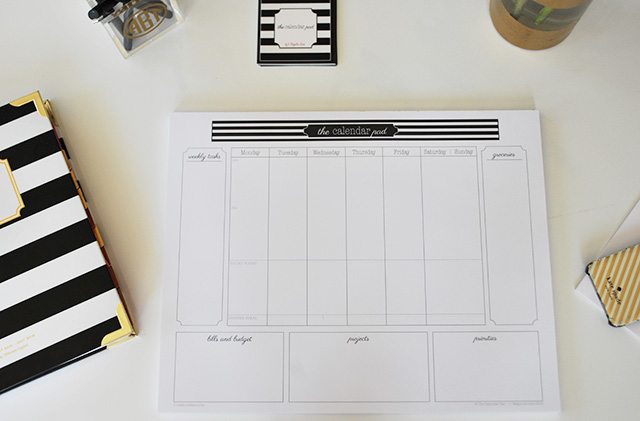
While you’re here– check out our new line of organizational products HERE, these weekly calendars are the perfect tool to help you get organized for back to school!
{Right now you can order with the coupon code “LAUNCH” to save 15%, it ends 9/1!}
{PS I’ll be back with a giveaway for these tomorrow! }
Thanks for stopping by and have a lovely day everyone!