This post was sponsored by Home Depot. All opinions are my own.
As promised, today I’m back with more details about our downstairs bathroom renovation–plus lots and lots of pictures. Last week, I sent you over to The Home Depot blog to see more; they generously sponsored the project and most of materials are from THD (I’ll list all of my sources at the end of this post).
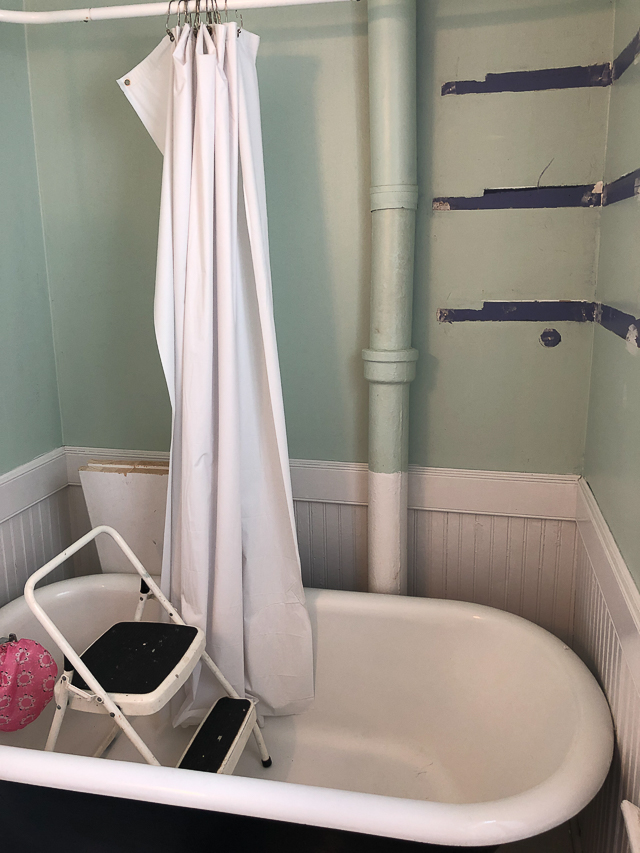
If you’ve been following along since the beginning, you may remember what this room looked like when we moved in last July.
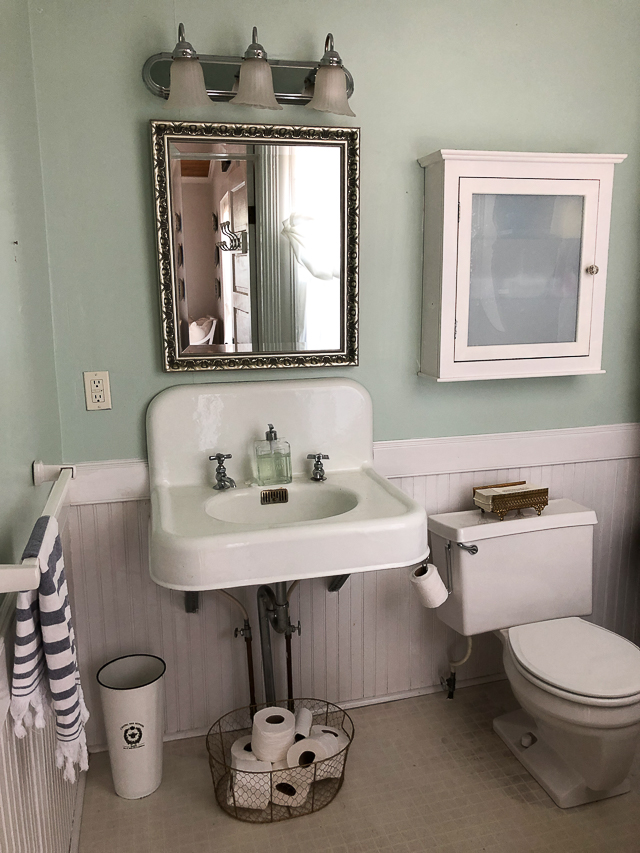
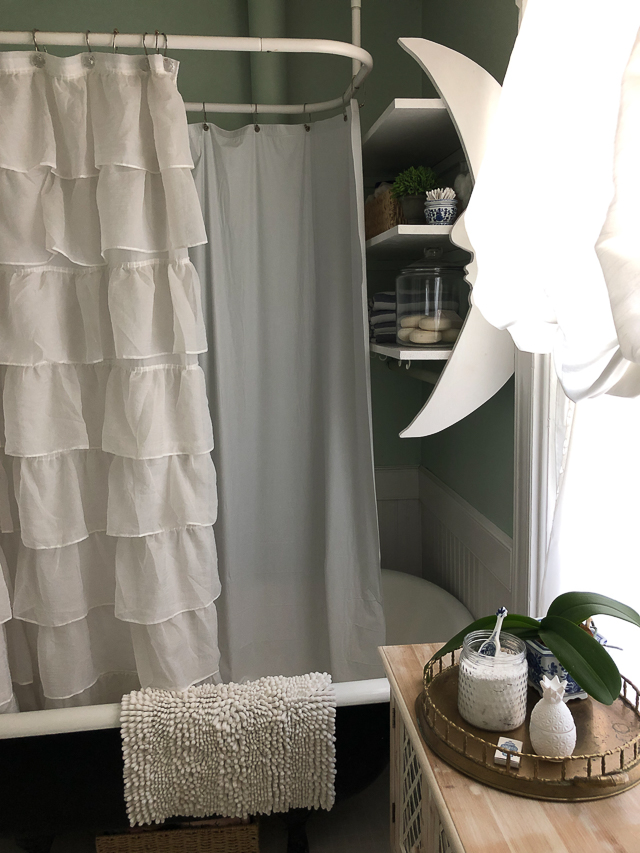
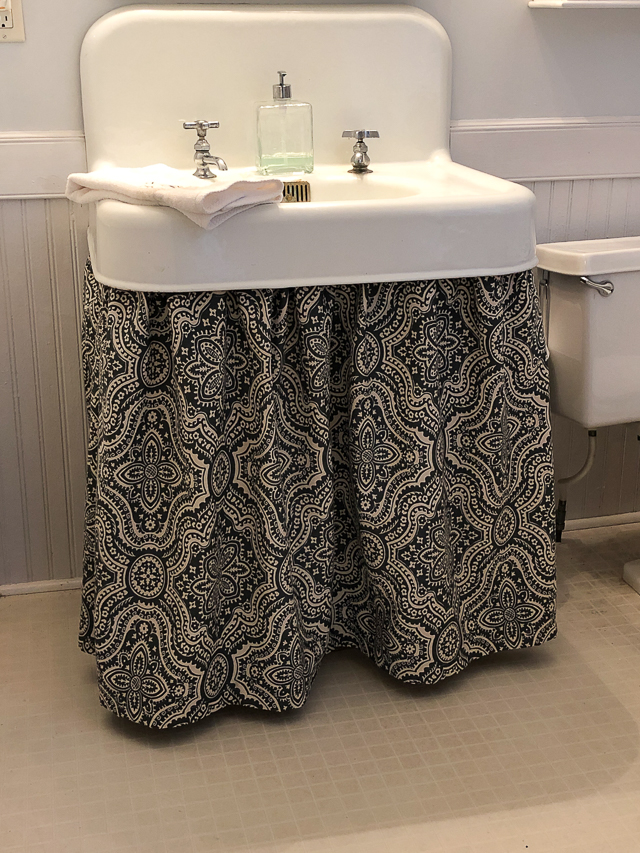
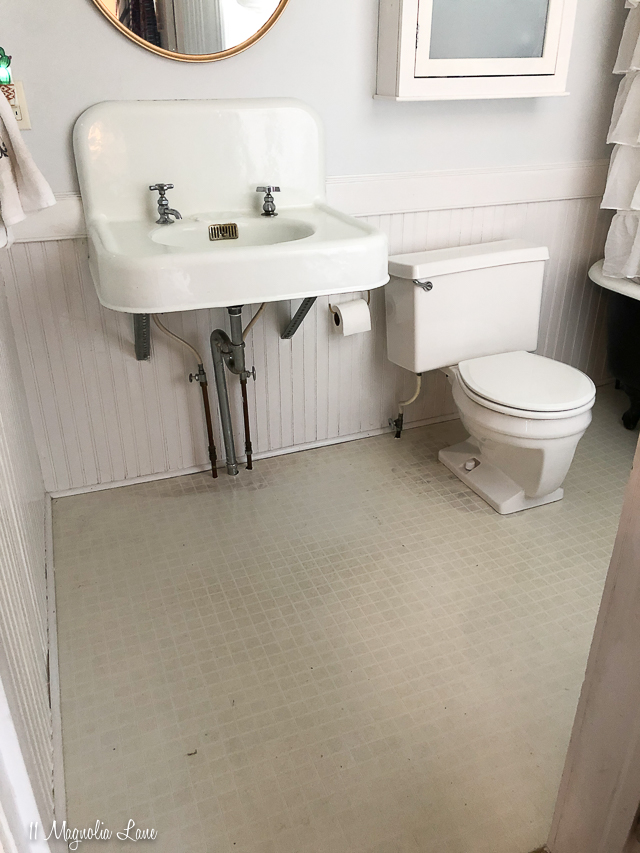
I loved the apron front sink, the cast iron tub, and the vintage beadboard, but I didn’t love the dated fixtures, the dingy flooring, or the “moon shelves” at the foot of the tub.
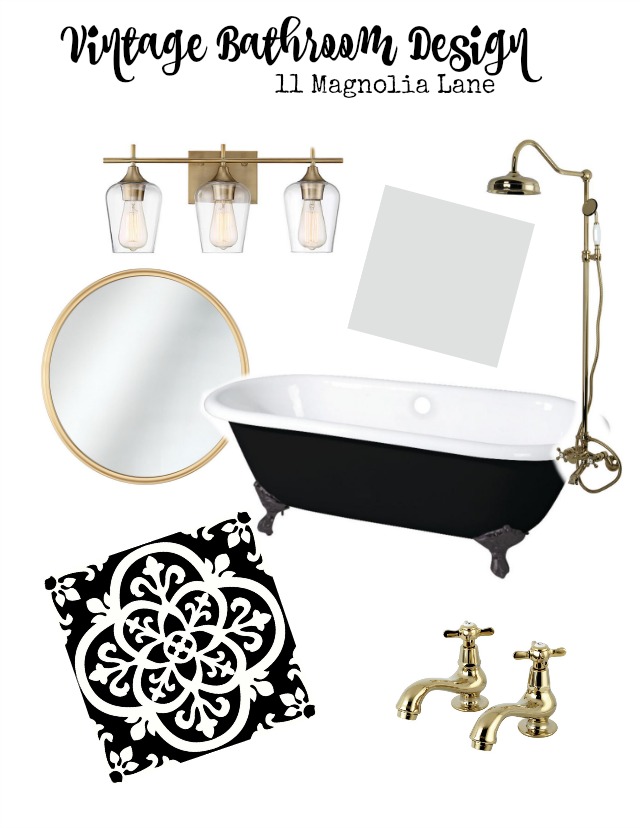
A few months ago, I shared my plan for the room with you, including a design board and a few quick fixes, like a sink skirt and new paint (read that post HERE).
The paint made a huge difference–paint always does. If you can only afford a $30 makeover, then paint is the first priority!
The color is Sherwin-Williams Rock Candy and I’ve used it in several other rooms.
We’ve worked with Home Depot several times in the past, so when they offered to sponsor this project, I was thrilled, as was the homeowner. We set a target date of Christmas 2019 to complete the project and for once I finished ahead of schedule as it was ready by Thanksgiving.
First I removed the moon shelves, patched the wall, and painted above the beadboard.
Next, I built new shelving using wood corbels and stair treads cut to fit and painted white. We have a tutorial you can follow about building open shelving here. It’s so, so, easy.
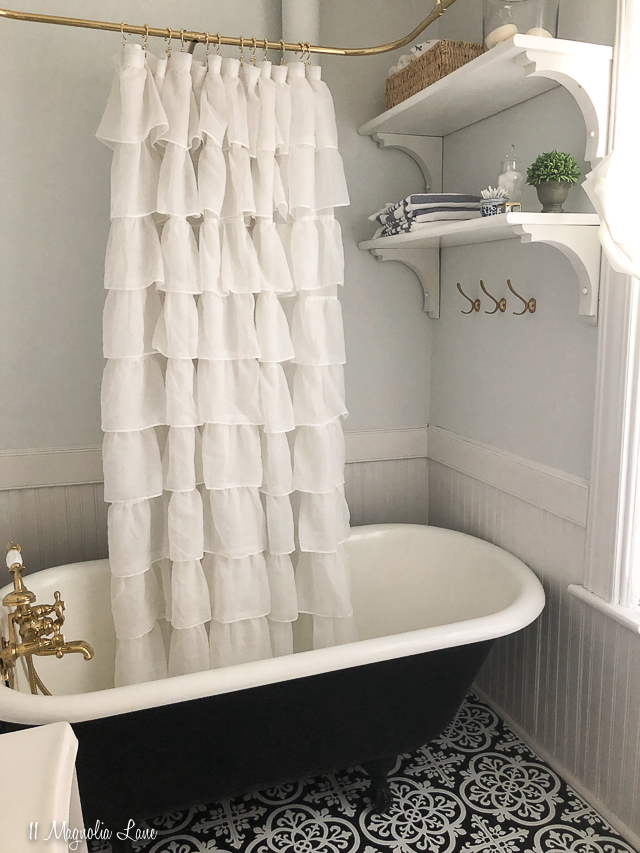
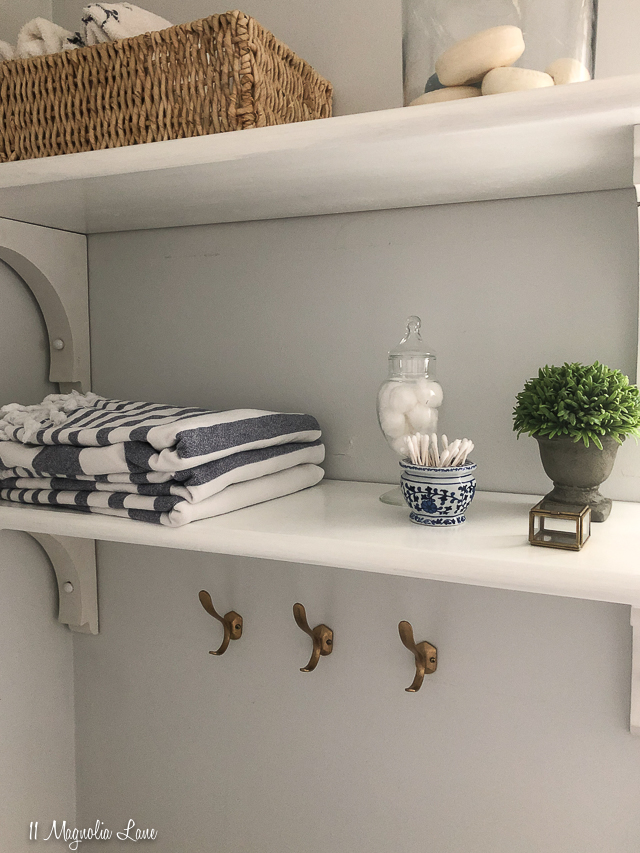
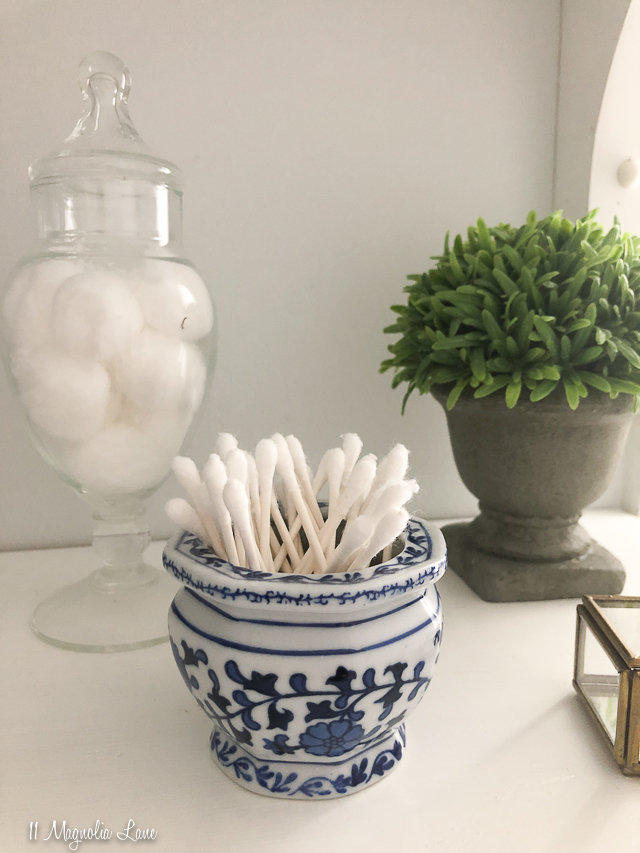
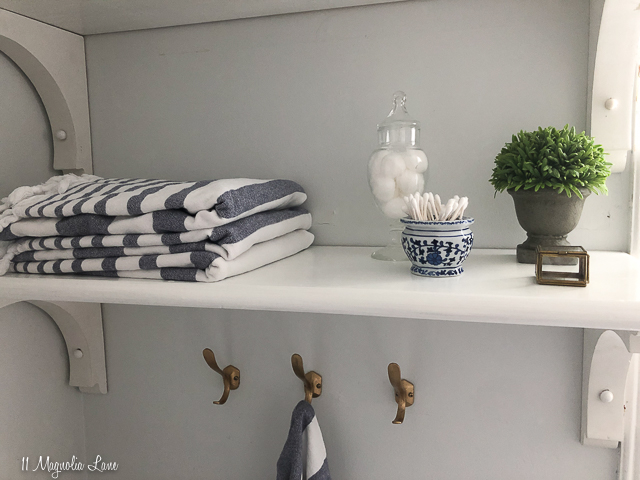
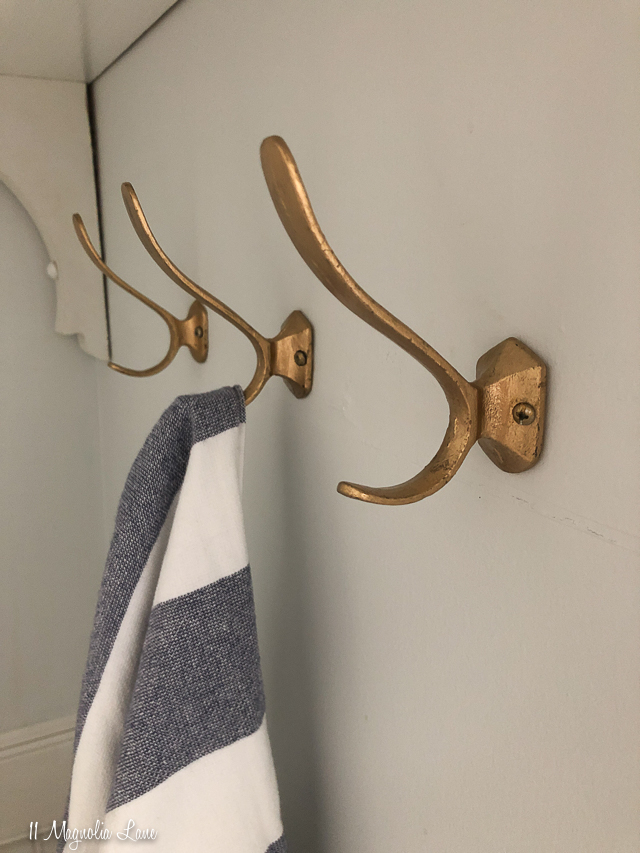
I also added hooks underneath for wet towels.
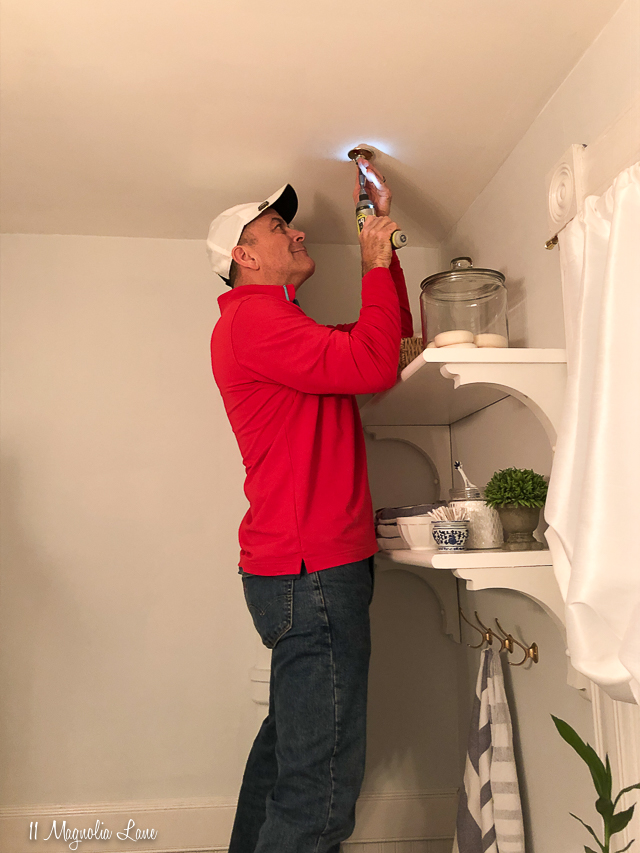
The next step was to change out the light fixture for a new one. Fortunately, I learned years ago how to do simple electrical projects and this is a skill that I use all the time–it’s easily saved me thousands of dollars over the years. The new light fixture made a huge difference as did the Edison bulbs that I chose for a vintage look.
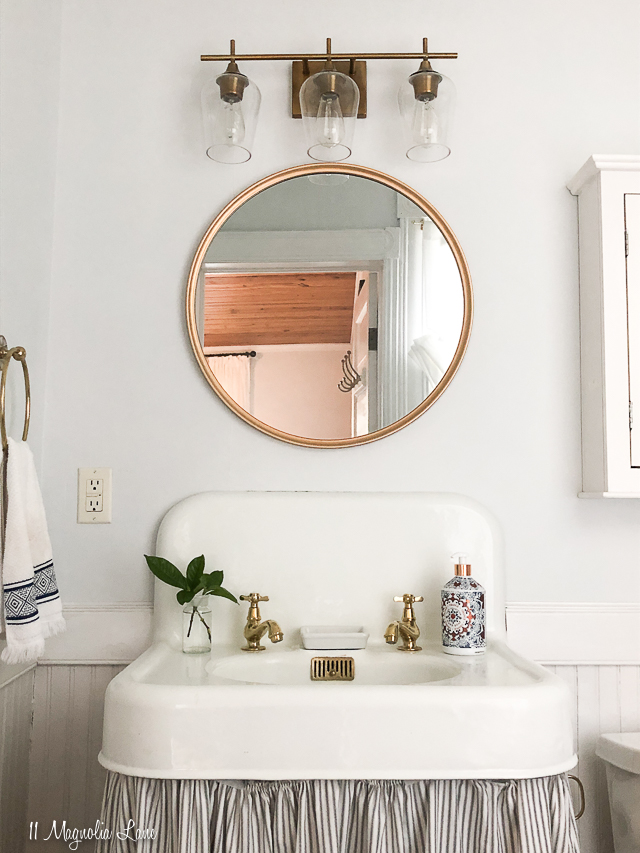
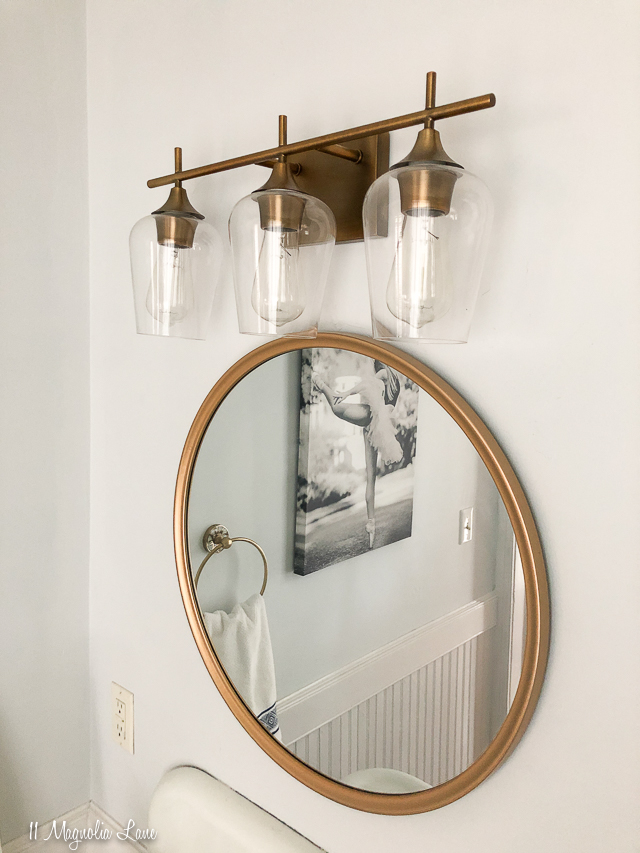
I started the flooring project but didn’t finish it until after the plumber came in to do his part since I wasn’t sure if we’d need to move any water lines around–you just never know with old houses!
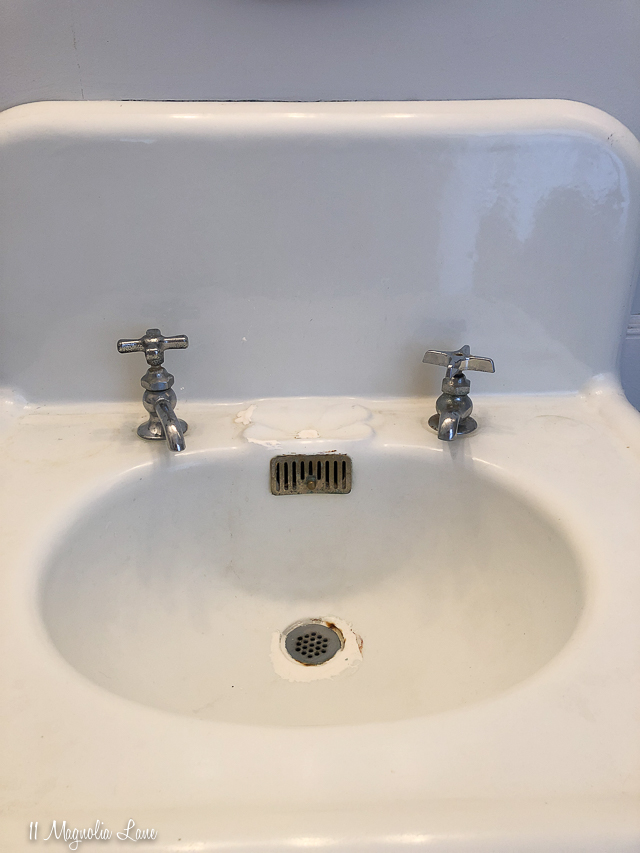
Speaking of which, while we can change faucets, my husband and I decided that changing the faucets in a 100+ year old home could turn a huge job with lots of unexpected roadblocks, so we asked the homeowner to bring a plumber in this for this part. I’m so glad we did because it was a much bigger job than we had anticipated, and this way we know it was done correctly (plus, no one died).
Before:
Albert and I were best buddies by the end of his 8-hour visit to our house!
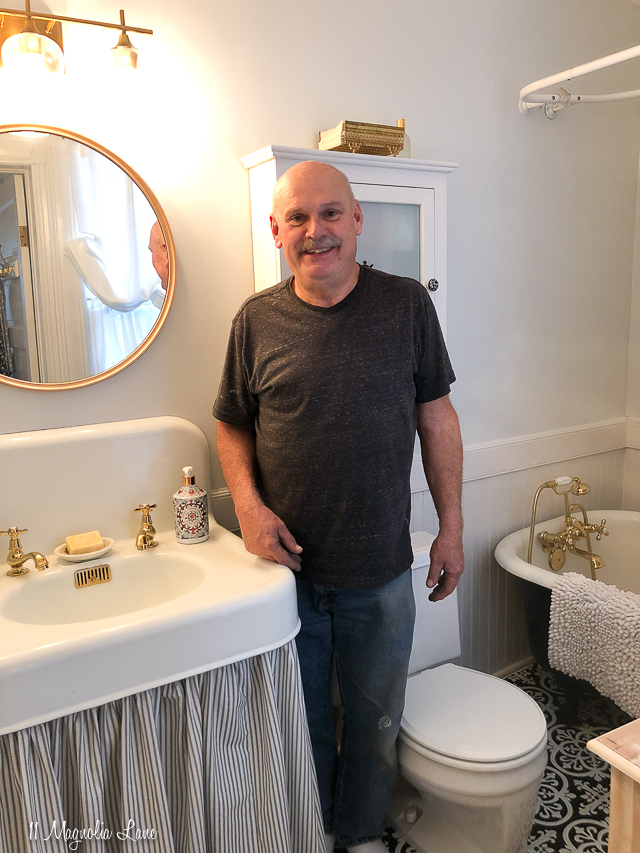
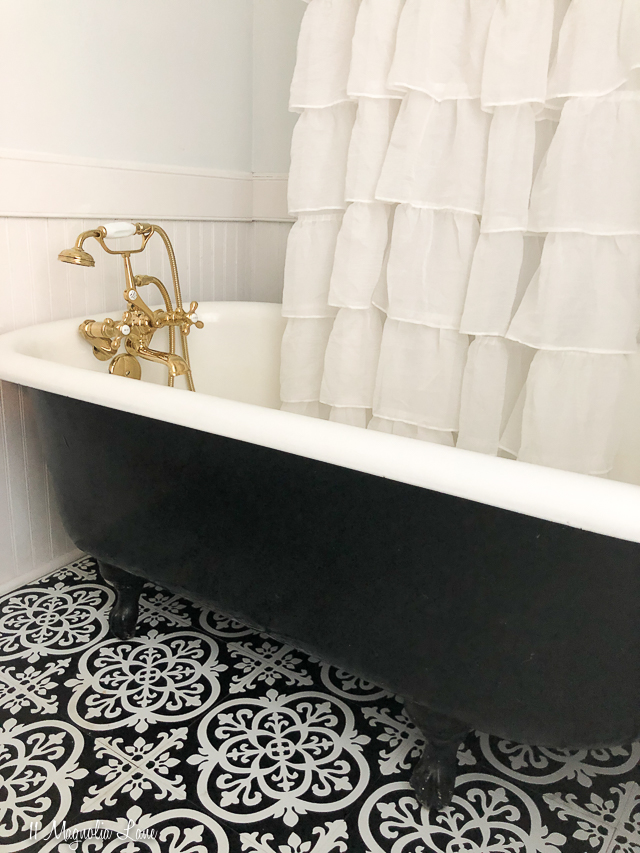
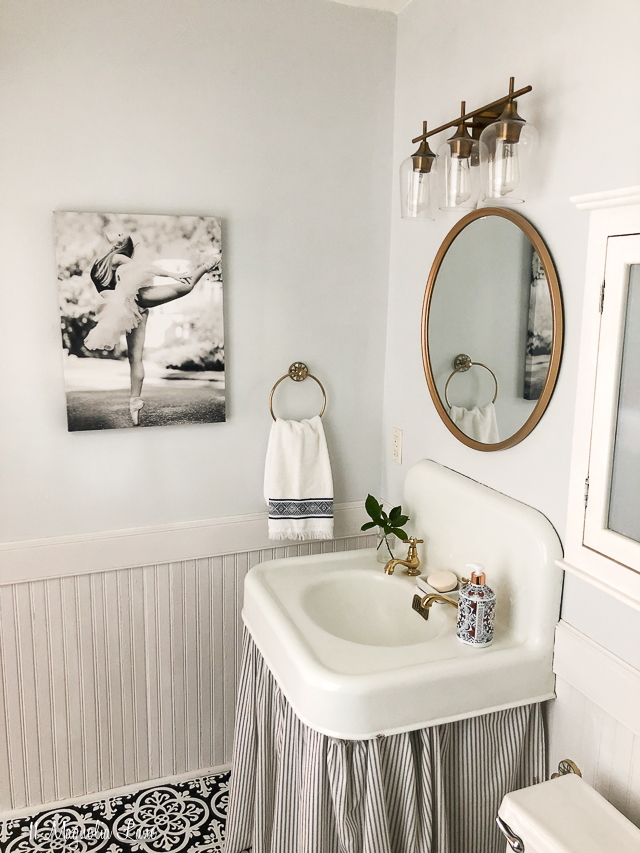
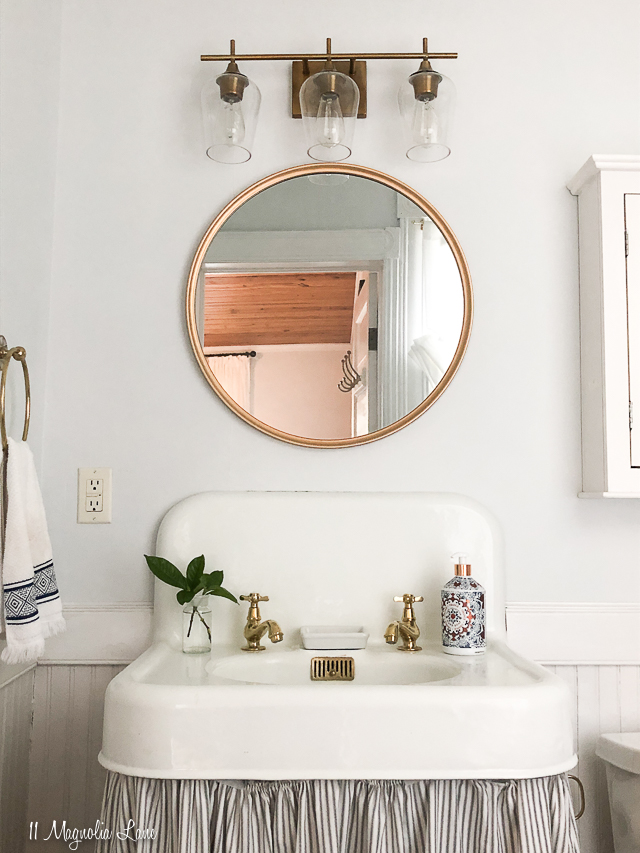
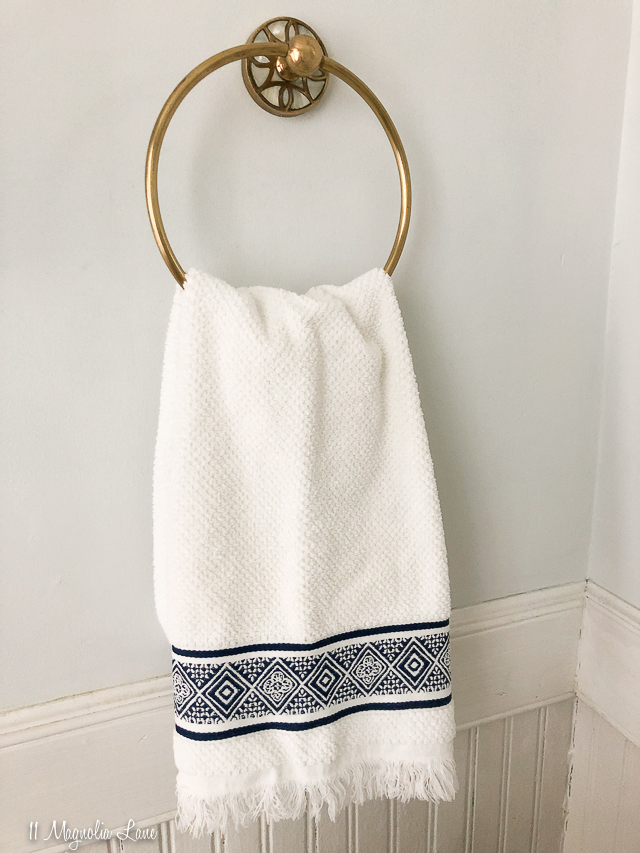
I was so glad I chose brass for the finish; it really pops against all the black and white:
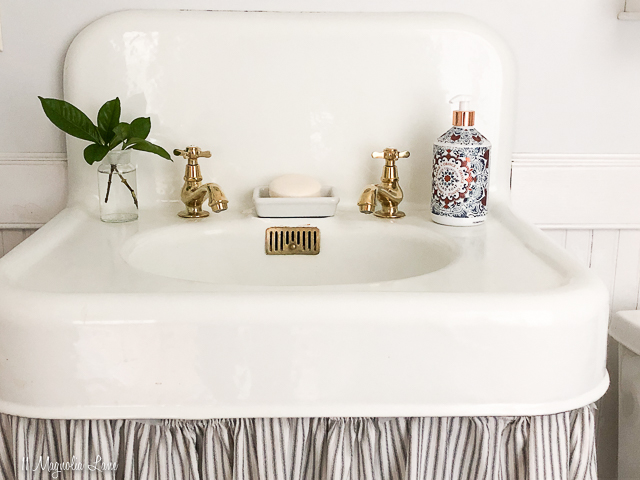
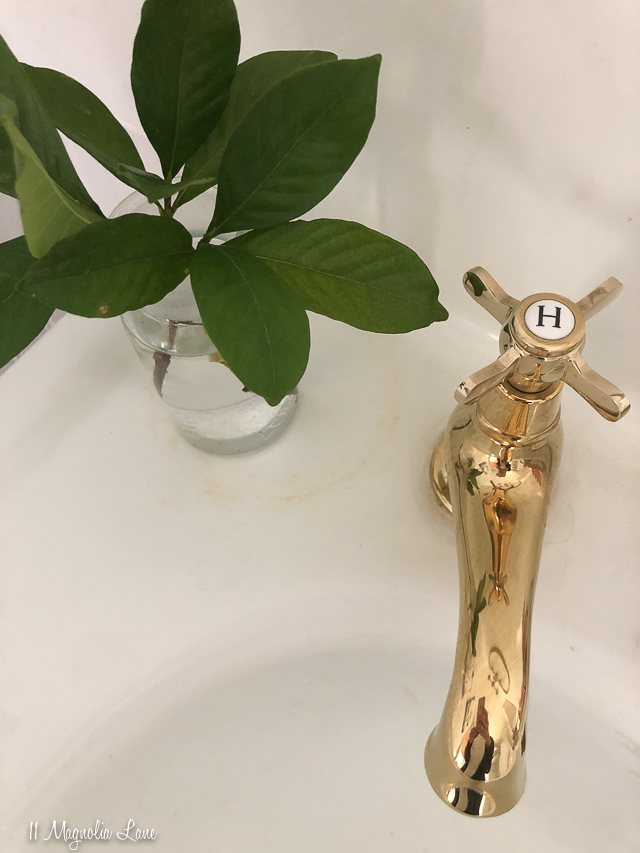
The shower was also chrome before it got its facelift.
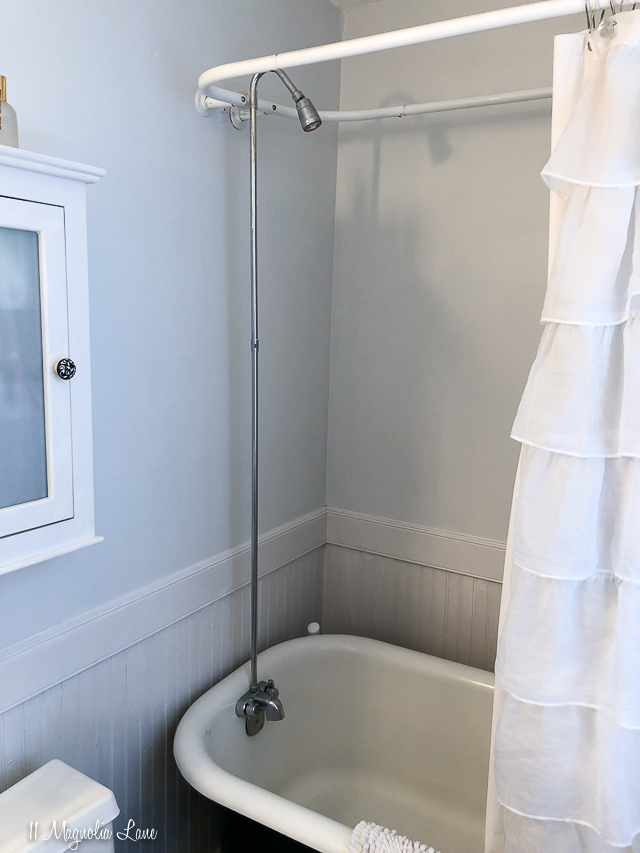
The brass shower is gorgeous.
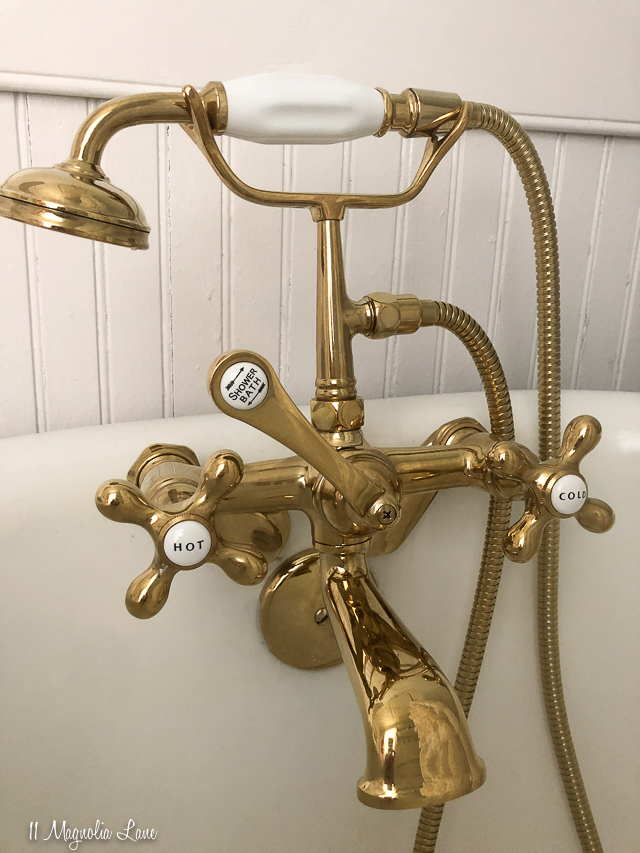
Unfortunately, the shower fixture I selected originally was discontinued before we began work (it included a beautiful rain head shower) and there aren’t that many brass fixtures for vintage claw-foot tubs–shocker!–so we opted for this set instead. I was able to find a clamp that goes on the brass shower curtain ring that holds the hand shower in place as an American-style shower, so that fixed the problem.
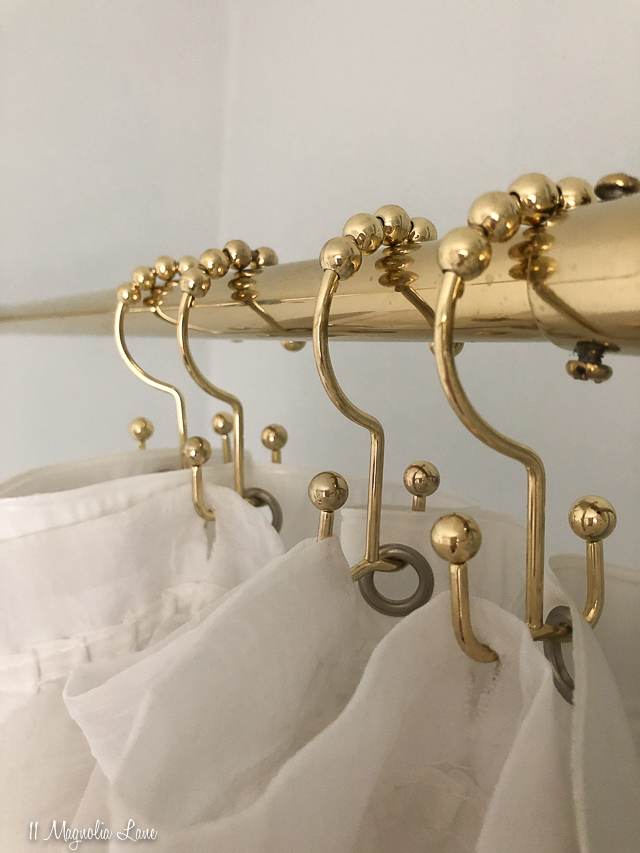
My long-suffering husband installed the new brass shower curtain ring.
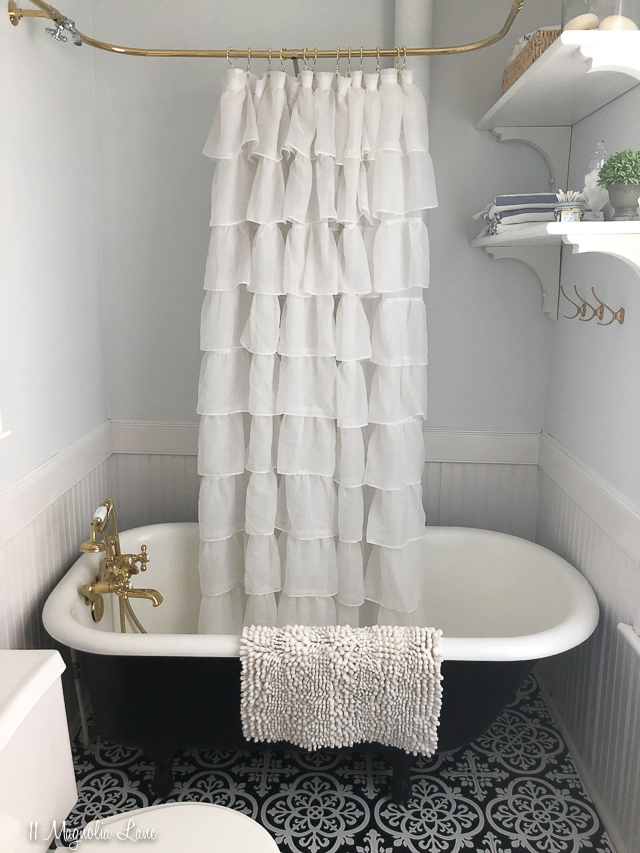
The next step was to finish the floor. I plan to write a separate post about that, but it was a super-easy installation compared to the other DIY projects I’ve tackled over the years!
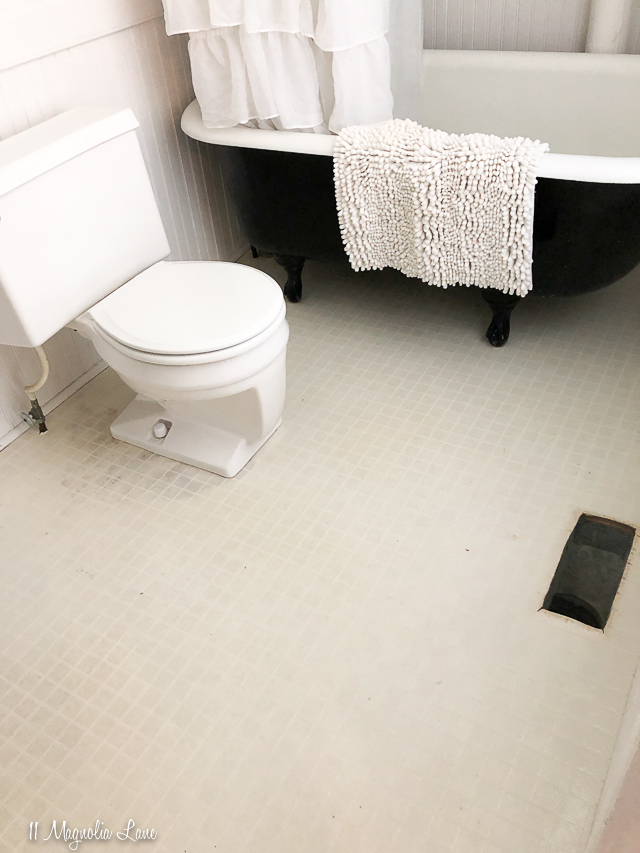
As a reminder, here’s where we started:
I think the new floor made the biggest difference in the space:
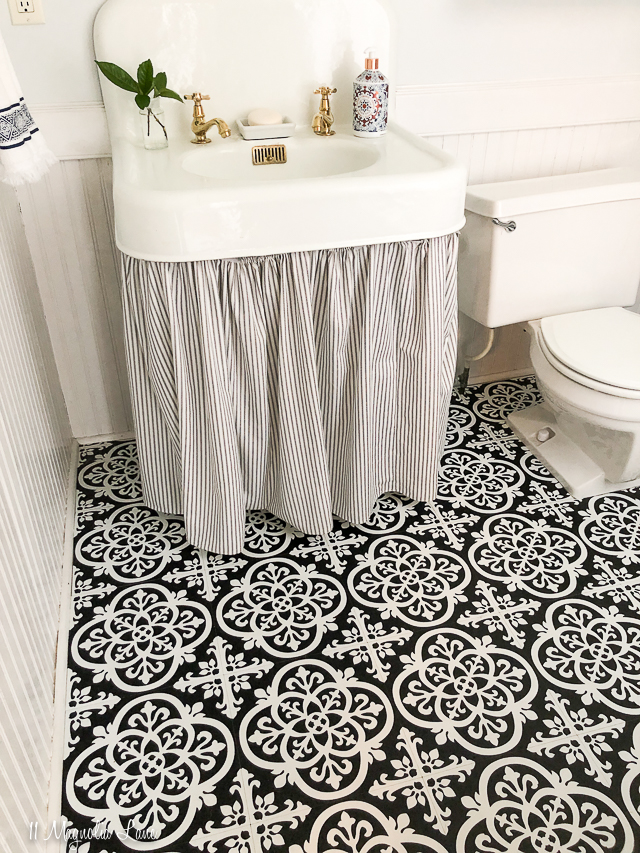
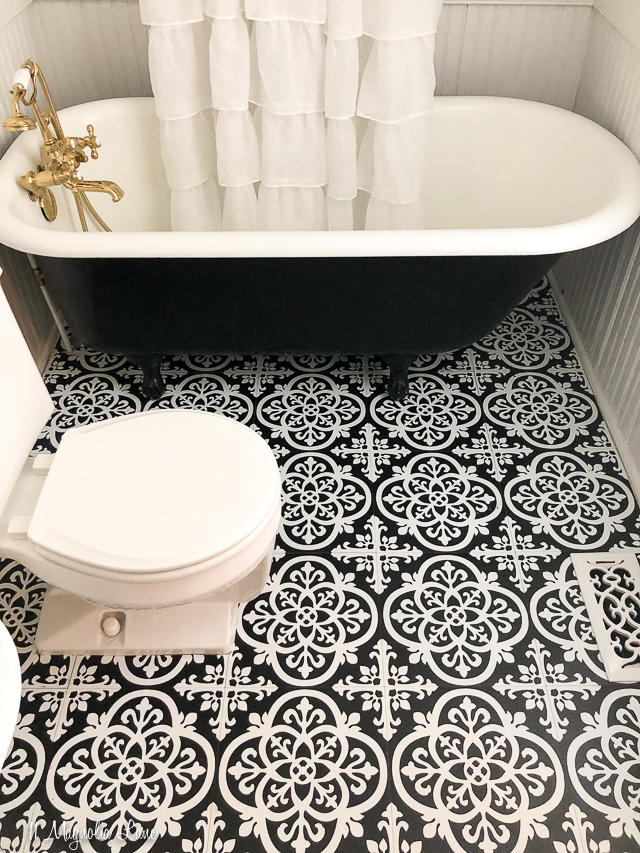
I love the new floor so much that I barely complained when I had to sew another sink skirt that didn’t clash with it!
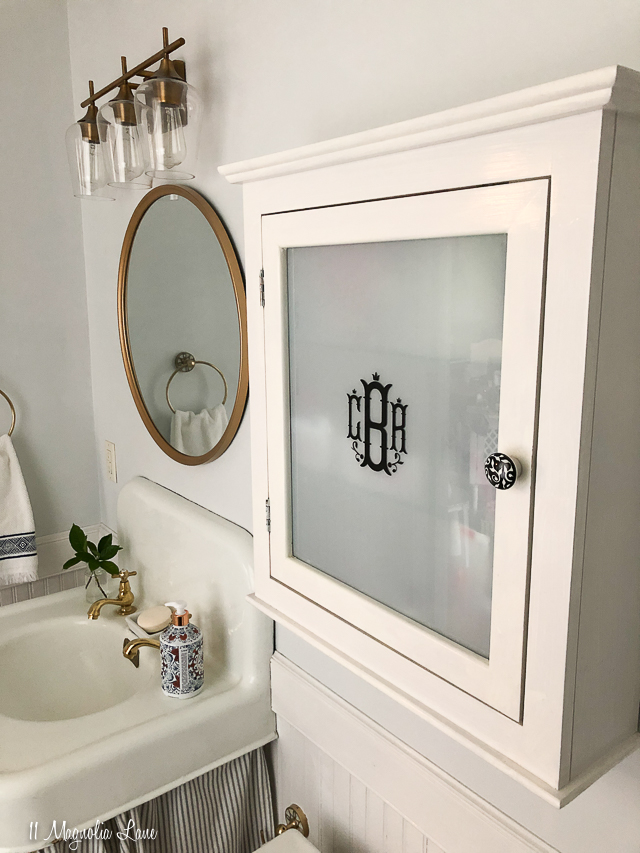
We’re all thrilled with how this room turned out; I think it highlights the vintage fixtures but also gives them a nice update.
As promised, here are my sources, and please let me know if you have any questions!


