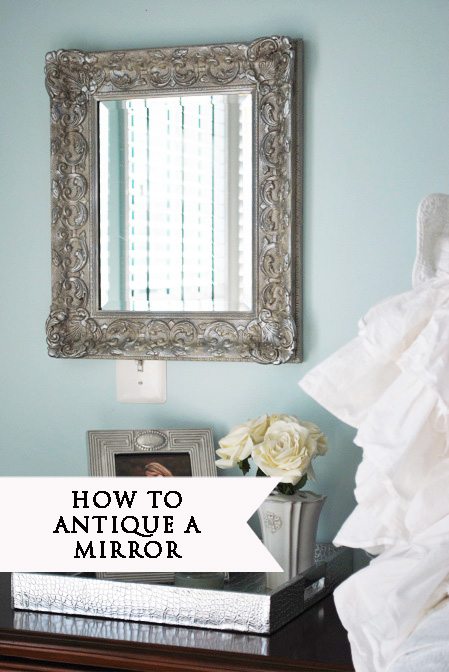
I picked up this pretty little mirror last Fall at an auction. I originally intended on incorporating it in some way in my daughter’s room due to its charming size. But, things happen and it has a new life now.
Here is the “Before”…
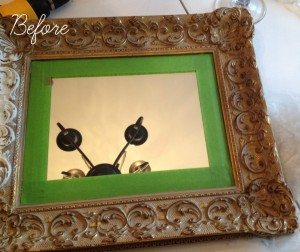
You can see the beginnings of the white chalk paint on the top left side, I started painting it white as I was thinking it would go in a little girl’s room. Then as it sat for awhile my plans changed and I decided I wanted to go a different direction with my little mirror. Before I get into the how-I-did-it, here is the immediate gratification “AFTER” shot:
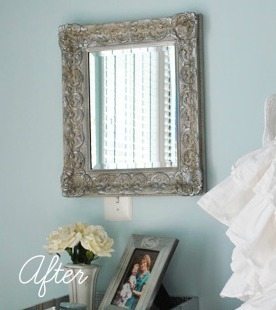
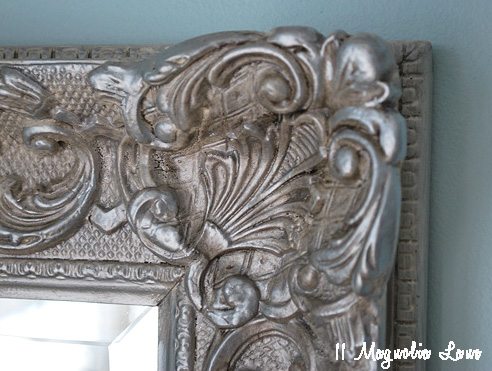
In hindsight, I wish I had never gone the chalk paint route first, while I didn’t love the brassy finish I started with, I think I could have gone more gold with it had I not started with the matte white base –sorry I don’t have a picture of that stage. However, the detail on the mirror is amazing, and it was interesting to develop a process to obtain this sparkly/silvery end result. I think the mirror definitely has an “antique” vibe now. It probably is actually an antique and I am sure some of you are rolling over that I actually painted it {Mom!} but I do like it much better now.
The processed I followed used the Precious Metals Titanium Premium Leafing Finish and the Antiquing Glaze. It’s relatively inexpensive, and a little went a long way with this project. EDIT: This seems to not be available currently so I would recommend the Titanium color instead or I would substitute Modern Masters Metallic Silver Paint which you can get HERE.
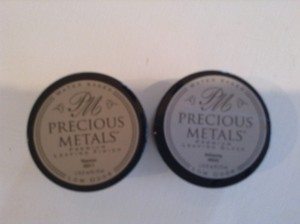
So, here is the mirror during the process. I applied the silver leaf with a foam brush, and I did two coats of it.
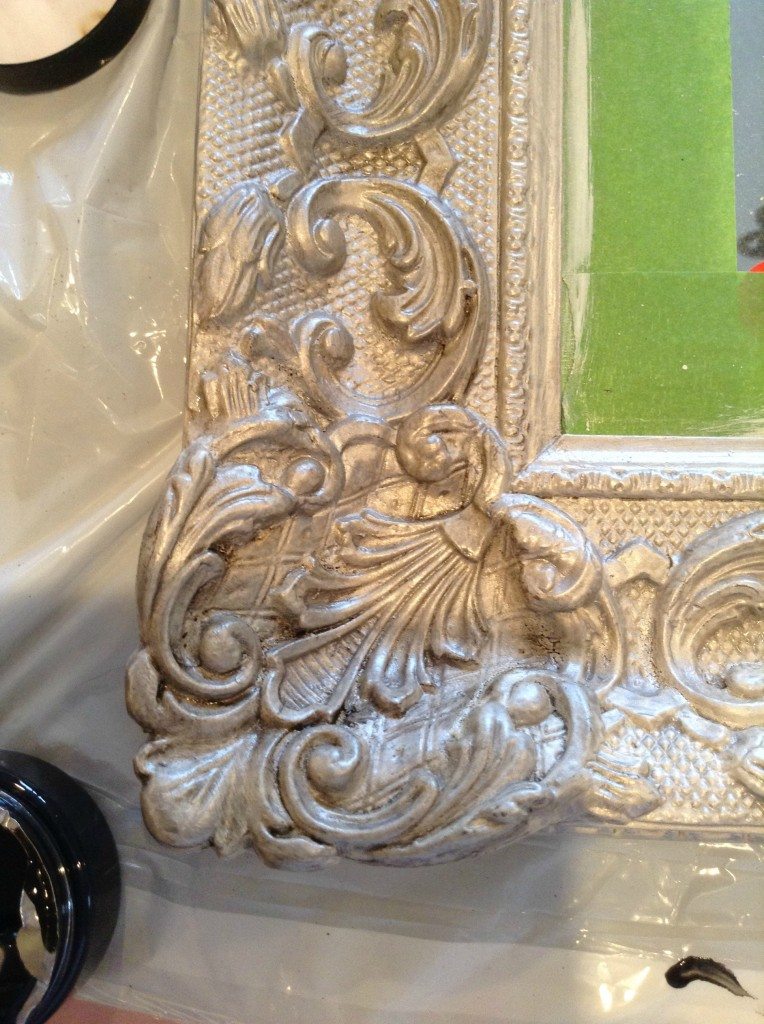
I followed with the Antique Glaze. That is a dark glaze, that filled in all the crevices and gave it a very old feel. All in all, each of these steps took just a few minutes.
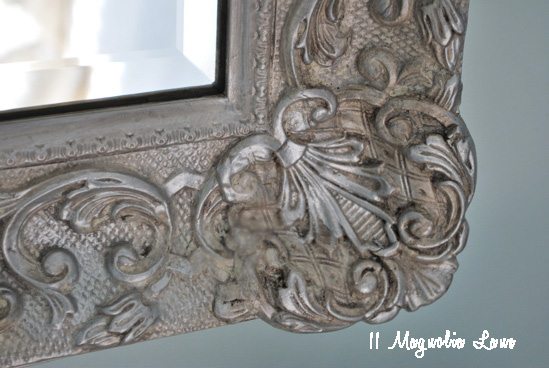
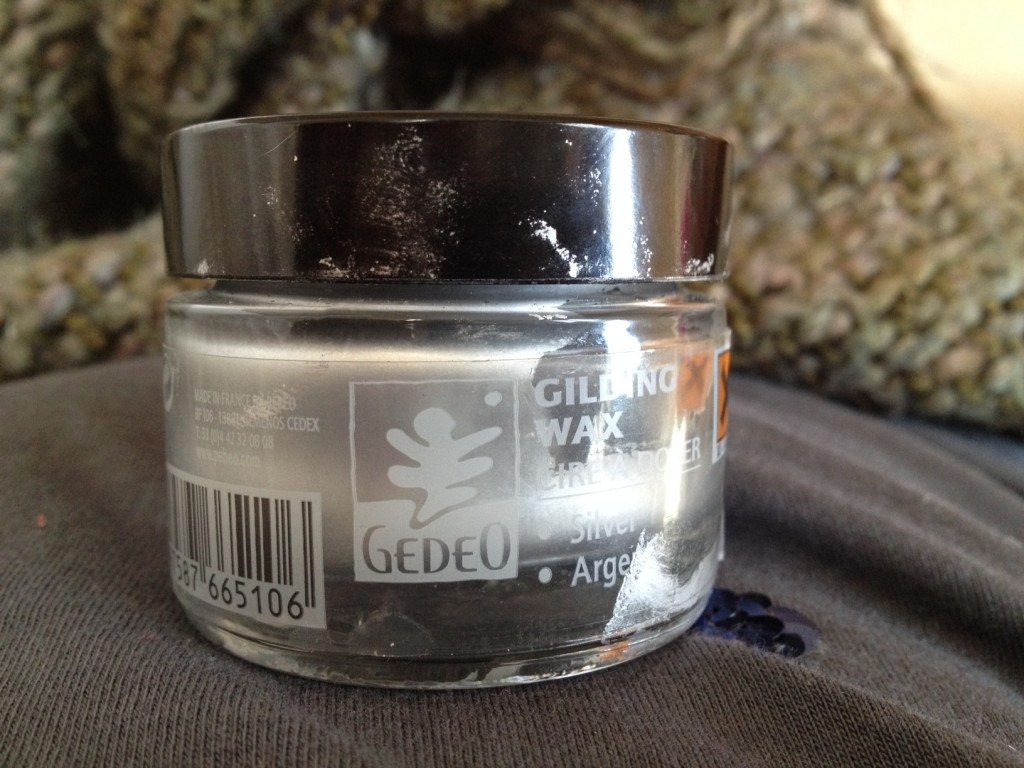
Then I finished the piece with a little extra “something”. I used the same French Gilding Wax I used on the gorgeous white mirror shown HERE, and just highlighting the parts I wanted to accent on the mirror. {See the matte silver around the edge of the corner below? That comes from the gilding wax). I got it from a store here in our town , it feels like mousse and you just wipe it on with your finger. It’s a very cool product for giving some thing a little extra depth and sparkle but if you can’t get it I think the process still will work well.
For now, the mirror is a perfect accent in our guest room. The pillows, by the way, are “Sweet and Dreams” and are a favorite find. I have tried to source them to share with you all, to no avail. If anyone really needs to know, leave a comment and I will try to track down the store information.
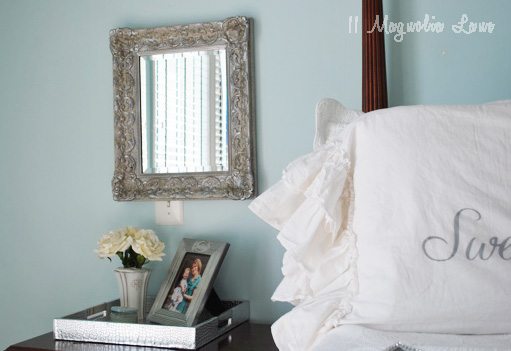
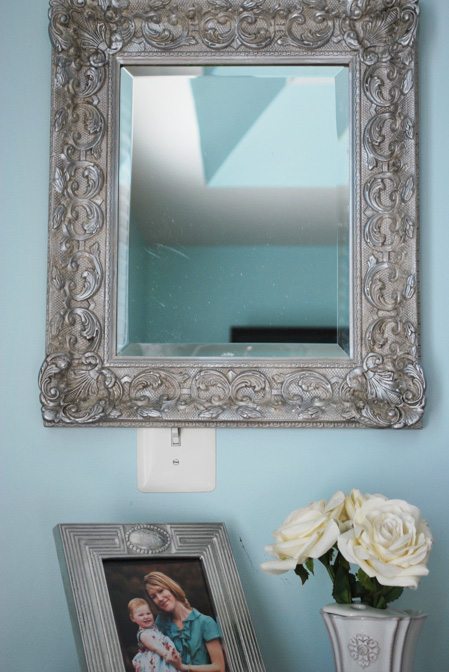
Oh, and I know that light switch is crazy, forgive me, we are weeks away from moving. I would never have hung it that way permanently but we can live with it for a short time so we don’t have to put another hole in the wall.
If you have any questions, please leave them in the comments and I will do my best to answer them. Hope you all have a wonderful weekend!
{See our New Home Tour HERE and our new guest room with this mirror again HERE}
Thanks for stopping by!

