This post is sponsored by HomeRight. All opinions are 100% mine.

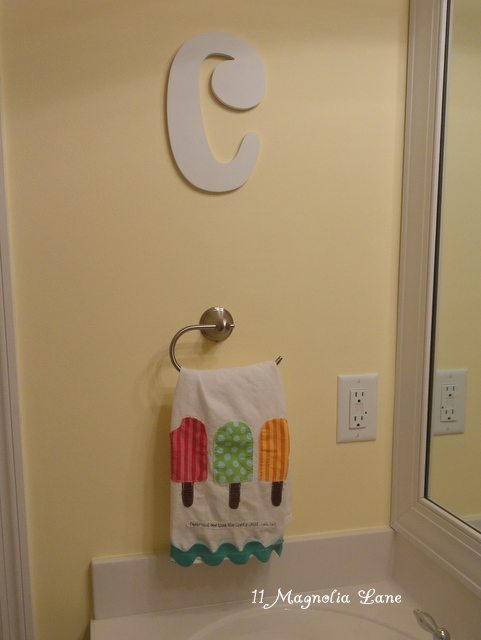
OK, so as you know we are currently living in military housing, which means that we can’t do anything permanent to improve our house (see my home tour for this house here). But that doesn’t mean that it can’t look great–in fact, there are TONS of things that renters can do to make things pretty and homey. I wrote a huge post on decorating ideas for renters {here}, and another one on customizing a small bathroom/powder room {here}.
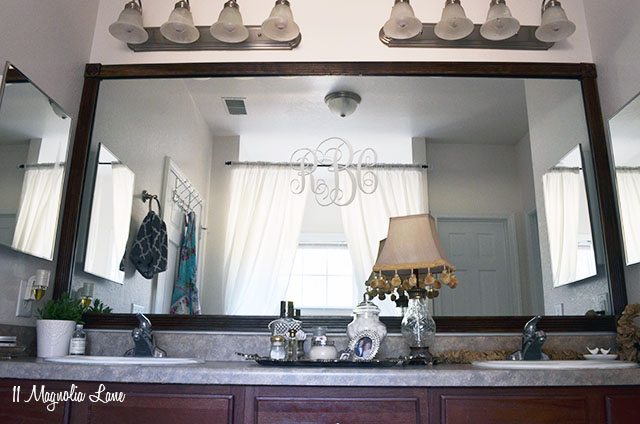
Today I’ll show you how I trimmed the GIANT mirror in our master bathroom–and it’s temporary so I can easily pull it down when we move. It was also under $40–score!
Here’s what it looked like before:

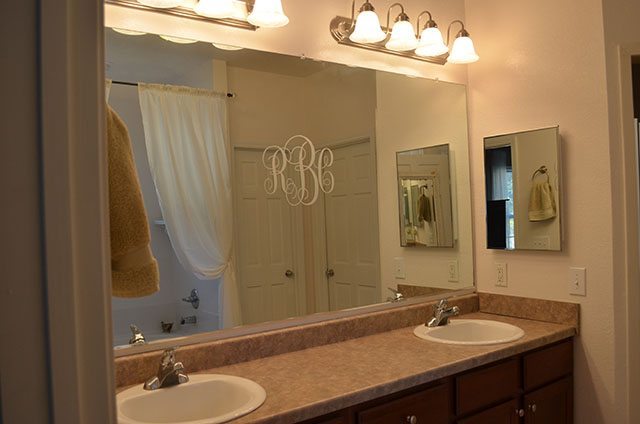
I am not a fan of HUGE mirrors. If we owned this house, I would pull it down and hang two framed mirrors (and I would use the mirror behind my daughter’s ballet barre). Since that’s a moot point, I decided to use trim to frame it out. Lots of people have done this project before, even me, back in the kids’ bathroom in our Nashville house:

For this project, I used a little bit of glue (from a hot glue gun, since it scrapes away so easily), and ONE NAIL!
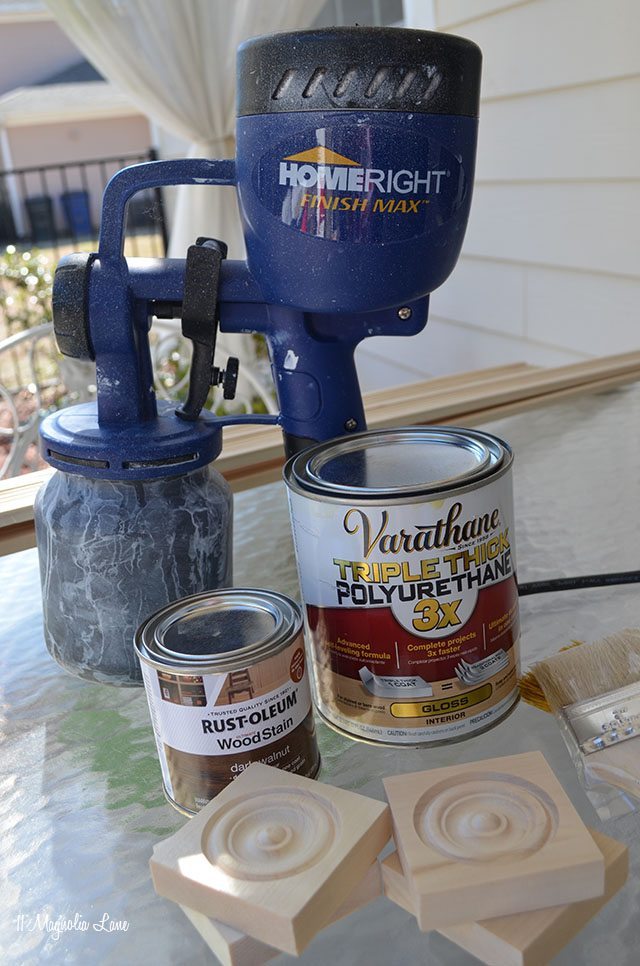
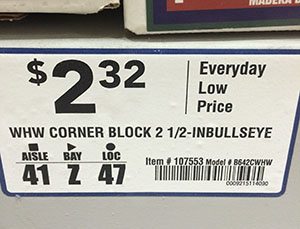
After measuring my mirror (twice!) to see how big it was, I headed to the store to buy trim. This time, I opted to buy the no-miter corners. Here are my supplies:
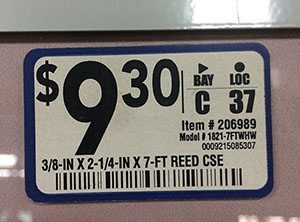
I shopped at Lowe’s this time. Here’s the molding that I purchased:


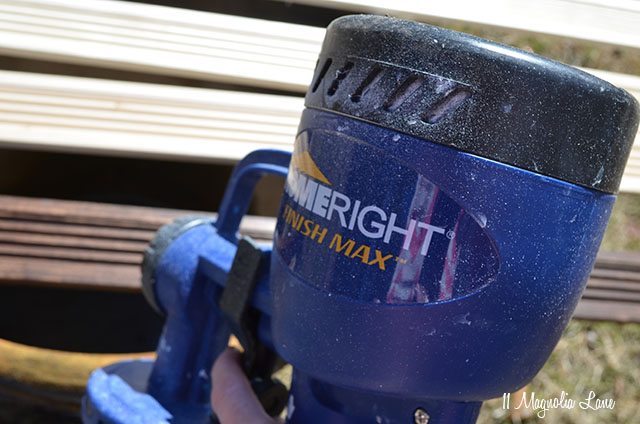
I applied one coat of stain and then wiped it off after a couple of minutes. It dried in under an hour and then I used a brush to apply a single coat of polyurethane. Don’t forget that you need to stain the back of the trim when you’re placing it on a mirror; otherwise you will be able to see the unfinished wood in the mirror’s reflection!
This is an oil-based stain, so I cleaned my sprayer with mineral spirits; you could certainly use a water-based stain and then you would only need to use soap and water to clean up.
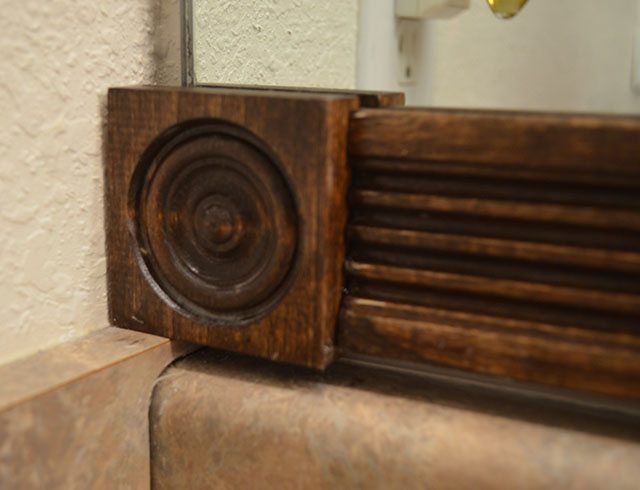
I used a dab of hot glue on the backs of the corners, and cut the bottom length of trim so that it fit snugly. I cut it so well (yay, me!) that I didn’t even need glue to hold it in place. (You can see that the corner piece is just a hair wider than the trim in this photo)
The two side pieces were next, and again, I just used a touch of hot glue between the trim and the mirror:
The top piece was where I had to use the ONE NAIL. I put it right in the center to hold the trim in place; thinking that gravity would probably defeat hot glue in this case. 🙂 If your trim is particularly thick, you should drill a guide hole for your finish nail so that you don’t split your molding–that is SO frustrating!
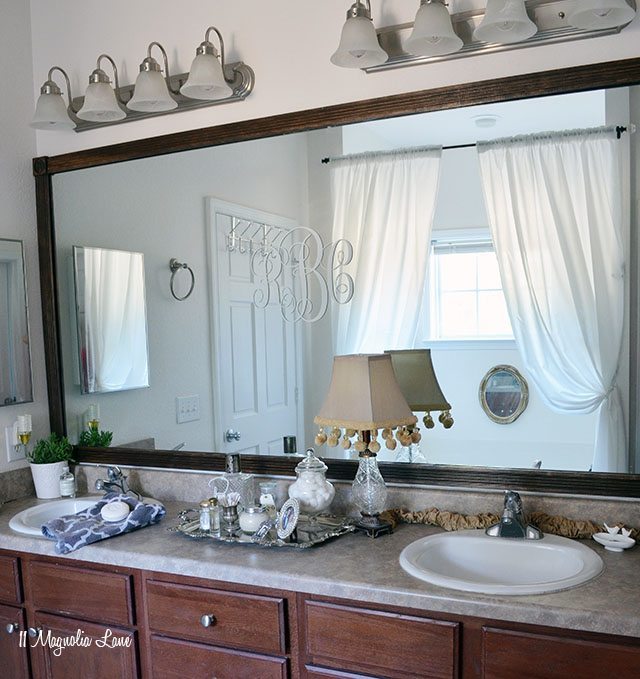
I love the way this finishes the room, and when it’s time to move, it will be easy to take a razor blade and just pop the dried glue off the mirror. The vinyl monogram is another thing I added to break up the vast expanse of this mirror, they’re available in our Etsy shop {here} and I wrote a post about it {here}. It’s obviously completely removable/reversible, too.
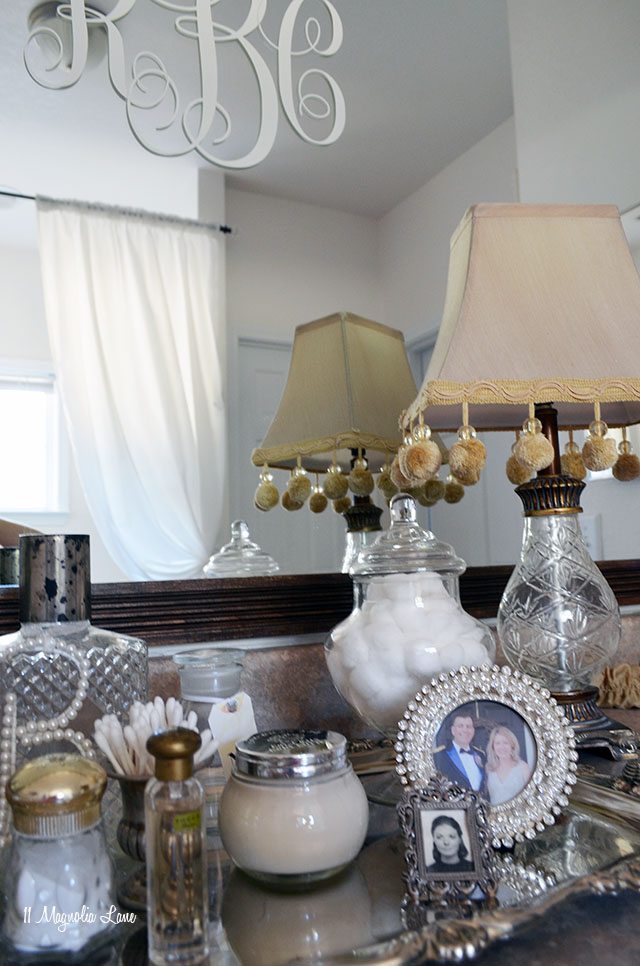
You might also have noticed in the mirror’s reflection that I used a curtain rod and plain white curtain panels in front of the soaking tub; I think it finishes the room nicely, and again, I can just take it down when it’s time to move.
Now, as promised, here’s our giveaway for a HomeRight FinishMax Fine Finish Sprayer. As you get to the entry options, don’t forget that if you’re already doing one of the options (say, you already follow us on Instagram or are subscribed to our emails), then you get a free entry for that, so be sure to click on it. Good luck!
••••••
Disclaimer: We are proud HomeRight Brand Ambassadors, and every month they give me a product to try and give away. All opinions are 100% mine. Also, some of the links in this post are affiliate links. If you purchase through these links, we will earn a small commission, but you don’t pay a penny more!
••••••
{Linking up to: 2 Bees in a Pod}
Thanks for stopping by!


Never underestimate the power of fabric: garlands, pillows, curtains, throws, etc. They can bring in easy color!
It’s looks amazing! Great idea for a beautiful temporary fix!
Debbie
It looks amazing! I may just have to try this soon!
Looks great! Wonderful idea for renters.
I just talked to That Man about all the extra moulding we have left over from the house build – guess I’m going to put some of it to use in the guest bath!
Colorful throw pillows make such a difference!
Love this idea. I have this same GIGANTIC mirror in my master bathroom. My husband might have a heart attack if I told him I wanted him to take it down. This is so easy. I’m going to do it! I use a paint sprayer that I hook up to my air compressor, and it’s great for big projects, but it is a process to get it all hooked up and ready to go. I really like this FinishMax. It looks so easy to use!!
I have done this but instead of hot glue I used the 3M command strips. It worked great.
Have you used other sprayers as well? Do you swear by this one? I have been looking for a sprayer for months and I just can’t seem the bite the bullet. As soon as I’m about to I find some awful reviews and then I get cold feet again!
Fabric – wall hangings, large “art”, pillows, bedspreads, etc… can make a huge difference
Fabric, as mentioned already. Colorful throws, hand made quilts, hanging fabric on the wall!
Thank you for always being so dang creative!! I love this!!
Now you’re making me blush! 🙂
What a great giveaway! Thanks!
Aaaahhh yes! I remember our military housing days! My tip for decorating rentals is use lots of command strips to hang stuff and use lots of pillows and decor to add color to the vast sea of white! 😉
That made me laugh because I think I keep the 3M Company in business with those Command strips! 🙂
FABRIC! It transforms everything. Even can be used to cover walls using either staples or Command strips to hold in place. 🙂
Since I’ve never lived in a rental, I don’t know. But, I can speculate that vinyl wall decorations, words, graphics for kids rooms or embellishments can be a good thing to use for decorating a rental. Thanks for a great giveaway!
I’d have to say FABRIC is the best decor choice for renters. From creating color and textures in every room, wallpapering walls, creating rugs via painted drop cloths, etc.
I need to do this in our master bath… I’ve been wanting to but
wasn’t sure how I was going to attach it so it could easily be removed.
Thanks!
I definitely need to do this in our bathroom! We rent and it could use some zhooshing!
Very creative idea. Looks beautiful too!!
Greetings Christy,
Although we are not military, we are renters! I totally love the idea of framing the bathroom mirror.
We have two bathrooms in our home, and they both could use a facelift [makeover].
So I proposed this brilliant idea to Mr., and Mr. replies, “this is not our home sweetie! We are not going to beautify someone else’s home, and then move out!”
To this I reply, “I understand that we are not homeowner’s,but we very well live here, and we pay rent here, and yes my love, we will beautify whichever home we live in, rented or own. Plus guess what honey? Christy @11magnolialane has made it very easy for us because when we move we just take it with us! It’s that simple!
I then proceeded to cook for him his favorite rice & beans and cubed steak with lots of onions and peppers, I prepared a tall glass of my special homemade Chamomile/Lemon ice tea, and homemade Flan, and I kid you not …45 minutes later we were at Lowe’s purchasing the wood trim for our upcoming DIY bathroom mirror frame! Works like a charm!
Christy, thank you for sharing such amazing ideas, and for letting me into your home!
Blessings!
Yolanda–I just love this story! Sounds like it worked out to be a win – win for you and Mr.!
i have only used existing nails, for everything else I use clear posh pins and the work great.
Love this idea! I definitely think it is such an affordable update for the drama and polished look it can add to a space. Well done!!
pillows and curtains! they can really personalize your space without doing anything permanent.
Christy, what a SCHWEET idea! I like it! When I first saw the post title I thought you would be hot gluing 2 large frames to the face of the mirror. I like this idea better! Good plan on the hot glue… I thought of Command strips but no place to put them. The HomeRight sprayer sure made things fast and so professional!! Can you (or would you want to) use the HomeRight sprayer for the poly finish? Did you have to sand after the poly or just call it good? Thanks for the giveaway opportunity and happy creating!!
~ Christina
Yes, you can use clearcoat polyurethane in the sprayer. And you do not need to sand between coats.
Glad you like the project. Command strips were definitely something I considered, but I didn’t think they would hold. They are so handy, though!
Christy
I too use command strips.
Command Strips, throw rugs, and pillows.
I lived in rentals for years. My favorite tip is fabric! You can make big wall coverings so easily with fabric – totally changes the look of your place and makes it less cream/white rental looking!
I am so impressed! Seriously! It looks great. When we rented my biggest thing was only buying furniture that could be used anywhere and that was super versatile. Also, I always checked the dumpster in our apartment compex- ha! Renters throw so much stuff away! I got an awesome almost new red sofa, in perfect condition. That was the best find, but I also found an antique dresser, 4 dining room chairs, and countless other things. ha ha ha
What a difference? Love the addition. The monogram looks fab and now the room looks complete with the wooden frame! Pinning. xx, b
Curtains, modern but simple line decor and vibrant pillows.
I keep meaning to try those command strips and be dogged if I can remember to buy any…that’s it…I added them to my shopping list just now. MAYBE I will finally get some. 🙂 You always impress me so much!!!
You’re so kind, Doris. Thank you!
I love how easy and simple this is. Did you take off those plastic things that “hold” the mirror up before you glued the wood trim down?
Thanks for reminding me about that–I did take them off. There were only three at the top, and I checked to be sure that the mirror was securely glued to the wall before I proceeded.
I love this! And I love that it is removable. We are a military family too, although we chose not to live on base. It’s been less than an week since we moved the 700+ miles from Florida to Texas and I’ve been staring a hating our huge mirror everyday since. This is definitely on my to do list. Thanks for sharing the removable way.
I feel ya, Cat. Good luck with the boxes! This is actually the first time we’ve lived on post–the houses are meh but the friends can’t be beat. 🙂
This is awesome!! I’m looking for a way to fix up our guest bath, and we have the ugly plain builders grade mirror, too. This is the perfect way to spruce it up! Pinned!
Hi! I stumbled onto this post as I was looking for a way to build out a mirror but not glue it there permanently since it’s just a temporary fix until we can afford to do a major remodel in the bathroom. since this was 4 years ago, can you comment on how it’s held up with gravity/steam over time? Is it still up without issue?
Gretchen, I wish I could help but we moved away from that house in 2015. We’re military and move every two years at a minimum. My best guess is that if you’re using it as a temporary fix that it will work well for you before you can do your big remodel.
Good luck!
Christy
Thanks for writing this great article for us. I have gained good stuff from this website. Looking forward to your next article. I am happy to share this post to my friends. Keep it u