First off, I have seen this idea and can’t remember where so I don’t want to pass this off as exclusively my idea. Thanks to Pinterest there really aren’t original ideas anymore, right? Regardless, I am so pleased by the results of this easy project I had to share it.
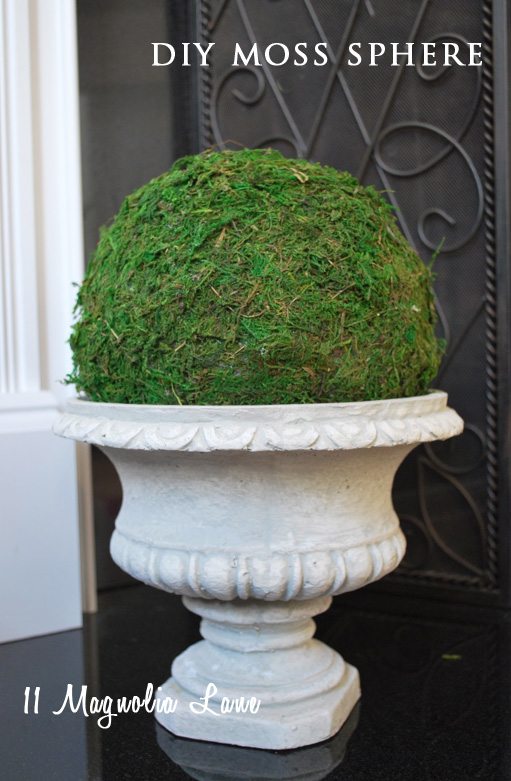
I have had this little concrete urn for awhile now. If I recall correctly, it was a Homegoods find that Christy graciously let me claim as my own {or maybe I snatched it from her hands? I can’t exactly remember… 🙂 } .
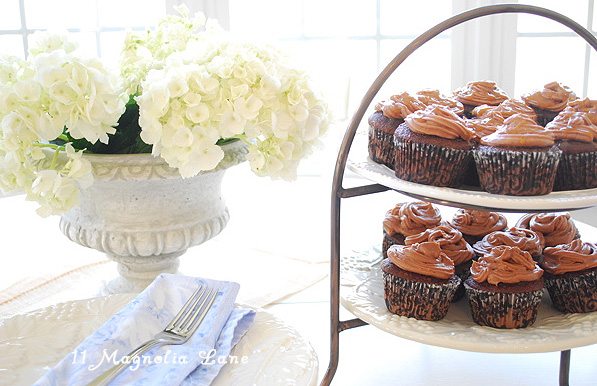
I use it in various ways in my decor…like with this tablescape…{the best cupcake recipe ever is in that post, just FYI}
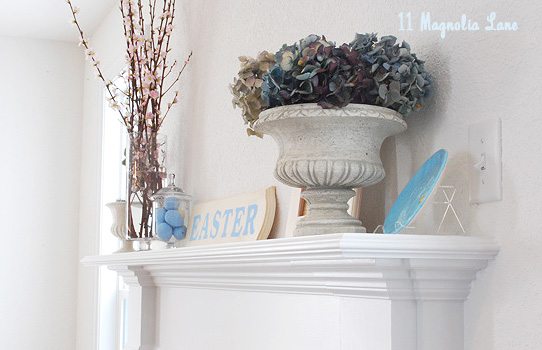
Or in various decor on my mantel…
But recently it occurred to me that it would be the perfect base for a rustic but yet natural moss sphere. It seems very Restoration Hardware to me {maybe that is where I saw something similar?}.
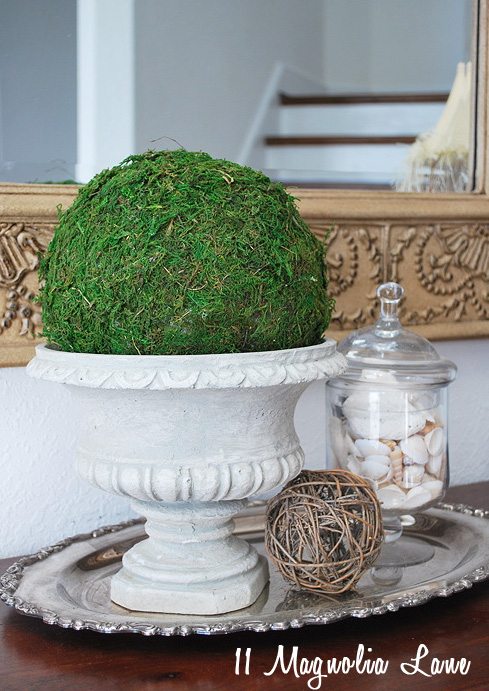
Here are the simple steps I used to make this.
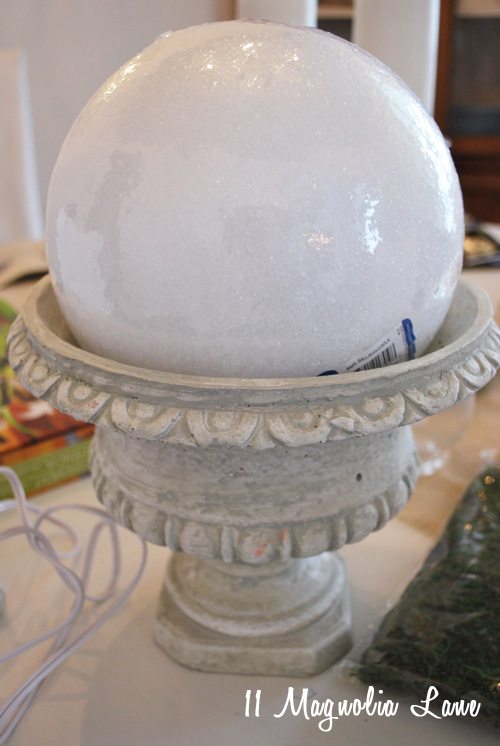
I purchased a styrofoam ball in the right diameter to rest in the urn from Michaels. I didn’t do this, but you may want to paint the styrofoam green first so the white doesn’t show through if you are a true perfectionist, obviously I am not!
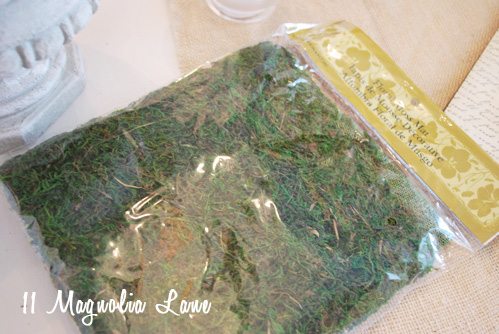
I used this moss, the kind in sheets, to cover the foam. I actually think using regular loose faux moss would have been easier, though probably even messier. I would suggest laying out a trash bag underneath your work area as the moss gets everywhere!
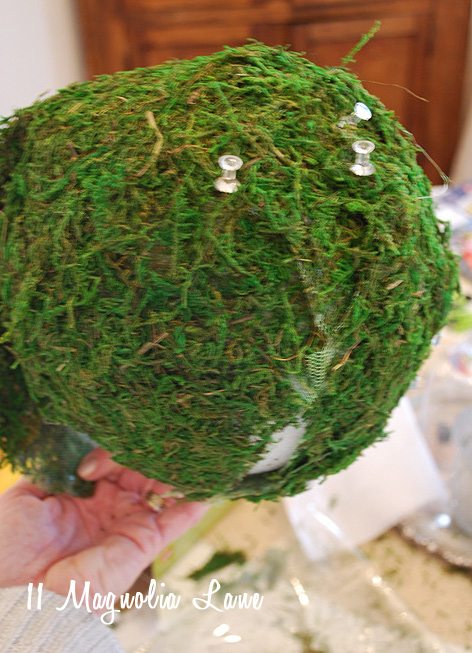
Start by wrapping the ball with a large piece of the moss. A hot glue gun is key to this project, I used a lot of glue and it didn’t, as I feared, melt the styrofoam. The moss adhered very quickly. I used a few pins and tacks to hold it on while it was drying just to help it hold.
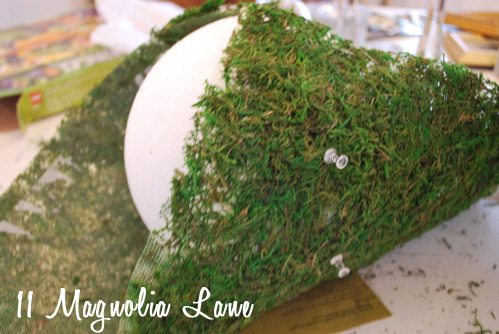
The only tricky part was adjusting the flat moss to the round ball as you work your way around. I did this by cutting slits in the moss, and sometimes even needed to remove triangular shaped pieces so it would wrap over the ball.
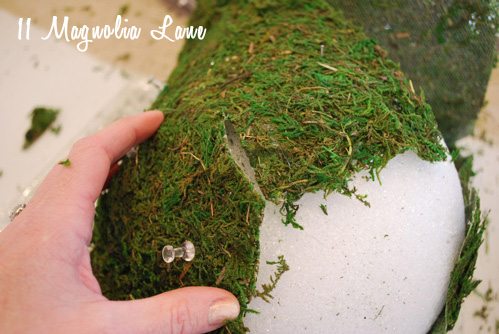
And, then I just used some loose moss to patch up any empty spots left when I was working my way around the ball.
Here it is…all done in our hallway. I like that the greenery helps fills in the empty look that the house has now that the holiday decorations are all packed away.
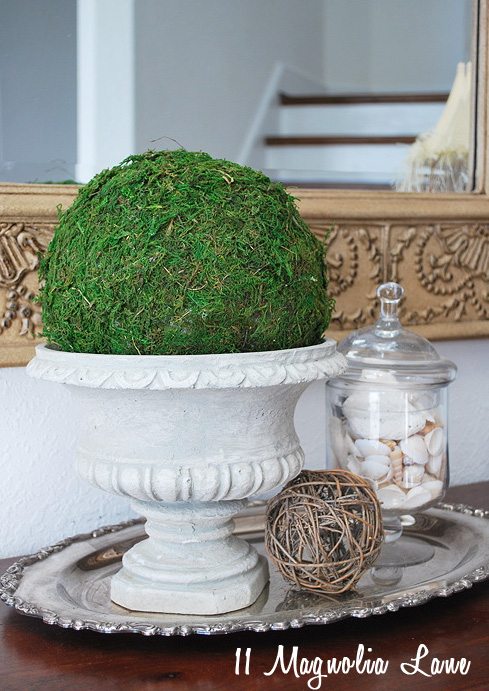
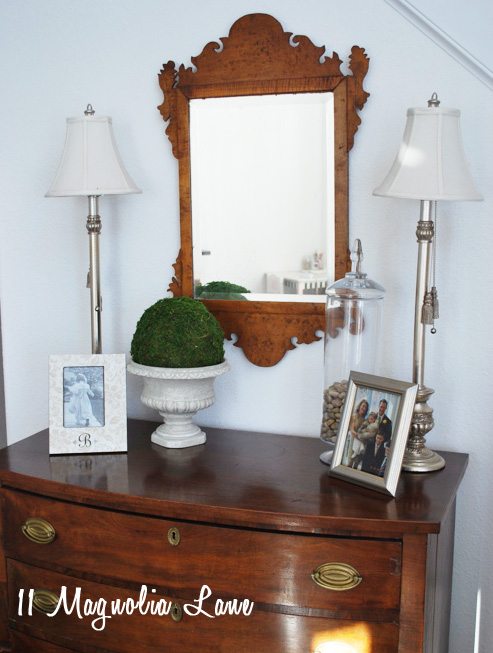
After trying it several places, its now gracing our front hallway with its little bit of {faux} nature. I am on the lookout for a smaller urn to make a small one to go with it next.
You can find the instructions to make the initial frame HERE, and Christy’s tutorial for a moss-covered letter (initial? monogram? you know what I mean!) is HERE.
Thanks for stopping by!
