I’ve been getting crafty these last few weeks more than I’ve been decorating. I’m definitely not complaining, though!
For those of you who have a Silhouette vinyl cutter, I wanted to give you the (very) quick and easy tutorial so you can make your own. If you’re in the market for a Silhouette, they are *awesome* to have during the holidays. Just scroll down to the end of the post for all of the details on the goodies that are included.
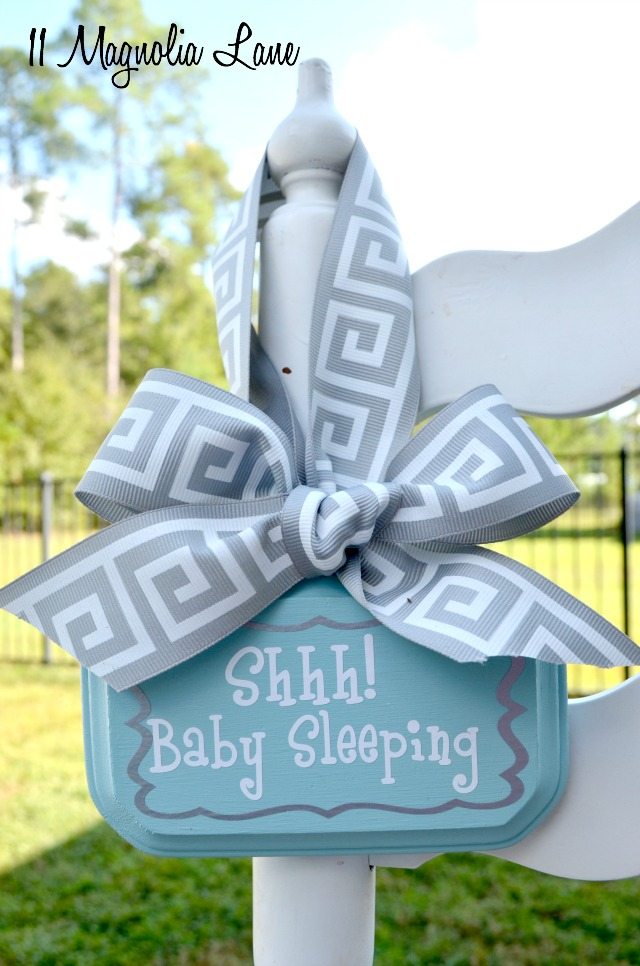
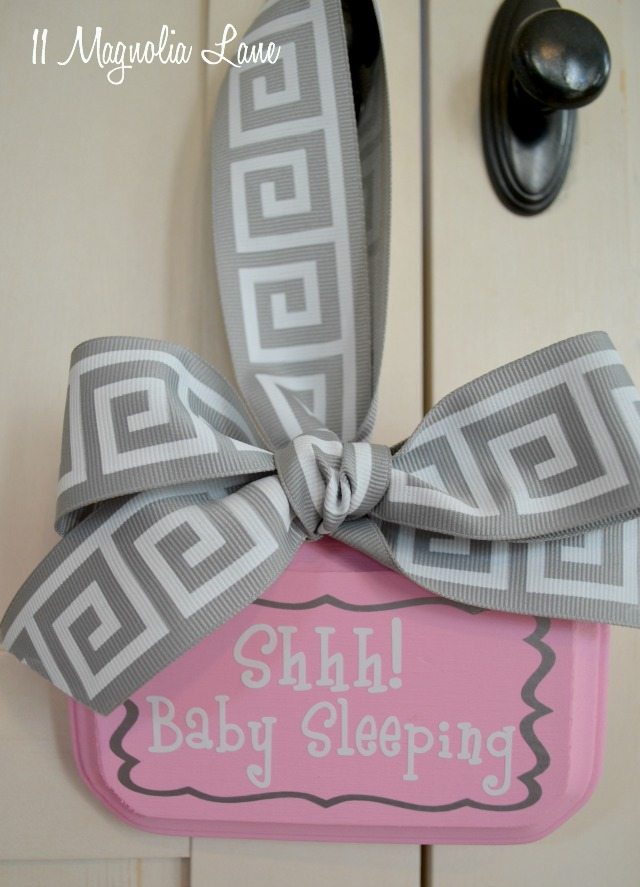
Obviously, you don’t NEED a special sign to hang on your door when the baby’s napping, but isn’t this so much cuter than a sticky note? I love giving these as part of a baby gift–if I’m dropping off a meal to new parents, this is a great little gift to tuck in with the creamy white chicken chili or macaroni and cheese. 🙂 If you have your own vinyl cutter, then these are so inexpensive to make.
Start with a wood plaque from the craft store. Mine measure approximately 5-1/2″ x 3-1/4″ and I’ve found them at all of the craft stores, but the ones at Hobby Lobby come in packs of 4 for $2.99 (before the sale/coupon) and seem to require less sanding than the other ones I’ve used.
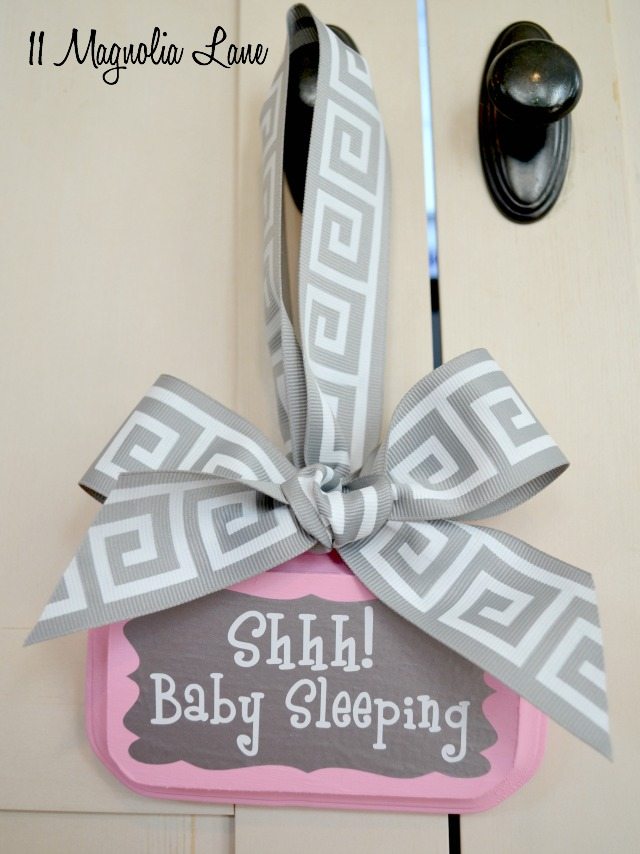
Lightly sand and paint your plaque. The pink that I used is DecoArt Americana Acrylic Paint in Baby Pink and the blue that I used is Folk Art Acrylic Paint in Sky Blue (#465).
Two coats will cover the plaque nicely and you don’t have to prime. (Those are Amazon affiliate links but those paints are only $1 or so at the craft store–I just wanted you to be able to see the bottles and the colors).
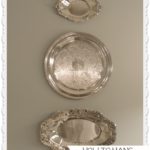
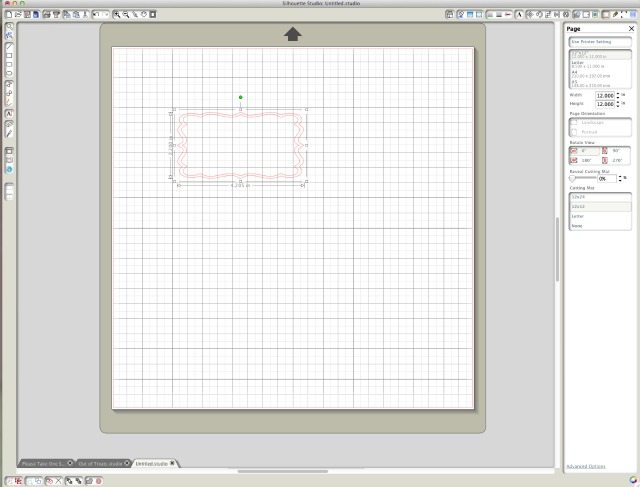
The frame that I used is #2296 in the Silhouette store; it’s a square but I dragged it to measure about 4.2″ x 2.2″ (just measure to be sure your frame will fit inside of your wood plaque). I cut this frame out in silver metallic vinyl (as seen on the blue sign). I used the inside of the frame on the pink sign–how thrifty! By the way, I use this frame for most of my chalkboard labels, including all the ones on the shoe boxes in my closet. You can also ungroup the frame, delete the outer (or inner) line, and then you don’t waste the thin outline if you’re not planning to use it.
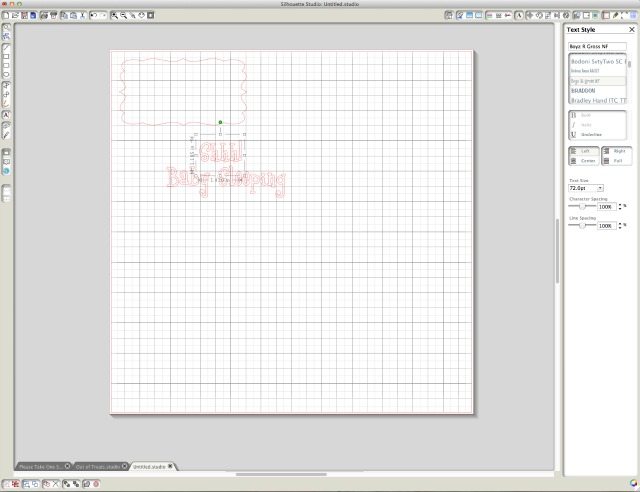
The text is Boyz R Gross font and it’s a free download {here}. I actually use two text boxes so I can put the lines of text close together, and then I make sure they’re centered and group them together. I cut the font out in white vinyl. This is a great project to use all of those tiny scraps of vinyl that accumulate!
I then put a #12 screw eye in the top of the plaque and used a grey Greek key ribbon (I got mine at HobLob) for the hanger. I like the gray with both the pink and the blue, don’t you? If you don’t know how to make a pretty bow, see my video tutorial on how to do it {here}–you don’t do it like you tie your shoes! Use a little bit of fray check to keep the ends of the ribbon from fraying, and you’re all set. So cute!
I have had a CAMEO for three years. I absolutely LOVE my machine, although I’m pretty sure that it’s smarter than I am and there are about 10,000 things that it can do that I haven’t figured out yet. But it has been worth the initial purchase price so many times over, because I use it constantly for gifts and home decor items. In May alone I cut over 75 monograms for teacher and volunteer appreciation gifts!
The main difference between the Portrait and the CAMEO is that the Portrait’s maximum cutting area is 8″ x 12″ (the CAMEO’s is 12″ wide and 10 feet long), but the Portrait is also much less expensive.
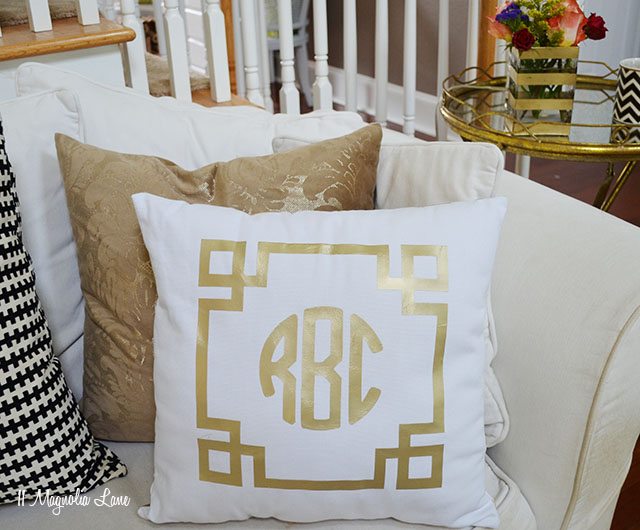
You can see some of my other Silhouette projects by clicking on our vinyl category here.
Thanks for stopping by!