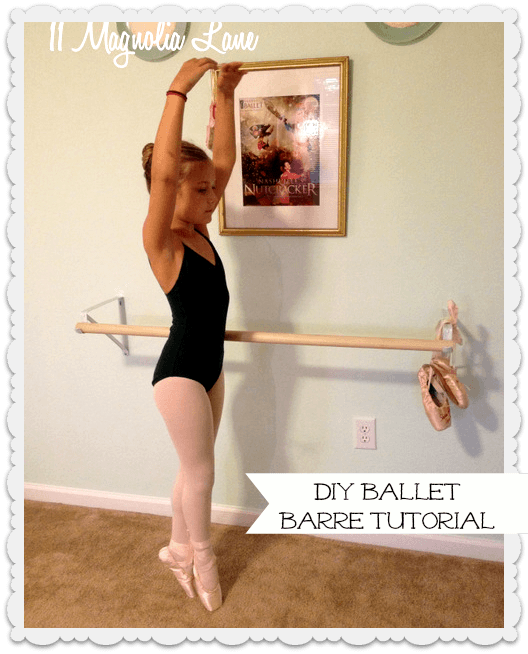
One of our most popular posts is my tutorial on a make your own / DIY ballet barre–it brings us lots of search engine traffic. My daughter has loved having a barre in her room, and it was an easy and inexpensive project. However, she asked me to make a few modifications when we moved, so I built her a new one. I’m going to show you how I made this barre, and discuss the pros and cons of both installations so you can choose the best barre for your young dancer (or yourself!).
**Update: If you’re a ballet teacher and you’re having a stroke because I let her go briefly up for a quick photo in her soft shank pre pointe shoes, please take a deep breath and center yourself! This post was written five years ago and she’s still alive, kicking, and dancing. If you have a comment about the ballet barre tutorial, I’d love to hear it; otherwise, thanks for stopping by.**
Of course, you can buy a “real” ballet barre for your home, but I couldn’t find any for less than $75. Here’s one, if you’re interested:
I wanted a less expensive version, and I wanted to be able to customize the length. Our first barre was 36″ long. This one is 48″ long, because she has a larger room. You could certainly put a 24″ barre up if you have a small space. The spot behind the door is perfect for the first kind of barre I built!
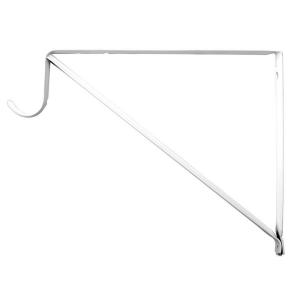
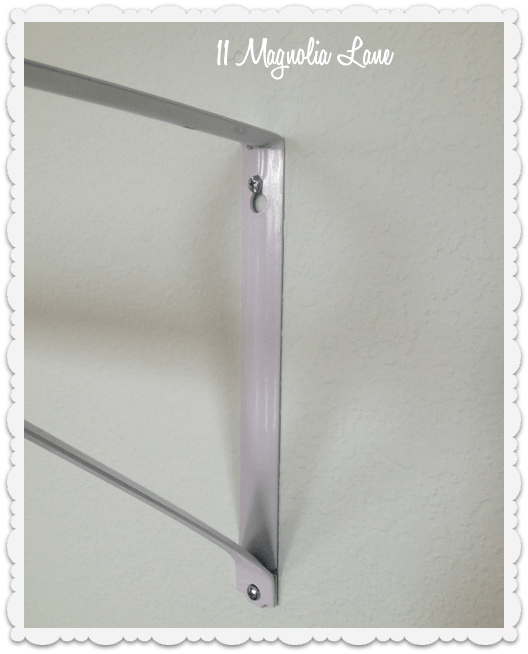
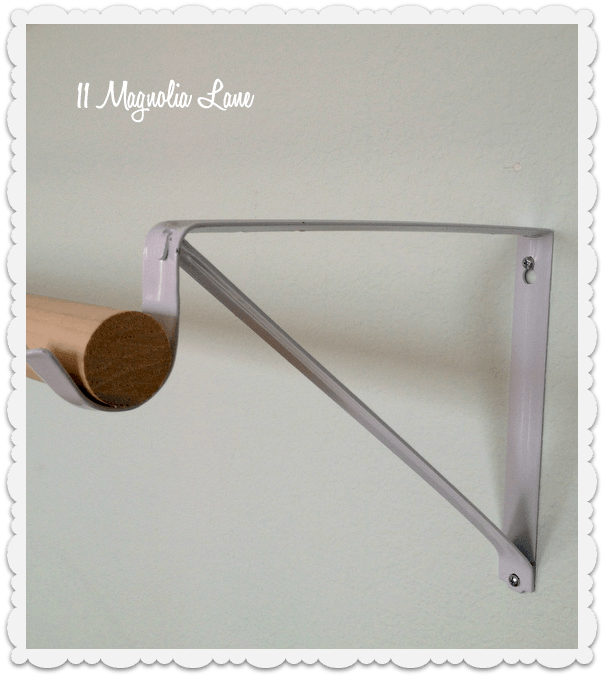
My daughter definitely needed a barre that projected farther out from the wall than the first one. After taking a look at the options that were available at the store, I bought two closet brackets in the closet organization section of Home Depot. They look like this:
They were only about $4 each. I bought the white ones, but they also had brushed nickel/chrome ones. You can even spray paint them to match your room!
I already had screws and drywall anchors, but if you don’t have a hardware stash at your house, then you’ll want to pick some of those up, too. I recommend at least 2″ screws and heavy-duty drywall anchors (I recommend these), because these will need to be very sturdy and stable.
I used my laser level to make sure I mounted them at the same height from the floor, and my stud finder to be sure that at least one of the brackets was screwed into the studs. If you can get both into studs, that’s even better, but it’s not always possible.
By the way, I wanted the barre to be about 36″ from the floor–it should be at about waist level for your dancer, although if your child is really small, you might want 32″ from the floor to be the lowest you go. You can always raise it as your child grows.
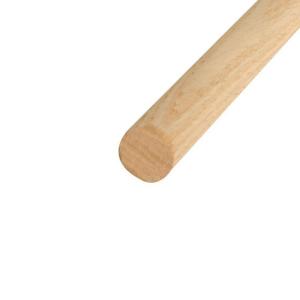
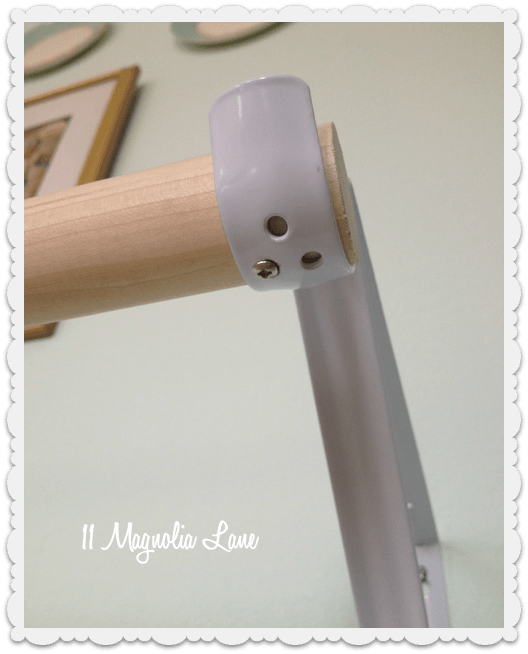
The wooden dowel I bought was 36″ long and 1-1/4″ wide and it was about $8. They will cut the dowel to the length that you need if you don’t have a saw. Be sure to buy the highest quality wood they have available (I think I bought oak instead of pine) because unless you choose to paint it, there’s a possibility of splinters with poorer quality wood. I did paint her first barre white, but she preferred that we leave this one natural.
Once you’re sure that your barre is level, screw it in place. There are several screw holes on the underside of the brackets so you can secure the rod in place. I did have to start a guide hole using my drill, and I used 1/2″ screws. Tighten all the screws and make sure everything is wiggle-free and sturdy. Then tighten some more!
I talked about mirrors in my first post…we have two small wall mirrors that she uses to check her form. You could definitely find an inexpensive large mirror on Craigslist–or just pull off that big, ugly one the builder glued on your bathroom wall and put it up behind her barre. You know you want a prettier mirror in your bathroom, anyway!
OK, now a quick comparison of the two barres. They were both about $20 and took the same amount of time to install, so no big difference there. The biggest difference is in the sturdiness and functionality.
If you have a younger child, who might hang on the barre, then I definitely recommend the first barre I built:
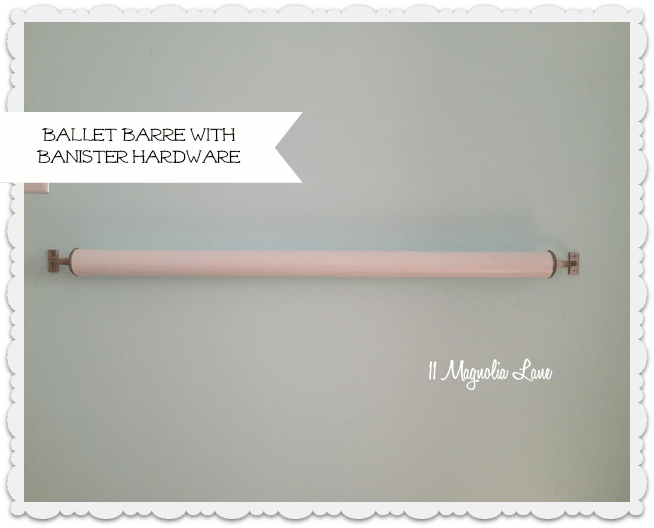
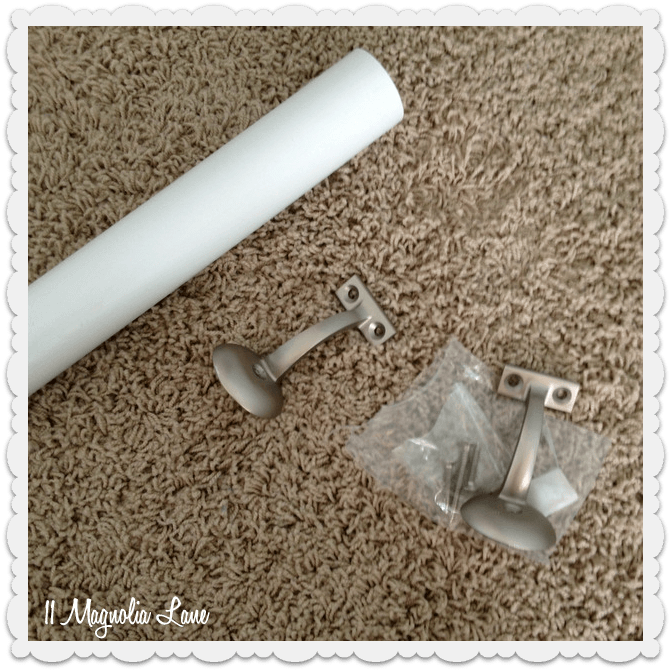
I used a 2″ dowel and stair banister hardware, and the barre only projects about 2″ from the wall. That makes it harder to pull down if your child hangs on it (even though you’ll tell her not to). Be sure that you put at least one side into the studs with a younger child, too, and preferably both sides. Click {here} to read that tutorial. Here’s a close up of the stair banister hardware:
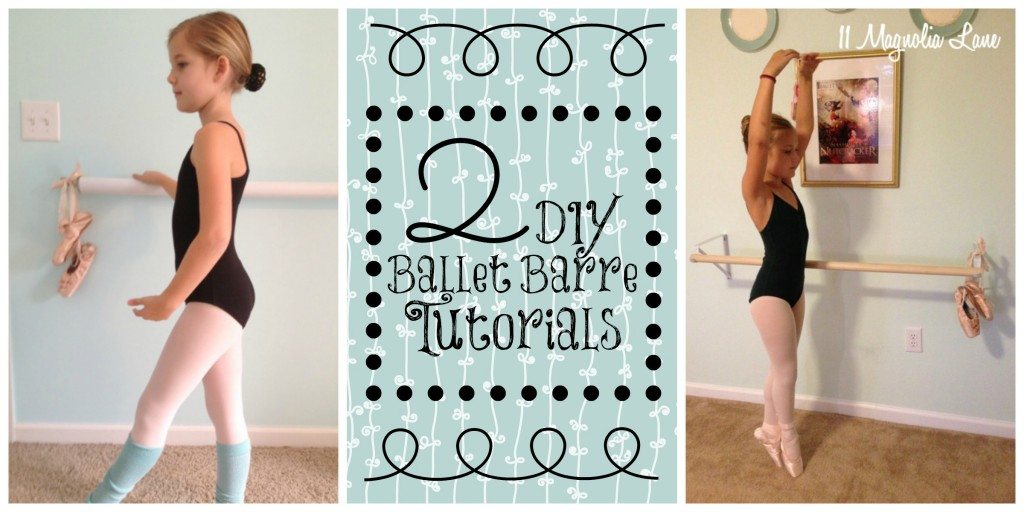
So, there you go! Two options for building your own barre, based on the age and needs of your dancer.
Two years later:
