My daughter is away visiting her cousins this week, courtesy of her wonderful grandparents, so I have been fixing up her room as a little surprise when she gets back. As you read recently, we just moved to this house, so her room needs a little attention. As my youngest, and only girl, her room gets a fair bit of my attention cause it’s just so stinking fun to decorate for her!
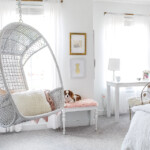
Her last room was seen in this post , as below, and it was vintage, white and pink, and very serene.
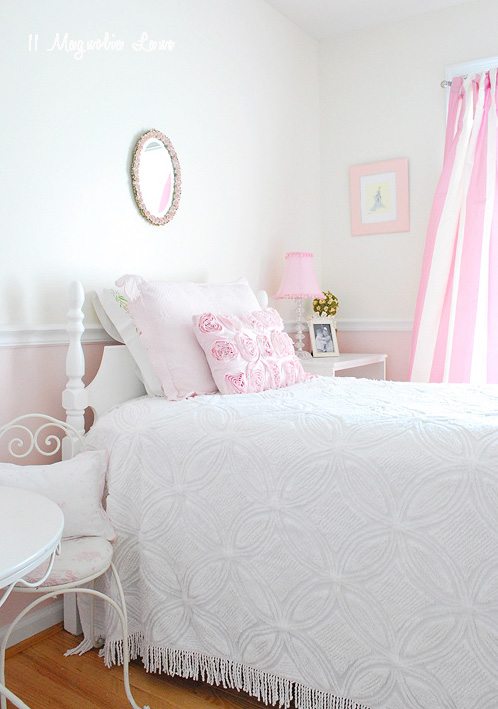
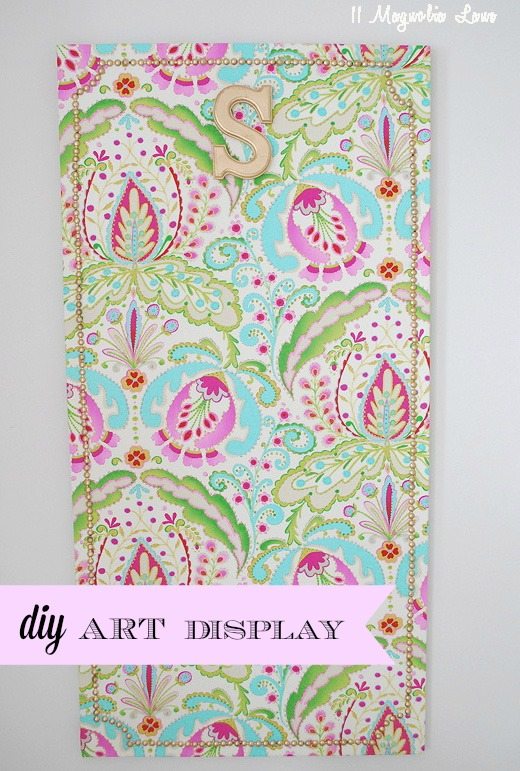
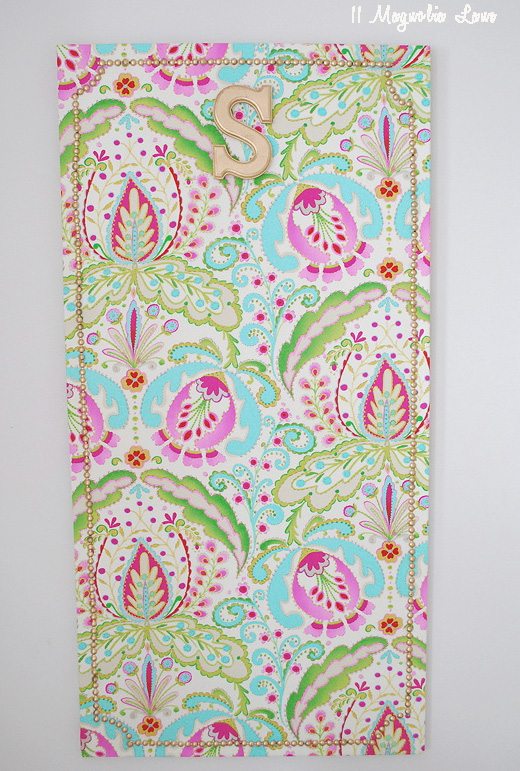
Her room was sweet and pretty, but my girl is becoming her own little person and quite honestly I can say she doesn’t have a ‘serene’ bone in her little body. So, I recently started thinking about what to do in her new room with much input from her–she wants it to be “pink, purple, blue AND green!” But, when I found the fabric for the Art Board, I instantly loved it. It’s a great jumping off point for the next evolution of her room. Stay tuned, more of her room “reveal” to come soon!
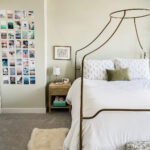
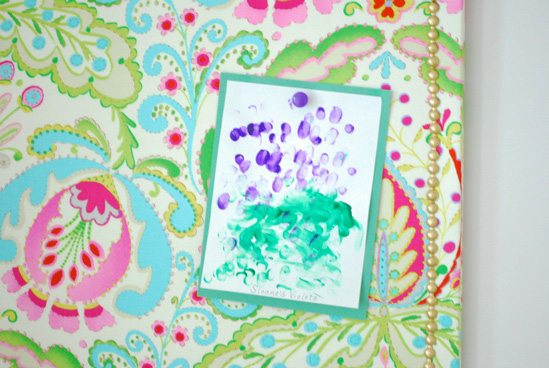
So, this project really began when I found this art taped to her wall.
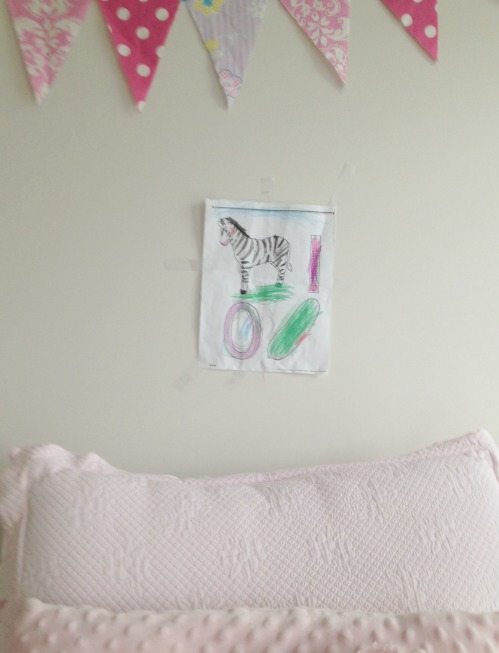
Cute huh? But we have standards around here and we don’t tape things to walls 🙂 As any parent knows, preschool/kindergarten art can take over your life. I wrote here about how I store her masterpieces, but I decided she needed a place to display her favorite artwork in her room. And, when I showed her the fabric, she clapped, screamed “I love it!” and I knew we had a winner.
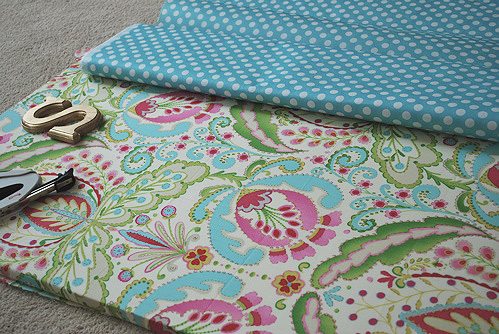
{Just a note, the design is bold and colorful but the fabric is photographing with a much “brighter” look than in real life, it’s pretty fun but its not necessarily “neon” as its appearing in some photos.}
I have made a burlap covered bulletin board {see it here} using this technique before.
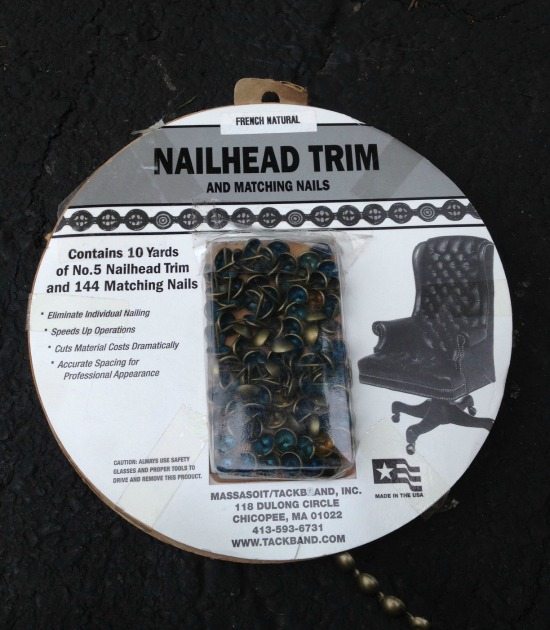
To start for her board, I spray painted all my nail head trim and nails gold for more fun, girly look.
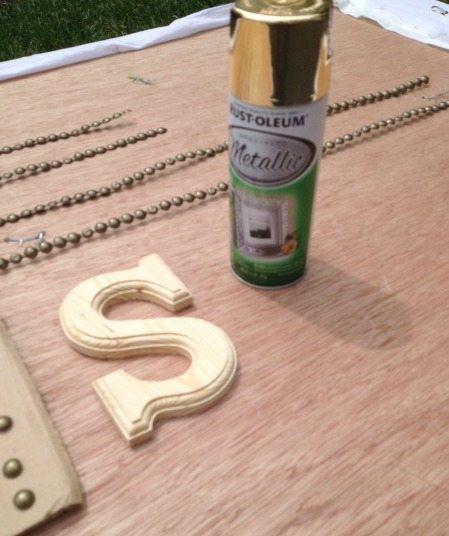
Here is the trim I used if you are curious. You can buy a similar one HERE.
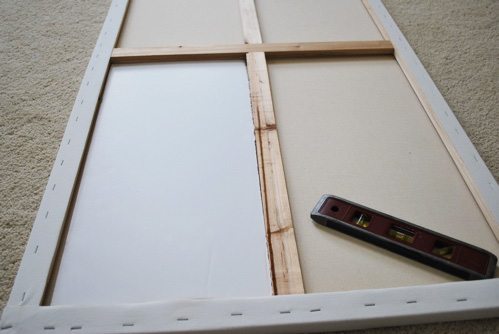
I used a basic, large art canvas, purchased at Michaels, and 2 pieces of plain foam board. I trimmed the foam board and stuck it in the back of the art canvas so the tacks would have something to grab on to.
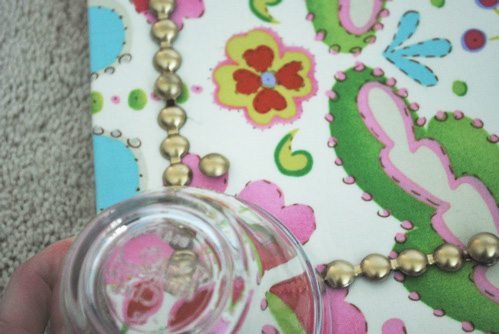
Then, I just stapled the fabric on the frame and added the trim. Below is my little trick I used to curve the nails nicely around the corners…
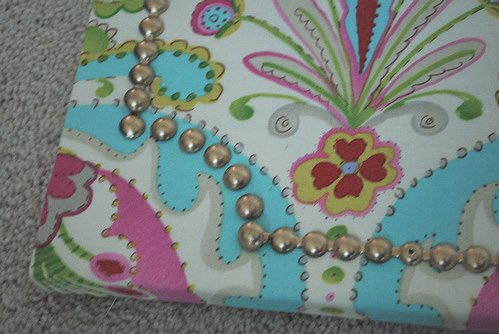
And here it is, I want her to have the fun of decorating it when she gets home so I have left it unadorned for now, but it’s still pretty.
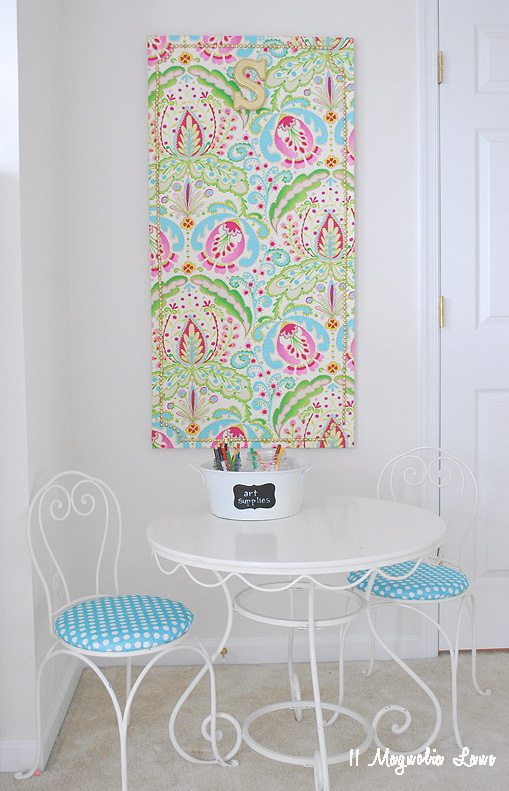
A fun easy way to add some color to her room, and a place for her to hang up all her favorite creations {without scotch tape!}.

I have more to do in her room, it’s keeping me busy until she gets home {sniff, sniff}.
One more time…
Do you think she will like it? I hope so…
XO,