I don’t know if this happens to you all, but sometimes I start a project get to a point with it and then it stalls for awhile. Then, suddenly something falls into place and suddenly, I get crazy motivated and just can knock it out. Such is the case with my pantry.
Since we moved last year, our new pantry is a little on the small side.

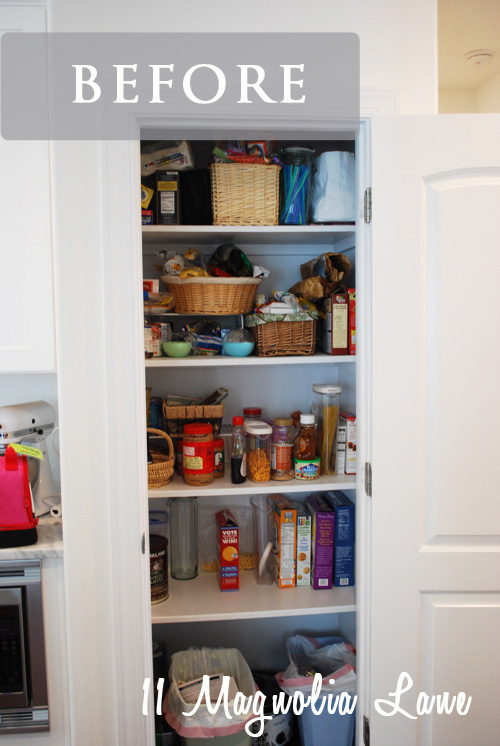
I don’t mean to sound ungrateful–I have a pantry after all–but this was our former pantry {funny, I used to think this was “organized” but compared to the beautiful ones out there now, it just looks a mess} it was large, a walk-in space, and it held a ton.

I really am trying not to grocery shop every day or two, which I tend to have to do when I am not organized and don’t plan our meals. But without a lot of storage space for food, its hard to really stock up. So trying to deal with this issue, I got motivated last spring and spent many hours on The Container Store and other websites looking for ways to make this small pantry more functional for us.
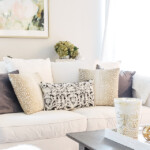
I got to this point {above} with it, I added some organizers and put adhesive cork board on the door and added a nice recycling bin, but then couldn’t decide what to do to make it “pretty”. After all when one of your best friend’s pantry looked like this….

Yes, in my world the bar is HIGH! Which I mean in only in a good way, the best part of blogging with inspirational friends is the positive motivation.
So, I thought about painting the back wall but the shelves don’t come out and that would require much taping–just too much work for a small space. So, I also thought briefly about stenciling but again, that would have been a lot of work for a place where the door is closed 99% of the time.
So I just did other things in my home for the time being.
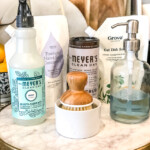
Then last Saturday morning I stopped in my local HomeGoods looking for something–don’t even remember what–and saw this shelf paper.

At this point, I whip out my phone and text Christy and Terry “Look at this great shelf paper! What color do you want?” because I can’t keep a good find to myself. I bought several rolls not even knowing which one I wanted to use but knowing that shelf paper was going be the perfect way to jazz up my pantry. {I have since found it online HERE so you can get some too! Yay!}
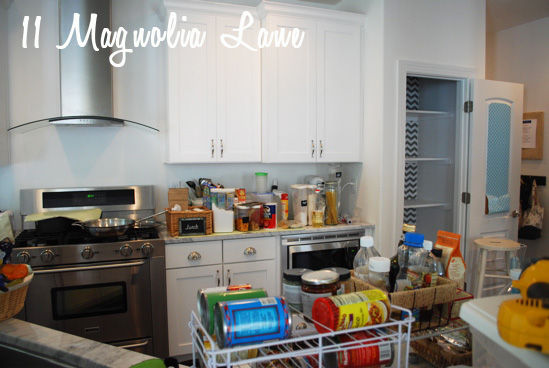
Within an hour my kitchen looked like this.
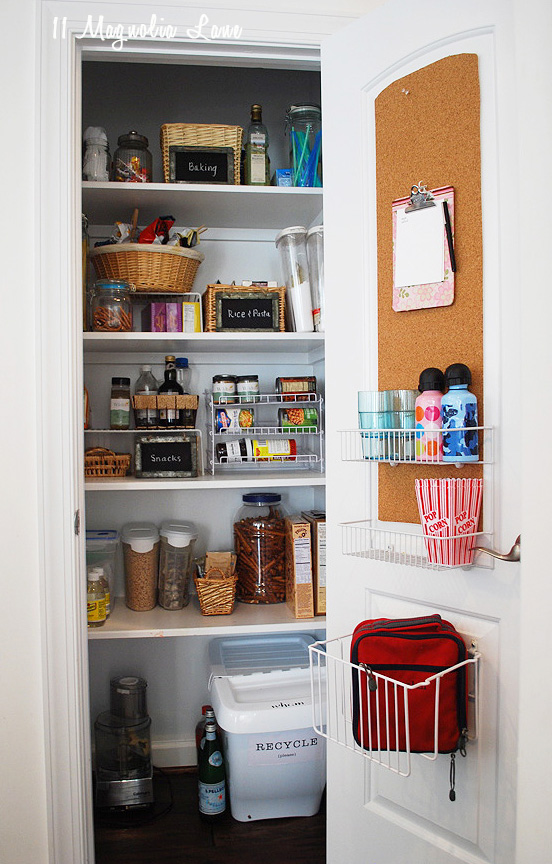
But it took very little time until my formerly white, plain-jane pantry looked like this.

It was so easy to stick the shelf paper up on the walls and made it so much more interesting inside.
So, I did do a small bit of purging then put everything back in neatly and in a more organized fashion.
Ta da!


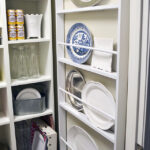
I also added another shelf way up high, something I had also been meaning to do. Its ugly and wire, but I had it laying around and I wanted to use all the wasted but hidden vertical space above the top shelf.

It holds things I need to get to very rarely, like extra plastic bags, wax paper, plastic utensils etc. and it’s out of sight.
Here is a shot of my counters after–just to prove I didn’t have an extra stash of food still to put back in the pantry after I photographed it. I actually can’t believe that I didn’t.

And, if anyone is wondering, here are the tricks that got me to this nice, neat space.
Some of the best organizing advice out there is the concept of not having to move the baking [insert baking supply here} that you use very rarely to get to the {insert word here} that you use daily. So I now keep all my baking necessities in another cabinet in a basket that I can pull out when I actually bake, which isn’t very often. Only what we regularly is stored in my kitchen pantry.
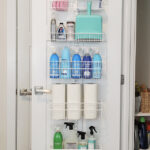
I used as much vertical space as I could. You can find the can rack HERE and the canisters came from IKEA. The risers are available HERE, the chalkboard labels HERE.

I made use of the door space as best I could. I added a rack to hold plastic cups and water bottles for the kids. Their lunch boxes are in what is actually a rack for plastic wrap {this is similar}, this freed up a ton of space on the shelves.

I also covered the door panel with adhesive cork board covered with shelf paper. Its so much prettier now 🙂 and it holds my shopping list and lunch menus. You can find the shelf paper HERE.

If you are someone who likes before/afters…here is our transformation.
You can see the DIY on the Recycling bin and my new Mudroom HERE.
Thanks for stopping by!