Happy New Year’s Eve! If you’re like me, December has gone by in a big blur–I can hardly believe it’s almost time to take down all the Christmas decorations and start organizing my house and exercising (yes, I do all the same stuff in January that everyone else does! :). I didn’t do much around the house this month, other than decorate it and try to keep it clean (hey, that’s actually a lot!), but I did complete one project that I’ve been wanting to do for awhile–I painted the bed in our master bedroom with white chalk paint.
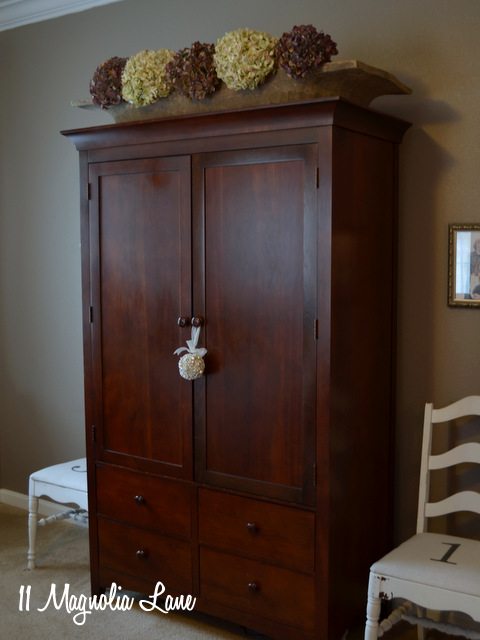
Our Shaker-style bedroom furniture is heavy and dark. I love the quality of the pieces and their clean lines, but over the years my taste has changed and I’ve wanted a lighter look. I’ve accomplished this in previous homes by painting our walls light colors and using white bedding, but I have been seriously tempted to paint the whole entire set white. Except for my husband doesn’t want me to.
So, here’s how the bed looked in our last home, with BM’s Pebble Beach on the walls:
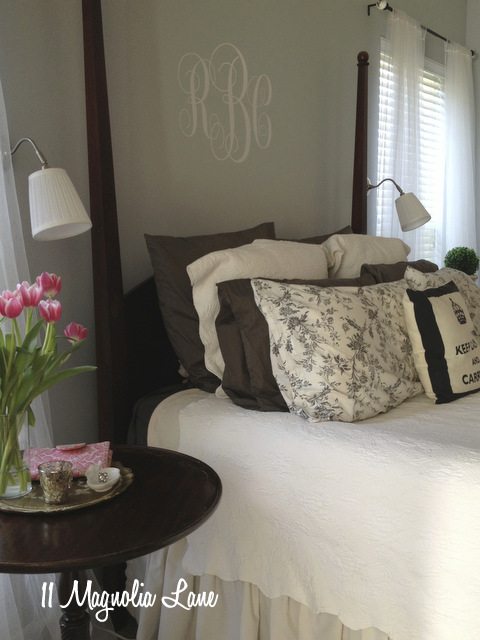
It really wasn’t bad at all; in fact, I feel like I chose the best paint color for the dark furniture. However, we have a bed, nightstand, dresser, and two armoires in this room, and all are dark wood, so that was A LOT of dark going on! Plus, courtesy of our movers, the bed was dinged up in quite a few places. A couple of the pencil posts are full of wood putty!
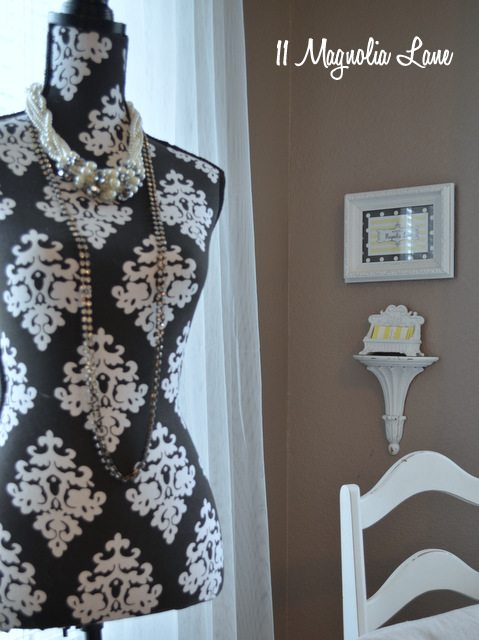
In our current home, the master bedroom is painted SW’s Weimaraner, and I love the color, but it’s really dark with all the furniture. I posted a picture on Facebook a few months ago of this dress I found at Salvation Army, and one of our readers commented that my bed needed a headboard. Look closely–it’s there–but it really does blend in with the walls!

The nice folks at HomeRight offered to let me try out their Finish Max Fine Finish HVLP (High Volume, Low Pressure) Sprayer this month, and I knew right away that I was going to paint our bed with white chalk paint. Hubby finally agreed, and since Amy was in town to help me, we took care of it in just a single afternoon!
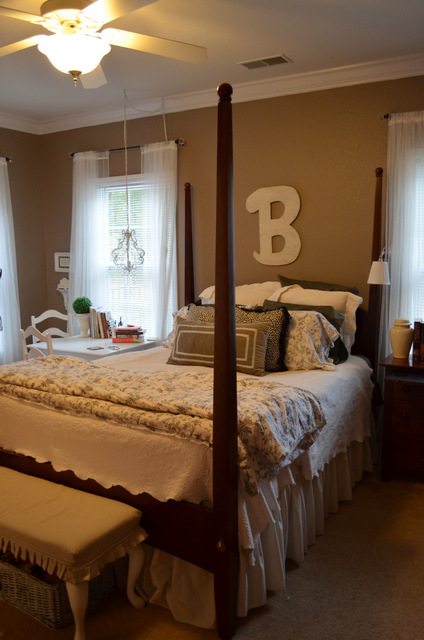
Here’s the bed, before. I just snapped this on my phone, and I didn’t clean first, so what you see is what you get!
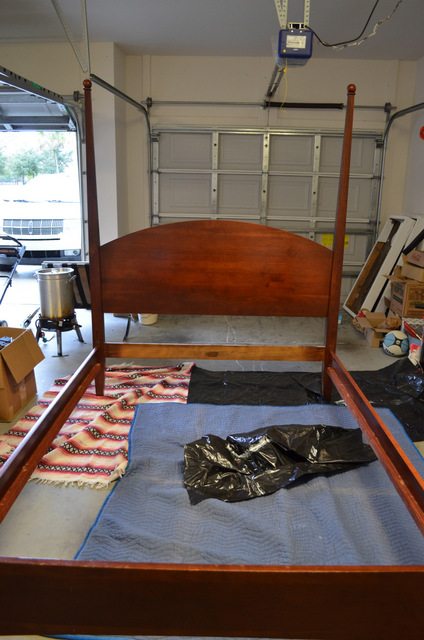
My husband and I took the bed out to the garage and reassembled it out there. It was a nice day, but kind of windy, so I wanted to spray in an area protected from the wind. I know, what a luxurious garage I have. Love that turkey fryer on the left!
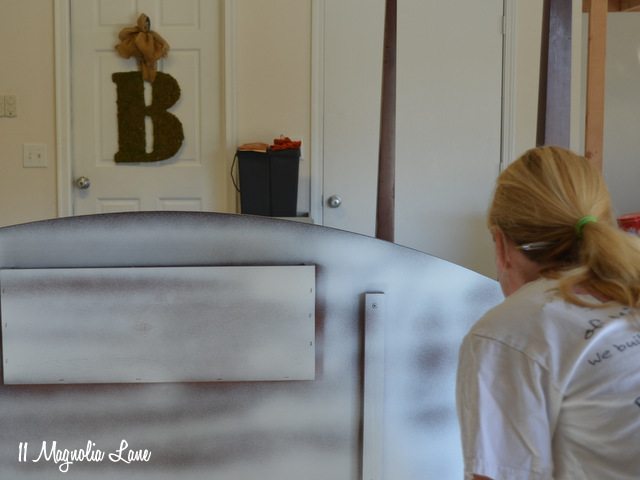
Since I was using chalk paint, all I did was wipe the dust off the bed–no sanding! I used Annie Sloan in Pure White, and I mixed 1 cup of paint with 3 tablespoons of water in a mason jar, shook it, and then poured it into the sprayer. The sprayer is a snap to use since it comes preassembled. You just pour paint into the container, select which spray setting you want to use (horizontal, vertical, or 45°) and how wide you want your spray pattern to be (between 1″-6″), and go for it.
I sprayed a little bit on cardboard to get the hang of it, and then I sprayed the back of the headboard (who’s EVER going to see that?!).
As expected, it took two coats of Pure White to cover that dark cherry stain, but it actually looked pretty good after one coat:
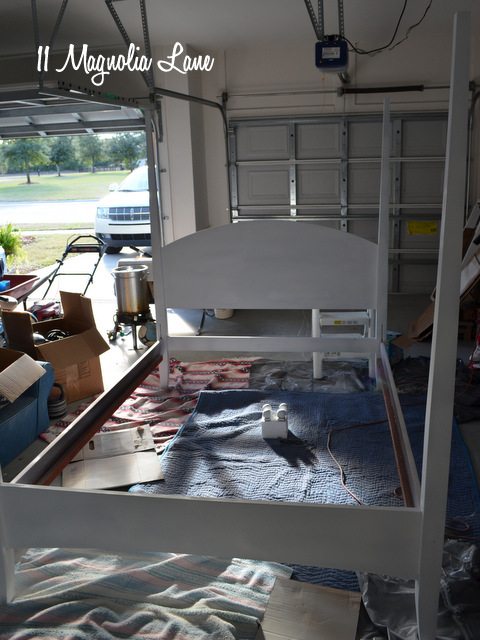
Yes, my garage is a sty. For reasons known only to the architect, our home has no basement, no attic, no linen closets, and no exterior storage. I’m not sure what they were thinking, or if they were thinking at all, but one bay of my garage now serves as my storage unit, and the overflow is under the beds.
The round finials on top of the pencil posts got sprayed, too, after I jammed them into a styrofoam cube to hold them upright.
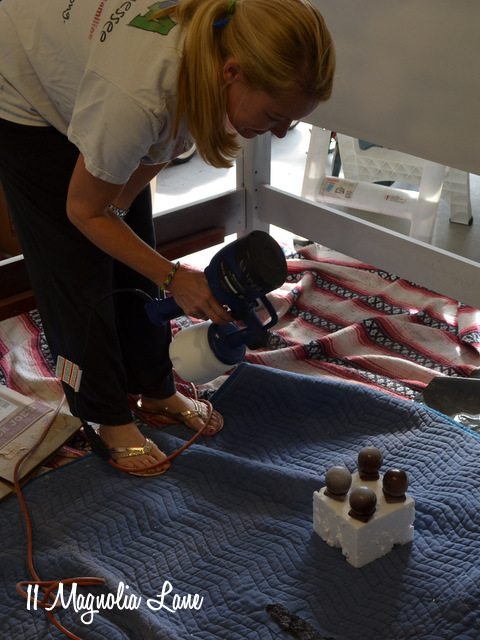
I want everyone to know that Amy was helping me with this project, by holding a dropcloth up to catch the overspray, but she refused to have her picture taken because she was in sweats with no makeup. Kind of like me, but I’m in these pictures! 🙂
I noticed on the second coat that the spray was coming out less evenly and I assumed it was because the paint was getting gloppy inside the sprayer, but when I took it apart to clean it at the end of the project, I realized a tiny plastic shaving from the inside of the paint container had migrated up into the spray needle. I thought I cleaned it out before I started, but clearly I didn’t do a good enough job! Note to self for next time!
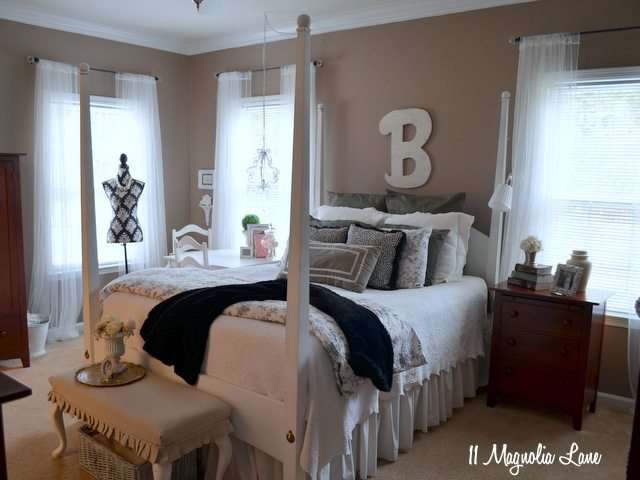
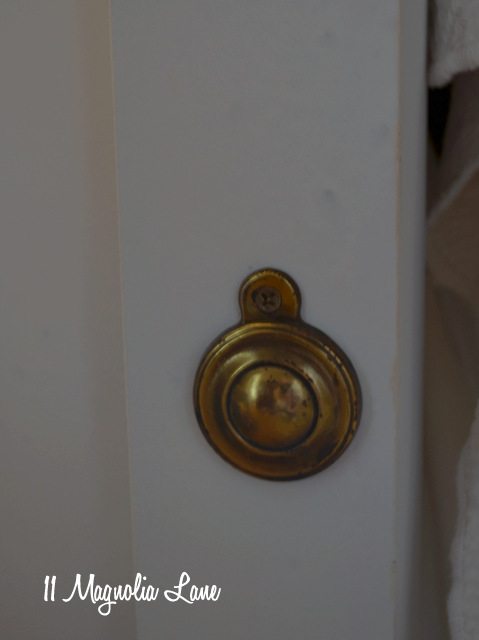
Two coats of paint on this queen-sized bed took one quart of chalk paint, with enough left over to touch up here and there with a brush (like on the underside of the knobs). I thought that was a lot of paint, but I’ll bet it will take less when I spray the next time without a plastic shaving in the nozzle!
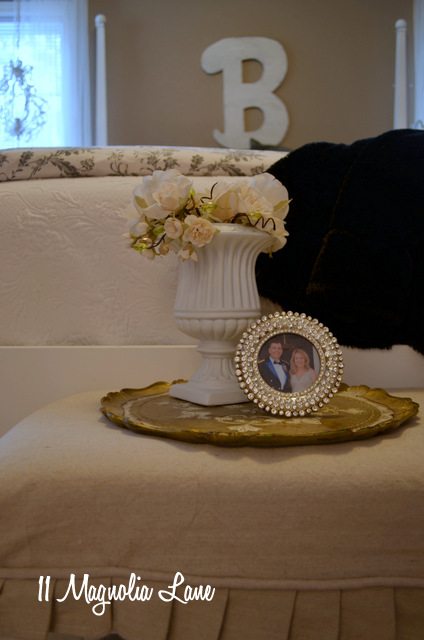
Even though I was skeptical while spraying (it seemed kind of gloppy, like I said), the finish dried beautifully smooth. I am still undecided as to whether I’m going to put clear wax on and leave it mostly as-is, or if I’m going to use dark wax and distress it, like I did with my dining room table and chairs. Thoughts?

The sprayer does an amazing job of delivering a fine finish–I really wish I’d had it for the dining room table and DEFINITELY for my kitchen cabinets. Amy has already asked me to bring it with me to her house this summer to use on her cabinets.
The sprayer was actually easier to clean than I thought it would be–I expected it to take a lot longer. Ten minutes–max!
You can buy one here:
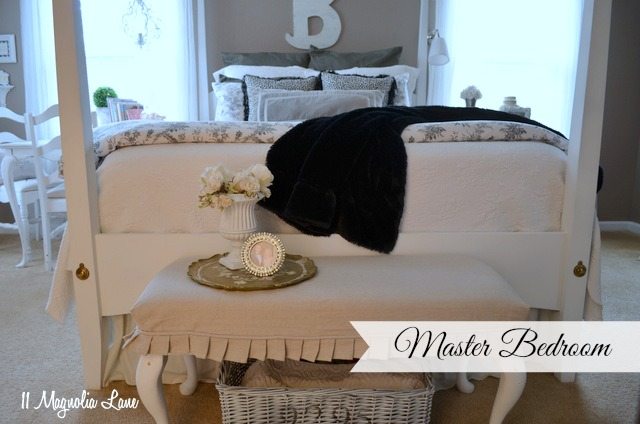
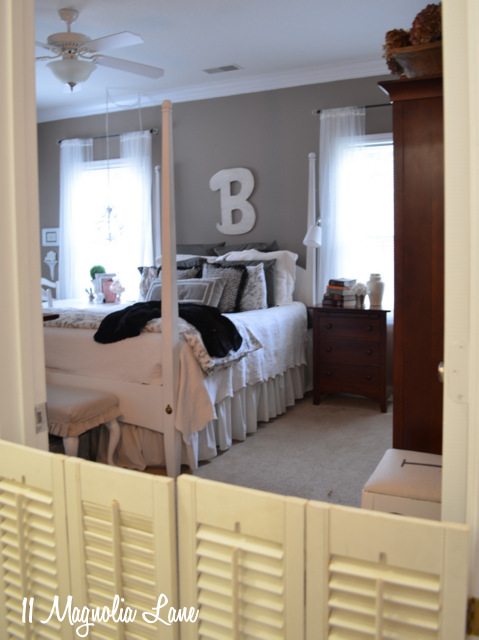
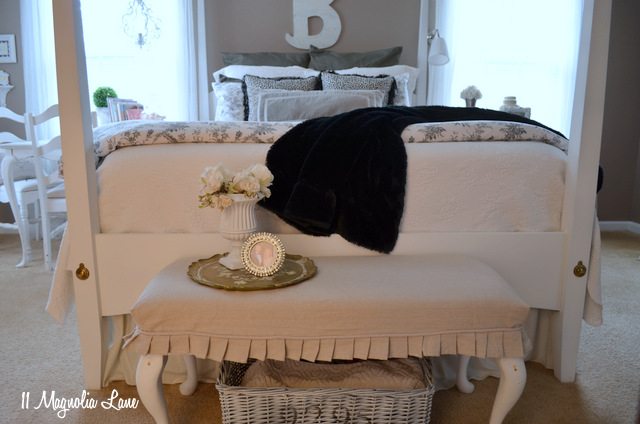
Now, here are some more “after” shots so you can see how I’ve decorated our small bedroom. I love having three windows, but they make it a bit of a decorating challenge!
The white table and chairs used to be in the sitting area of our master bedroom, also known as my office. Since we don’t have an office, bonus room, or den in this house, the white table doubles as my nightstand and my work area!
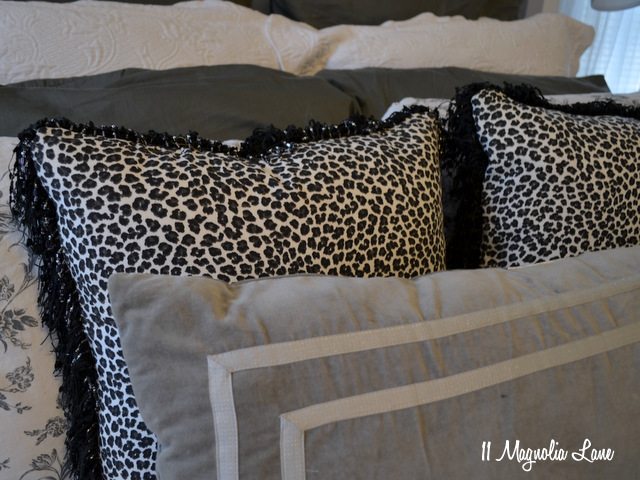
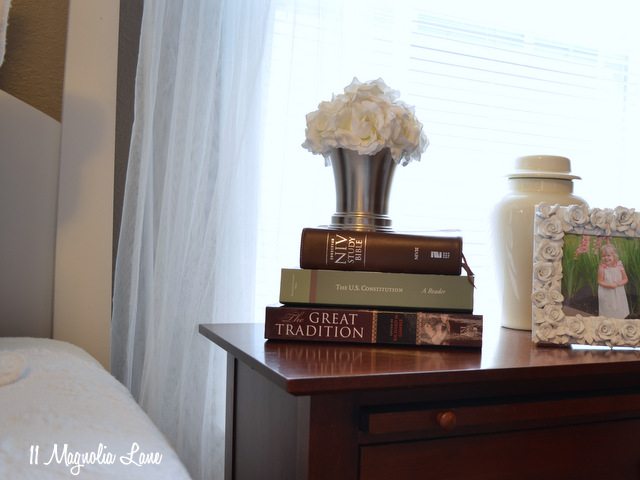
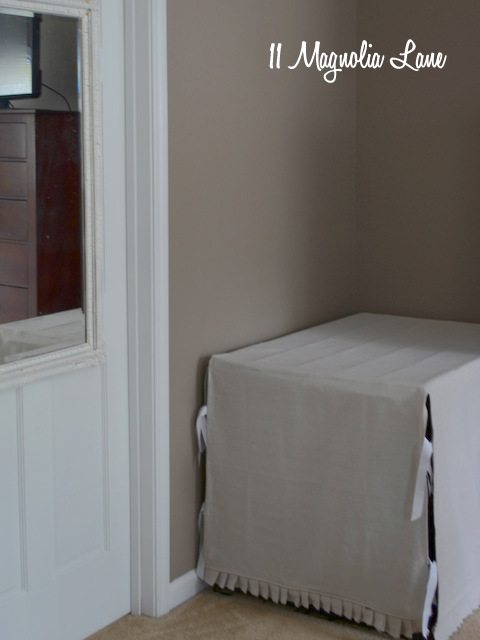
Harley’s slipcovered dog crate is in the corner (Sunny sleeps in my son’s bedroom). Read how I made the slipcover {here}.
And the dog gate that I made from rescued plantation shutters keeps the pups corralled when we need them in one place.
Sources:
Furniture: Kincaid
Bedding: Ikea (the gray toile is Alvine Kvist and the dark gray is Gaspa), the matelasse coverlet is from TJ Maxx, the leopard pillows are from a neighbor and the rectangular pillow is from Target.
Window treatments: Ikea (Lill), Curtain Rods: Hobby Lobby (HomeGoods has them, too)
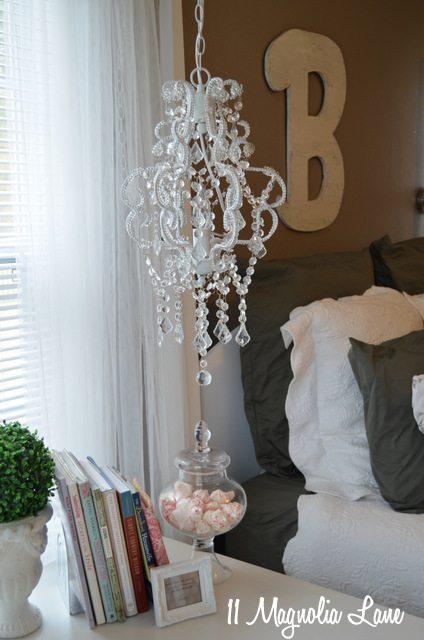
Chandelier: Hobby Lobby
Wall sconce: Ikea’s Arstid wall lamp
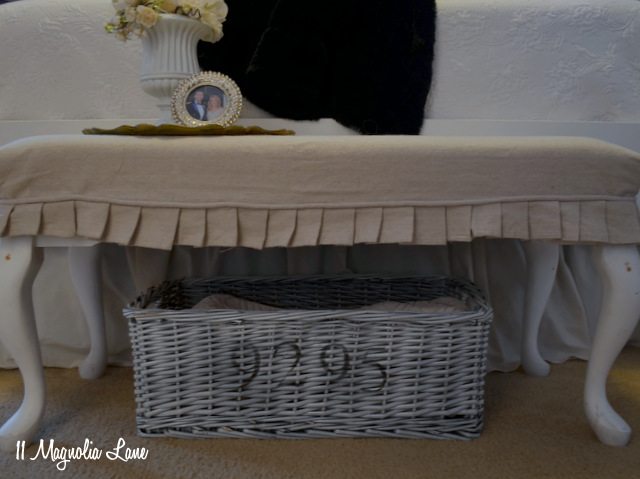
Bench at foot of bed: thrift store, I sewed the slipcover
Basket under bed: I painted it, Amy’s tutorial is {here}
“B” above bed: purchased at the Cameron Antique/Flea Market in North Carolina
Plantation shutter dog gate: roadside rescue
Square card table: my mom’s (I painted it years ago)
Ladderback chairs: my great-grandmother’s (I recovered them here)
Mark your calendars, because Operation: Organization is starting on Friday, January 3rd. Join us daily for a round up of fabulous guest bloggers, sharing their best organizing tips and projects.

