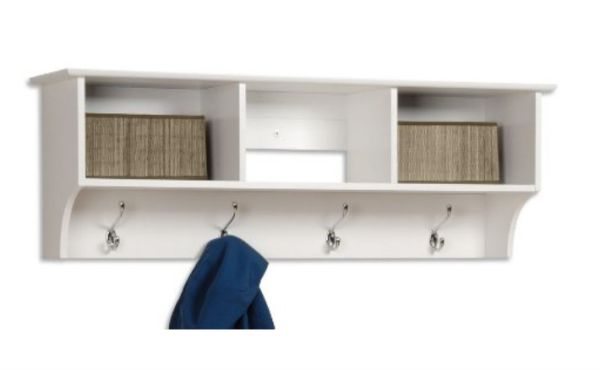
She was able to remove her closet doors and create built shelves and hooks as well as a bench. The result is beautiful and so functional for her family of five:
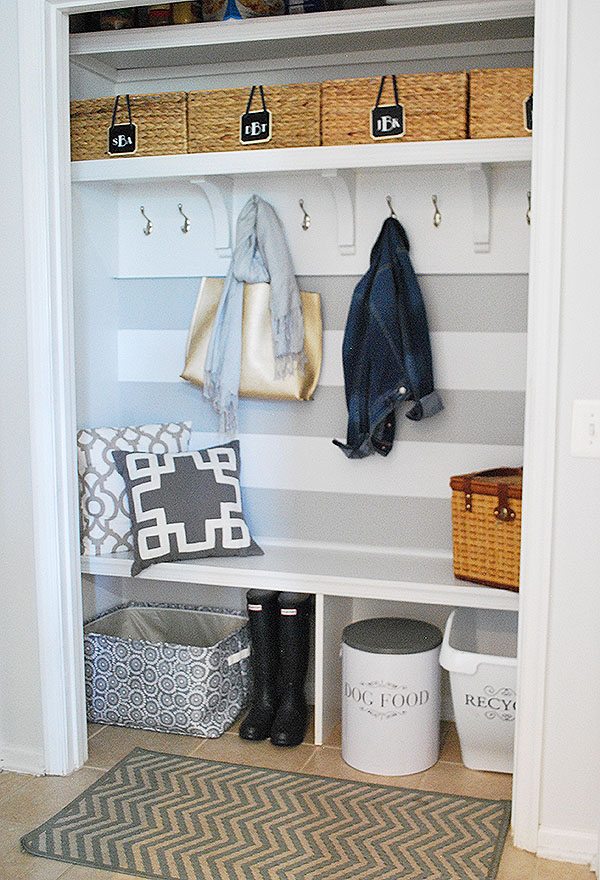
I’ll start by saying that we have lots of storage space in this house and there’s a coat closet in the front hallway by the front door. This closet is right inside the door to the garage, which is where we do most of our coming and going, with backpacks, umbrellas, lunch boxes, sports equipment, and the like. So we still have room for all of our coats elsewhere in the house.
The space looked like this when we moved in, with nice solid surface closet organizers already in place.
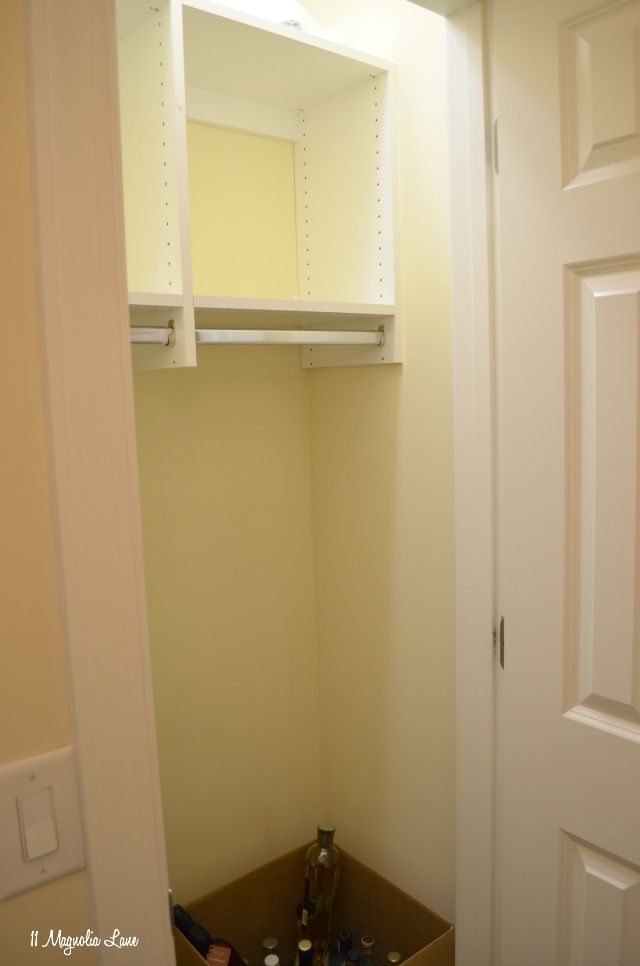
I knew that I didn’t want to remove those, so I decided to work with them. However, I would have removed the dreaded white wire shelving if I had found that and used this instead, because it’s removable but looks just as finished as Amy’s built-in’s do:
(If you leave the drywall anchors in place and store the white wire shelving, you can replace it when it’s time to move on).
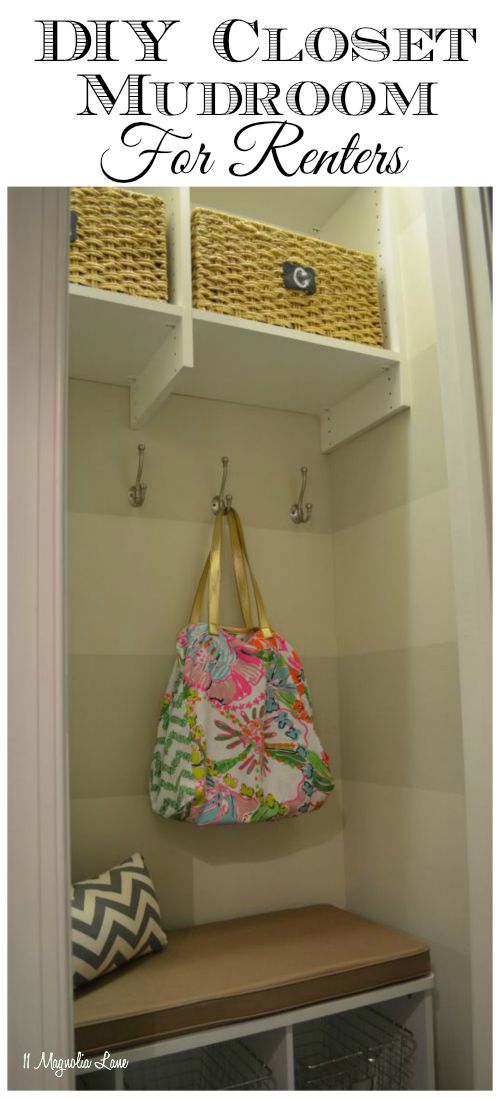
I was able to remove the hanging rods and stored them, along with the door, hinges, and strike plate. I painted over the raw wood under where the hinges and strike plate had been but didn’t patch the holes since I’ll likely be replacing the door when we move. You can see the strike plate hole in the photo below, but it’s not terribly noticeable.
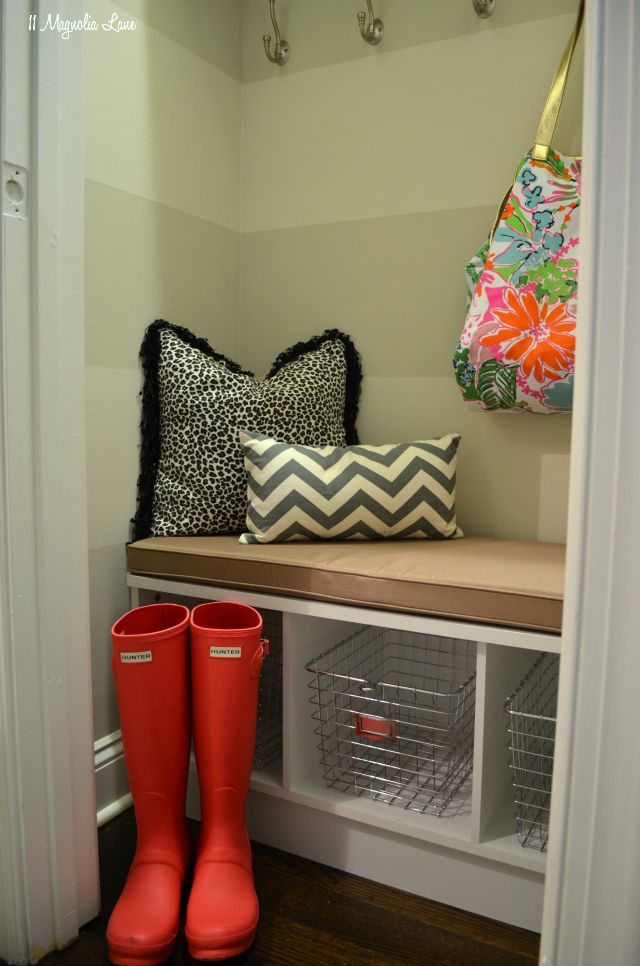
The entire closet got a coat of Revere Pewter paint, like the rest of the garage entryway, and then I striped the walls using Edgecombe Gray (see my tutorial on how to paint horizontal stripes here). It’s amazing how great a fresh coat of paint makes a space look!
Since I couldn’t construct a built-in bench, either, I found a prefab one that fits perfectly in my closet, which is almost 39″ wide. It came with a cushion, which was a nice bonus since I’m a pretty rotten seamstress. Remember, if you don’t like the color of the cushion, you can always paint it {read how here} like I did with my chair!
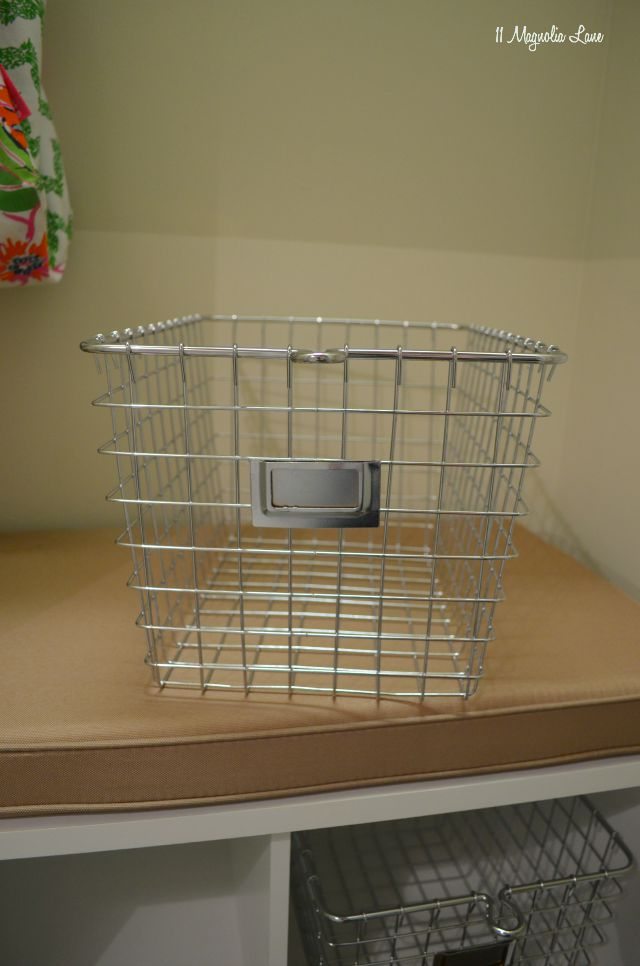
The locker baskets didn’t come with my bench, but they fit perfectly. I knew that I wanted something to store little things, like lunch boxes, umbrellas, and shoes, but I wanted us to be able to see what’s in them so nothing gets lost in the abyss.
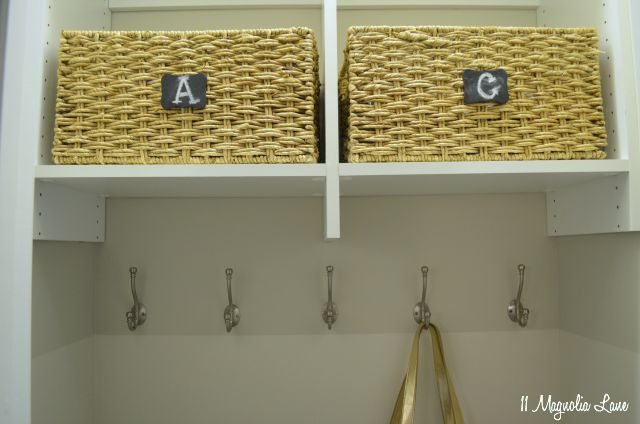
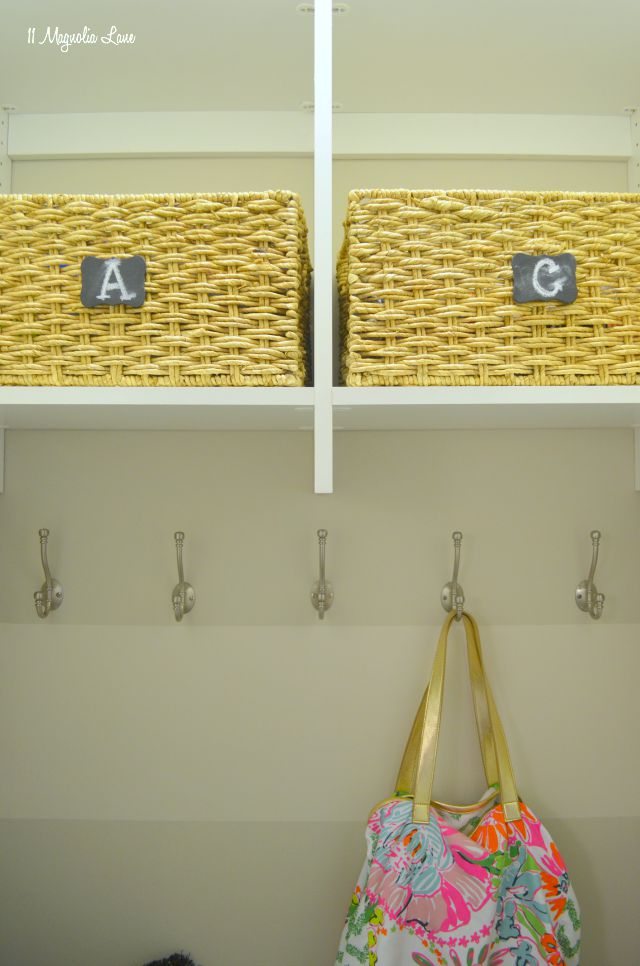
The hooks are just loose coat hooks that I picked up at Lowe’s; they probably don’t need to be removed if we ever opt to use this as a coat closet again since the coats will hide them.
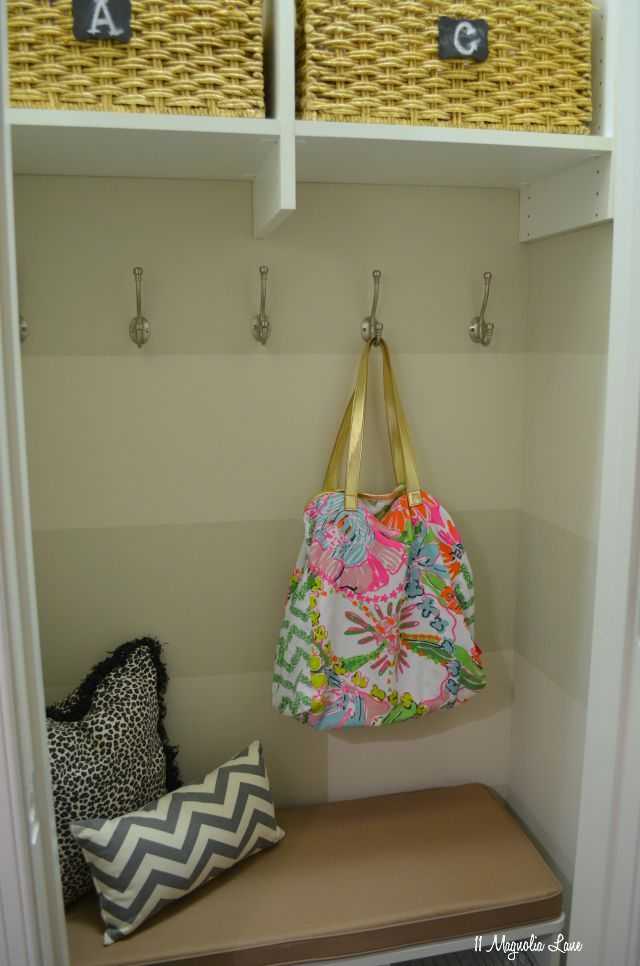
The wicker baskets on the top shelf fit perfectly, but I just shopped the house for them (I originally found them at HomeGoods). I added the little wood chalkboard signs; those are just unfinished wood pieces that I sprayed with Rust-Oleum chalkboard paint and then glue gunned to the baskets.
I’m thrilled with how it turned out, and how renter-friendly it is. Really the only thing I did was put a few holes in the wall, and those can easily be patched and painted when it’s time to move. We renters have to be creative, right?
Here are a few of the items I used for this space, as well as a few I like for different sized closets:
••••••••••
Read the other posts in this series here:
Plans for an Organized Entryway
How to Paint Horizontal Stripes
•••••••••••
Our posts contain affiliate links. If you make a purchase after clicking on these links, we will earn a small commission. You don’t pay a cent more than you would otherwise, since that would be tacky!

