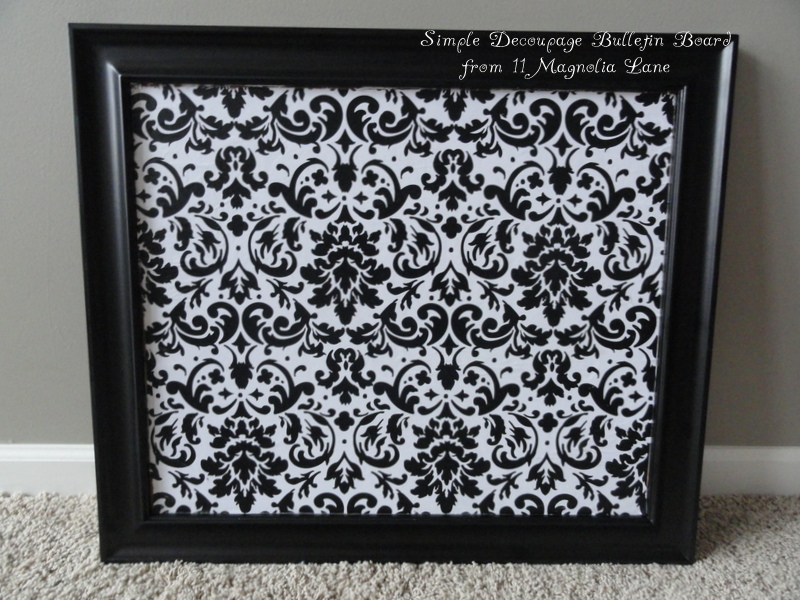
I’ve been saving this project for awhile and it seems perfect for summer. In some ways, summer is even busier than the school year for us, because we have no set schedule and it seems like we spend a lot of time away from home on various vacations and trips to visit family (not that I’m complaining!). Still, a fast and easy project always helps me to feel like I’m getting things accomplished, even when I don’t have time to spend days on it.
When I decorated my master bedroom sitting area/office (read about that HERE), I went with a mostly black and white color scheme, which I’ll admit is my usual go-to palette for decorating. I already had a black-framed bulletin board that was in our bonus room, but not getting much use, so I decided to give it a facelift using decoupage paste and black and white damask wrapping paper. Here’s what I started out with:
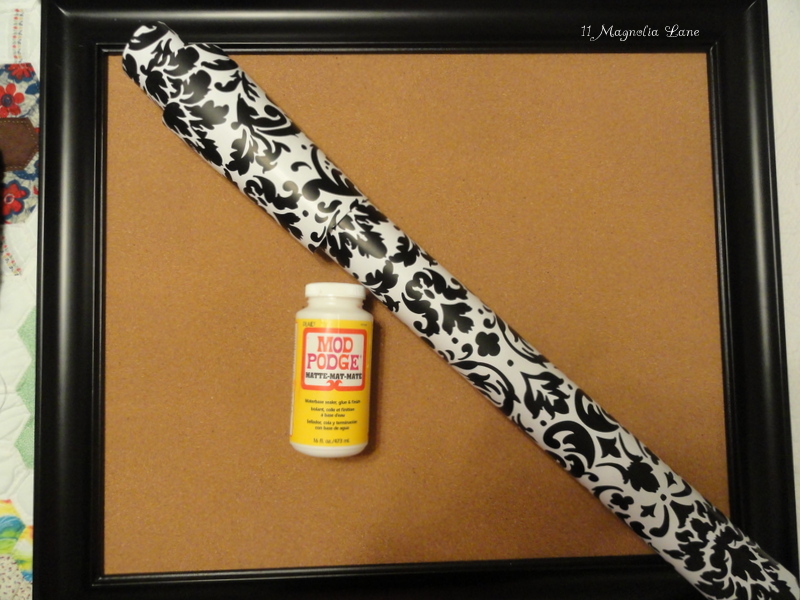
I bought my bulletin board at Hobby Lobby when it was 50% off and I’m sure it was under $20. You can pick up the cheaper bulletin boards for WAY less and all you’d need to do it spray paint the frame the color you want. There’s one in my daughter’s room that we bought for $1 at a yard sale and then sprayed celery green from top to bottom.
The wrapping paper was also from Hobby Lobby (I spend a lot of money there!) and it’s nice quality–thick and shiny, which I think is important when you’re going to be getting it wet with Mod Podge glue. If you’ve never decoupaged before, then this is an easy project to get started on. Seriously, just follow the instructions on the bottle! And while there are probably other decoupage pastes on the market, Mod Podge is synonymous with decoupage (like “Kleenex” is with tissues!) so I use them interchangeably.
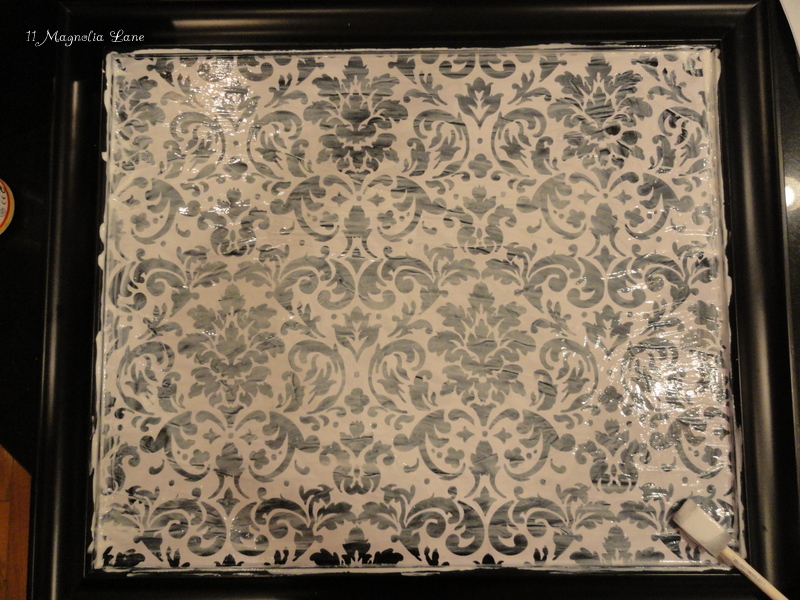
I used a foam brush to apply paste to the board, then carefully smoothed on the wrapping paper (cut to size, of course). I then applied a top layer of Mod Podge and smoothed out the wrinkles. The paper will look hazy, but that’s normal until the glue dries. If you’re neater than me, then try to keep the glue off of the bulletin board molding. Otherwise, wipe it off with a wet paper towel. 🙂
When the paper had dried nicely onto the bulletin board, I used this black braided trim around the inner edge to disguise some of my less-than-perfect straight edges. I simply glue-gunned it into place, and I think it makes it look more finished. A contrasting color (white, hot pink, green, etc) would also have looked nice.

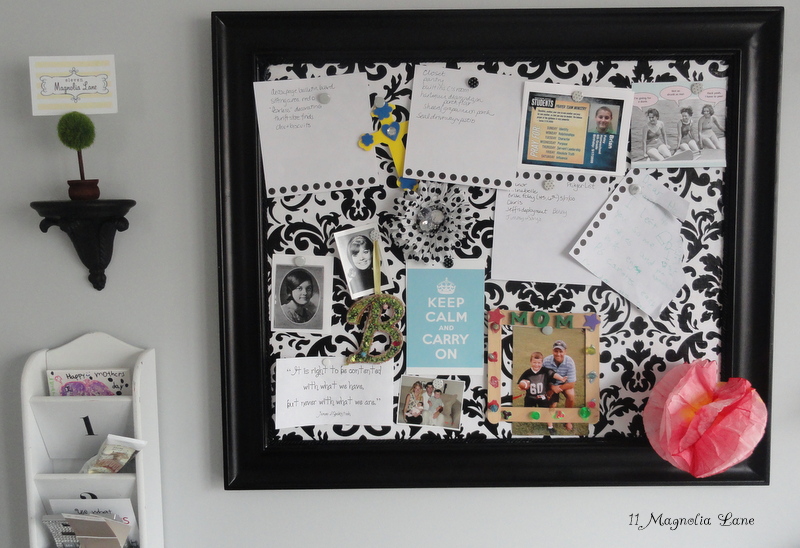
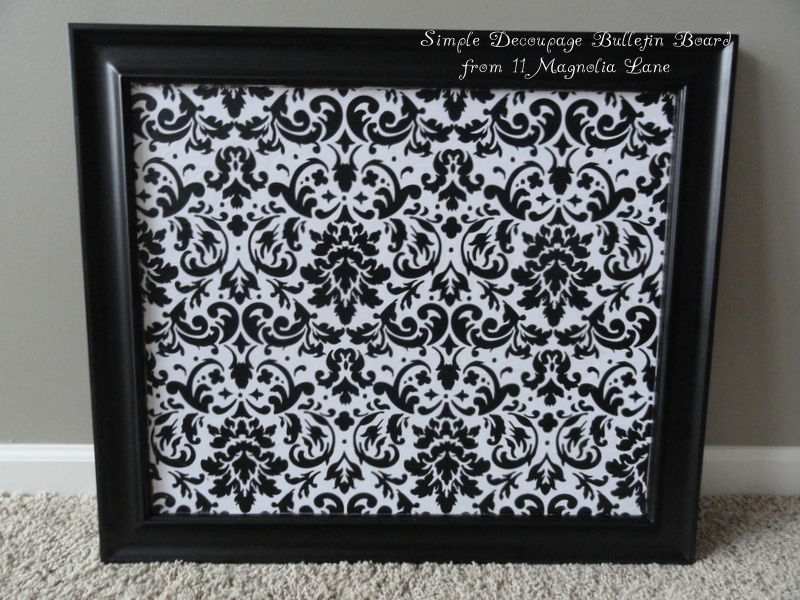
Here’s the finished product, once again:
And here’s the bulletin board, in use. Notice that most of the surface is covered with “stuff” already–kind of ironic, huh? 🙂
