Today for our “Back to Basics” series I wanted to share how easy it is to make a Printable and create all sorts of other fun things using PicMonkey. While there is no shortage of ready-made printables on Pinterest, this is a great tool for when you want to make something personal. PicMonkey is also an easy way to edit photos {including touching-up photos–see ya wrinkles!}, make collages, create invitations, personalize party decor, make classroom favors, design cards–you name it, and for just the basic functions it is free to use online at www.picmonkey.com.
{Our posts contain affiliate links for your convenience. Your price does not change should you purchase a product via our link. You may see more and our full disclosure policy HERE}
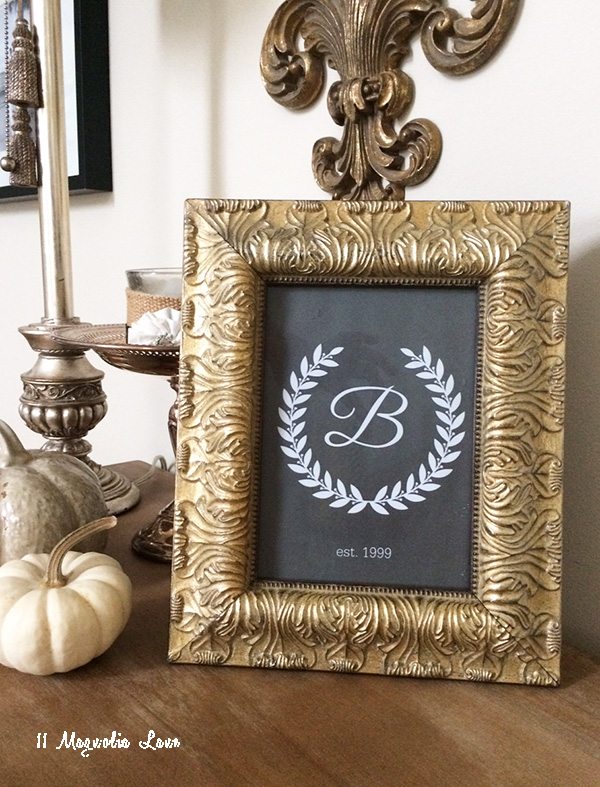
I made this printable above using PicMonkey, it was so easy. You can make all sorts of printables including trendy chalkboard signs, I’ll show you exactly how at the end. This program can do so many things but today I am just going to hit on some of the basics. You can learn more and get all sorts of ideas at the picmonkey blog HERE.
Because we use PicMonkey regularly for some of our blog photo editing and graphic creation, I have paid for the upgraded PicMonkey Royale membership. This comes with added fonts and graphics for only $33 a year {or $4.99 a month}, if you plan to use it regularly it’s well worth it. Compared to pricey alternatives like Photoshop, this program is a bargain and honestly much of the functionality is the same, it’s just easier to use. For bloggers the Royale membership is an essential, you’ll use it all the time. The fastest way to improve your photography {even phone photos} is to run them through a few tweaks in color, clarity and exposure and all of a sudden your photos will look a hundred times better.
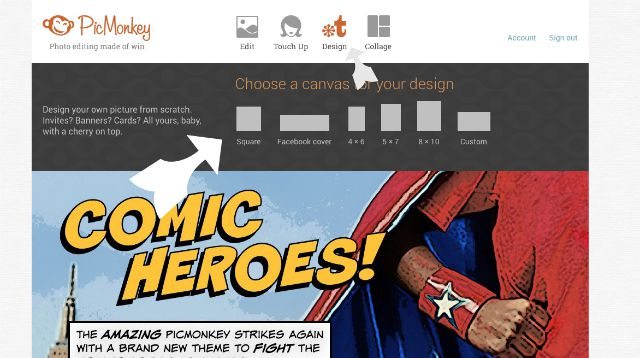
To start using PicMonkey, you can select {along the very top} to either edit an existing photo, touch up or design from scratch. You also have the option to make a collage of photos which is fun for a birthday card, a graduation or other celebration.
As you can see in the photo above, I selected “design” which brought up the sizes below. If you select 8×10 you can create an letter-sized printable, but the choice is yours. You will get a blank canvas and the option to change the background color and then you can start your design.
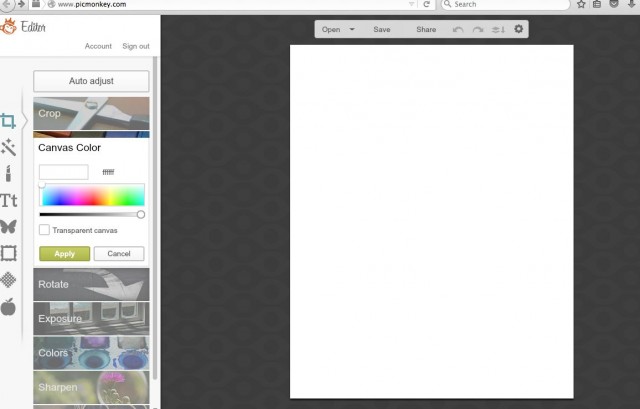
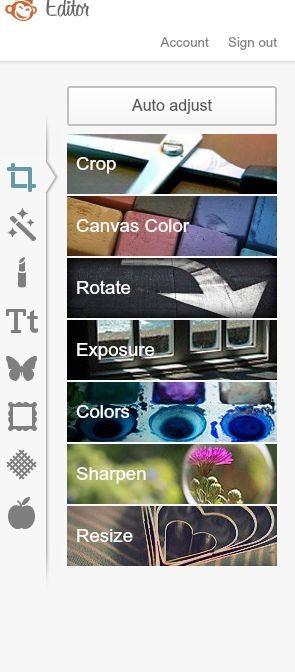
Most of what you need to do with PicMonkey you can do from the main sidebar, which are the small icons as you see on the left hand side above. The major photo editing tools like cropping, rotating and enhancing a photo via brightening or sharpening are all on this menu. Simple sliders make it easy to adjust the photo to your liking, the tools are very user-friendly.
Moving down the toolbar, the next icon is the Magic Wand tool which creates effects. You can use these to create different backgrounds or apply filters on photos to change their look and feel. The lipstick tool shows you tons of options to edit a portrait-type photo like teeth whitening or wrinkle remover–just in case you ever want to tweak a photo before you showcase yourself on social media. Now you can easily take a few years off, make your eyes more sparkly or clear up your skin, suddenly everyone will wonder your secret is 🙂
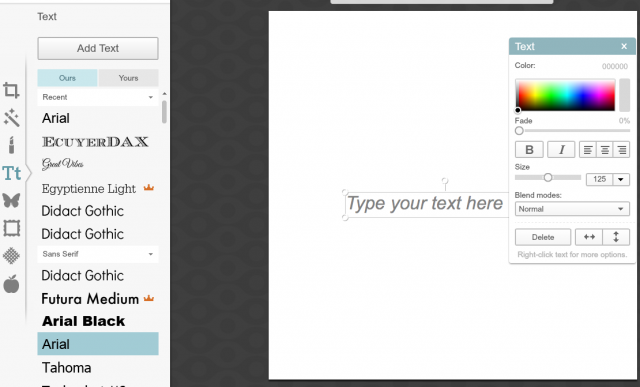
The “T” tool is for text–this is an essential tool if you are making a printable. To use it you just click on the text tool then draw a box where you want your text to go. A text box will pop up; you can see the text controls that are available on the right in the photo below. You can resize, change the text color, center it or even fade it so the background will show through. On the left you can see the abundance of fonts that come with PicMonkey. If you pay for the “Royale” membership you get quite a few more font options than with the regular, some of those you see on my screen below are part of the paid upgrade. You can also add your own fonts to your collection {under “Yours”} which is important if you are already working with an existing look/feel for a brand or blog.
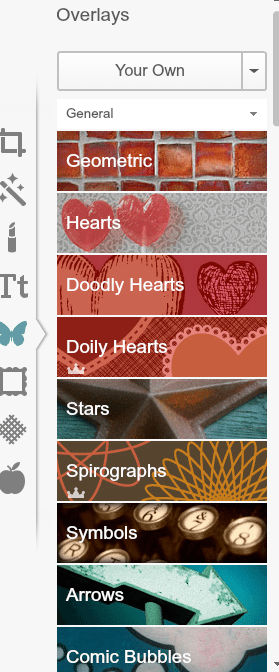
In addition to adding text, you can also add all sorts of graphics, accents, labels, symbols etc via the “butterfly” icon. You can get lost in this section for hours, there are so many fun accents.
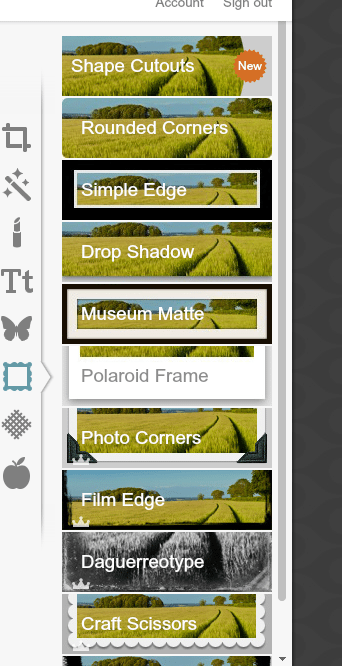
Once you have created your main image you may want to put a frame around it. We often add a frame to our “featured” image to make it the ‘headline’ at the top of our blog post using the frame tool.
Below the frame option is what looks like a window screen. That is the the textures palate. It adds all sorts of backgrounds and effects to your photos.
Finally, the apple icon at the very bottom of the toolbar has all the packaged themes–this one is probably the most fun one to play with. Many of these themes are available only with the Royale subscription, but especially for holidays they give you so many more tools to use and everything is designed to work together.
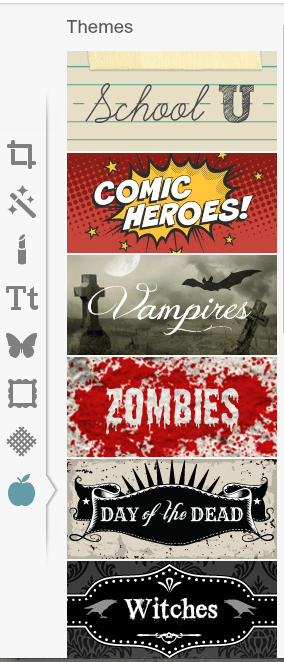
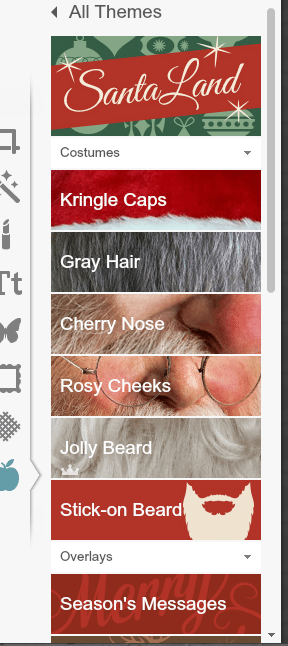
Above you can see many of the “Halloween” themed packages. Below I opened one of my favorites, SantaLand, which gives you are selection of holiday themed clip-art, fonts, icons and effects to use when designing holiday-related things. You can make so many things with this like Christmas cards, gift cards, stickers, banners, thank you notes, party invites–I could go on and on…
To walk you quickly through creating a chalkboard printable after you have selected design and a size, all you need to do is open the textures page {the woven screen icon} and select “boards” and you will see several chalkboard backgrounds. I selected one and then added a wreath from the Winterland collection, one of the packaged themes available under the apple icon.
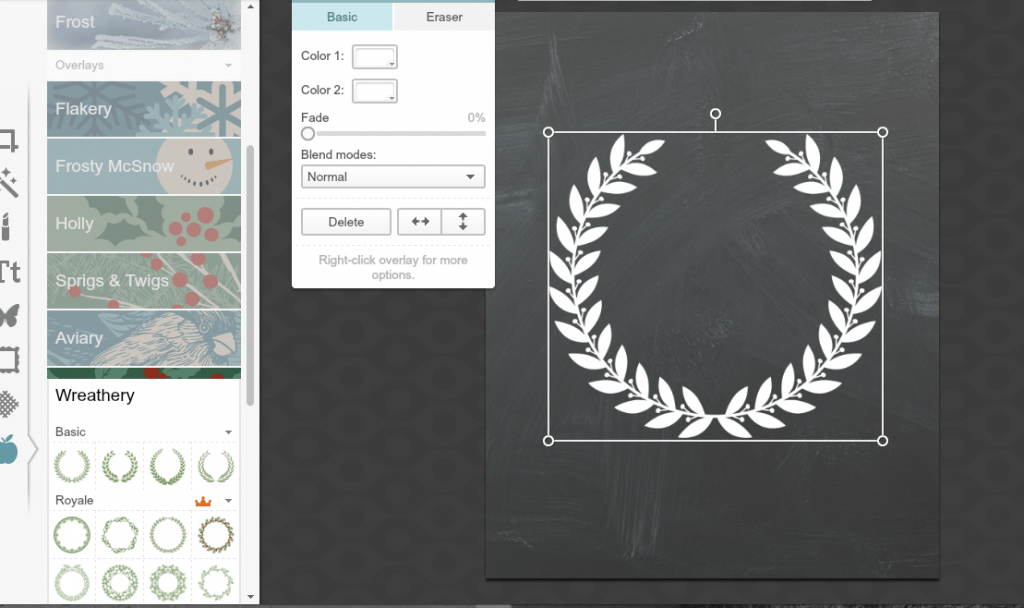
After I resized the wreath graphic to fit my document I changed both the colors to white. You can see above in the box where it says color 1 and color 2 above, this way it will stand out against the black background.
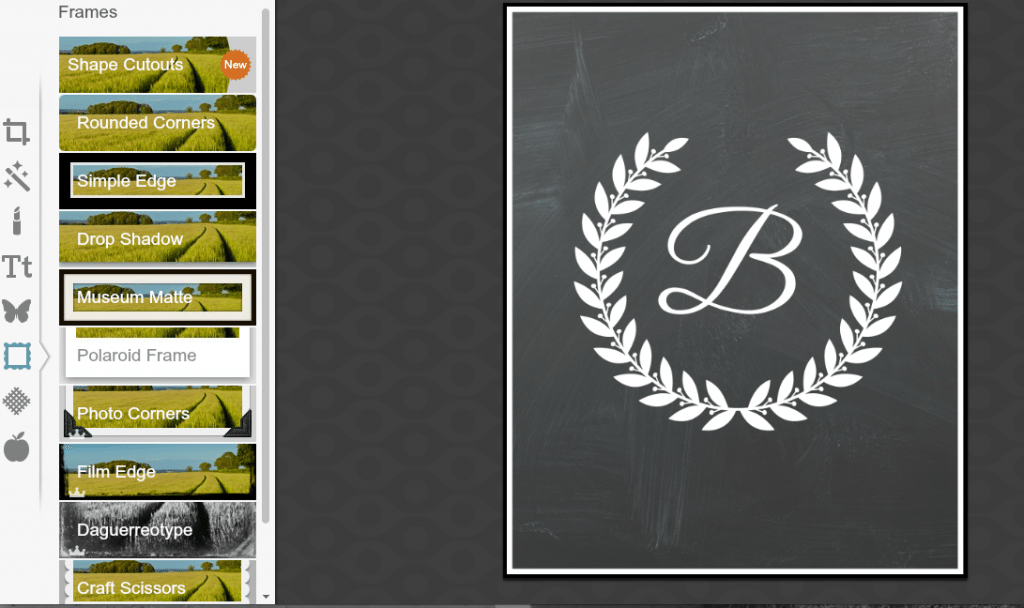
Then for fun I added a “B” in the center of the wreath to make a monogram. I also added a white frame around the outside via the frame icon using the “simple edge” effect to finish it for a polished look.

Finally, and just for fun, I used the text box to add a year at the bottom of this picture. This would make such a cute anniversary gift, something to commemorate a special day, and it literally takes just a few minutes. Anyone can do this, with practice you’ll see how easy the PicMonkey program is to use, and the possibilities for what you can create are endless. Just click here to head on over and get started.
Thanks so much for stopping by, if you have any questions just leave them in the comments. We’d love to see what you create!
Here is the easy-to-pin graphic so you can save this tutorial:

See all the other Back to Basics Posts HERE:
How to Paint Horizontal Stripes
You can check out what the other participants in the series are sharing today via Being Bianca, The Heathered Nest, House by Hoff, Southern State of Mind and This is our Bliss.
XO,
Amy