This post is sponsored by Elmer’s. All opinions are 100% my own. See our full disclosure policy {here}.
If you’re a regular follower, then you know that we had a pretty terrible move from Georgia to North Carolina this summer {read the saga here}. We’ve almost finished the claims process, and now I’m starting to work on the items that we didn’t have professionally repaired.
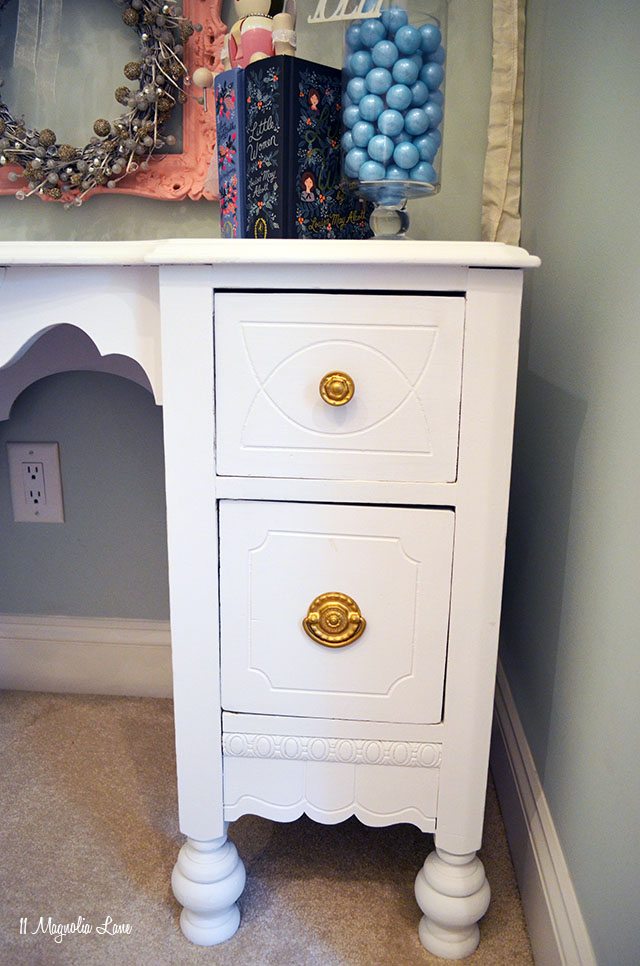
My daughter’s little vintage desk has been a staple in her bedroom since she was in first grade; it’s a find from the Cameron Antique Fair in Cameron, NC. I think that it was originally part of a vanity set, because it’s a little shorter than a normal desk, but it’s just the right since for my tiny girl (she’s 12 now but very petite).
It got pretty banged up in our move:
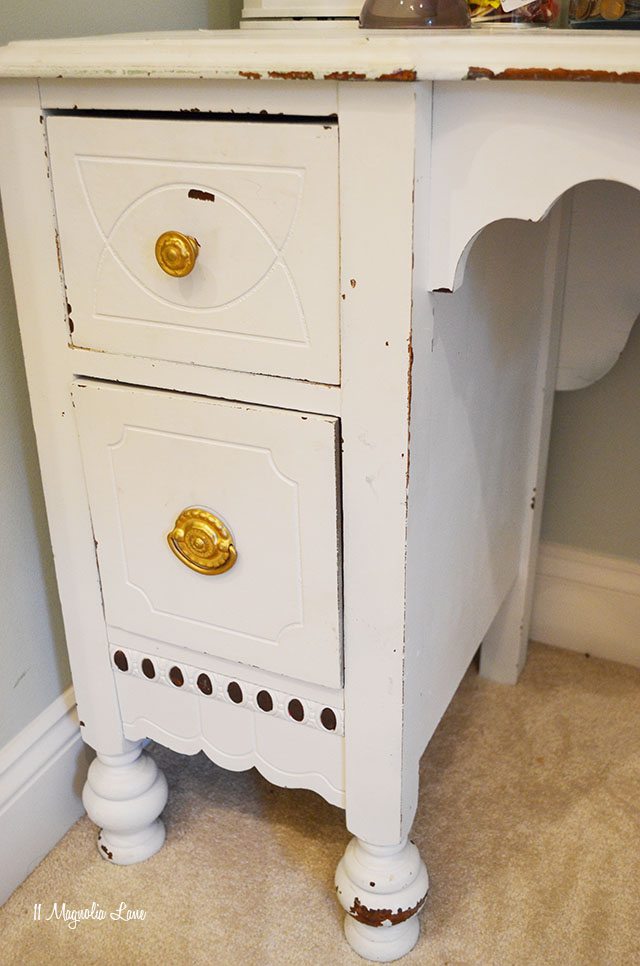
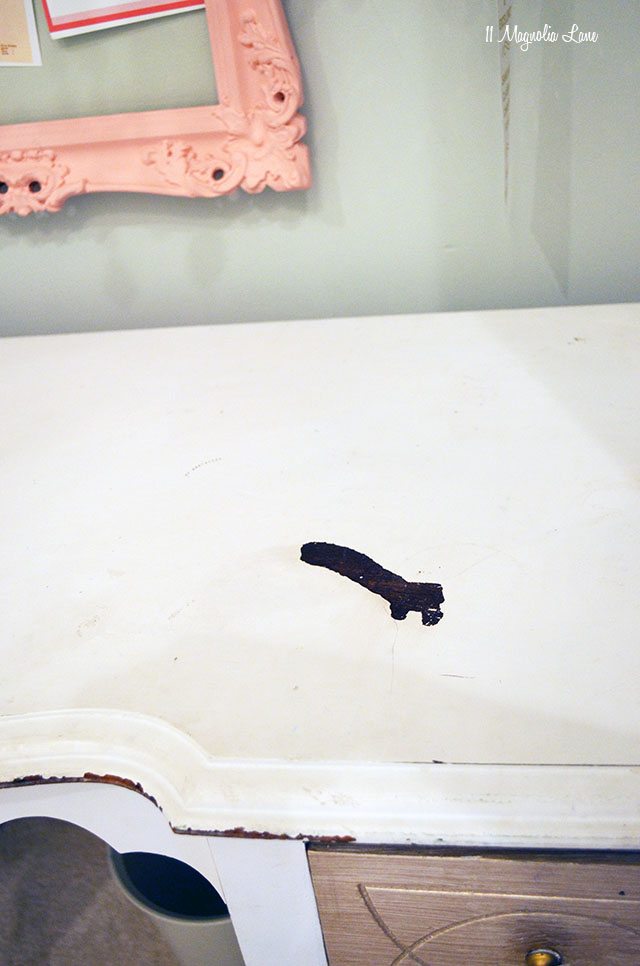
Our movers didn’t wrap our furniture in blankets and so there were lots of rubs and chips, plus a big gouge on the top.
I have quite a few items of furniture that are in a similar state, so you can understand why jumped at the chance to work with Elmer’s–I’m going to be using A LOT of their products as I make my repairs!
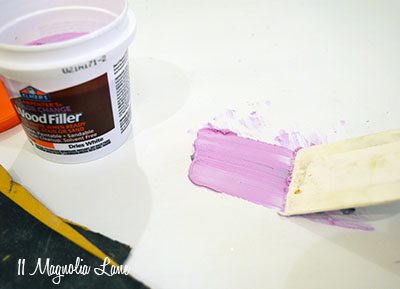
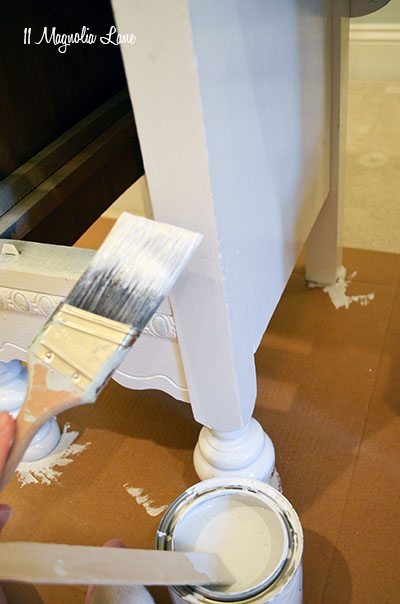
They sent me two of their Carpenter’s® Color Change Wood Fillers to try; one that dries white and one that dries natural. Both are sandable, paintable, and stainable, but since I was going to be giving this desk another coat of white paint, I chose the one that dries white.
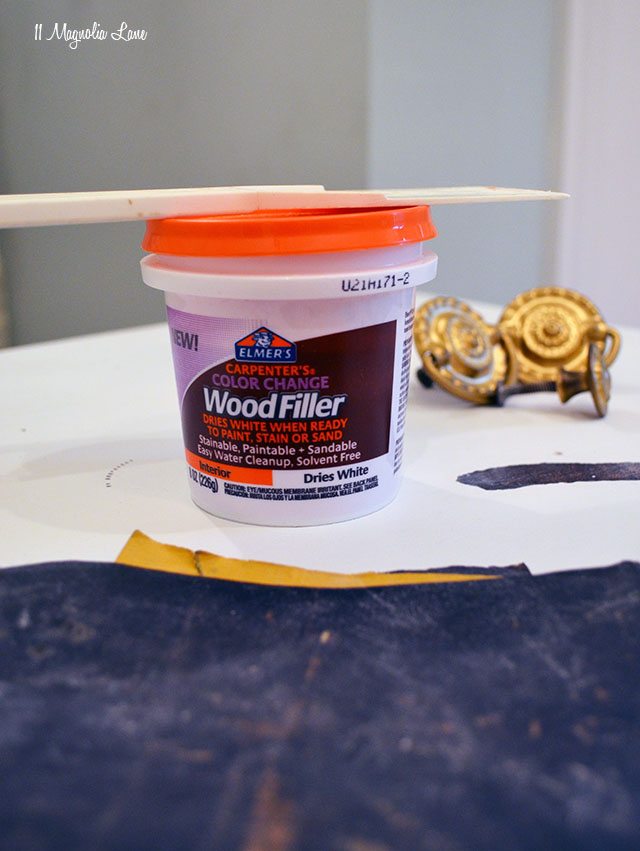
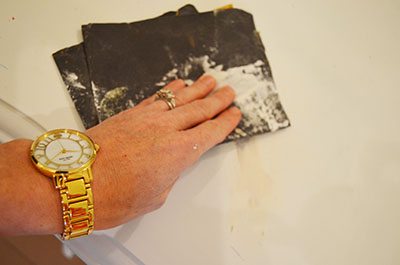
This was a very easy project, but as with all DIY jobs, taking the time to prepare the surface is key.
I started by cleaning the desk off and letting it dry.

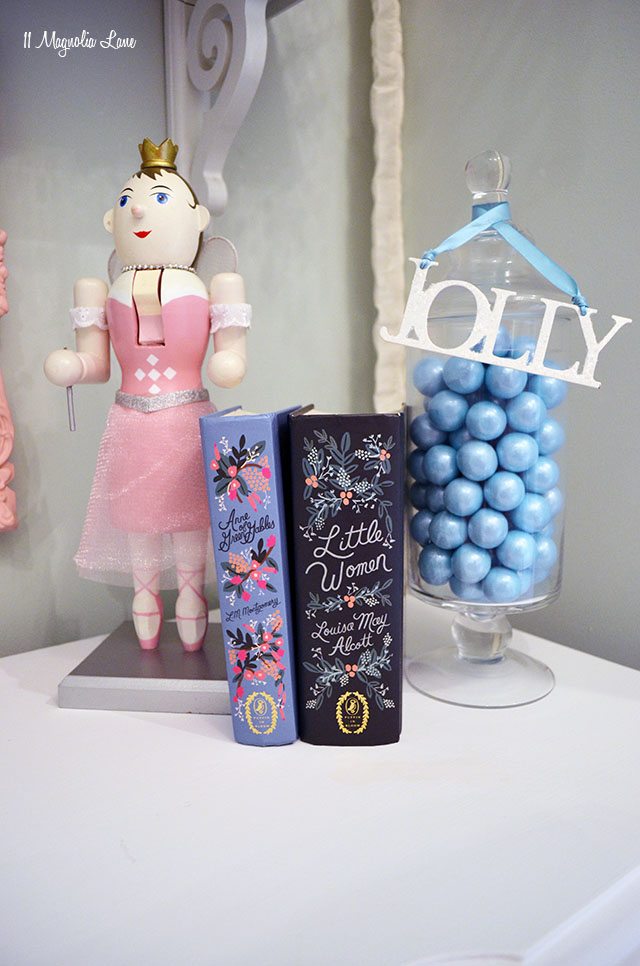
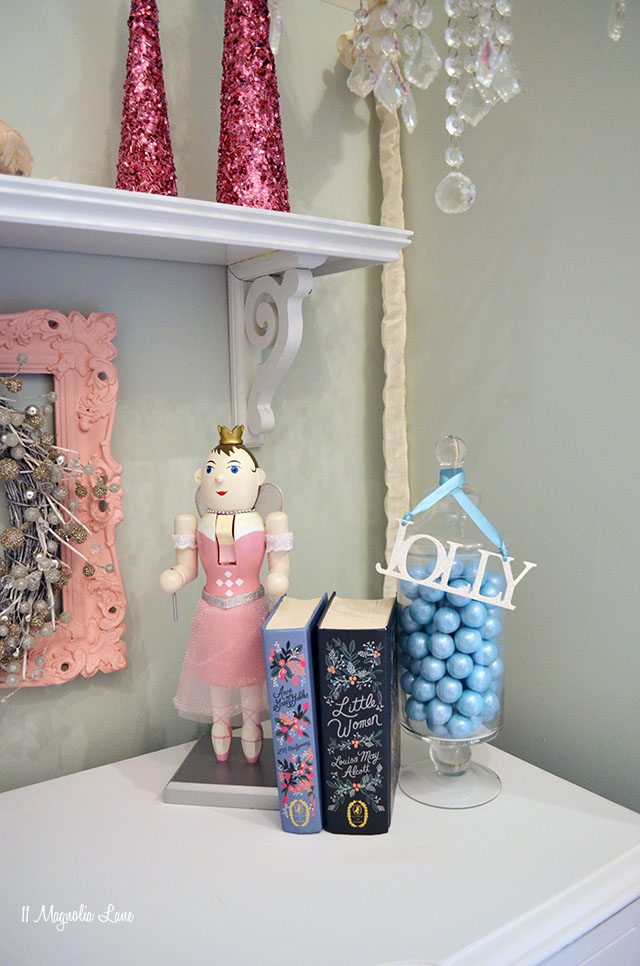
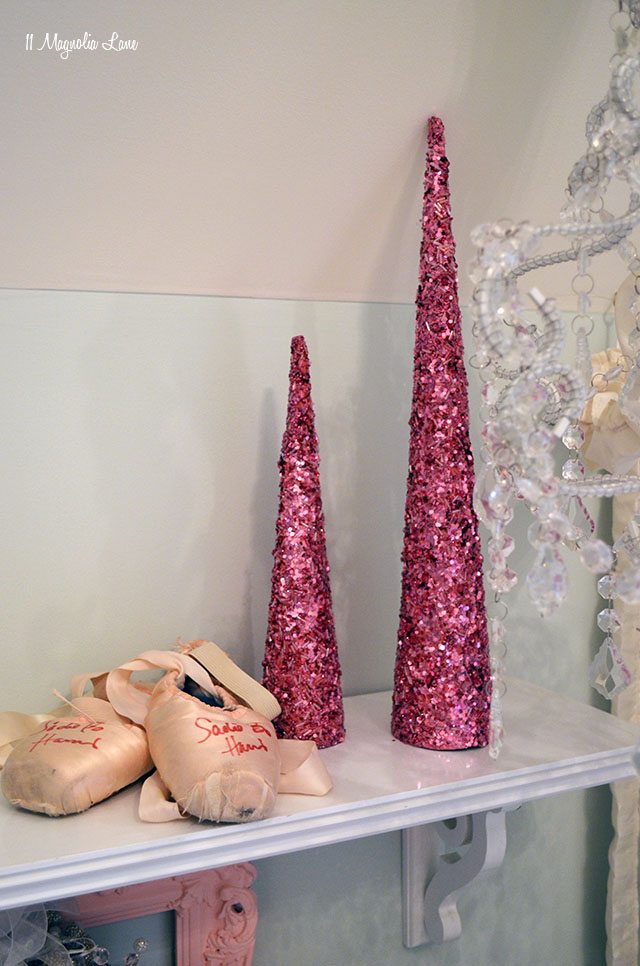
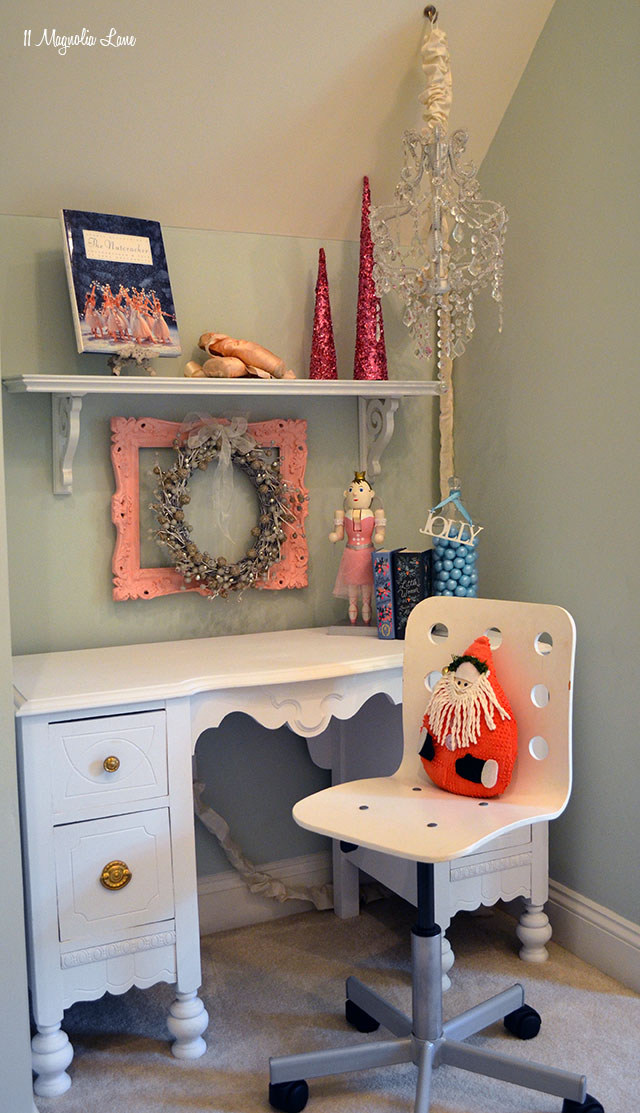
We are decorating the house a little early this year to be ready for a home tour; my daughter is a very dedicated dancer and so we use the Nutcracker Ballet theme to decorate her room.
You can see last year’s holiday decor {here} and {here}, and the rest of her room {here}.

In the meantime, I am enjoying how beautiful her desk area looks now. I was so glad to be able to give this vintage piece new life!
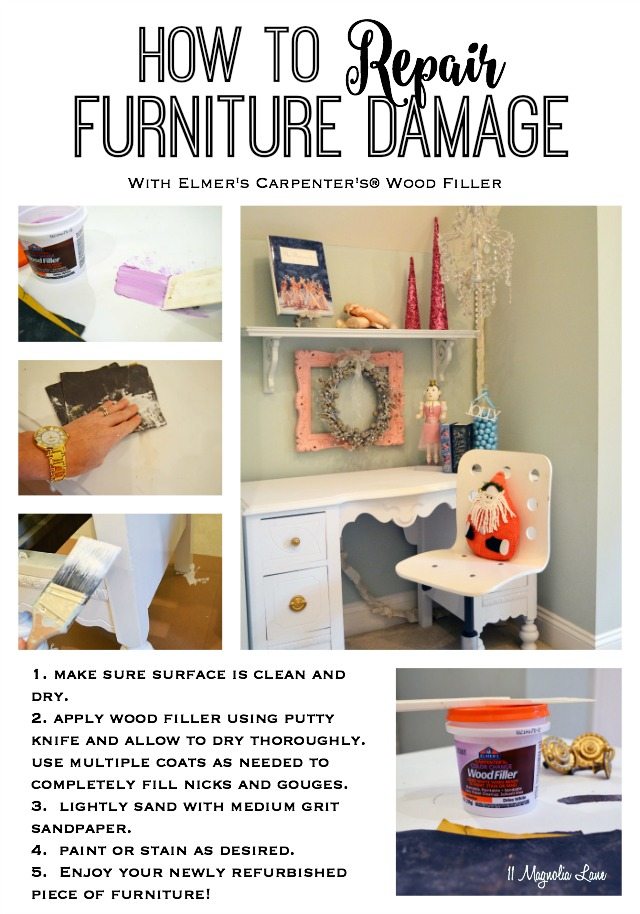
Here’s a handy graphic to pin, recapping the steps I used:
I also recently used Elmer’s Carpenter’s® Wood Glue to build this DIY plate rack for my pantry and to assemble our pantry shelving; check the linked posts out for all the how-to’s.

As always, thanks for stopping by!
Our posts contain affiliate links. If you make a purchase after clicking on these links, we will earn a small commission, which helps to keep our content free. You don’t pay a cent more than you would otherwise, since that would be tacky!
Sources:
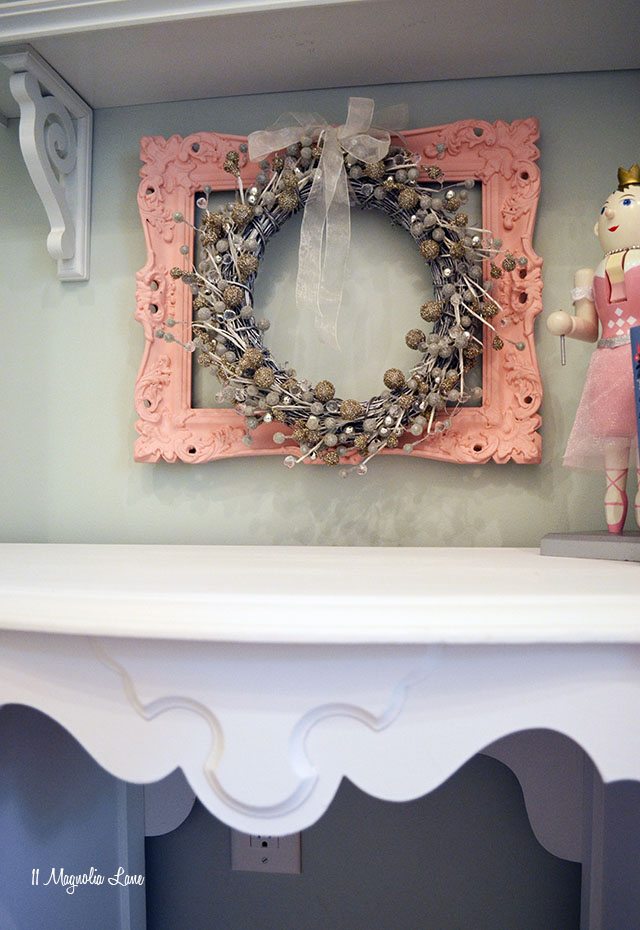
Desk and pink picture frame: Vintage
Silver wreath, apothecary jar: HomeGoods
Desk chair: IKEA
White shelf and Santa pillow: handmade
Pink Christmas Trees: Hobby Lobby
Pointe Shoes: my daughter’s never-ending supply 🙂