Last Thursday, I had had ENOUGH of my bare kitchen windows, and I decided to do my usual–figure out something fast, cheap, and easy using what I already had in the house. I had a ton of burlap left over from some party decorations, and twine, but I only had one curtain rod. There are two windows plus a door in my kitchen, so I had to come up with a window treatment that wouldn’t require a rod. Pfft–not even a challenge!
I’m feeling so smug about how these turned out–I love them!
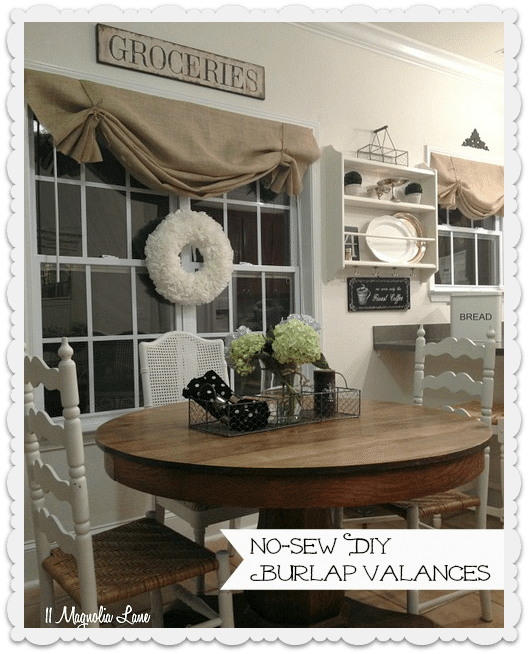
I’m going to tell you exactly how I made these, but first let’s just enjoy the “afters,” okay?
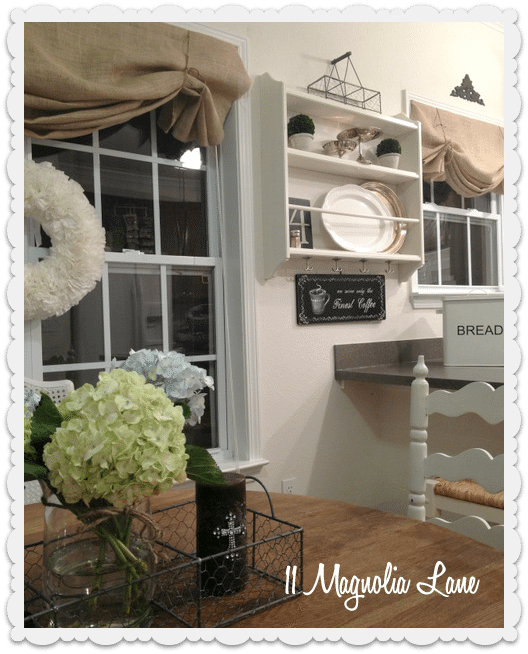
I think I only used about 4 yards of burlap, total.
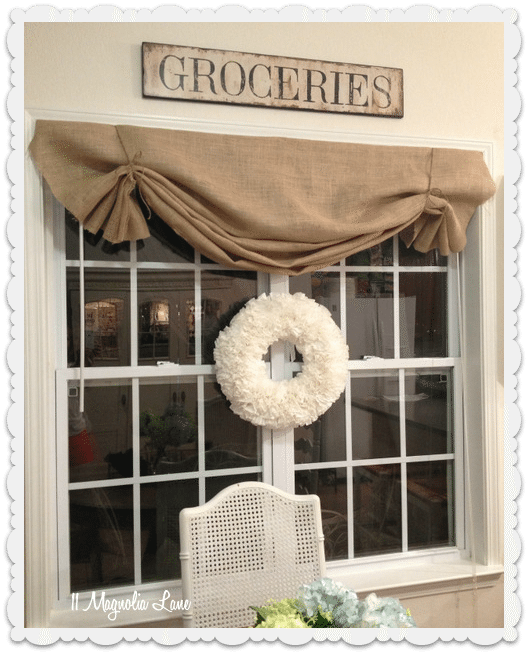
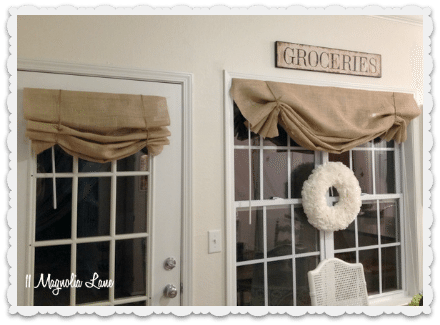
This picture is a little strange, but I wanted you to see the layout of the windows. I have the French door, then the double window, and then the sink window, all in a row. They looked absolutely naked before I covered them.
Here’s a before shot. There are café curtain rings all over the kitchen table because I was playing around with different options–cup hooks and café hooks, canvas dropcloths like I used in my old kitchen, and so on.
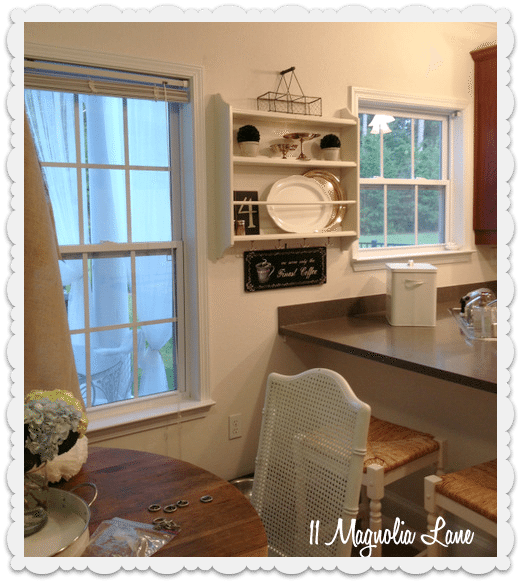
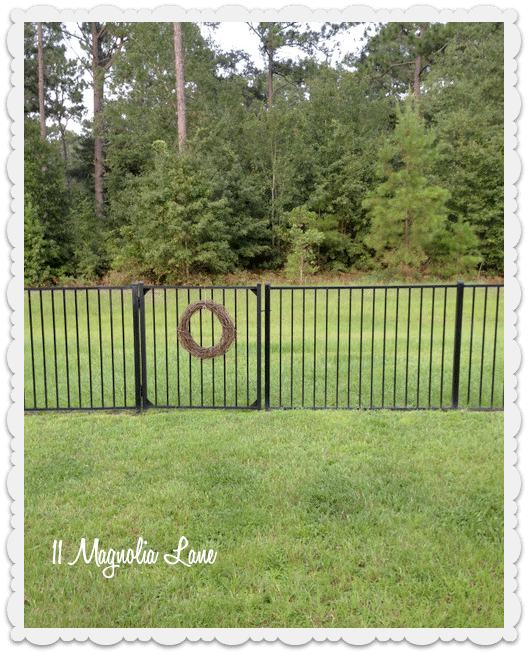
I pulled the thin vinyl blinds up to the top, and I actually removed the ones over the kitchen sink completely (I’ll put them back when we move). Our house backs up to the woods, so privacy was not a concern. Here’s the view out my window:
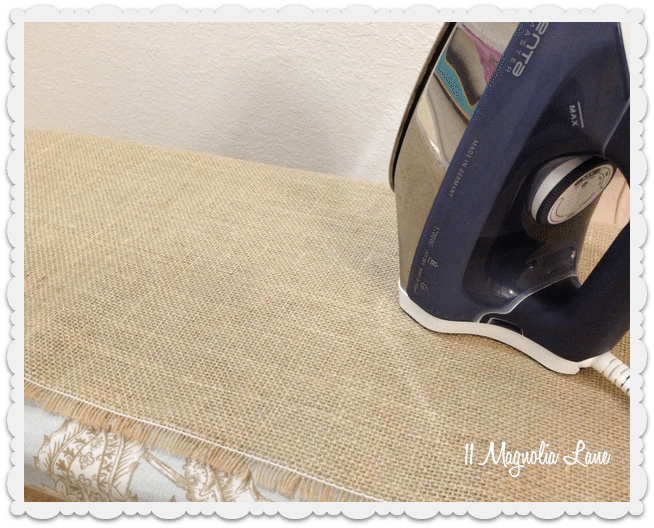
OK, so here’s how I made the valances. First, my burlap was from Hobby Lobby, and it was just the standard 45″ size in the natural color (you can buy it inexpensively online here). I think it was about $2 a yard when I bought it. Since it had been folded up and stuffed in a closet for a month or two, the first thing I did was iron it on high heat, with steam. The seamed and fringed edge is the top and bottom edge of the burlap bolt.
The next thing I did was measure the window (from the insides of the window casing trim) and add about 3″ to the total measurement. It’s easy to cut more away, but impossible to add back what’s already been cut.
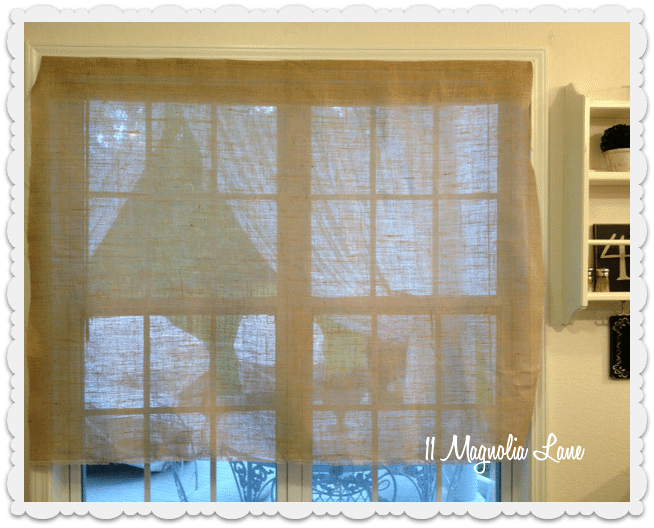
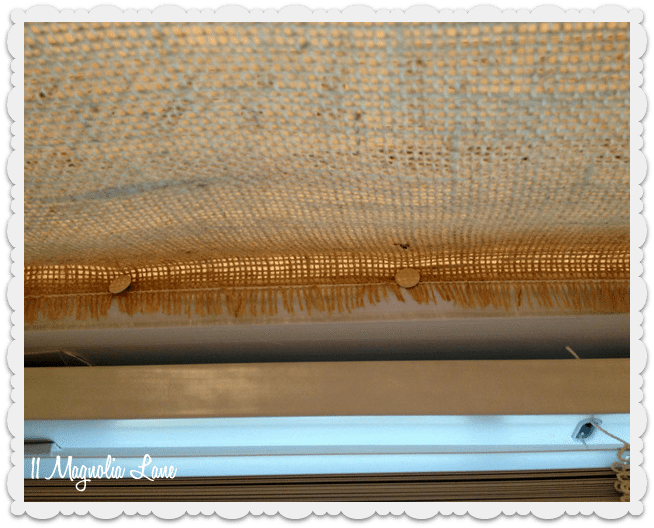
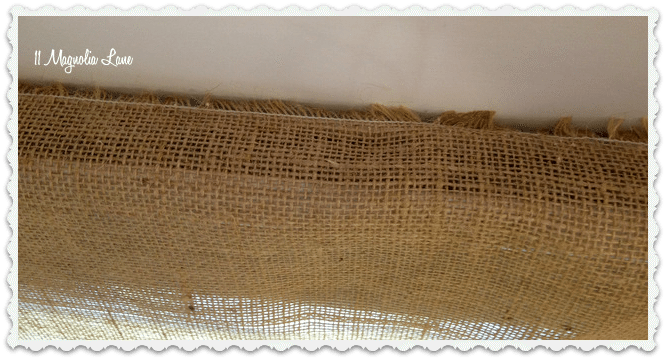
The seamed, frayed edges went on the top, along the top of the window casing, and the bottom. I used thumbtacks, spaced about 6″ apart, to pin the burlap to the bottom of the window casing. This picture is taken from up under the burlap:
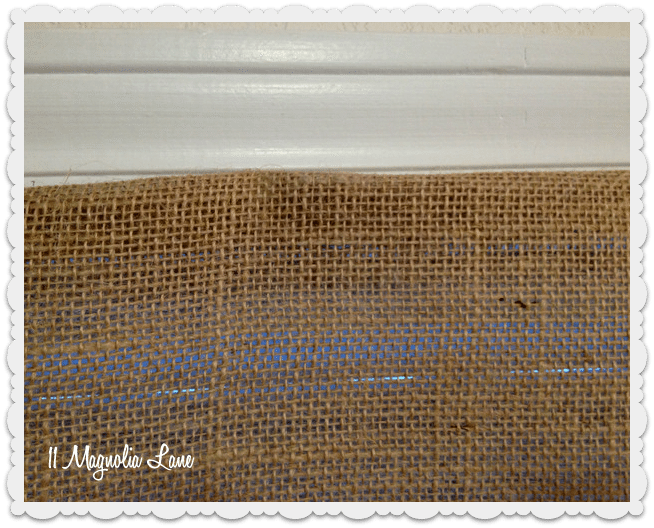
When the 45″ length of burlap hangs down, the top should fold over those thumbtacks and hide them, like this:
I added more thumbtacks as needed at the top so the burlap sat in a neat line. Then, I folded in the inch or so of fabric at the sides (like wrapping a present) and used another thumbtack or two to secure it from the underside. The picture I snapped was too blurry to post, so just go with me on this step!
I trimmed any loose fibers from the sides, and then started folding the burlap from the bottom like a fan or accordion. I tied jute twine around on each side, and in the middle:
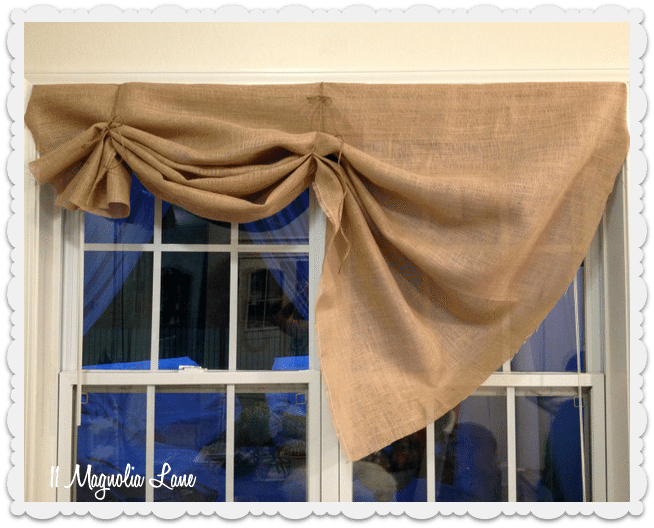
I left the three ties in place and fiddled around with the folds to see how I liked it.
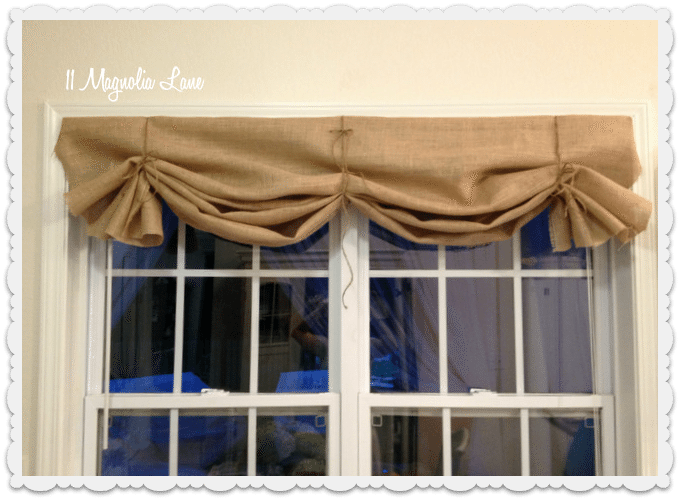
And then I fiddled a little more. This part took me awhile, until I got it just so. Oh, and the burlap will shed all over your floor, so be prepared to vacuum when you’re done!
The tiny little difference from the previous picture to this one is that I let the center tie out a bit. By the way, this is the sort of thing that makes my husband crazy–move it an inch, step back and assess, move it back an inch, step back and assess, ad infinitum…
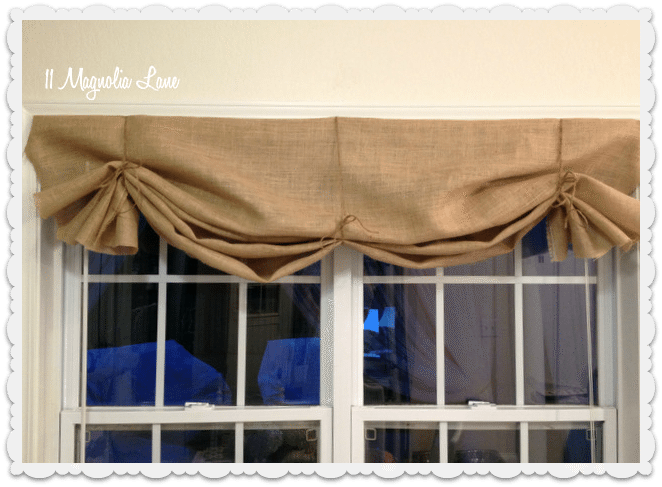
Finally, I took that center tie away and this is the way I kept it, although I continued to fiddle with the pleats. That’s what I do.
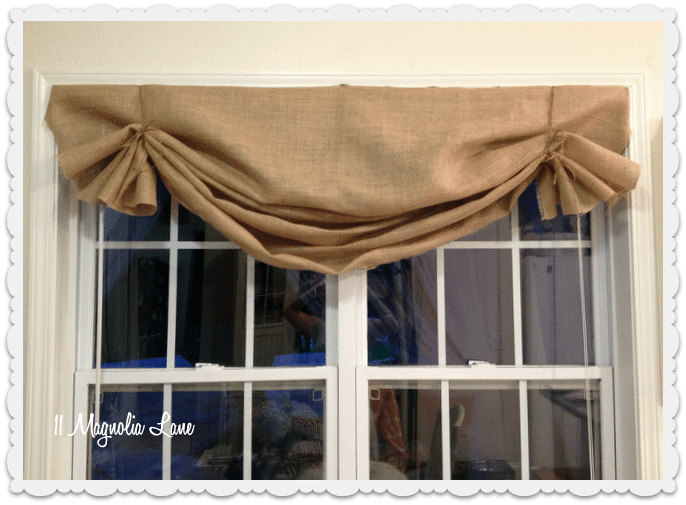
Here’s a close up of the jute twine and how I tied the sides up.
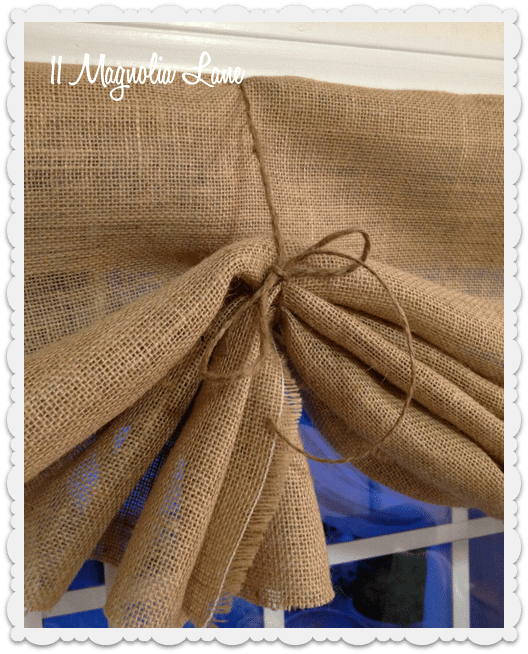
I repeated the process for the small window over the sink.
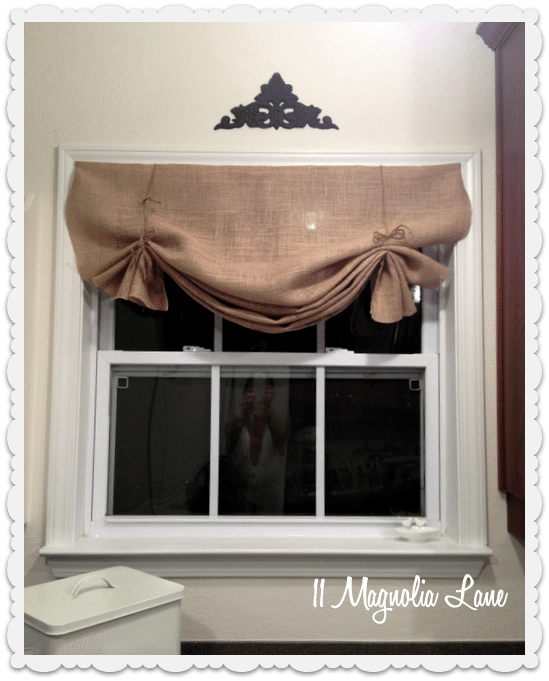
I did almost the same thing on the French door. Since there wasn’t any window trim to stick thumbtacks in, though, I glue gunned the burlap to the top of the window blinds:
Please don’t let that sentence horrify you. If you warm the glue a bit with a hair dryer, it peels right off. It won’t leave any marks when the time comes to take it down, and the teen, tiny thumbtack holes will fill with spackle so you’ll never even know they were there!
I had some fun styling my Ikea plate rack that sits between the windows. It’s the Stenstorp, by the way.
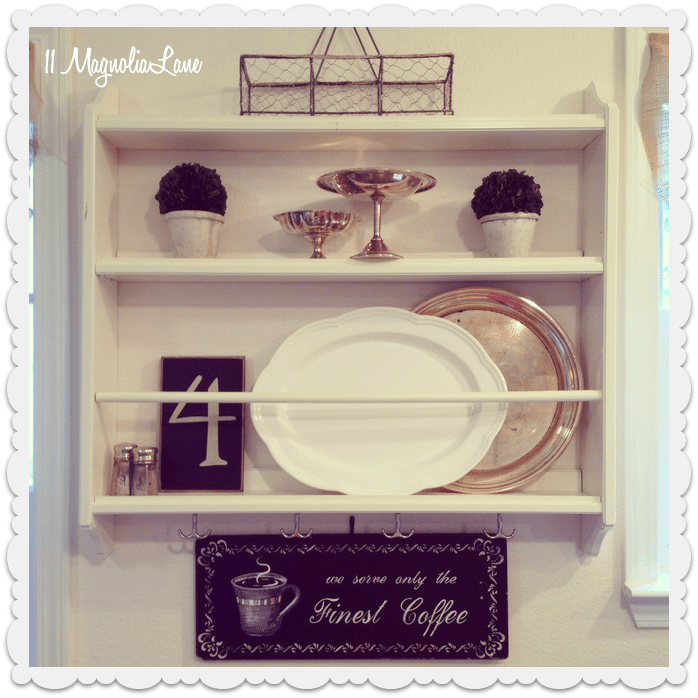
The Groceries sign is from Hobby Lobby, several years ago. It looks vintage, but it’s not. The white wreath is made from coffee filters. I made it several years ago, and I followed {this} tutorial from The Little Brown House.
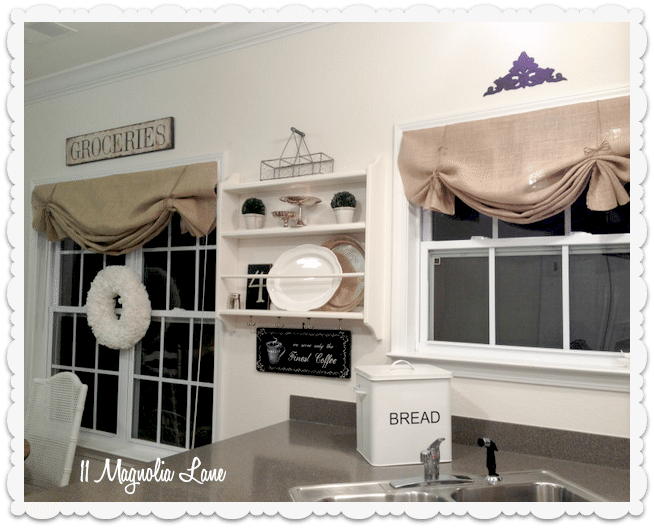
All three windows look out onto my back porch and the great outdoors.
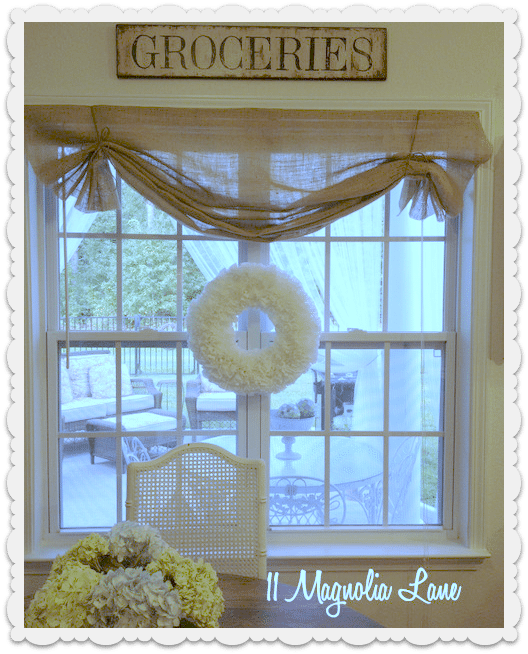
I’m so pleased with how they turned out, and the price was right, too!
Here are all the supplies I used:
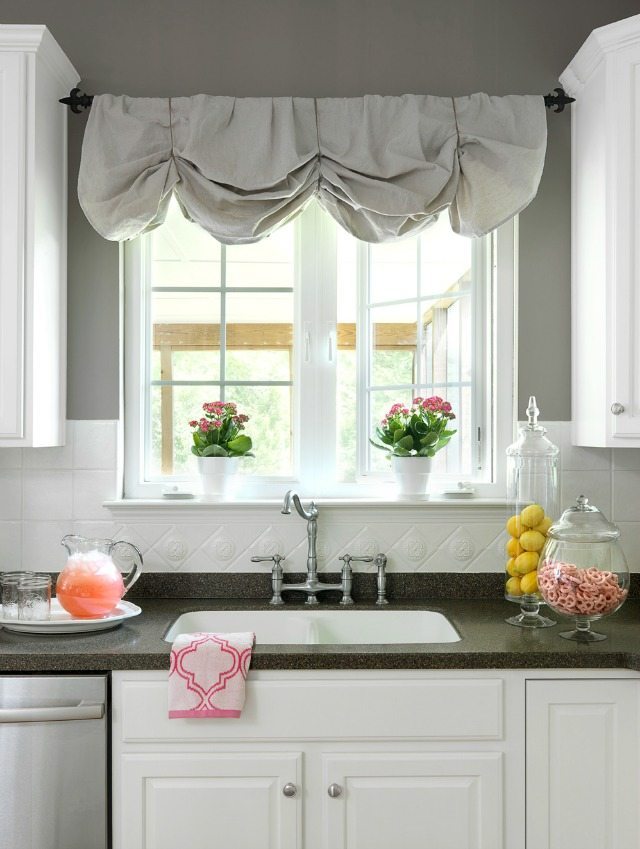
And if you’d like to see how I’ve used canvas painter’s dropcloths to create a valance that looks like this, just visit this post.
Our posts contain affiliate links. If you make a purchase after clicking on these links, we will earn a small commission. You don’t pay a cent more than you would otherwise, since that would be tacky!
Christy says
It looks great, Christy! I am still loving the texture of burlap and hope it’s a trend that sticks around for a while. Although, I love it and will use it whether its in style or not! I’d love to see more of your kitchen! 😉
Christy says
I’ll probably use it whether it’s in style or not, too, because I’ve been using it for years and love pretty much everything about it (but the smell!). Glad you stopped by!
Ada solis says
How do you removed the smell? Thanks
Gail says
Very glad you posted this. I have a set of curtains hanging up in a sitting room that I’ve never been happy with. I think IFinally found a fabulous solution. ( just hope I can get the burlap in a wider width, as my window is a bit more rectangular).
Yay for a holiday weekend, and being able to give this a go!
Christy says
Gail–you should be okay. I don’t think I was clear in explaining it. As you look at your window, picture the burlap unrolling from the bolt from left to right, not from top to bottom. Your burlap will be hanging 45″ from the top of the window since that’s the width of the fabric, but your length can be cut to any size you need. Does that make sense? Happy decorating!
Deidre~ says
Love these and they just add another layer of texture to your already lovely home!
Christy says
Thanks, Deidre! I’m always amazed at what a huge difference window treatments make to a room.
Melissa geittmann says
These look really great. I am all about burlap, reclaimed wood and metal. I am sitting here wondering what windows I can do this too!! Love!!
Ok, so the little number “4” on your shelf…where did you get that?
Christy says
Thanks, Melissa! The “4” sign is from Home Goods, and only a week or so ago. It was only $2, so even though it would have been a snap to make one myself, I decided it was a much better trade of time vs. money to buy it!
Ashley C @ Dirt Stains and Paint says
LOVE this! And definitely could use it for all different types of fabric – although I do LOVE the burlap! Pinned it for future reference!
Christy says
You’re right, Ashley, you certainly could. Not everyone adores burlap as much as I do! 🙂
Toni LeBlanc says
I am looking forward to hearing from you.
Toni
Dana Nichols says
Absolutely love these!!
Christy says
Thanks, Dana! Easy is always good, right?!
Screendoorgirl 3 says
Thanks so much! This looks perfect. Nice and simple. Thank you for sharing.
Christy says
You’re so welcome–have fun!
Bethany Faucett says
How did you do the back door? I have a back door and window in my den that I would love to do this to.
Thanks!
Christy says
Hey Bethany–
I glue gunned the burlap to the top of the mini blinds since there wasn’t any trim to stick thumbtacks into. I think I mentioned it above and showed a picture, so check it out. Hope that helps!
Angie Campbell says
I love the floral wreath you have hanging in your window. Where did you get that? Or, did you make it yourself? It’s so pretty!
Christy says
Angie–it’s actually made out of white coffee filters! I haven’t done a post on the how-to’s here, but if you google “coffee filter wreath,” you’ll find a tutorial.
Karen says
THANK YOU! I have had window treatments for 10 years now that I made from place mats as an emergency for Thanksgiving Dinner right after we moved in here. I’ve been looking for a no sew burlap treatment that didn’t take 10 yds. of material for each window.This looks so simple & beautiful, exactly what I’ve been looking for. Although, I’m sure I’ll be like you with the fold adjustments! NOW I can get going on 2 windows & a French door.
Christy says
Karen, I’m so glad this helped you find an idea for your windows. Hope you love them when you’re done!
The DIY Homegirl says
Hello! I featured your tutorial in my blog series, Living in a White Box. My series features tips, inspiration, and ideas for how to decorate rental homes. Your burlap valance is perfect for my latest post as it’s a simple, inexpensive way to add some style to a window.
If you like, you can grab a featured button and check out my post at Living in a White Box: Mini-Blind Madness. Thanks for sharing your amazing creativity!
Christy says
Thanks for sharing! I posted your link on our Facebook page so our readers can see all the great tips you’ve collected.
Sheri says
I am thinking this would look great on a screened porch !
Christy says
Good idea, Sheri! I have long white sheers on my screened porch, but this option would add more privacy and sun protection than those do.
Heather says
Love them! I will have to copy 🙂
Christy says
Go right ahead–that’s why I shared it! 🙂
joanne says
LOVE these! Have you ever washed burlap though?
Christy says
I have not, and I’ll bet it doesn’t wash well at all. I think when they get dusty I’ll just take them down and shake them out, or even vacuum them. Of course, burlap is SO inexpensive that I could redo all these windows for under $20.
J.W. says
Thank you so much! What a simple but great idea. I have burlap and can get started right away. 🙂
Christy says
Glad you found it inspiring–I hope yours turn out perfectly!
Jen says
We have a cedar log cabin we built in 1996. In the kitchen I have oak cabinets and never got around to putting up a backsplash until last month, I hated the idea of covering those beautiful red & yellow logs, until now! I convinced my hubby tin metal roofing would look great! So he put it up as my backsplash and now I’m having him do the island and bar in tin. I think this burlap curtin will be a great addition to my rustic kitchen! Thanks for the tutorial.
Christy says
Jen–that sounds like it will look great with the tin and the logs–glad the tutorial was helpful!
Theresa McKibben says
Love these burlap valances! My husband and I are going to make them for our lake house cabin. They will be perfect. Thanks so much for the inspiration!
Christy says
I think the rustic look will be great for a lake house–have fun!
Julie says
I made these! They turned out great! Actually, rather than pin them with tacks I made a tab by folding over a few inches at the top and gluing with a glue gun – enough to run a curtain rod behind it. Great idea! Love saving money this way and having homemade decor.
Erin says
I love these so much. I definitely want to put them in my kitchen. I have beautiful love affair with burlap right now. Just made a super cute burlap cube pouf ottoman. I also want to put these in my guest bedroom but I also want to put white sheers behind them. How would you recommend hanging them if I have a curtain rod hanging the sheers and there are blinds in the window as well?
Christy says
I would put the sheers inside the window framing on a tension rod (in front of the blinds) and then put these valances up just as I did. The multiple layers should look pretty–good luck!
Emily says
I have a question related to your glue gunning the burlap to your door. Did you have a space between the blind and the top of the window (so did you put a bead of hot glue at the top of the blind between the blind and the wall?)?
I have honeycomb drop down blinds that we occasionally use, so I don’t want to take them down and there isn’t a gap between the top of the window and the blind, so I’m wondering if I’m going to have to sew them and use a rod. :/ I may try to hot glue the burlap to the very top-front of the blind where it’s plastic, but I’m afraid it won’t look as neat. Any thoughts? Sorry if I’ve totally confused you. 🙂 I love your tutorial!
Christy says
Emily, I do have a small gap between the blinds and the door (just a few mm), but I actually glued the burlap to the top of the blind box because I figured I’d never be able to dig the glue out of the crack in between the blinds and the door. No one’s tall enough to see the top of it, anyway!
Heather Schilling says
Thank you for posting this! I made orange burlap curtains. Love them!
Christy says
Great–so glad you found it helpful!
Alisa says
Hi Christy, I’m not an expert DIY, and i’ve been stumbling my way through this on and off all weekend. I’m getting stuck on a couple steps and hope you can help!
First, I can’t figure out what you mean on this step: “Then, I folded in the inch or so of fabric at the sides (like wrapping a present) and used another thumbtack or two to secure it from the underside. ”
Are you tacking it to the sides of the window here? how far down?
Second, Do you fold one side at a time and then tie it? It is awkward trying to fold all together.
Finally, it looks uneven, no matter what i seem to do, did you have this problem?
I hope you can offer a few more details to help my DIY-Challenged self.
Darlene eipp says
How do you secure the twine?
Christy says
Hi, Darlene–
I just tied it in a knot and hid the knot in the back of the valance. If you need to secure it at the top of the valance so it doesn’t sag, you can use a thumb tack. Hope that helps!
Theresa says
Love the results!! Thank you so much!! Your hard work will make mine easy!!
Phyllis says
This is so cute! I’ve been trying to find something like this to do instead of having full length curtains.
Christy says
Awesome–so glad you found it and that it helped you out!
jane mcclure says
How many yards of burlap do you order?
Christy says
Hi, Jane–I wrote this post almost seven years ago, believe it or not, but as I read back it looks like I added three inches to the window measurement (from the outside of the casing to the outside of the casing) to get my yardage per window.
Hope that helps! Christy
Johnna Geigert says
Hi there! Late comer, here. But I’ve been recently searching for burlap curtains tutorial. Love yours! My question: so you thumbtack the sides to the woodwork (which I have), then what happens when you start to fold it up? I want to make these this weekend.
Thank you!
Christy says
You just thumbtack the top of the side to the woodwork so it doesn’t stick out (fold it like a present). There’s really no wrong way to do it. It’s a great window treatment for about $5. I hope yours worked out well!
Christy