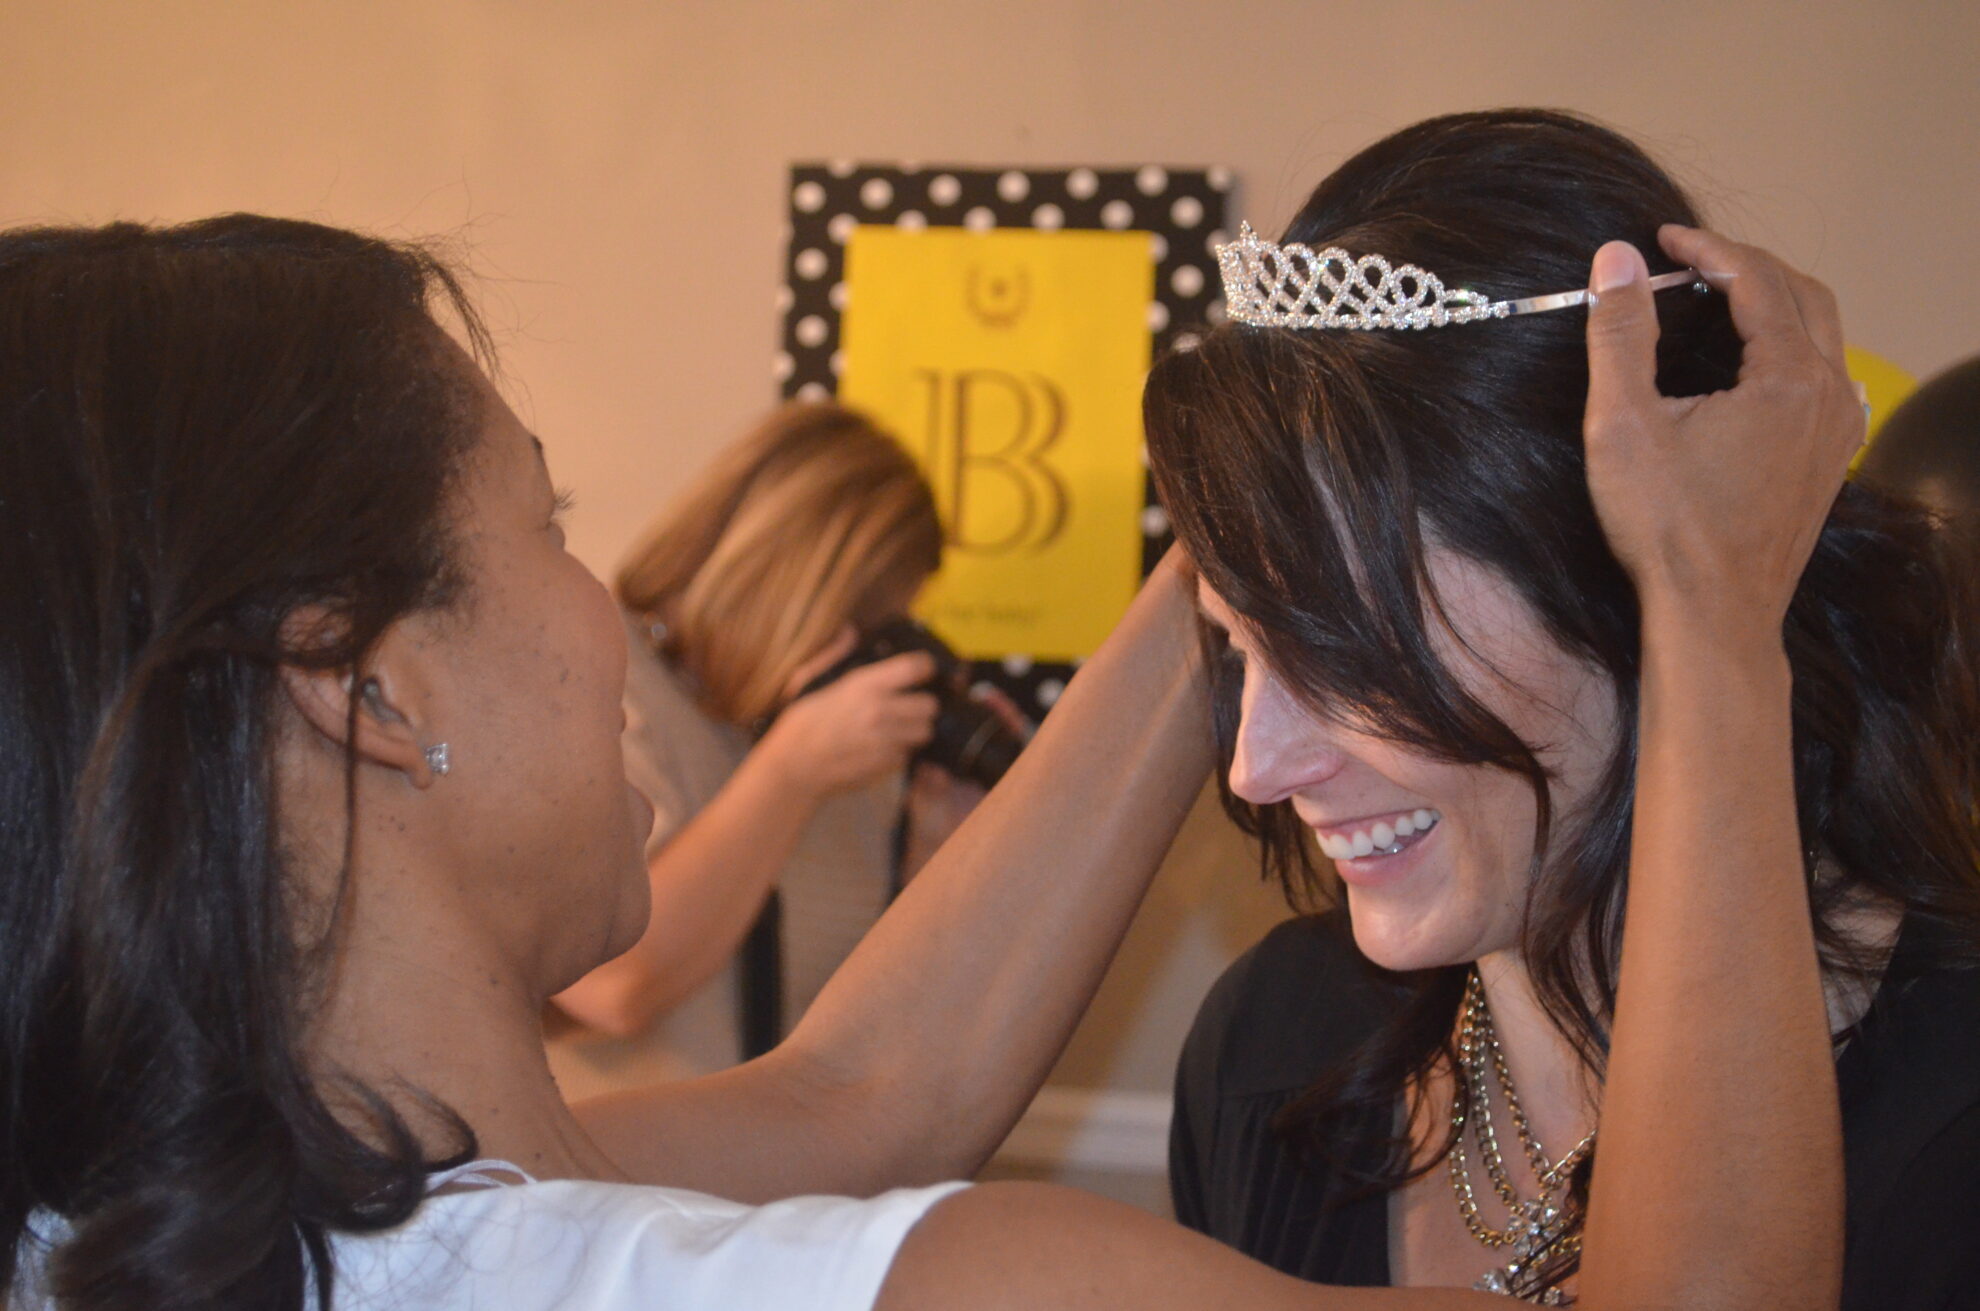
Hi everyone! We took a much needed family vacation to a Magical Kingdom last week (I am still recovering!) so I am just now responding to all your nice comments and am back with more details on Terry’s Baby Shower. If you missed it, the first post on the whole fun event is HERE.
A whole team (well, three!) of us worked together to pull this off. Our friend Trinity {see the shower Terry hosted for her HERE, and her baby nursery HERE} and our friend Christina. We divided and conquered the tasks, thank goodness for Pinterest, where we used a “secret board” so Terry couldn’t see all our pins during the planning process! Terry has thrown some lovely parties/events for each of us –and for many others as she is an event planner by trade– so we wanted to make the most of the chance to spoil her for a change!

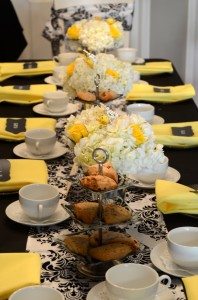
Today I wanted to share how we did some of the party decor, in particularly the paper. I am so pleased with how the whole event came off, but none of the details were very complicated.
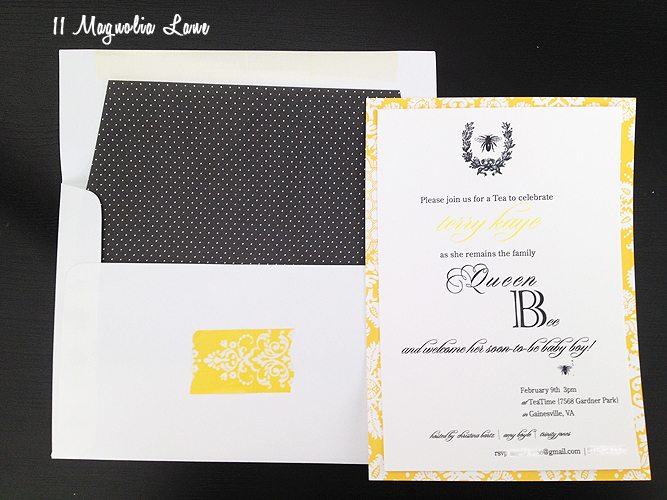
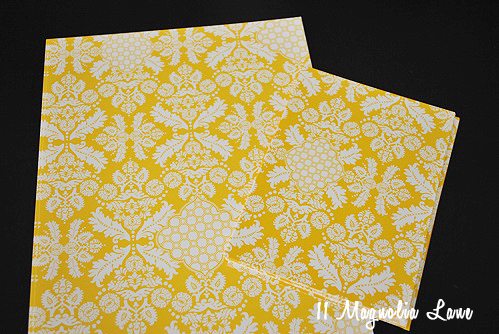
I will begin with the invitations. I have the advantage of having had a business making wedding and event invitations, so these weren’t hard. Once we decided on the Queen Bee theme, I knew I wanted to use the yellow damask paper available through my paper supplier.
Creating invitations like this is not difficult at all. I have design software but you can simply create a file in any word processing program and print on white cardstock. I used a bee graphic on the top, and then added text. I ordered the paper in both full sheets and 5×7″ cardstock, but you can always cut the regular sheets down to your preferred invitation size which is slightly cheaper but a paper cutter is essential for straight lines, FYI.
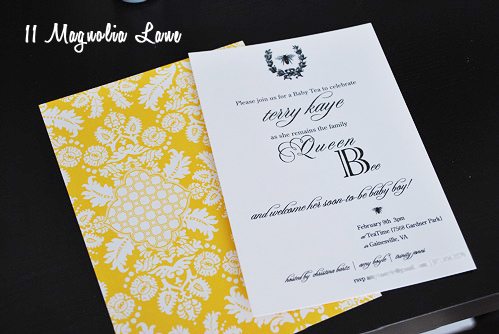 I simply taped the white paper invitation to the cardstock with double-sided tape, the extra layer makes the invite special, adds color and I think the extra thickness makes it feel ‘fancy’ 🙂
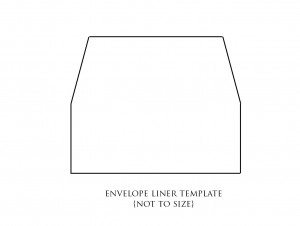
I also lined the envelopes, an extra step for sure, but my favorite special touch. I used scrapbook paper from Michael’s in a variety of patterns, honeycomb, polka dot etc. I made a template out of plain white paper first, and traced it on the back of the scrapbook paper and then cut the shapes out, then you just tape inside your envelope with double-sided tape or even glue.
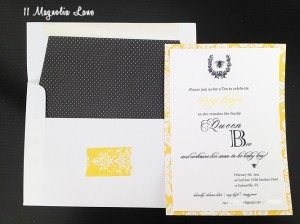
The final touch was sealing the invitations with a small piece of yellow damask washi tape {found at Michael’s} because I couldn’t resist!
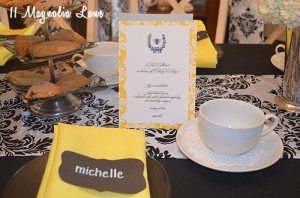
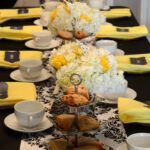
Using the same technique, I made Menu Cards for the table. I also used plain black scrapbook paper, cut a shape I liked out of it and wrote on it with a chalkboard pen to make each guest a place card.
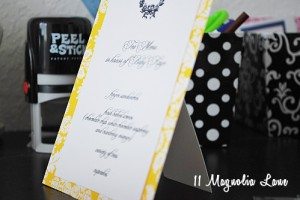
I added a small square of paper to make the menu card stand up and they were placed along the center of the table.
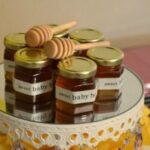
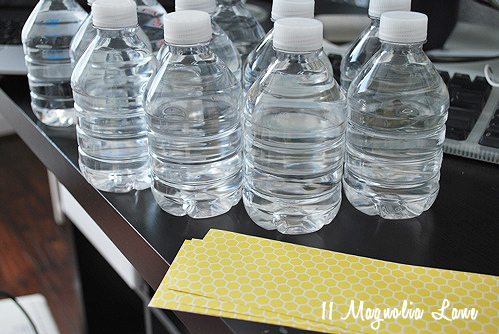
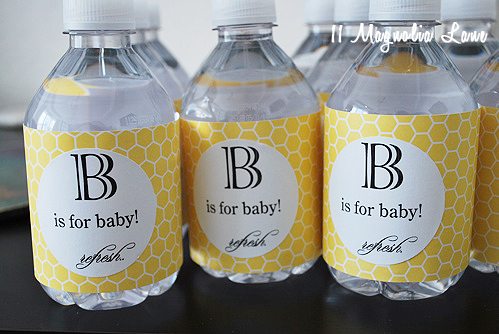 Another easy touch is to make little custom water bottle stickers. Again, this is SO simple. We intended to send these home with the guests, but wound up distributing them during the extended socializing that went on after the shower events were done. The refreshment was welcome after all the sweet treats and I was very glad we had them to offer.
To make these, simply peel off the existing water bottle label, which is pretty easy to do. Then cut strips of scrapbook paper {we used honeycomb to go with the “Bee” theme} that are large enough to wrap around the bottle. I believe I got five, maybe six, strips per scrapbook sheet for the small Deer Park bottles? Using double-sided tape, just seal them at the back.
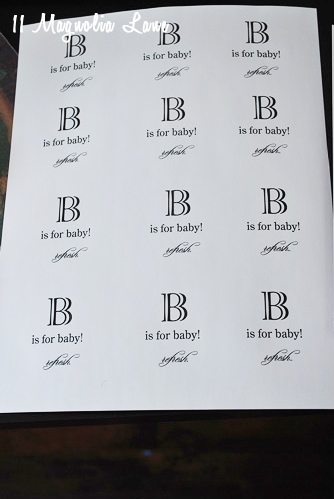
 I then printed a small design on full-sized label paper. Using a round punch, I cut out the “Bee is for Baby” and then just stuck them in the center. You can find plenty of these designs on ETSY if designing something like this is intimidating, then just print it yourself, punch each one out and you have a practical and cute party accent.
Phew! I will be back with a few more details, especially regarding the favors and some of the decor but for now I will leave it at that. If you have questions, please let me know in the comments.
Thanks for stopping by!