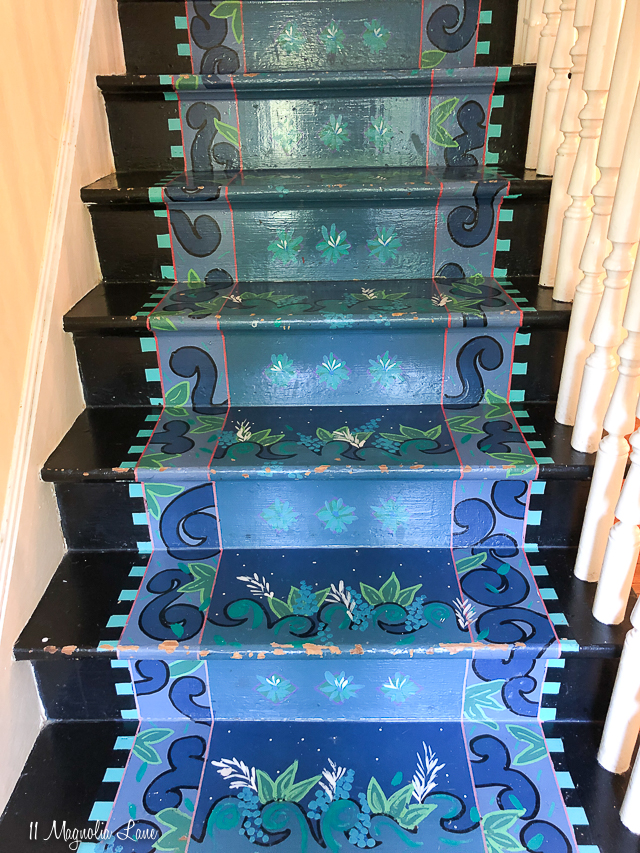
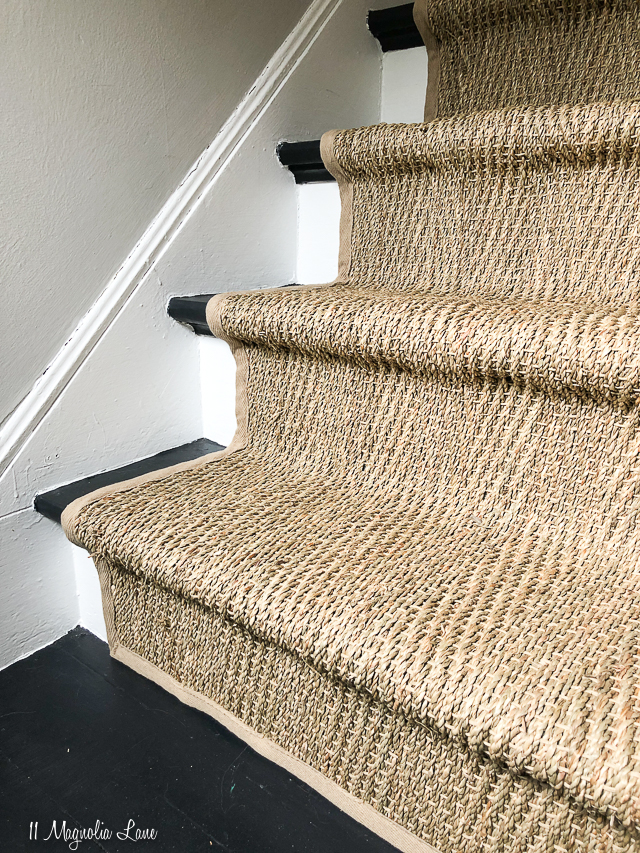
If you remember, when I painted the stairs in our house, I mentioned that I wasn’t quite finished yet–the final touch would be to install a seagrass runner on the upper portion of the steps to protect them and give people (and pets) a little more traction.
Today I’m excited to share the finished project!

I’m thrilled with how it turned out, plus it was a relatively easy project and very cost-effective.
Just to refresh your memory (or if you’re new here), this is what the steps looked like when we moved into 100-year-old Magnolia Cottage about six months ago:
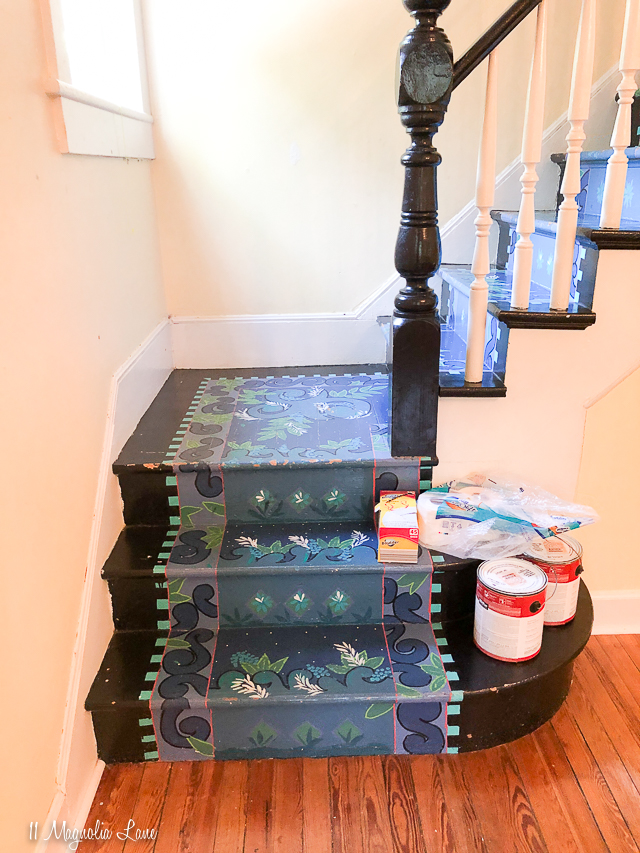
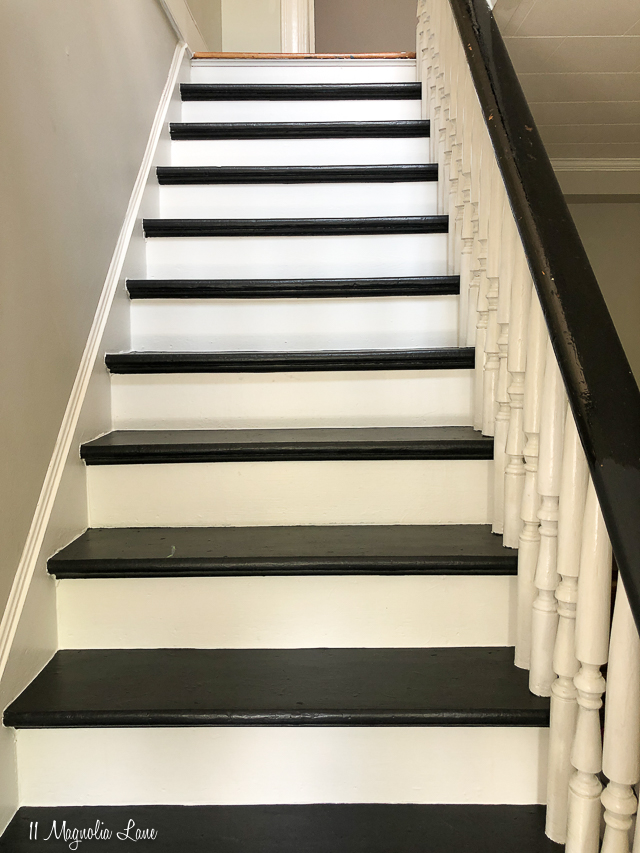
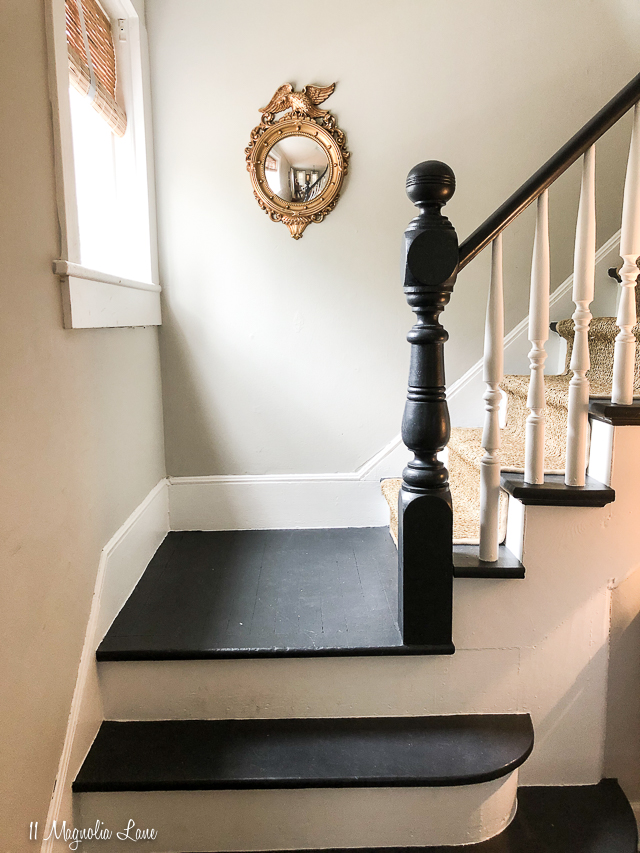
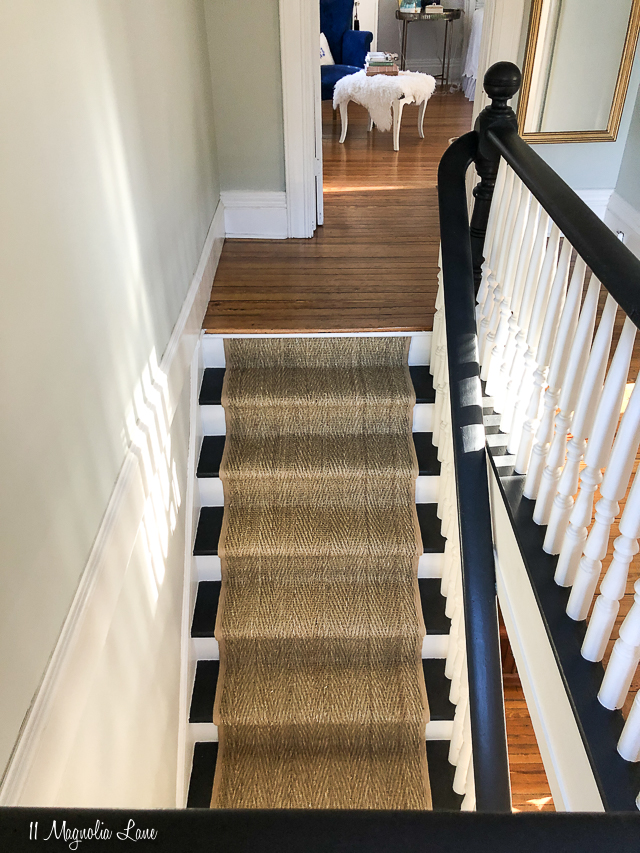
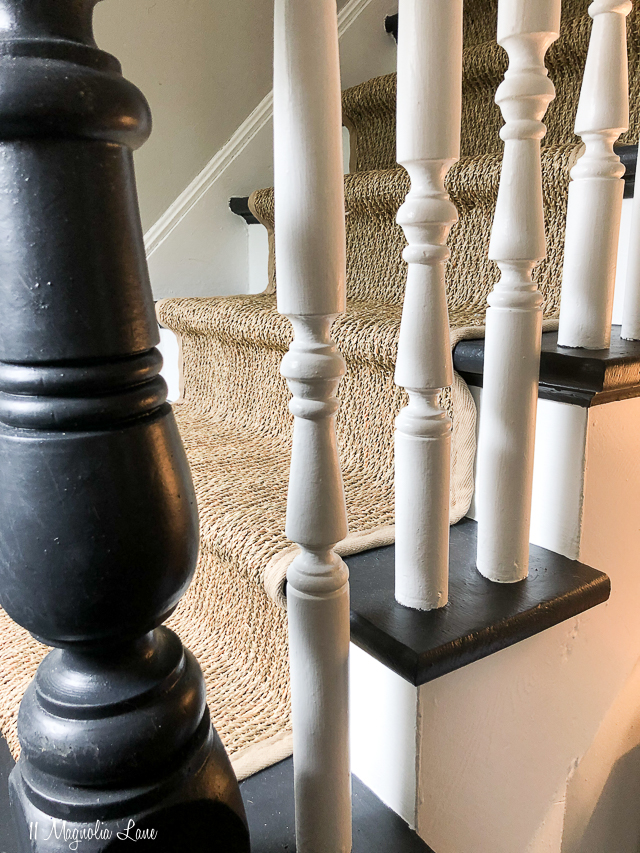
With the homeowner’s enthusiastic permission, I painted the chipped and colorful steps with a more renter-friendly palette of black treads and white risers. You can read all the how-to’s and details in this post about the process. Here’s how they looked after I painted them:
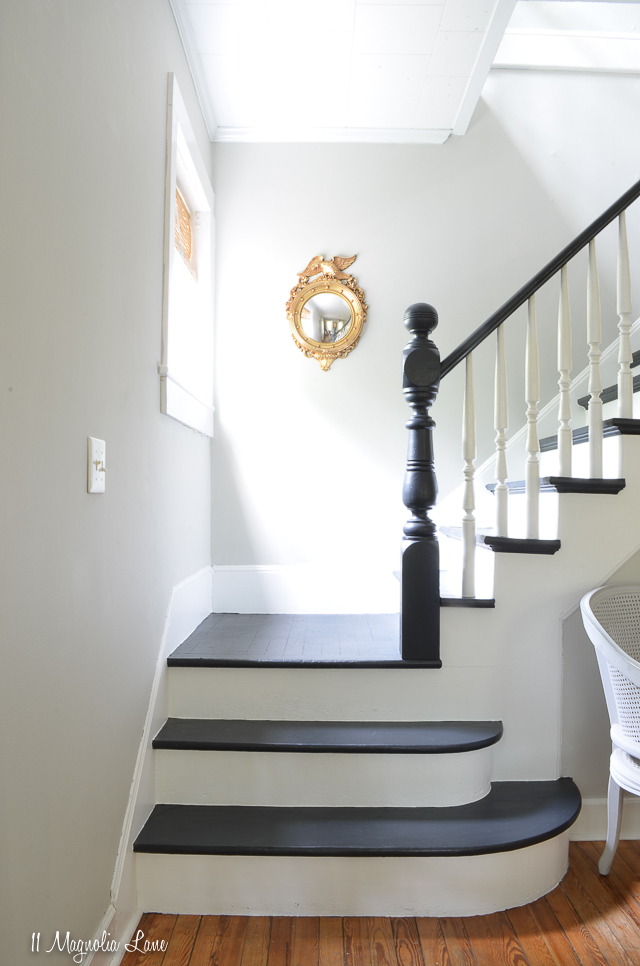
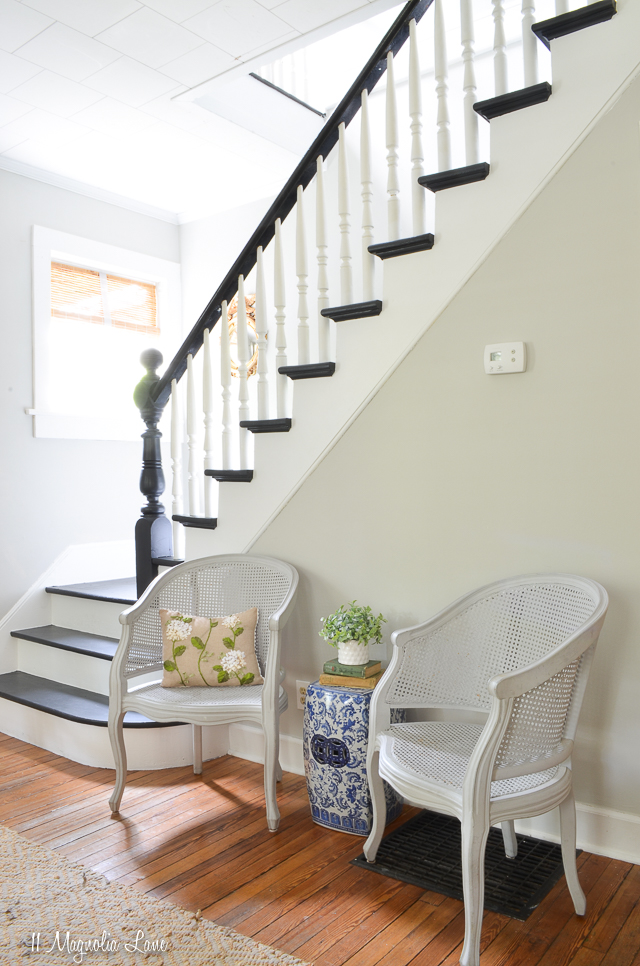
I loved how they looked, but black shows everything, and with a golden retriever who sheds like it’s his full-time job, the stairs looked kind of yucky if I didn’t vacuum them every day. It was always my plan to add the seagrass runner, but I couldn’t seem to find a block of time until right after the new year.
In all, the project took about four hours from start to finish, and while my son helped me position the runner and make sure it was centered, I completed 99% of the project by myself (so you can, too!).
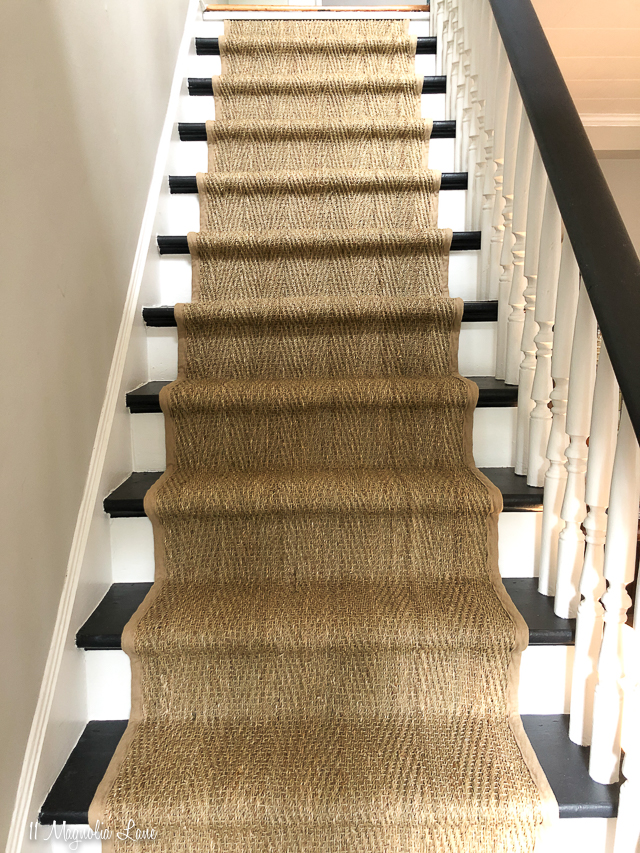
The first step was to measure the steps (about four times to be safe!) and order my runner. There are several different patterns available but I opted to purchase a runner with a neutral binding and a zig zag design. I’ll list all of my sources at the end of the post, but I ordered this exact one in the 2’6″ x 20′ size. Definitely round up when you’re ordering as you can cut your runner quite easily if it’s slightly long.
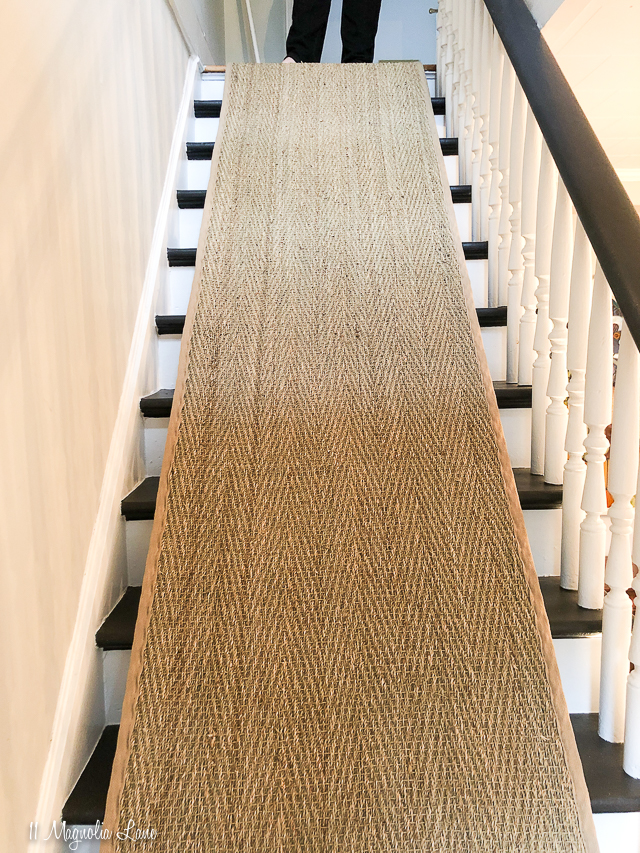
We rolled out the rug, centered it, and then I used painter’s tape like Lisa recommended to mark each step to help keep it straight (sorry, I forgot to take a picture of that part). Working from the bottom, I used my crown stapler to install the runner, using 18 gauge x 1″ staples.
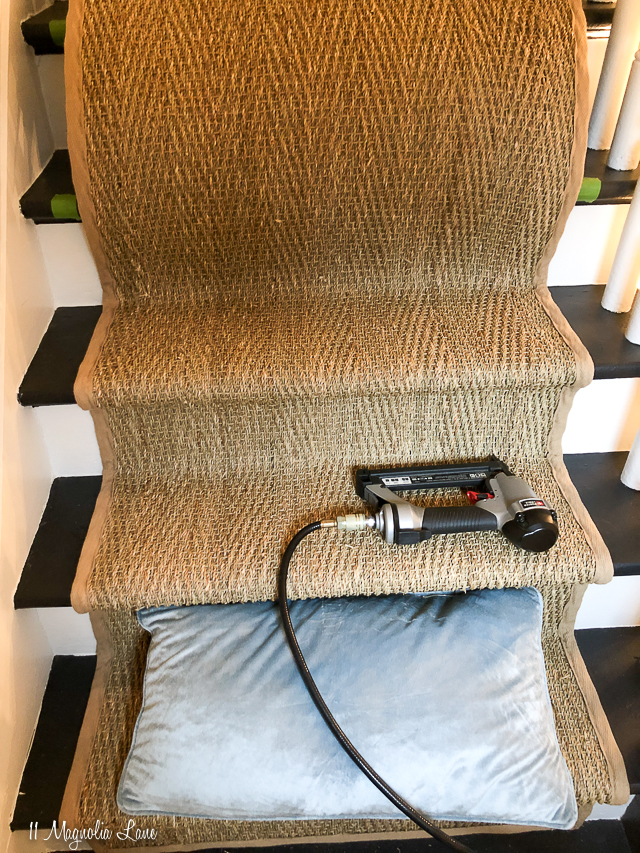
I would NOT attempt this project with anything but a pneumatic stapler, but if you’re a DIY’er then a compressor should definitely be on your work bench! I’ve had mine for about five years and it comes with a stapler and two nail guns–I highly recommend it and have linked to it below.
The pillow is because knee pads would be helpful for this sort of project–mine were super sore the next day!
It does take quite a bit of muscle to pull the runner tight and make sure you get a close fit; I also wound up with sore pecs and deltoids the next day but just considered it an extra arm day.
When I got to the top of the steps, I used a utility knife to cut the runner. My knife was brand new and it cut like a dream, so I definitely recommend a new blade.
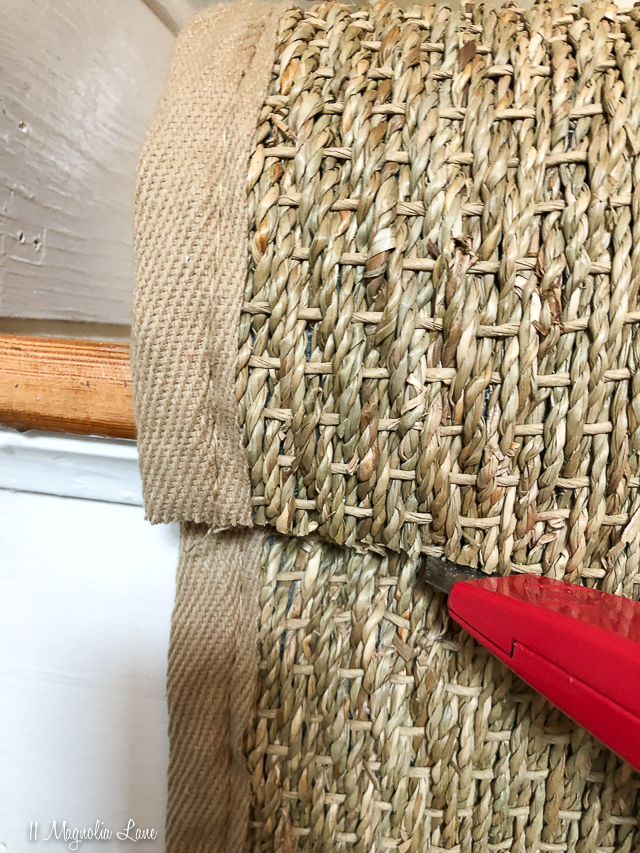
I then added a piece of trim just to cover my cut line; it was pretty straight but this finished it off nicely, in my opinion.
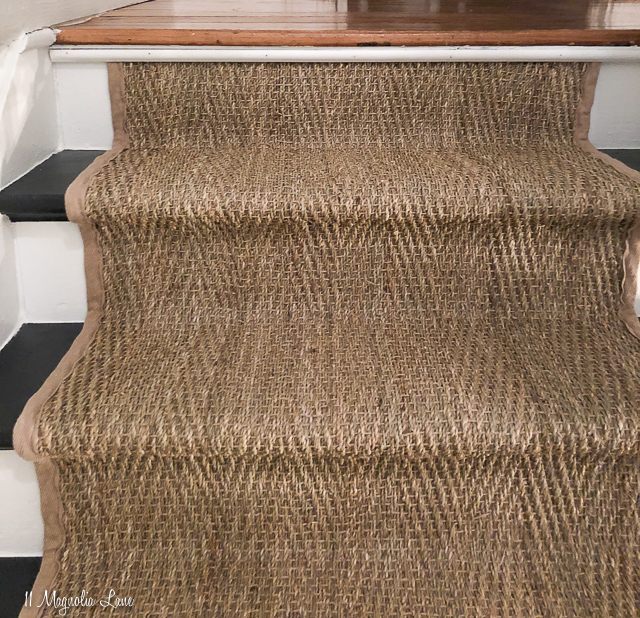
The runner was around $160 and then I bought a no-slip rug pad and staples, so the entire project was under $200. I’m thrilled with how it turned out; so is the dog since he did not like going up and down the wood steps (he’s 11 and not as sure on his feet as he used to be).
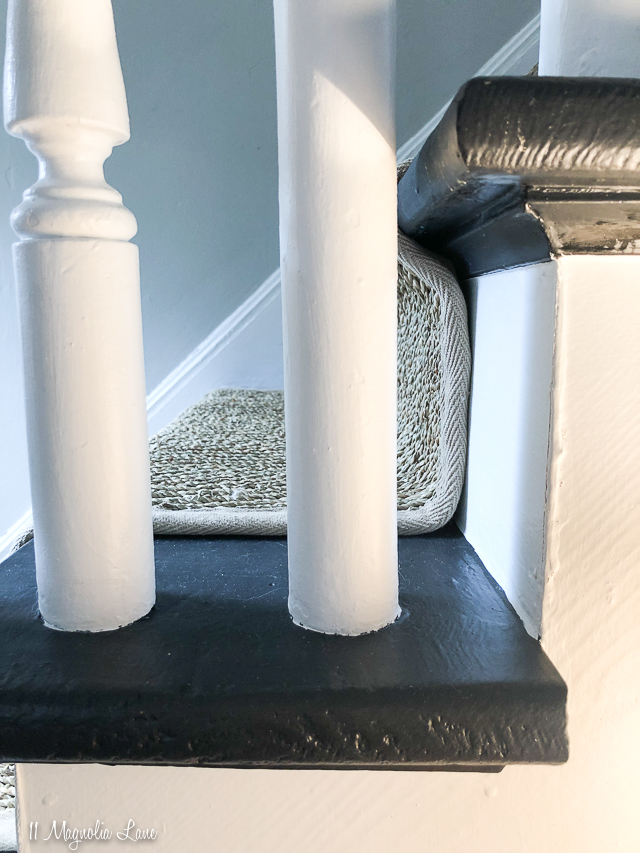
We opted not to try to carry the runner down the landing and the bottom two steps, although another option would have been to start the runner on the landing instead of at the bottom of the upper flight of steps.
I can’t tell you how good it feels to have this project check off my to-do list! It’s been on there for several months and I hate that feeling; plus I’m so pleased with how it turned out.
If you have any questions, please just let me know in the comments. As promised, my sources are below.