We are back today with another installment in our “Back To Basics” series where we bring you a tutorial about a simple and easy DIY task. You can see all the other basics from the other blogs in the series at the end of this post.
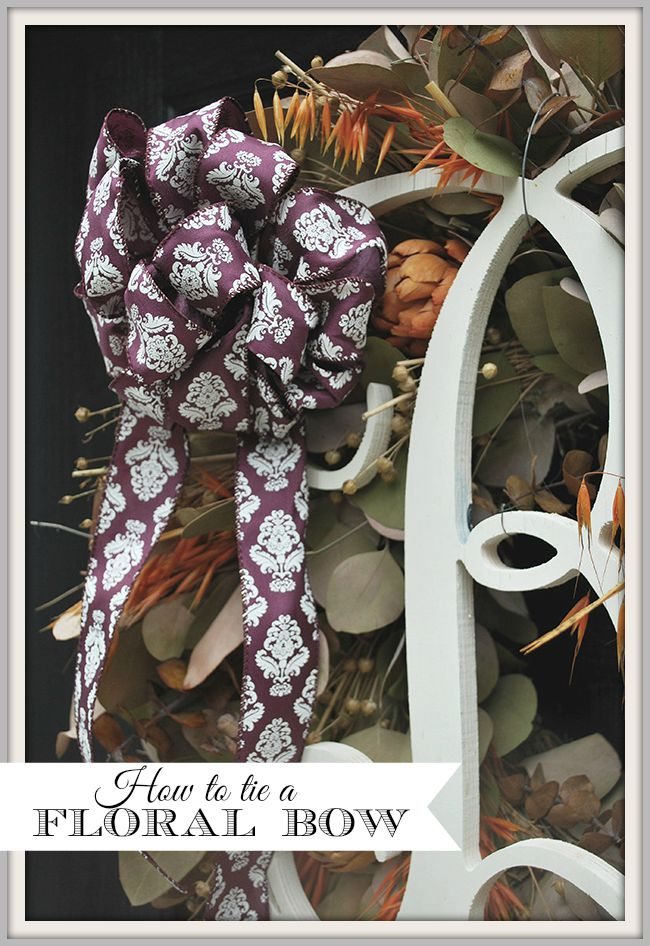
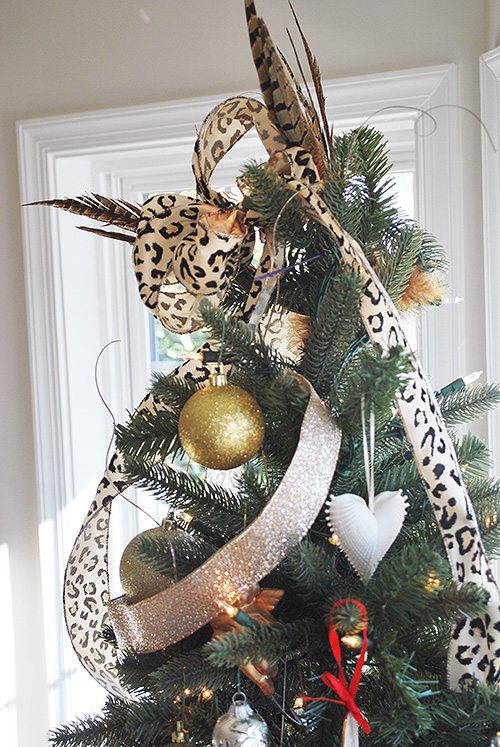
Today I wanted to share how easy it is to make a bow to garnish a wreath or a floral arrangement, a package and my favorite–to use as a Christmas Tree topper. You can see mine below–last year I used a bow jazzed up with feathers on one of our trees.
These bows are very easy to make, all the supplies you need are below.
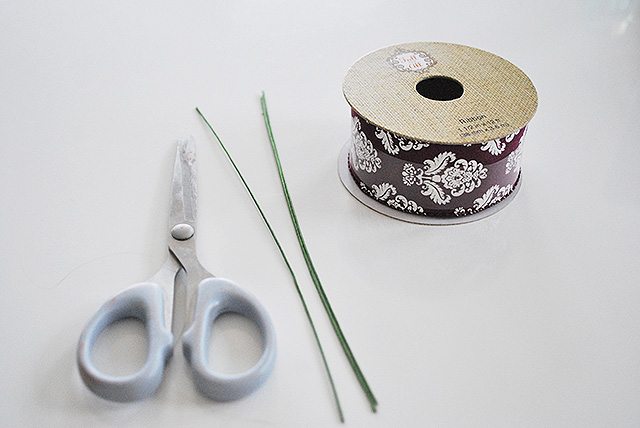
Wired ribbon of your choice {the thicker the larger and wider your bow will be}
Scissors
The trick to these bows is to make a series of loops, each time twisting the ribbon back over itself. I know that doesn’t make sense, so the easiest way to show you is via video, so take a quick look at how I did it below.

You can use these bows anywhere, I like to update our door wreath with a new bow seasonally. Here is our current Fall door decor below, it may still be in the 80’s here but I am ready!
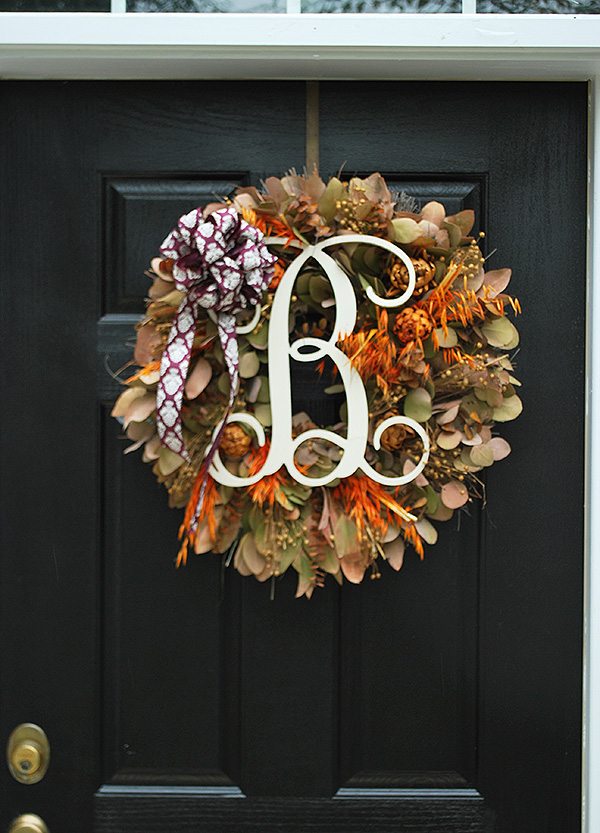
{Fall wreath from HomeGoods; wood monogram available here}
Once you get the hang of making them, they go fast. Start now and you’ll be an expert by the Holidays 🙂

We have a You Tube Channel, you can see our videos HERE!
Our posts contain affiliate links. If you make a purchase after clicking on these links, we will earn a small commission, which helps to keep our content free. You don’t pay a cent more than you would otherwise, since that would be tacky! Please see our full disclosure policy here.