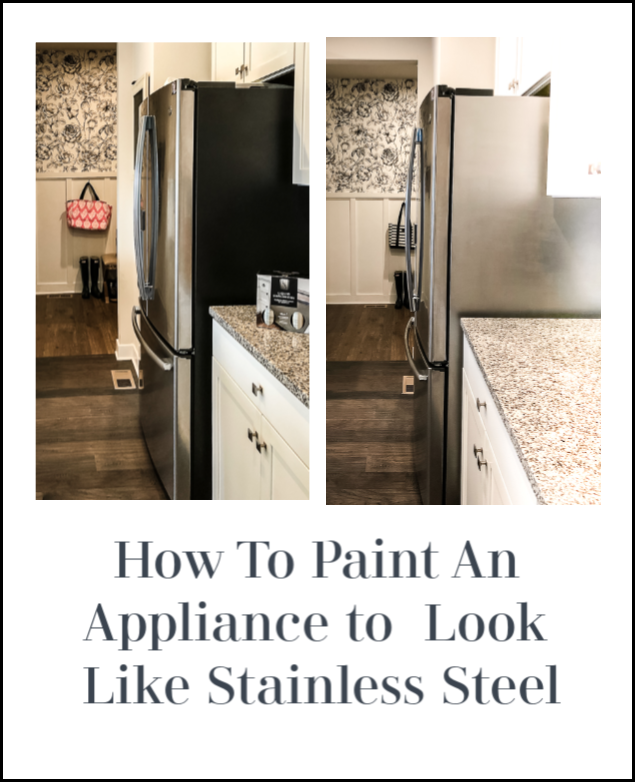
Today I am sharing how easy it is to paint a black kitchen appliance to make it look like stainless steel. It is simple to transform your solid-color appliance using a simple painting technique to make it look like a high-end stainless steel appliance.
I love how this project came out. I have to tell you though, if you think this is frivolous my husband would agree. He was just shaking his head when he realized what I was up to, regardless of his lack of interest I think that our kitchen looks much better now!
How to Paint Your Appliance to Look Like Stainless Steel
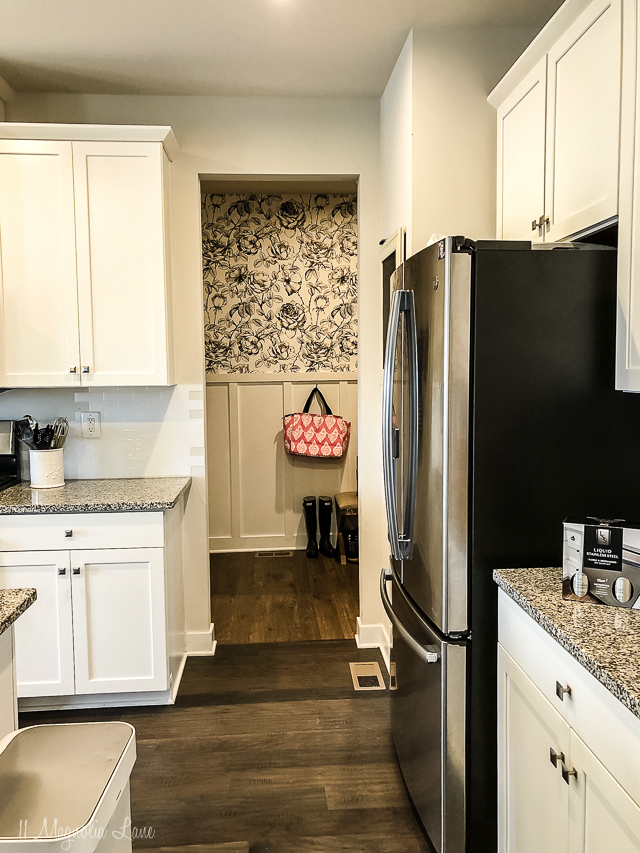
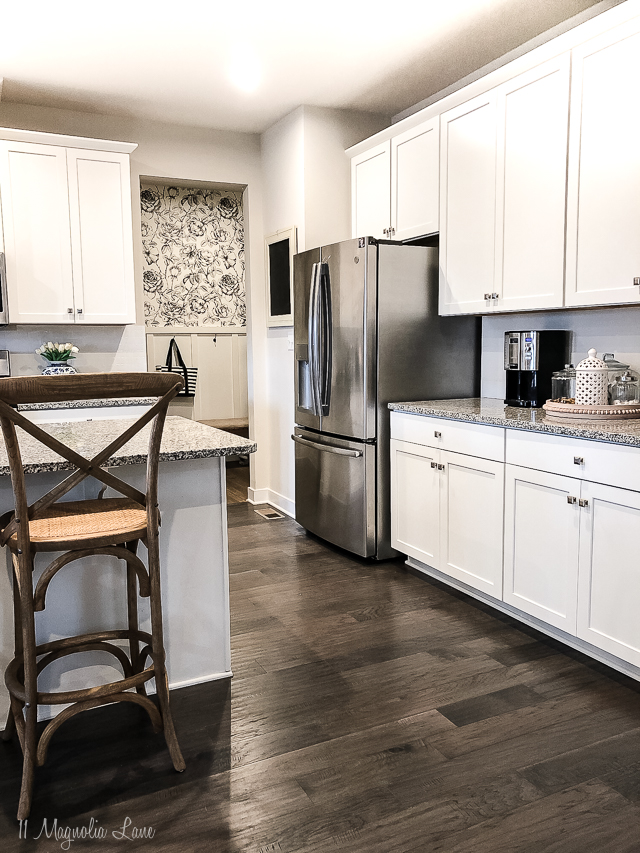
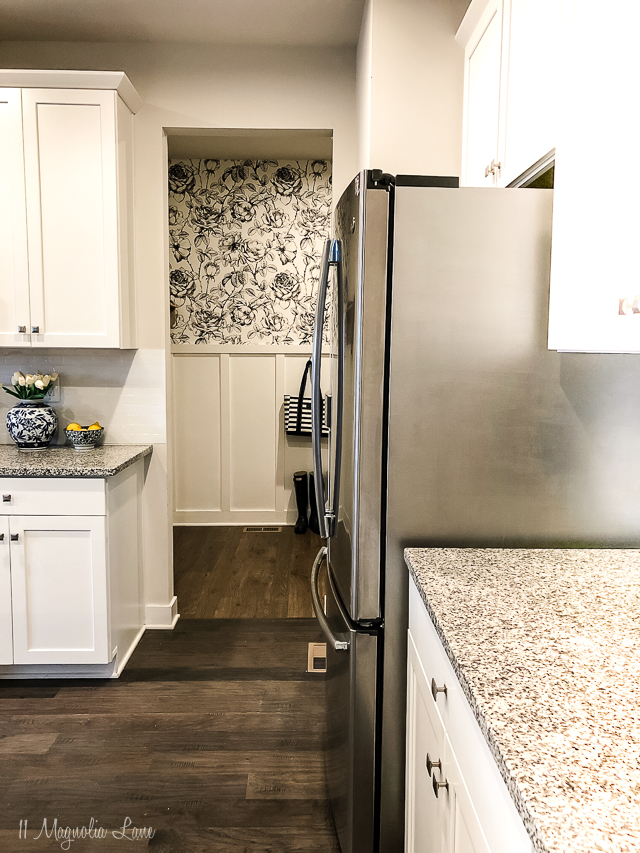
Every time I looked into our kitchen all I could see was that massive black side to our refrigerator. I felt like it took over the room! I thought of some options to change it but they all seemed kind of complicated, like building in a white enclosure to match the cabinets or buying a new fridge (which was a bad idea because this fridge is new–it came with the house–and works great). One day I decided to google to see if there was a solution, I was thinking some sort of gray paint, but instead I found this ready-made paint kit.
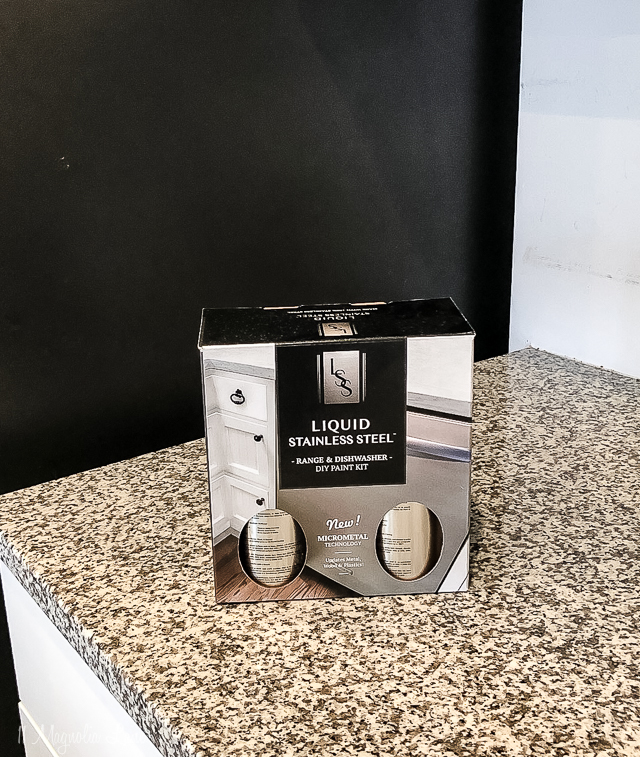
This seemed relatively low-risk. I just wanted something that would help the side of the fridge blend in with the whiter and lighter tones in our kitchen and at about $25 was definitely cheaper and easier than my other two ideas. Here is the kit I used and it was plenty of product for what I needed to do.
See the big black rectangle? It always seemed to dominate any picture of the kitchen like a black hole. I definitely would recommend this for any appliance you want to change the color of like a range hood, microwave, dishwasher panel, even a washing machine, it gives anything a stainless steel look.
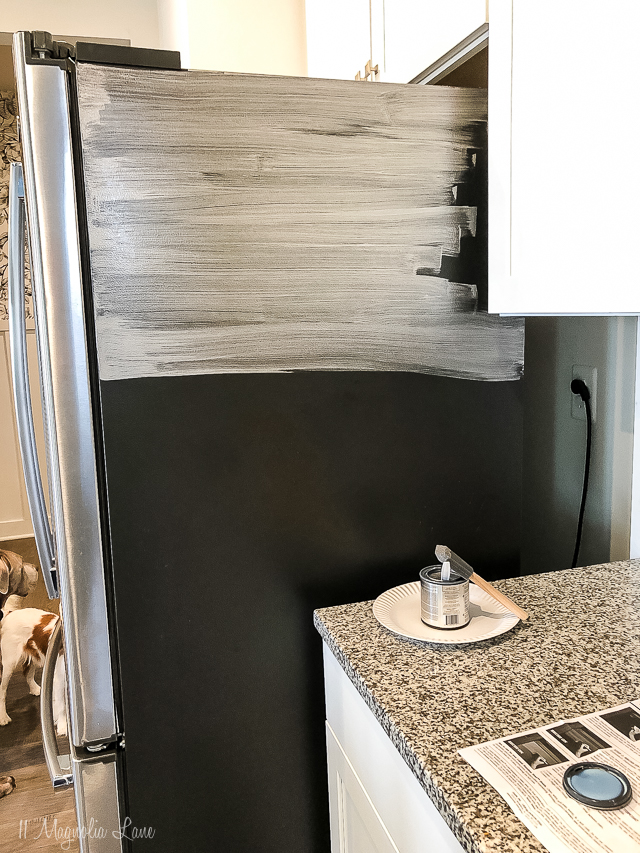
To begin, I gave the side of the fridge a good cleaning with glass cleaner (per the instructions) and then mixed the product very well.
I started brushing on the first coat of paint. I used a foam brush but in hindsight, I think a small foam roller would have been better. Here’s how it looked when it first went on.
After one coat, while it didn’t look finished the room immediately became brighter without the big black square to dominate the space.
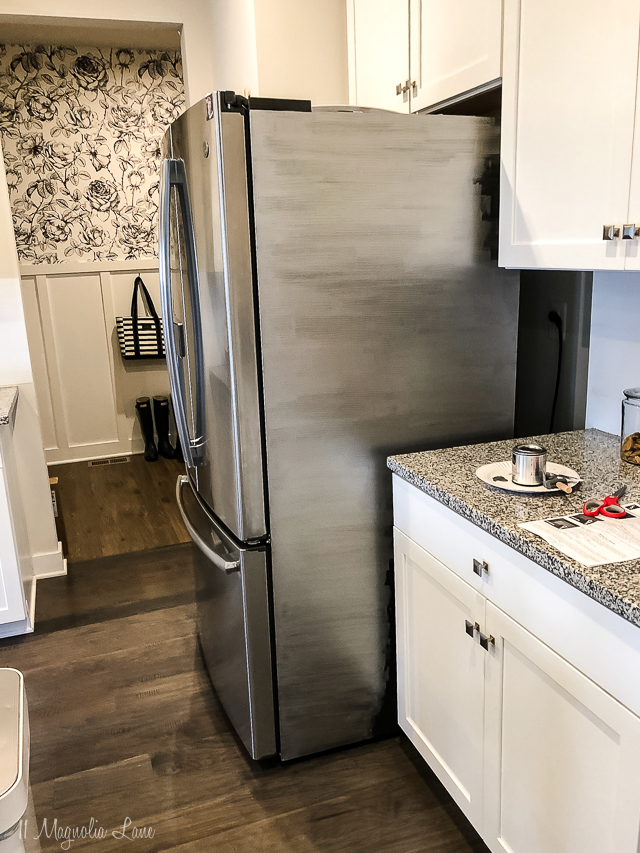
Several more coats in it really started looking like I hoped. This project took four coats of the base layer paint before I was happy with the coverage. You first paint strokes on horizontally, then vertically, but with a relatively small area it only took a few minutes to add another coat and then it only had to dry for about an hour. I was pleased to find there were no crazy fumes and the product cleaned up just with water.
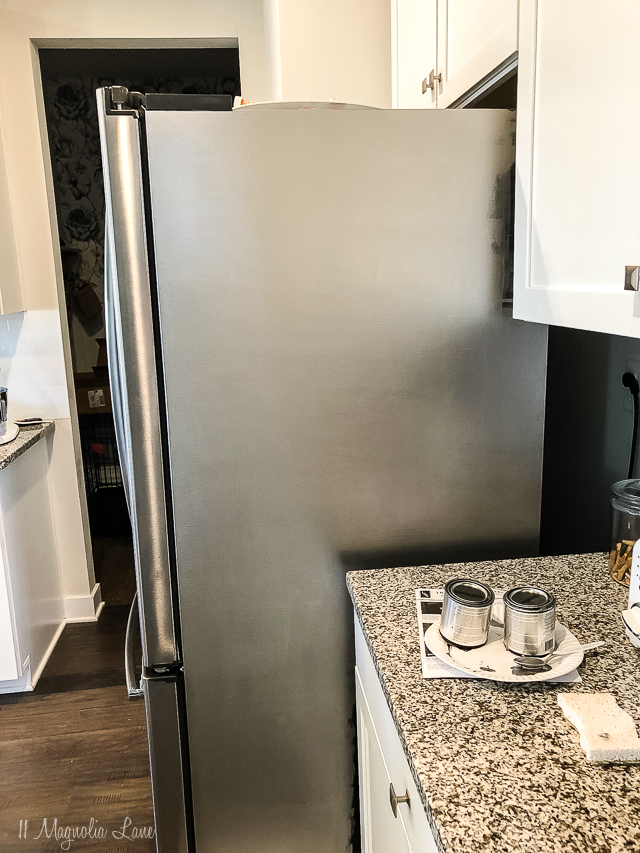
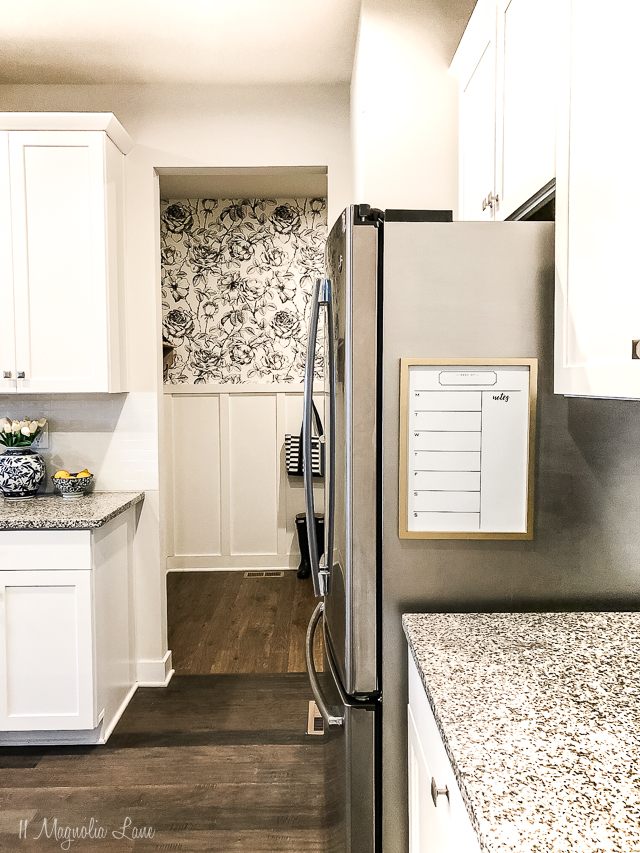
I finished it off with a very thin coat of the top coat, which gives it the shine you associate with stainless steel. Since this is just the side of a fridge I didn’t want too much shine, just a thin layer to help reflect the light. Done and done!
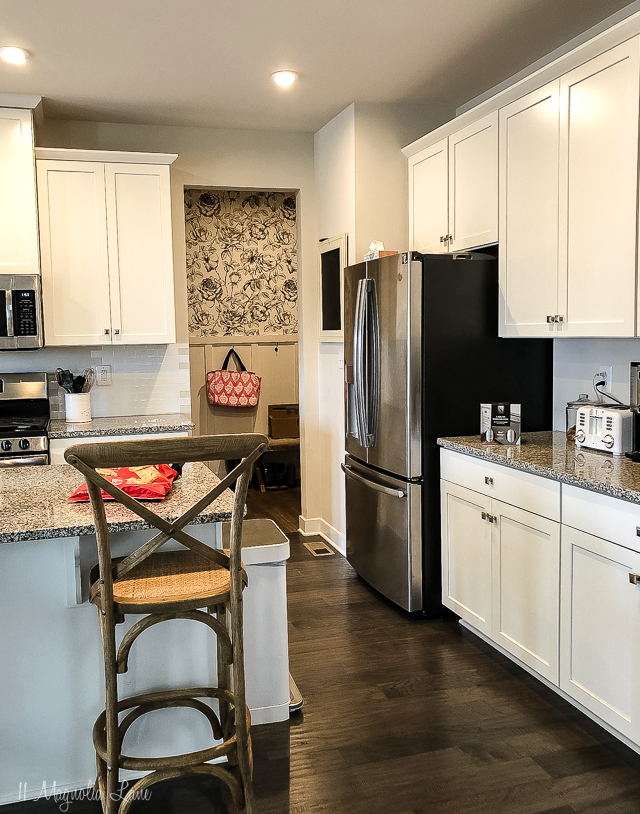
If you look closely you might be able to tell this isn’t the factory finish, but I can’t believe anyone would be scrutinizing the side of our fridge!? Immediately when I walked into the room the space felt more cohesive and restful.
While someday we hope to replace the busy granite countertop, without the big black hole I think it looks much better in here.
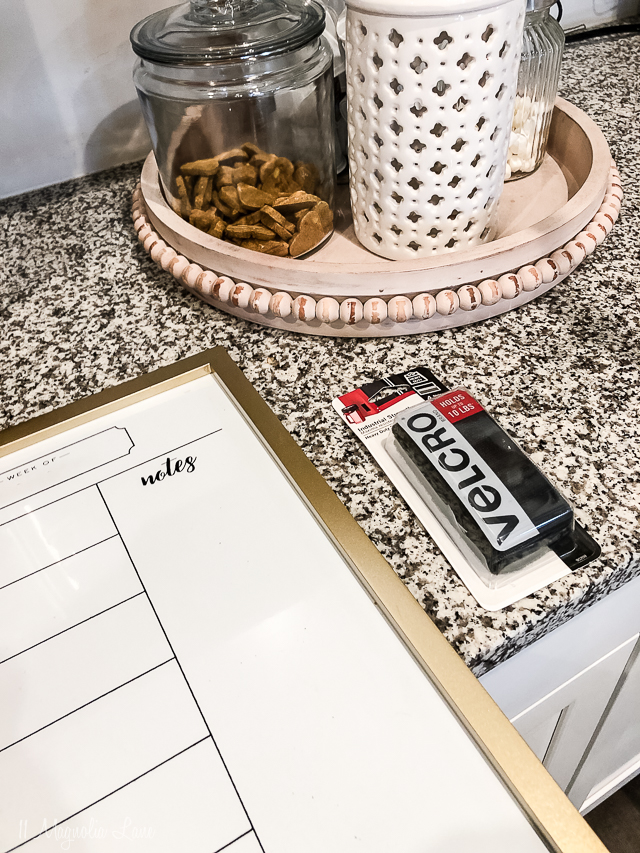
One more quick project to share. I picked up this menu at Staples not too long ago since my kids ask me what is for dinner pretty much when they eat breakfast, and this helps prepare them for what is to come, like it or not!
I just hung it with some heavy duty velcro (so useful for attaching things to walls and surfaces without adding a hook), this way I can pull it down to write on it each week when I do my weekly meal planning. Something like this is similar.
Here is an “easy to pin” image so you can save this project!
Just a reminder how easy this project was. My husband still thinks it was unnecessary but I see a difference so I consider it well worth it 🙂
XO,
If you enjoyed this post, we’d love to have you subscribe to our Sunday newsletter where we share our content and other fun things we’ve found to inspire your day. You can sign up below!
We promise to never sell your email information. Our posts contain affiliate links. If you make a purchase after clicking on these links, we will earn a small commission, which helps to keep our content free. You don’t pay a cent more than you would otherwise, since that would be tacky! Please see our full disclosure policy here.