The sad thing is that removing wallpaper is really never fast or easy–I’m sorry to be the one to break it to you. The only thing you can do is to make it as fast and as easy as possible.
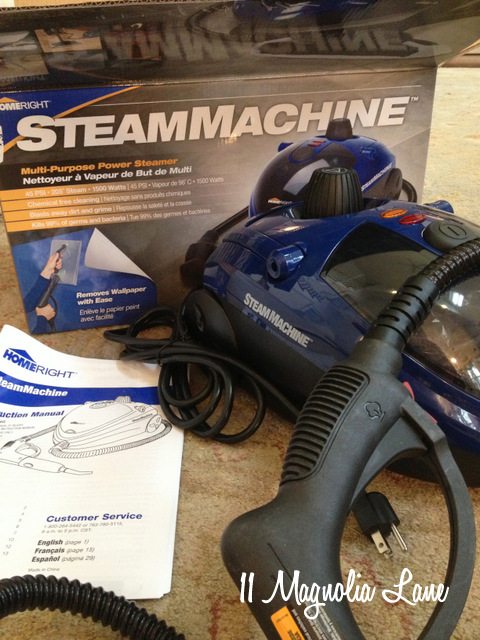
There. Now that I’ve been the bearer of bad news, here’s the good news: I have removed A LOT of wallpaper in my life, and I do have some tips to make it go more smoothly. The first is to hire someone to do it for you. Just kidding–that breaks all the DIY rules, doesn’t it? The second best thing is to use a steamer. It will save you hours. You can rent them or you can buy one. I’ll be talking about HomeRight’s Steam Machine in this post, because that’s what I used. It has a variety of other uses besides removing wallpaper (I’ll cover them in a minute), so it’s a sensible choice for a lot of DIY’ers.
First, if you’re wondering whether or not it’s worth it to remove outdated wallpaper, let me assure you that it absolutely is. If you’re selling your home, ugly wallpaper is a HUGE obstacle. Potential buyers look at it and see nothing but hard work ahead of them, and they will choose a more updated home time after time, all other things being equal. If you invest a few hours to remove it and paint in a neutral color, you will be adding money to your bottom line–I promise!
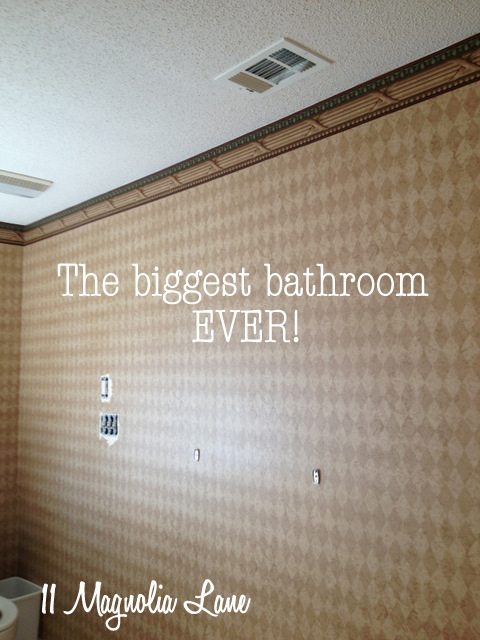
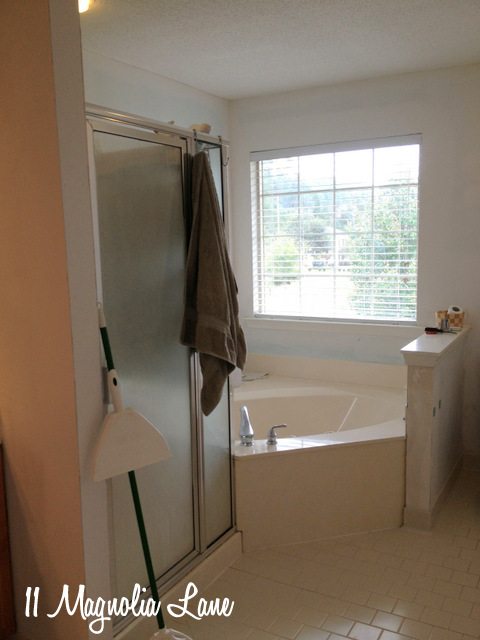
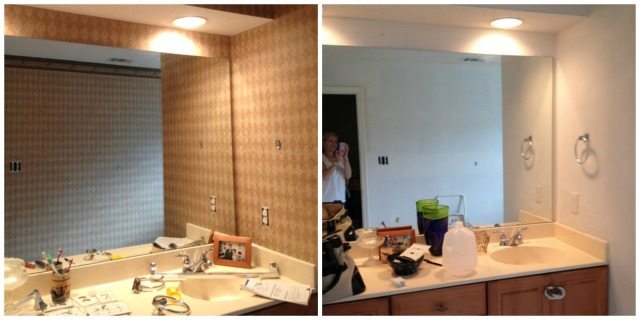
To show you the process, I had to find some wallpaper that needed removing. I don’t have any in this house, so I enlisted my friend Maureen. She shared her master bathroom with me–they were anxious to remove the wallpaper that was originally hung by their builder as a way to improve their home’s resale value. The only problem was that their bathroom is absolutely enormous–probably 150 sf! But since I’m not one to back down from a challenge, I decided that I was going to pull down every single scrap of wallpaper!
Here’s what I did, combined with tips to make it easier as you proceed:
- Remove switch plates, outlet covers, and towel bars.
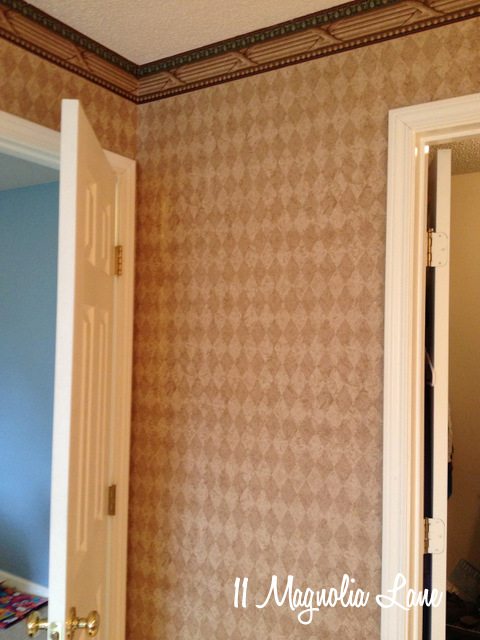
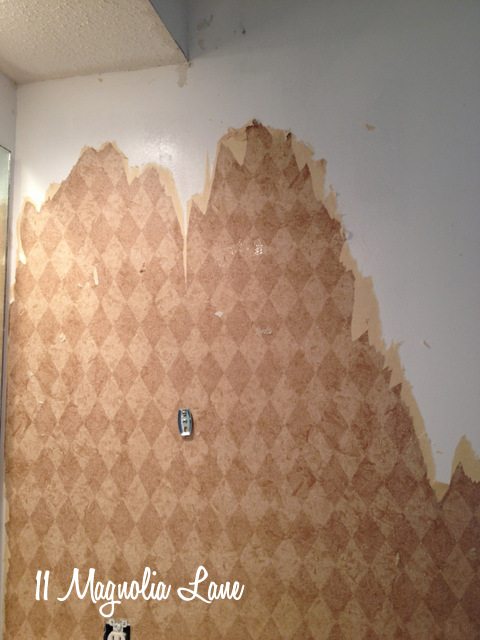
- Start in an unobtrusive corner. I began behind the door:
- If you have any loose edges or corners, try to peel them away and take a look at what you’re dealing with. In this bathroom, the wallpaper they used was very thick (almost vinyl) because the bathroom is obviously a wet area. Unfortunately, that’s usually the hardest kind of wallpaper to remove, because you first have to peel away the vinyl outer layer and then steam away the adhesive under layer. So it’s essentially a two-step process. There are scoring tools available that are designed to let water penetrate through the top layer, but I’ve never found them to be very helpful. That’s just my opinion, though.
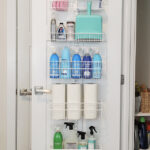
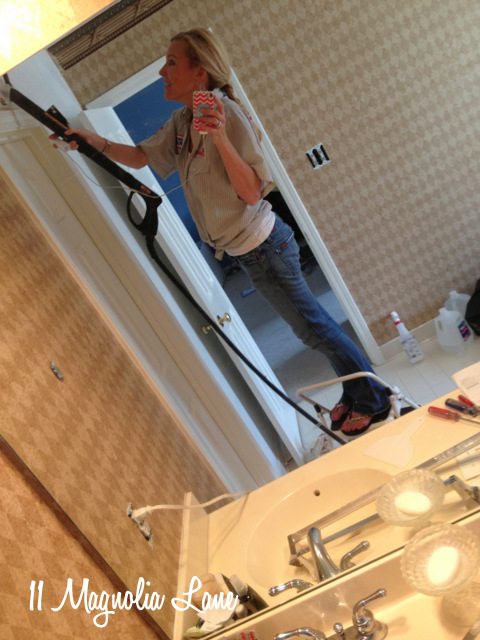
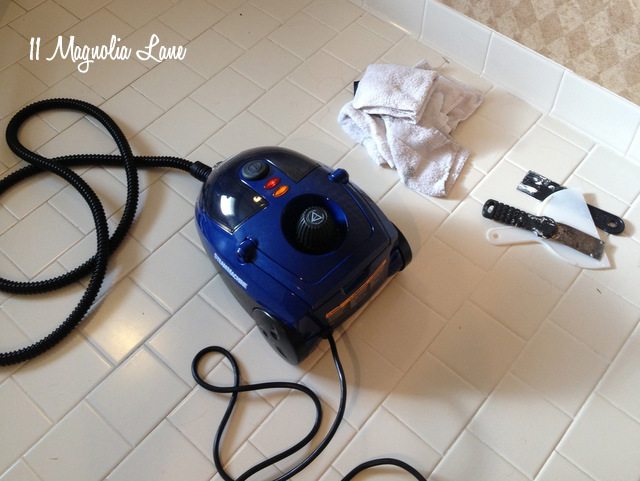
- I set up the SteamMachine for wallpaper removal (it was super easy). Since we have hard water, I used distilled water instead of tap water. While it heated up, I prepared my work area but putting old towels on the floor beneath my work area. Those catch both the water (this is a wet job!) and the wallpaper scraps, which makes clean up a bit easier.
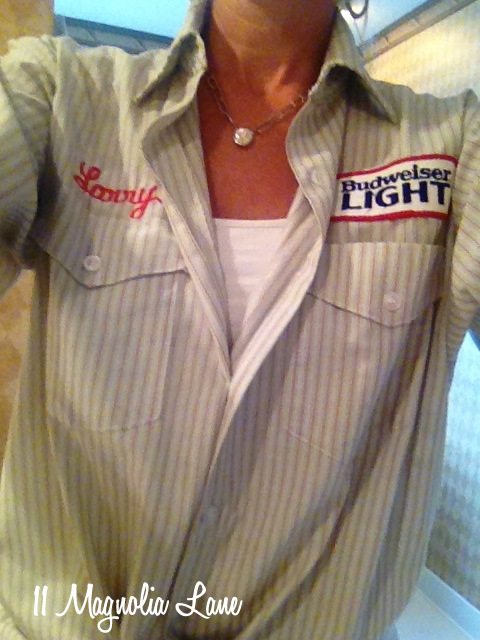
- Dress for the mess. In my case, that meant wearing my Bud Light delivery guy shirt that I bought for $0.50 at a yard sale years ago. I always wear it when I’m doing messy DIY jobs!
- Where I was able to peel away the top layer on my own, I did so. Sometimes I needed to use the steamer to loosen it enough to peel off. That involves holding the steam plate flat against the wall for 20-30 seconds. That’s the recommended amount of time, but once I got the hang of this particular wallpaper, I realized I could steam it for about 10 seconds before it would peel off.
- Start at the top and work your way down to the bottom. The water that drips down from the steamer will work to your advantage and the bottom parts will peel away easier.
- To remove stubborn bits of adhesive, either steam them or spray them with a squirt bottle of water (sometimes you have to do both). Depending on the glue in the wallpaper, plain water, or water mixed with vinegar or fabric softener will work best. I’ve used all three and usually use either plain water or water with a few tablespoons of fabric softener mixed in. The bonus is that your room will smell great!
- Have plastic putty knives/spatulas available to help scrape away the wallpaper. Plastic works better than metal as it’s easy to gouge your drywall. Speaking of which, older homes might have plaster, which is harder and does better when wet. Most newer homes will have drywall underneath the wallpaper, and when drywall gets wet, it crumbles. Go slowly and be careful, but realize that you will likely have to do some patching before you can paint.
- Use a utility knife to cut through caulk around doorways, windows, sinks, and tubs. The caulk will cover up the edges of the wallpaper and will need to be cut in order for you to remove all of the wallpaper in the corners.
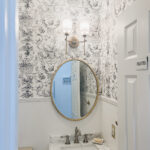
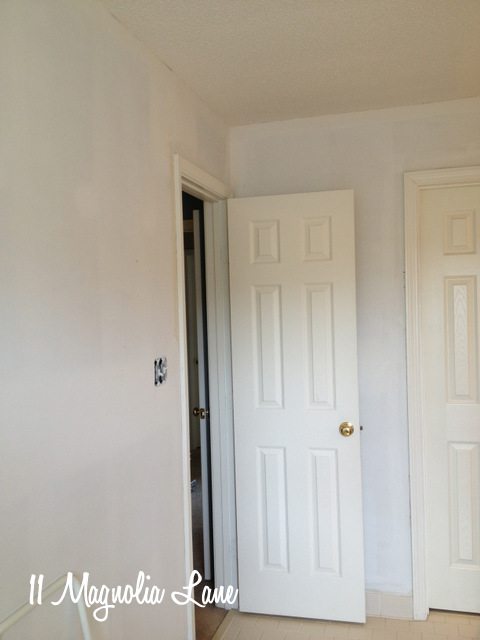
The room lightened up dramatically as the wallpaper came down:
I took frequent breaks to dump the wallpaper pieces into the trash and wipe up loose pieces of adhesive. I also spread this project out over several days–but that was because I wasn’t in my own home and had to plan out blocks of time for the work. I spent about ten hours total removing the wallpaper, but remember how huge this room is! A normal sized powder room would only take an afternoon.
I opted not to take the toilet apart to remove the wallpaper behind it, but I tried to remove as much as I possibly could and what’s left isn’t visible.
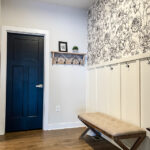
Isn’t it a huge improvement? And Maureen hasn’t even painted yet:
By the way, she’s going to use Sherwin-Williams Greyish, which I used in my powder room {here}.
OK, now here’s a little more about the Home Right Steam Machine C800880. First, the folks at Home Right were kind enough to send this to me to try out, and they are the sponsors of this post, although the tips and opinions are, as always, completely my own.
This little guy is so cute, and lightweight, too!
I did read the instructions, but it’s also very intuitive and easy to use. Here’s all the cool stuff it does, in addition to removing wallpaper:
- Cleans fabrics.
- Cleans glass and mirrors (goodbye, hard water stains in my shower!). It comes with a squeegee attachment that cleans bathroom shower doors and walls, fireplace doors, and windows. Remove the rubber lip and use it for garment steaming and killing dust mites in mattresses.
- Steams wrinkles out of clothes.
- Sanitizie bathroom and kitchen fixtures using the jet nozzle attachment.
- Clean around sink and bathroom faucets using the nylon brush.
- Remove grease and grime found on grills and ovens using the brass brush.
- Clean marble and granite countertops and ceramic tile, vinyl and linoleum floors using the large cleaning brush. Other surfaces that can be cleaned include stained concrete and sealed wood floors.
- Removes wallpaper.
By the way, it comes with all of those cool attachments. If you’re into green cleaning, like I am, then steam is the perfect tool because it’s simply water. I love the idea of killing dust mites, too.
Here’s a link to the SteamMachine on Amazon. Remember that we’re affiliates and so if you purchase through this link, we’ll earn a small commission. Your price is exactly the same no matter how you order, though!