Hi everyone! This is an exciting post I really can’t wait to share with you all. For the last week or so I hinted around here I was working on a REALLY BIG DIY in my kitchen as another step in my kitchen ‘makeover’, but I didn’t share that this project is also our 11 Magnolia Lane entry into the HomeRight IKEA Bookcase Challenge that is kicking off this month.
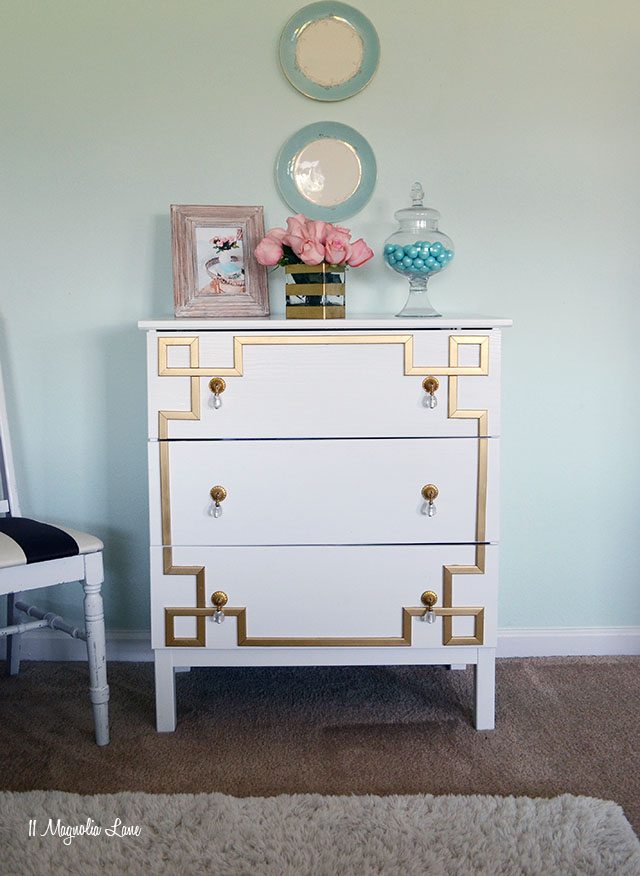
Do you all remember last Fall when Christy turned an IKEA dresser into this greek key beauty as part of the last IKEA dresser challenge?
This Spring we are joining in the newest IKEA HomeRight challenge along with all the other HomeRight Ambassadors.
Drumroll!!!
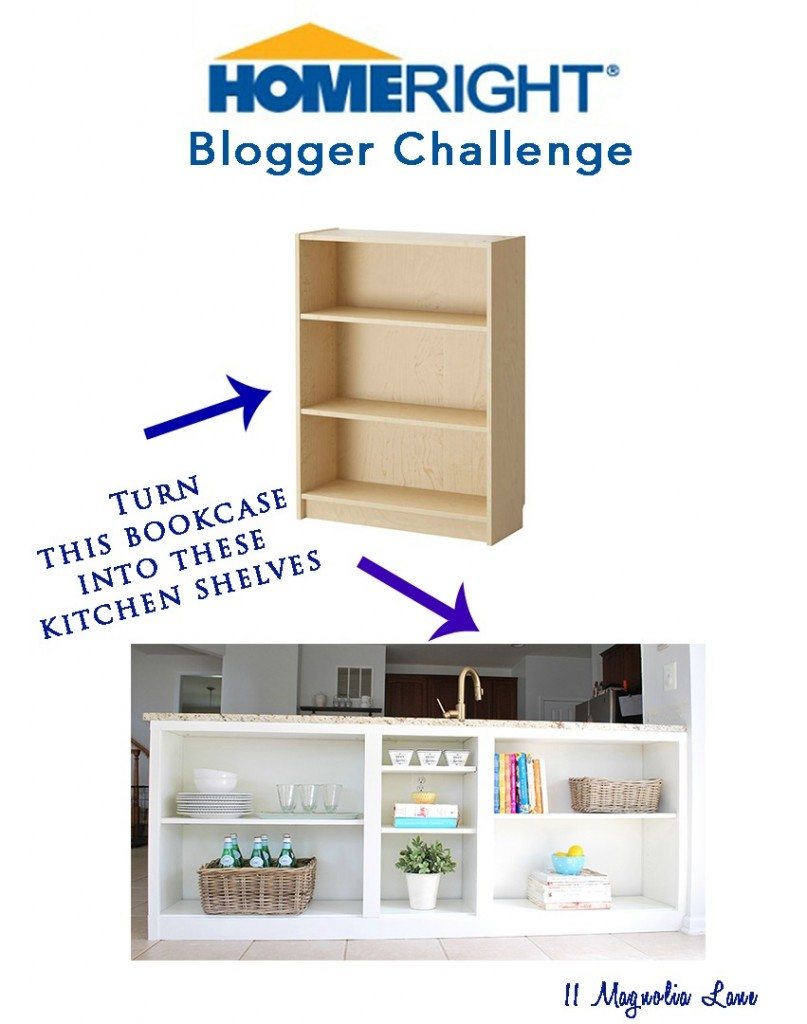
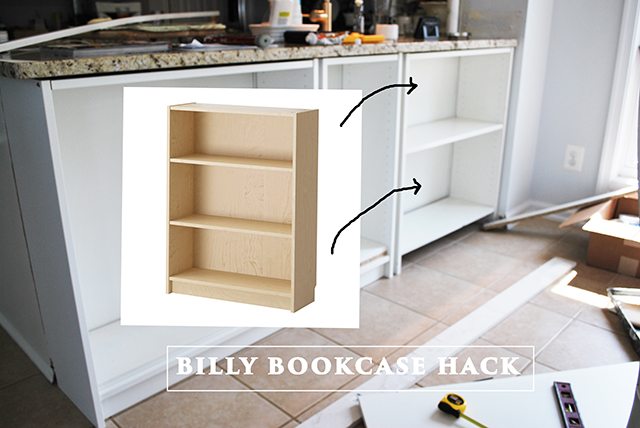
HomeRight sent us a plain, inexpensive Billy bookcase and let us get creative. While there were several projects {and some were maybe on a slightly smaller scale} that I STRONGLY considered this project has been on my agenda since we moved in the house so I figured it was the perfect opportunity to jump in and build my shelves. Just like in our Library bookcase project for these shelves it made sense to start with IKEA Billy Bookcases rather then build them from scratch.
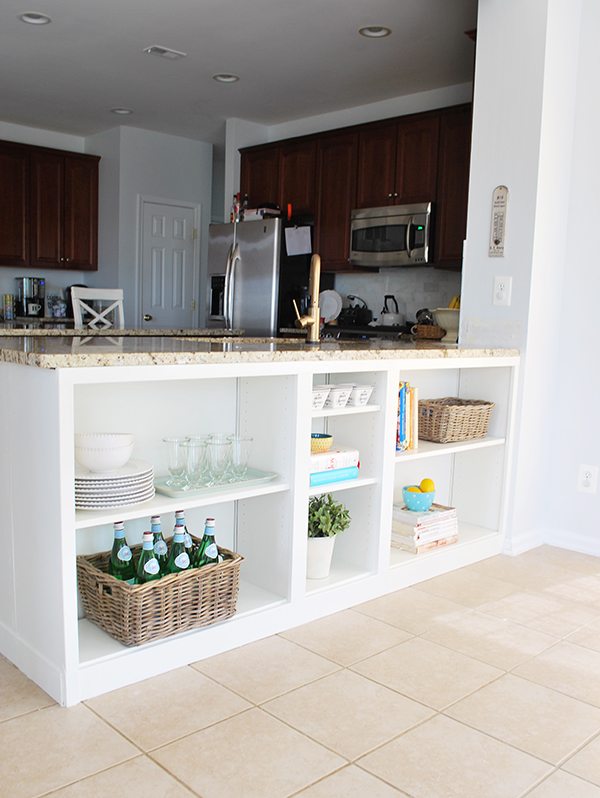
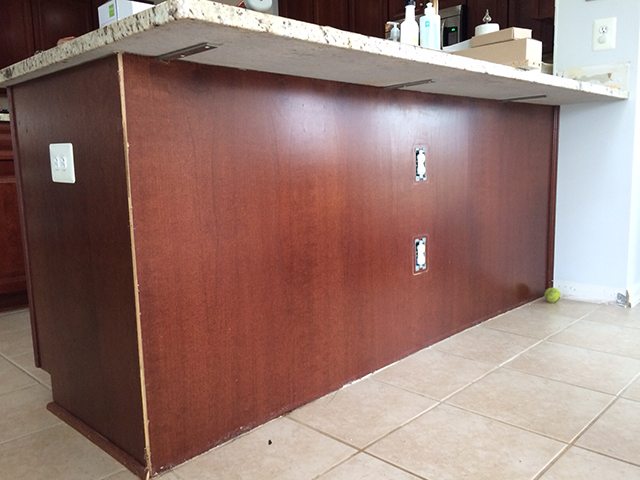
Here is the before of the space.
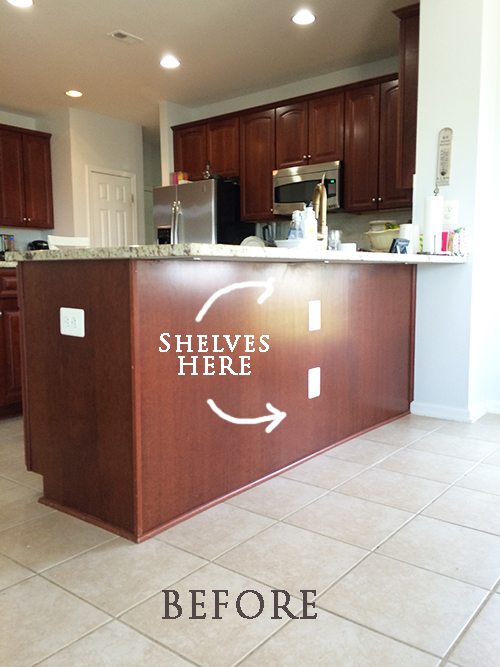
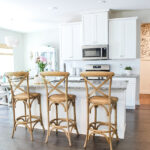
Our kitchen already has an island that our kids can sit or eat at so this portion of the kitchen is never used for much. I loved the idea of having some storage right next to the kitchen table and really wanted some shelves for my cookbooks, as I do have a bit of a hoarding issue with those 😂.
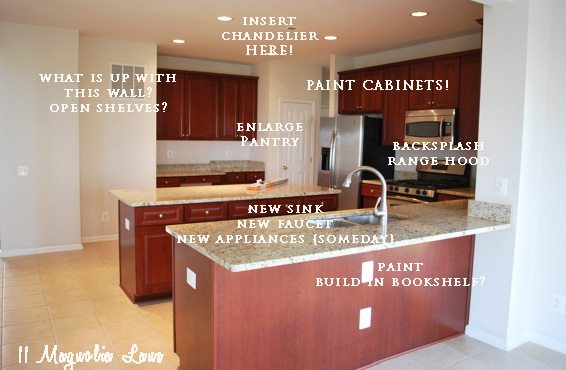
Above is the entire kitchen plan from back when I ran our “New House” post, these new shelves are now in the front of the sink area right where I said I would “build-in (a) bookshelf”–high five for another project complete!
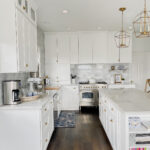
So not only did building in the shelves add storage and make use of unused space but this project also kicked off the cabinet makeover that will be taking place in our house this summer. No turning back now! {You can see our entire makeover plan HERE}. As soon as I lightened up this portion of the kitchen I knew I was heading in the right direction with white cabinets. It’s going to be a lot of work to paint everything but I am sure it will be worth it in the end. {Update: See full reveal HERE}
So, here is the whole shelf project step by step…
I started by putting together the set of shelves that HomeRight sent for the challenge. I also purchased another Billy Bookcase but in white, as well as a narrower version in the same line of IKEA Billy shelves so I could use three shelves in the space. I broke out my HomeRight FinishMax Pro and gave everything two coats of paint since eventually all our perimeter cabinets will be this color. The FinishMax made this so fast and easy and gave everything a perfect finish. By the way, as luck would have it, that paint color is a very close match to the ‘white’ IKEA color, though I did paint them all again at the end to ensure consistency.

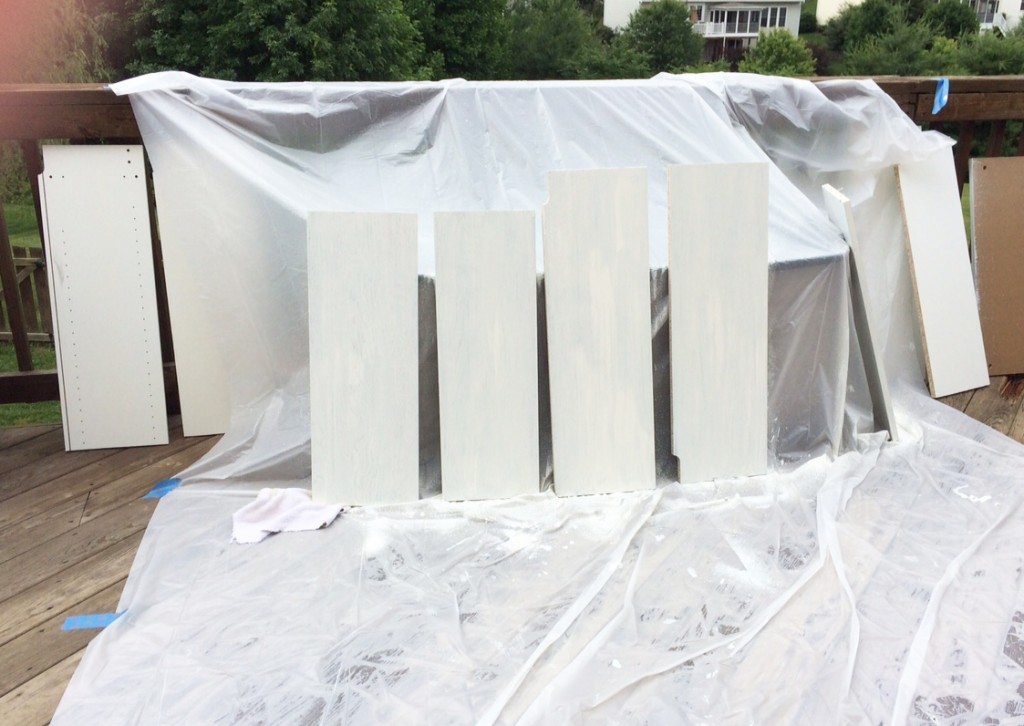
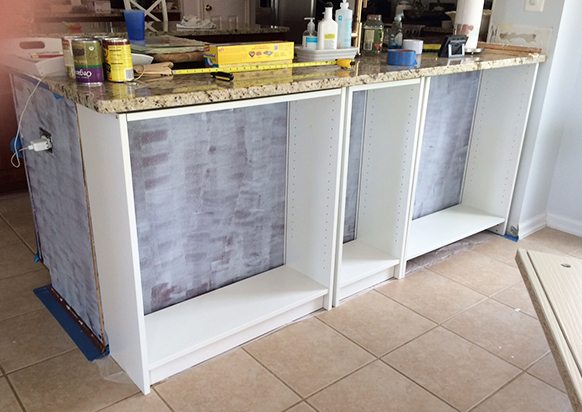
Once everything had a few coats of paint, I moved on to the construction stage. I first removed all the molding around the cabinets, then gave what was going to be the back of the shelves {I didn’t use the backing that came with the Billy bookshelves} several coats of paint in the same White Dove color.
Then came the first–well I’ll just call it a ‘challenge’– with this project as the bookcase was taller than the countertop. So, I had to basically cut down all three bookcases and rebuild them as a smaller bookcase. For this I called in my A-Team and brought the shelves up to my Dad {remember the amazing shelves he built in my Library? They are HERE if you missed them!}. He helped me cut all the pieces down to a size that would fit.
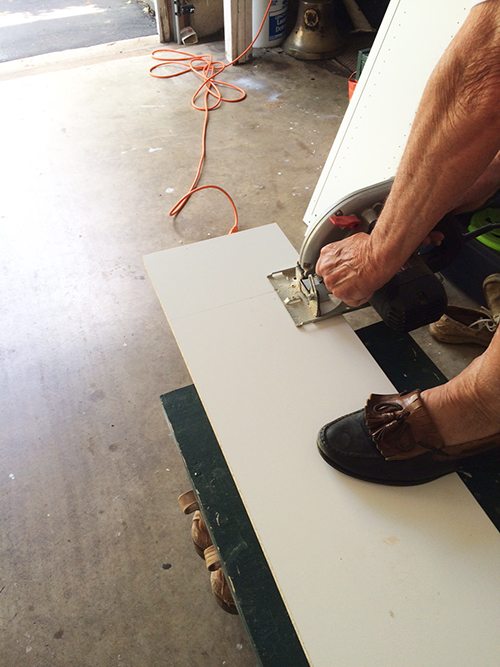
As you can see, we had to take about 6″ off the top so they would fit under the countertop. After that minor obstacle was overcome, I rebuilt them {including redrilling the holes for the little IKEA wooden pegs that attach the top of the shelf to the sides} and assembled them in the kitchen.
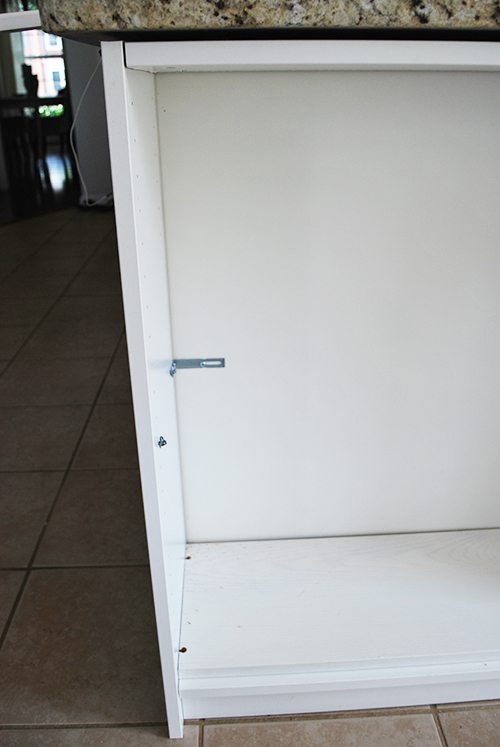
Since they were really now a “hack”, I bracketed them to the cabinet just for extra support. These brackets were about where I knew the horizontal shelves would be so I figured they wouldn’t be seen.
After that, I installed the front facing boards so they would look like built-ins. I picked up all the lumber and had most of it pre-cut at Home Depot.
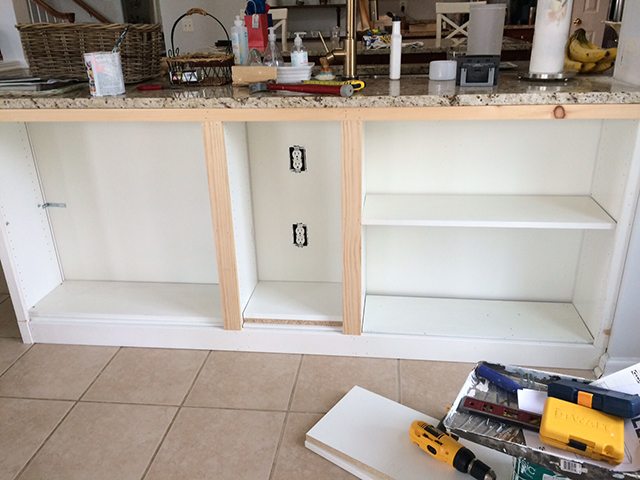
This was where the second “challenge” of the project arose. What you can’t see in this picture is that neither the countertop OR the wall in the right-hand corner of the counter is square. Why on earth would I expect a house with straight walls? Silly me! ANYWAY, after several attempts to get the trim to align correctly, I had to call back in my shelf guru, my Dad, who helped me re-cut and re-configure everything {which is why at this point you see new unpainted boards, these were “round 2” of cutting and tacking, what you don’t see is me at about this point tearing my hair out!}.
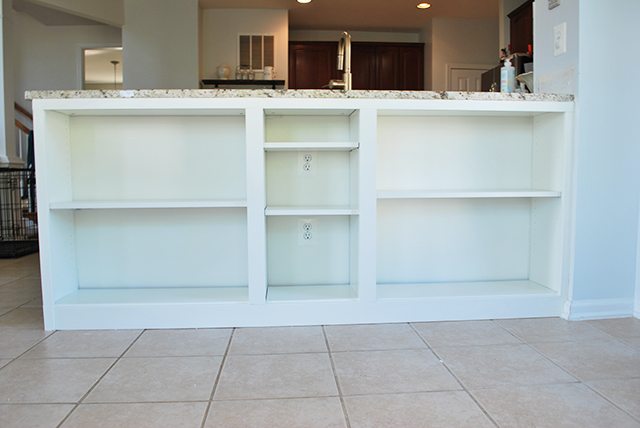
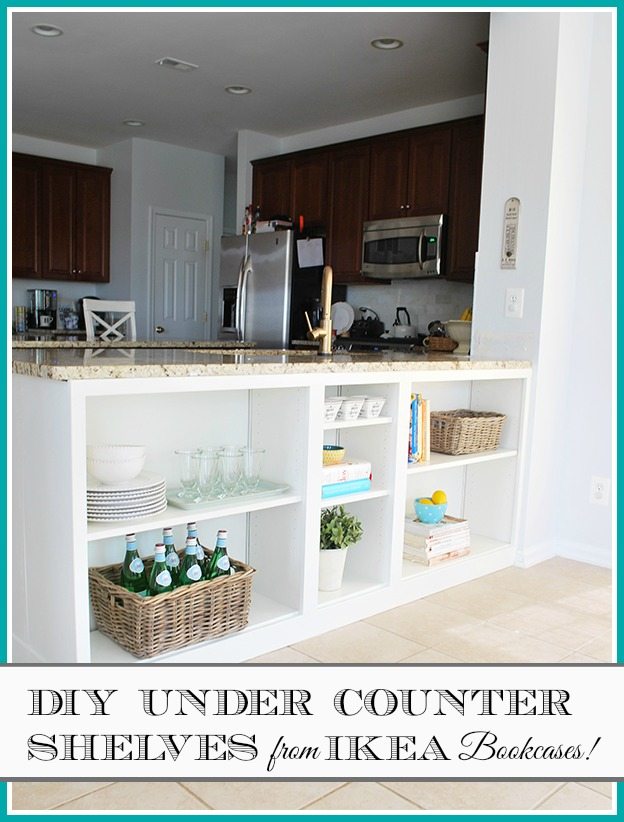
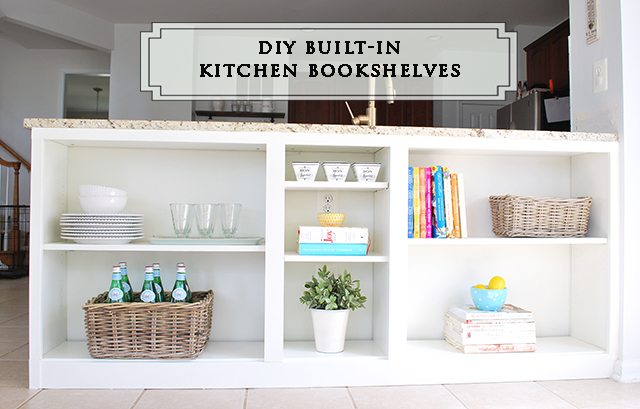
After cutting some new trim and refastening everything, it all aligned in a much prettier fashion despite our wonky walls and all was well in DIY land again! Before long, after another coat by hand of a touch-up paint, I had these gorgeous shelves in my kitchen…
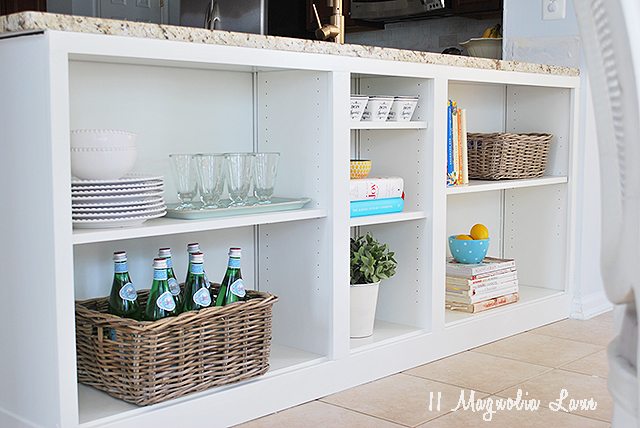
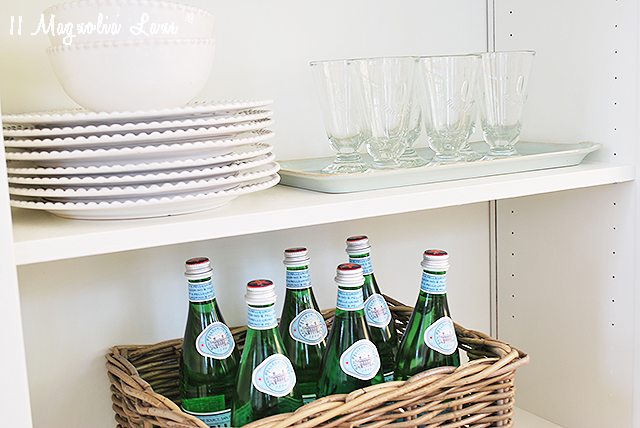
The possibilities to store things are endless, and since our kitchen table is right there it is so nice to have dishes and other things we use all the time RIGHT by our table.
Here they are in context of the kitchen.

You can see the other shelves Christy and I DIY’d together in the background, as you can tell I love open shelving! Can you believe how much brighter the white painted shelves are? I seriously can’t wait to have the entire kitchen done!

Here is another reminder of what I started with and how it fit together.
And again all done…
I loved being a part of this challenge and am seriously thrilled to have this project checked off our “To-Do” list.
OK, so now I am moving on to painting the cabinets but in the meantime will be enjoying these shelves 🙂 Though I think I may reward myself with a day or so to recover at the pool…it is summer after all!
See our entire Kitchen Makeover HERE.
See how we renovated our entire Kitchen in our current home here.
XO,

Our posts contain affiliate links. If you make a purchase after clicking on these links, we will earn a small commission, which helps to keep our content free. You don’t pay a cent more than you would otherwise, since that would be tacky! Please see our full disclosure policy here.